Homemade Kombucha

PinSave

This post may contain affiliate links.

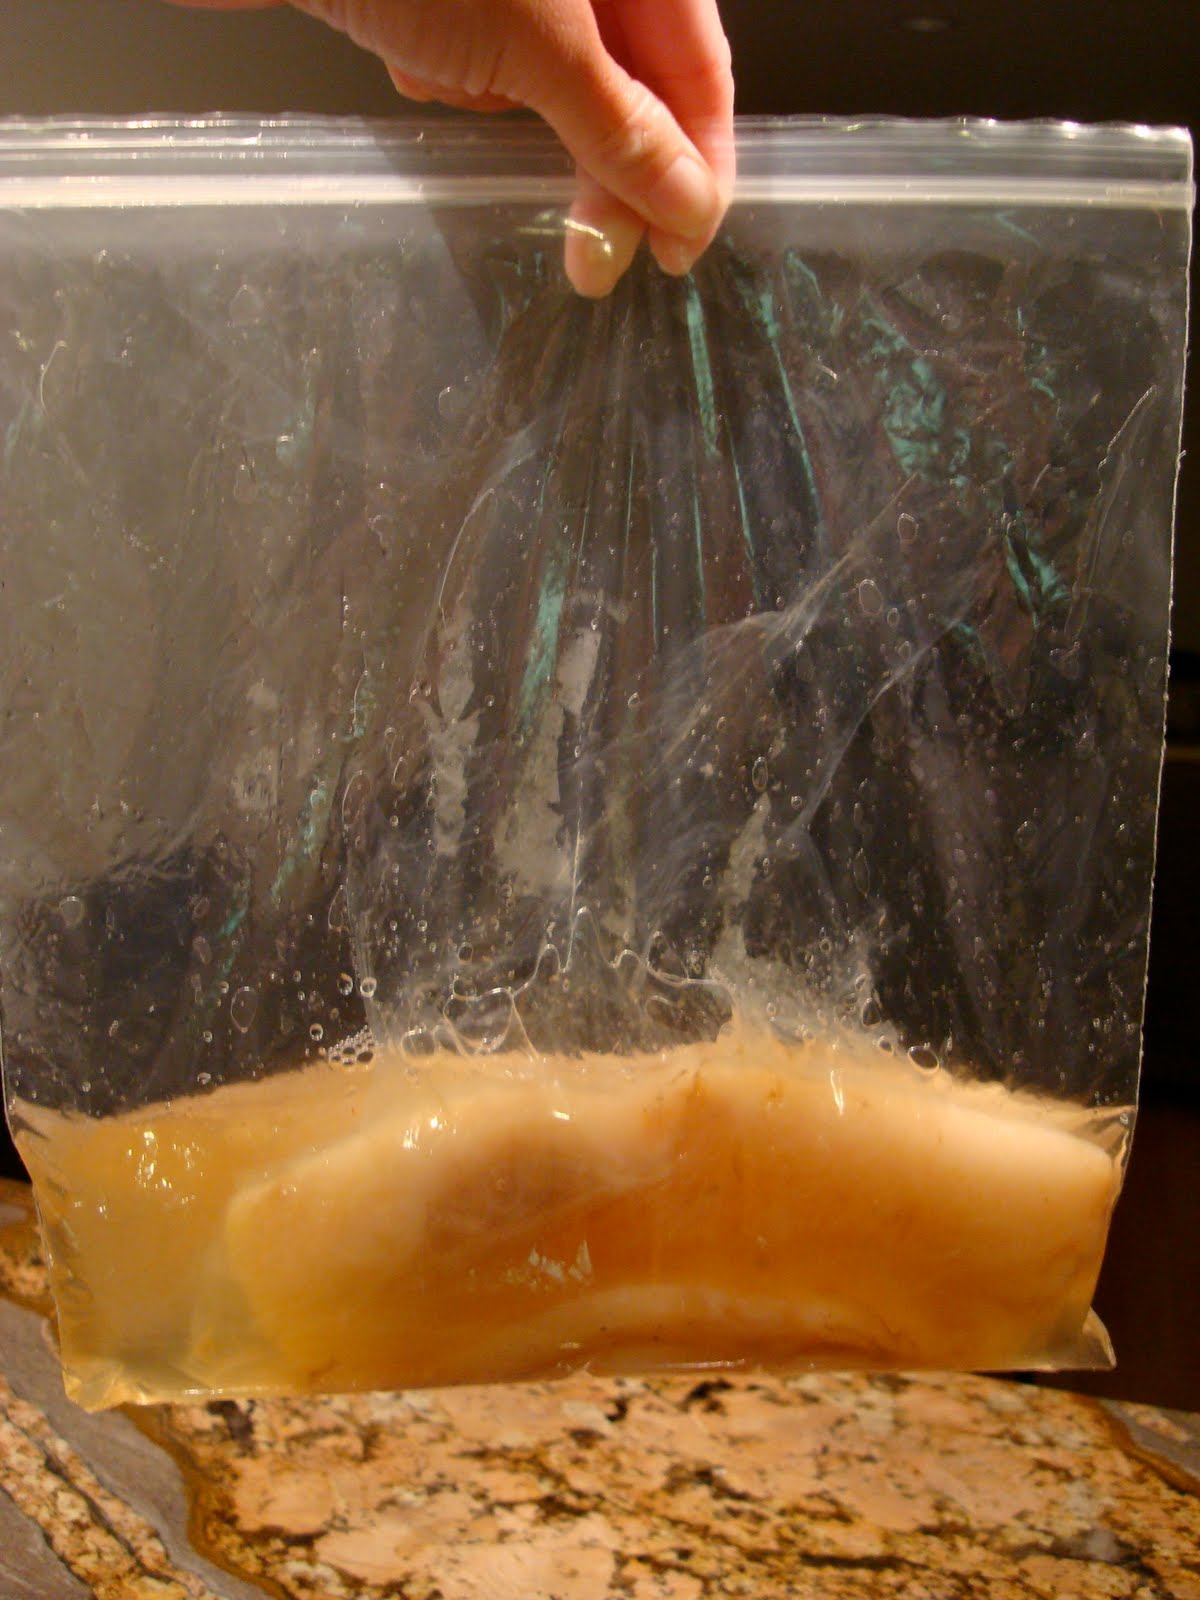
Remember yesterday when I said I picked up another Scoby?  Well, here it is.  I know that these are not pretty.  What can I say.  They’re gross and weird looking!  But kombucha is good and I am thrilled to be making it at home, and so I deal with the ugly factor.

Scoby in lidded jar

Close up of Scoby in jar
This is the kombucha “mother” Scoby that I got from the lady yesterday and about a cup of her kombucha brew.  This all goes into my new batch and from this “mother”, a “baby”will grow, and the cycle repeats.

When making kombucha, it’s normal to ferment it anywhere from 7 to 14 days, to as much as 30 days on your countertop.  Then, some people do a second fermentation of another 2 to 5 days or so to get it fizzy.  So my thinking is that the more batches I have going the better since there’s quite a lag time in between starting it, and consuming it!

Here’s what I’ve got going so far…
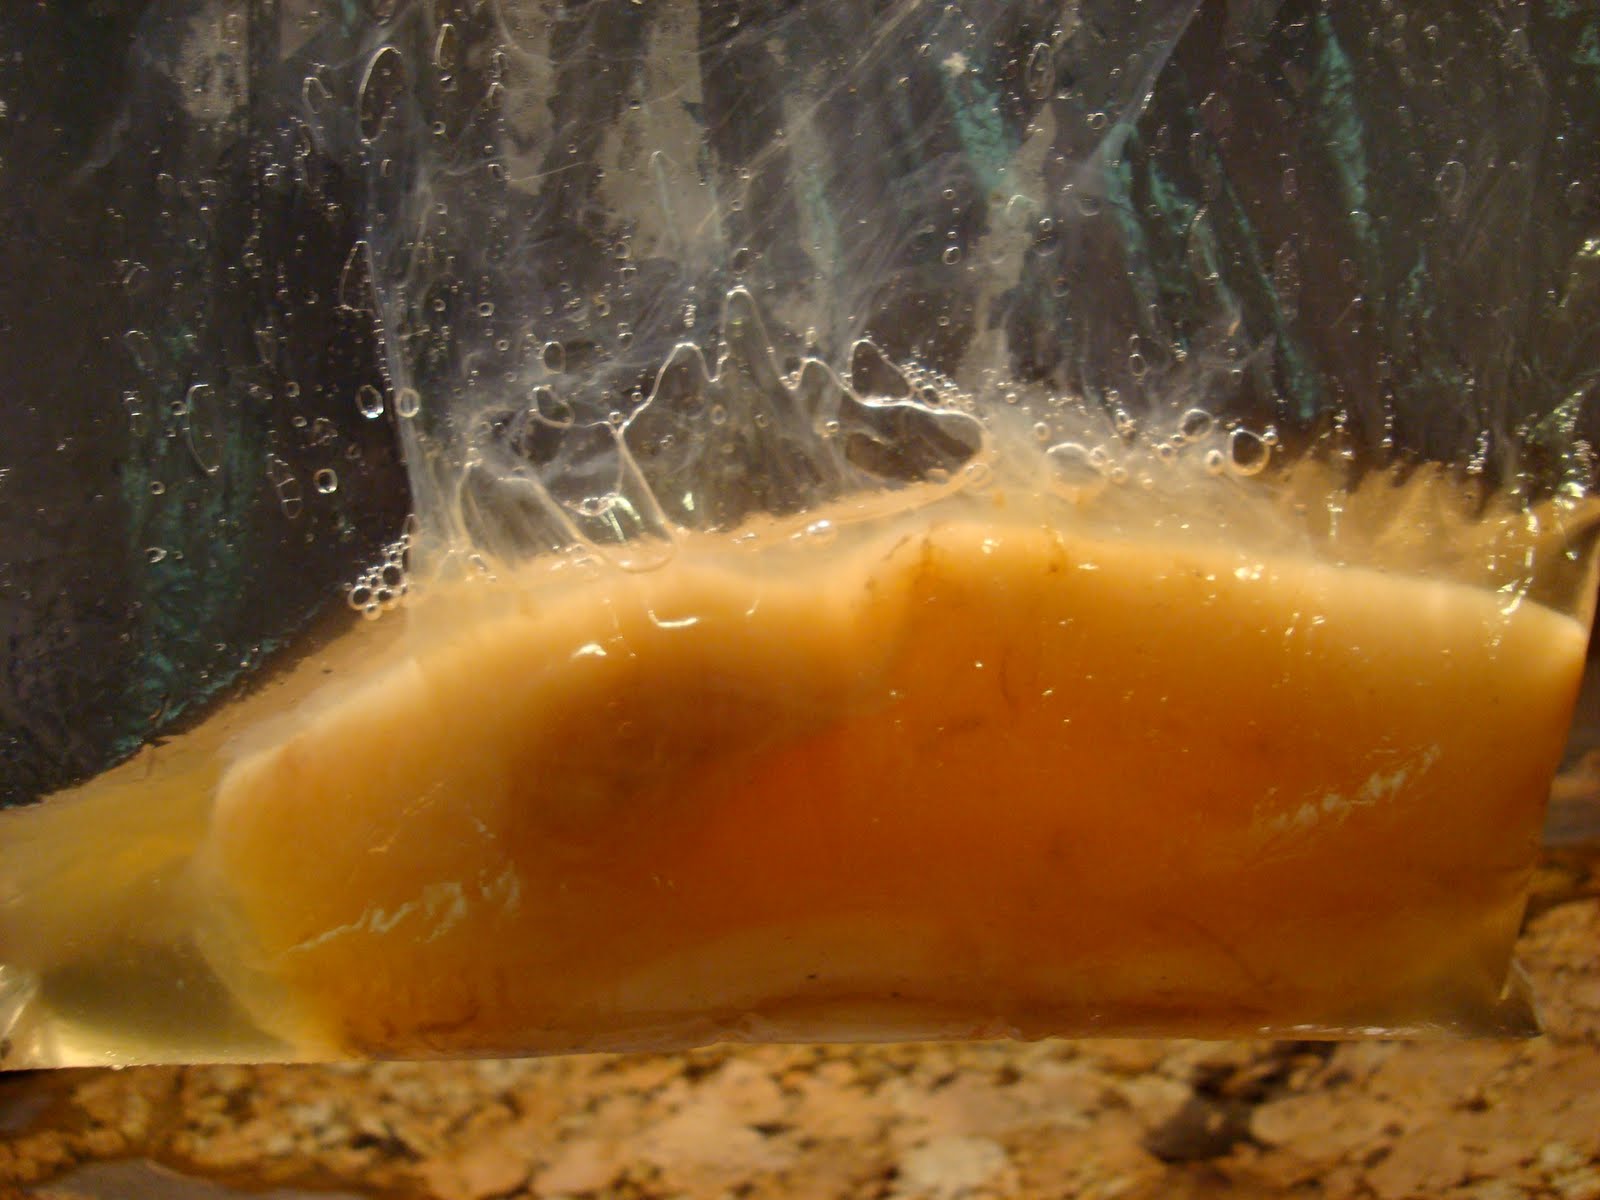
I took This Scoby

Scoby in plastic bag
Close up Scoby in plastic bag
 

[print_this]

Homemade Kombucha
1/2 to 1 gallon brewed tea, using green or black tea in a glass jar or wooden barrel
 
1 cup granulated sugar added to room-temperature cooled tea, and stirred to dissolve
 
Add scoby and cover with a cloth, secured with a rubber band (to prevent anything from getting in the jar you don’t want)
 
Without disturbing the jar (don’t touch, move, bump, poke, or bother it), wait 7 to 10 days and serve; serve strained if desired.  Refrigerate brewed kombucha to slow the fermentation.
 
Two scobies will have formed; repeat process using two jars, waiting 7 to 10 days; at that point you will have 4 scobys.  Start sharing with friends. Do not flavor the kombucha until it is ready to be consumed, i.e. don’t add stevia, orange extract, pineapple juice, etc. in the presence of your scoby; it would ruin it.
 
Because kombucha is such a unique beverage, and no two fermentation situations will ever be the same, if you plan to brew at home, you need to do your homework, research, and let common sense and experimentation be your guide. Google and do your homework and have fun.

[/print_this]

 
Yes, it’s super ugly.  I know.

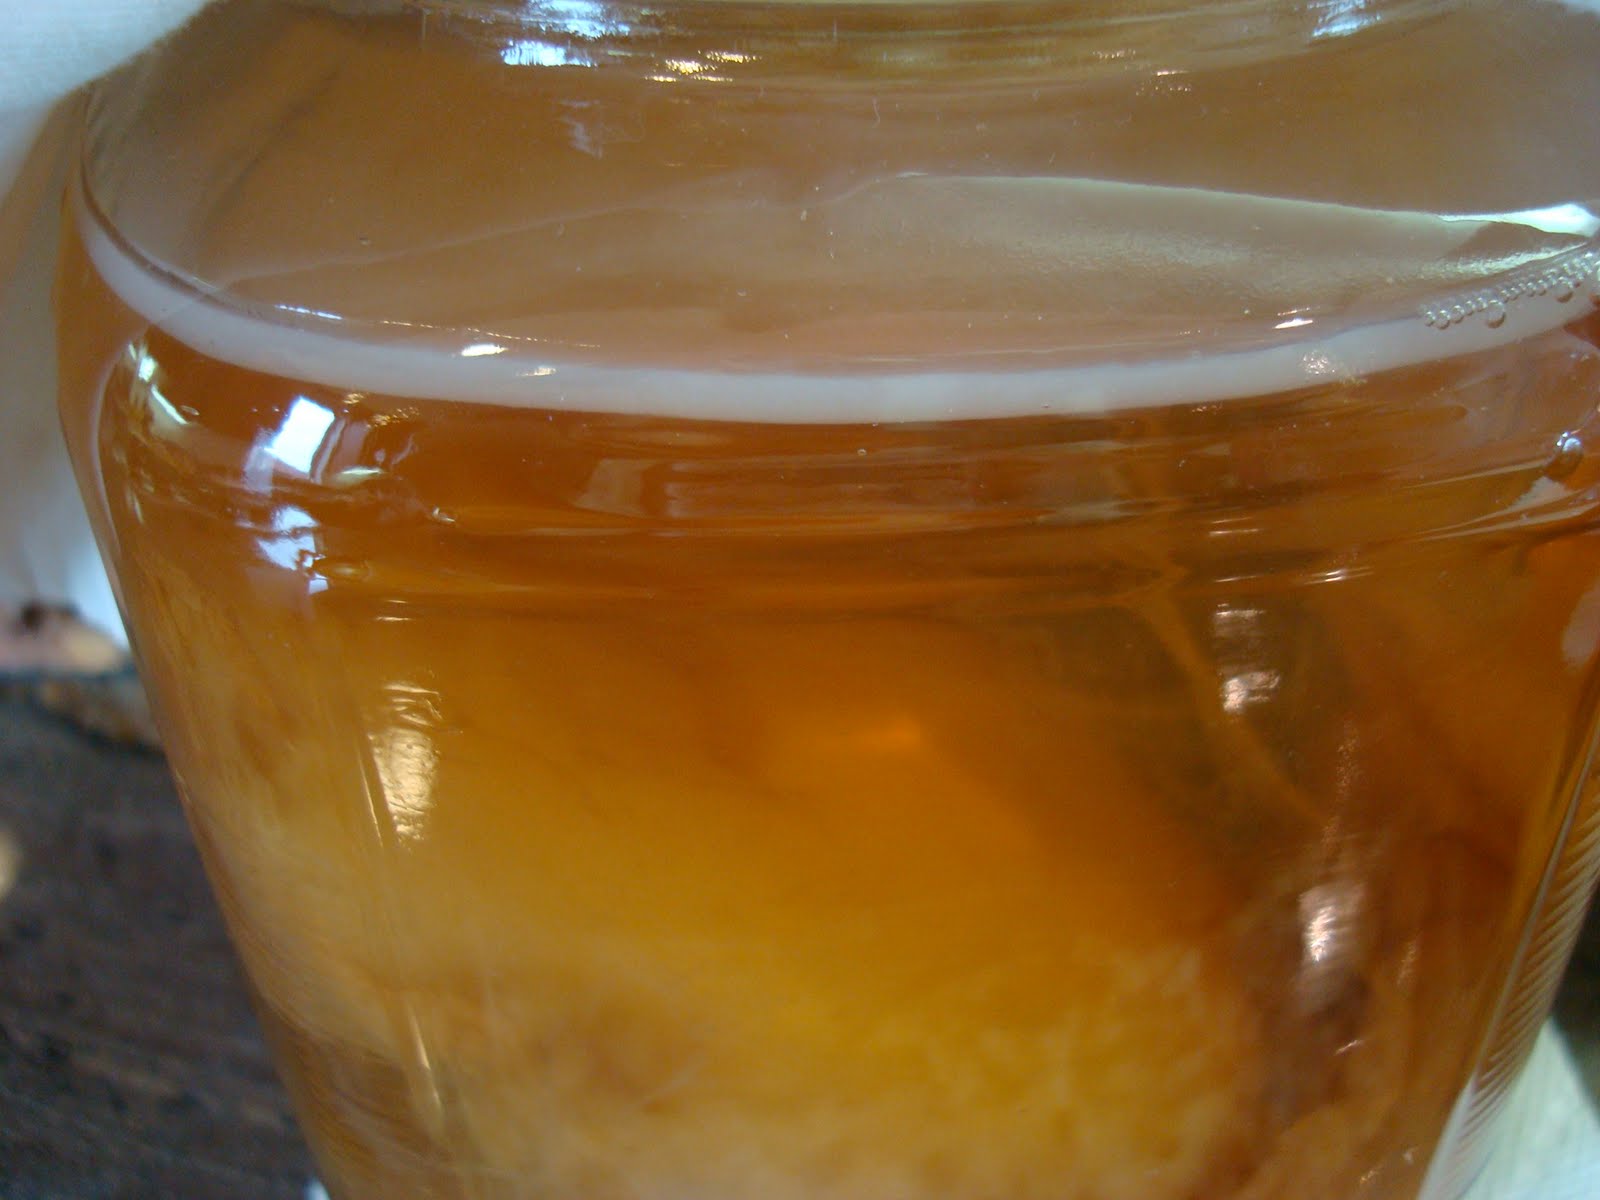
Add 1/2 or 1 gallon of Tea (that’s why the water is brown, it’s tea) + Sugar and Cover It

Homemade Kombucha ingredients in large glass jar covered with cloth

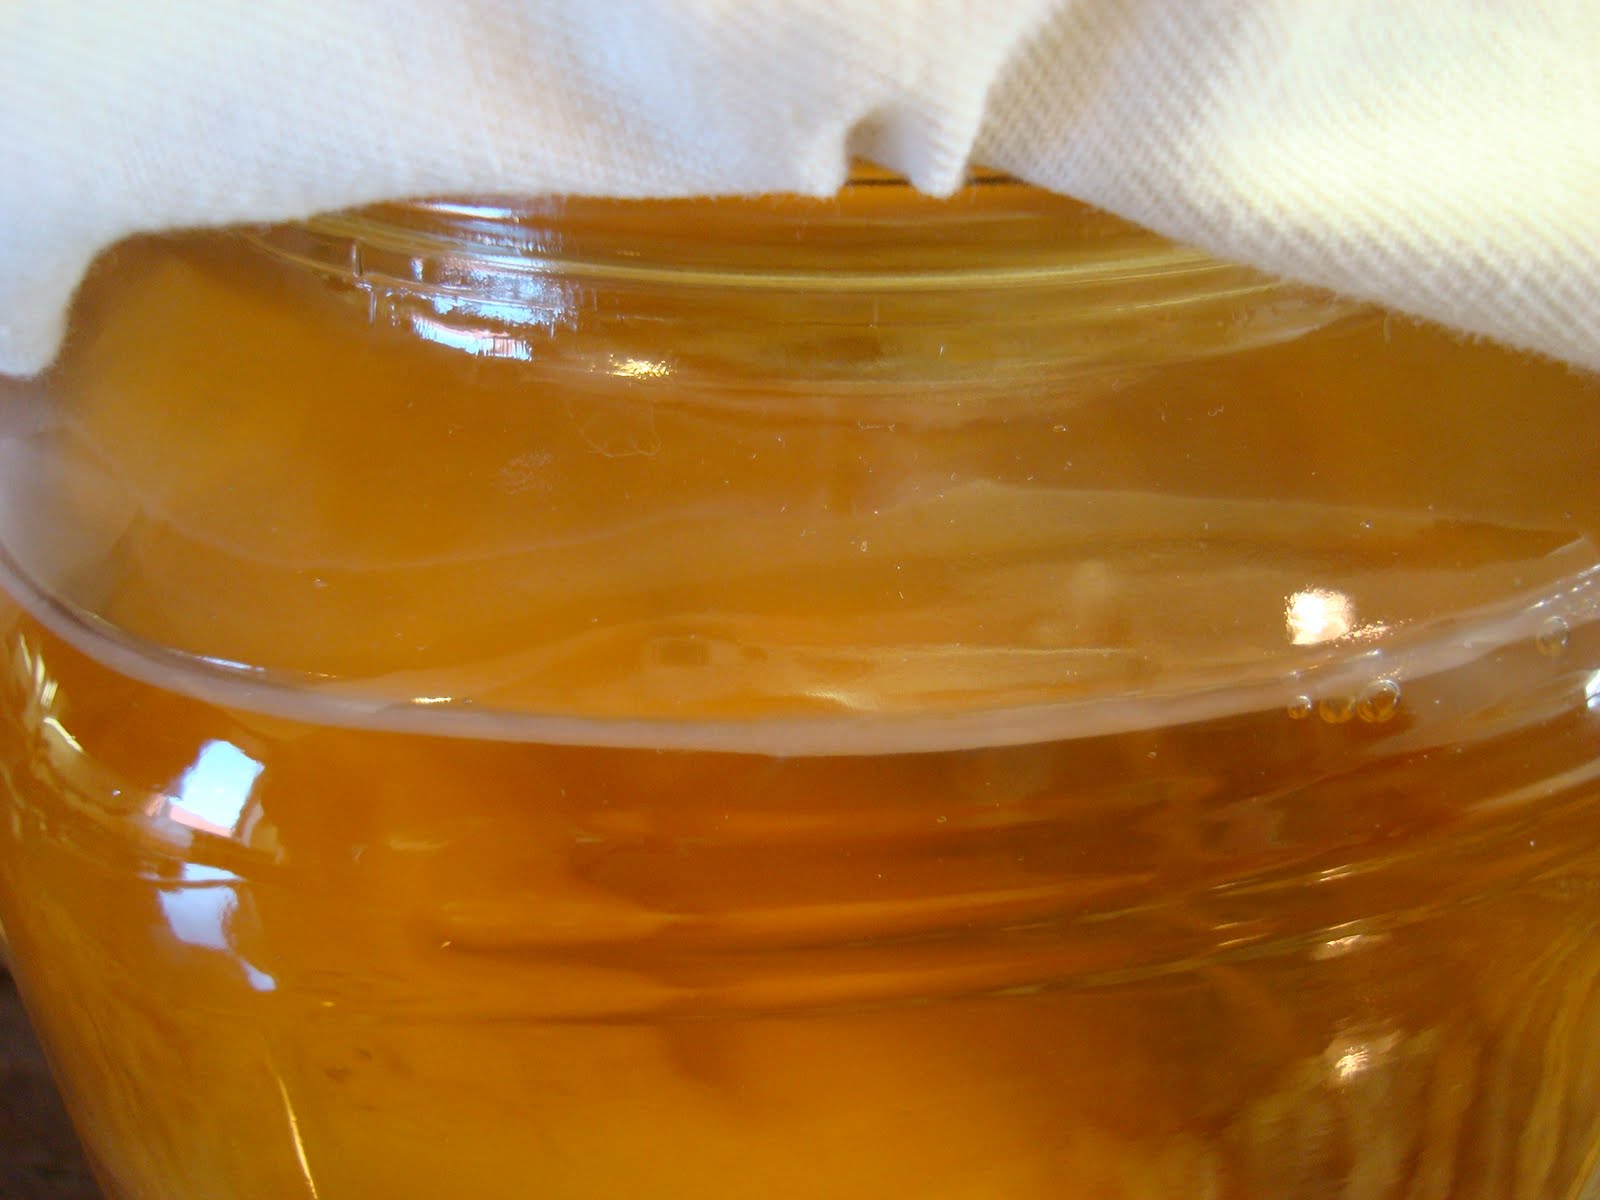
And 3 Days Later This Little “Skin” formed on the top layer of the tea water which is the New Baby that is growing from the Mother Scoby

Homemade Kombucha three days later with skin on top

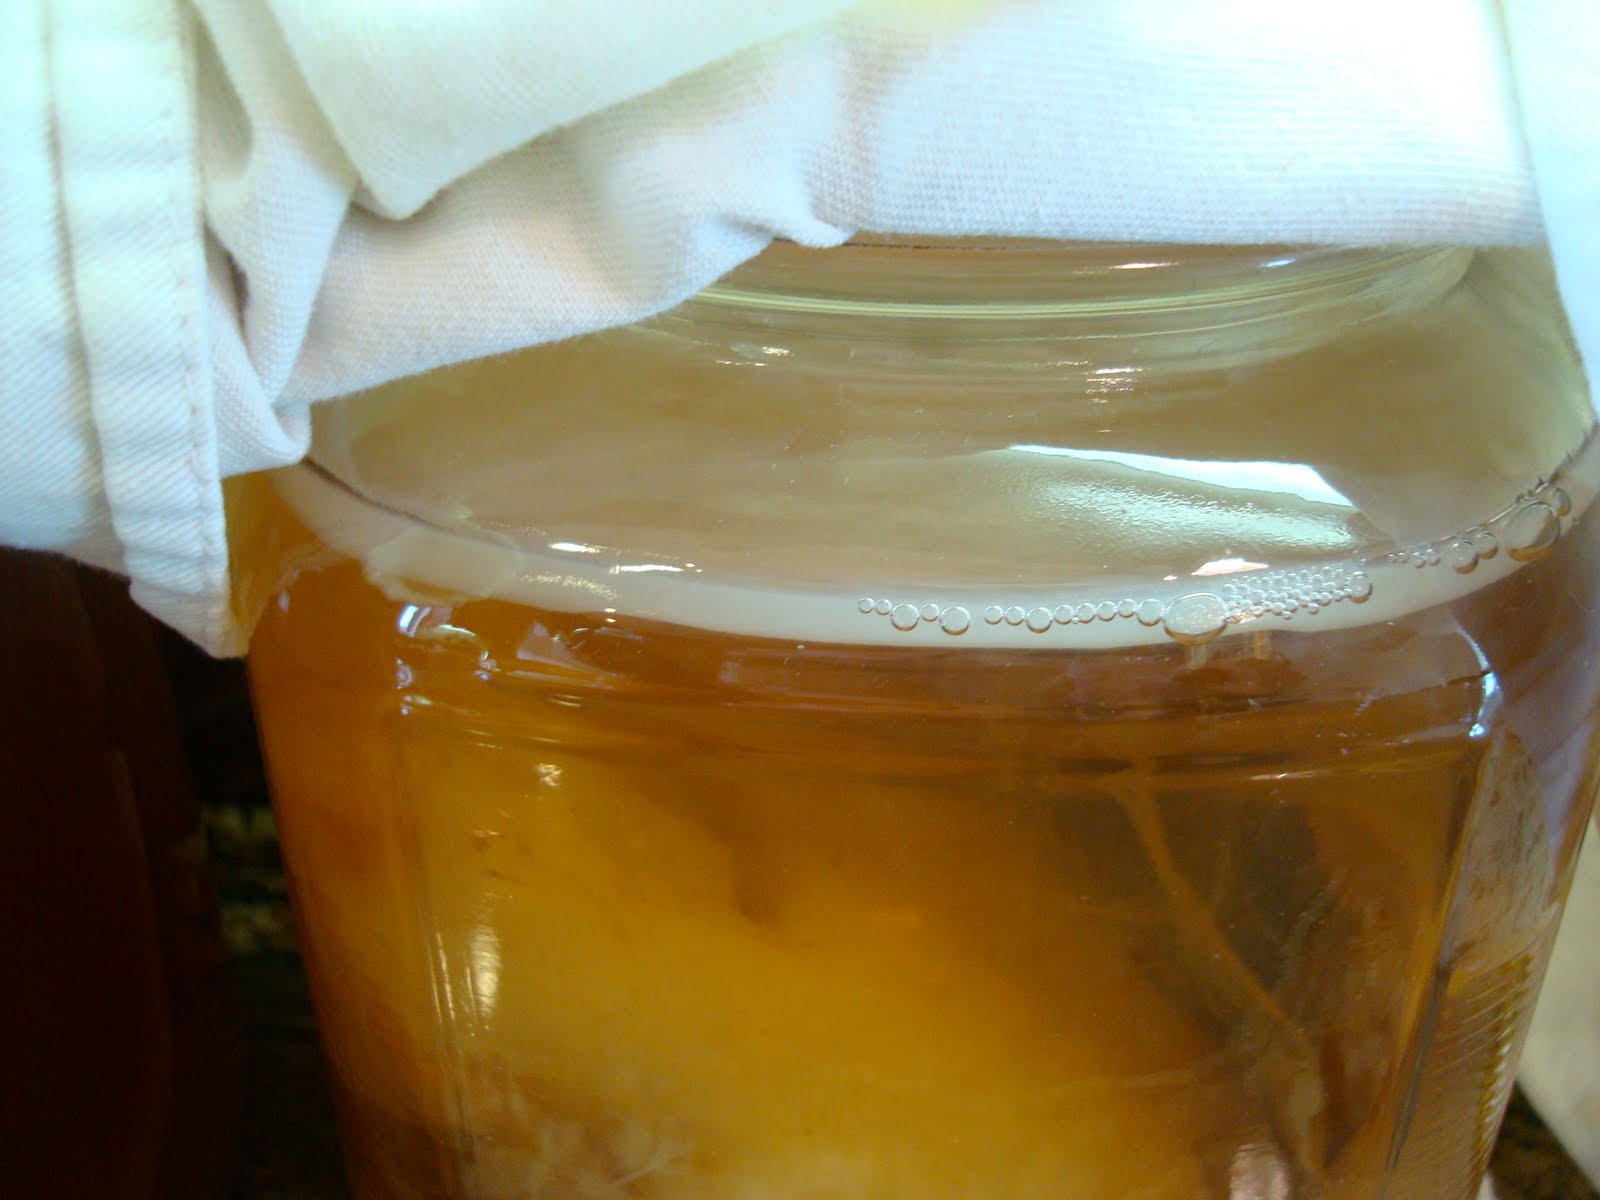
The Bubbles mean the Bacteria are Cultures are Alive and At Work!  Fermentation is fun!
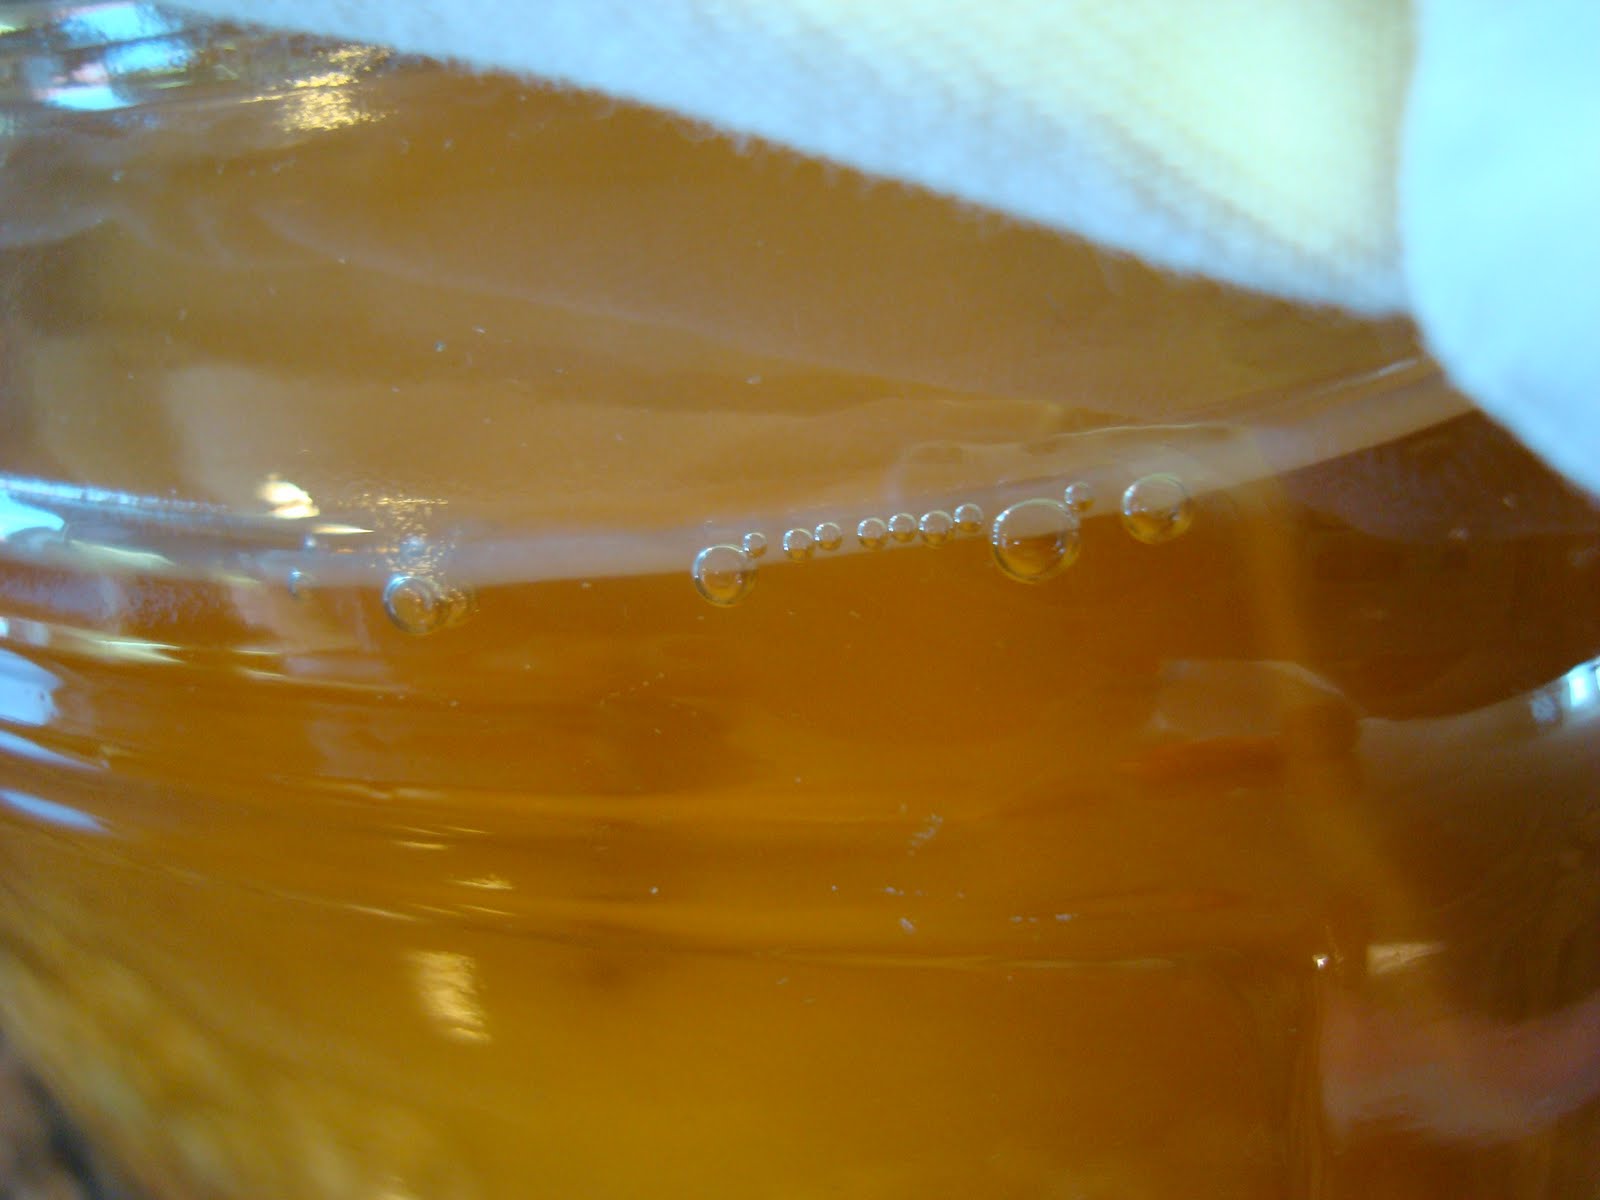
Homemade Kombucha in jar showing bubbles
This is early on Day 3.  In a week or so this thin skin will turn into a half inch thick Scoby Baby “patty”.  It will keep getting thicker over time.  I will post progress pics.
There was a little thickening of the new skin, i.e. new baby that’s forming late on Day 4
Skin getting thicker in jar of Kombucha
Close up of skin in jar

And this is Day 5

Day five of skin progress
  Yes, definitely getting thicker.   It’s working!

Skylar thinks that the Baby Scoby is somehow a real baby.  She looks at is and says, “Shhh, The Baby’s Sleeping”.

Little girl sitting at table eating snacks
Little girl using her finger to hush
Little girl hushing with her finger
“Don’t Wake the Baby Up, Mom.  Shhhh, Be Quiet!”

Ok, I’ll move on because I realize many of you probably don’t care about fermentation, but I think it’s fun!  And my gut health and overall health will thank me since I am loading it full of healthy bacteria.

Moving On…

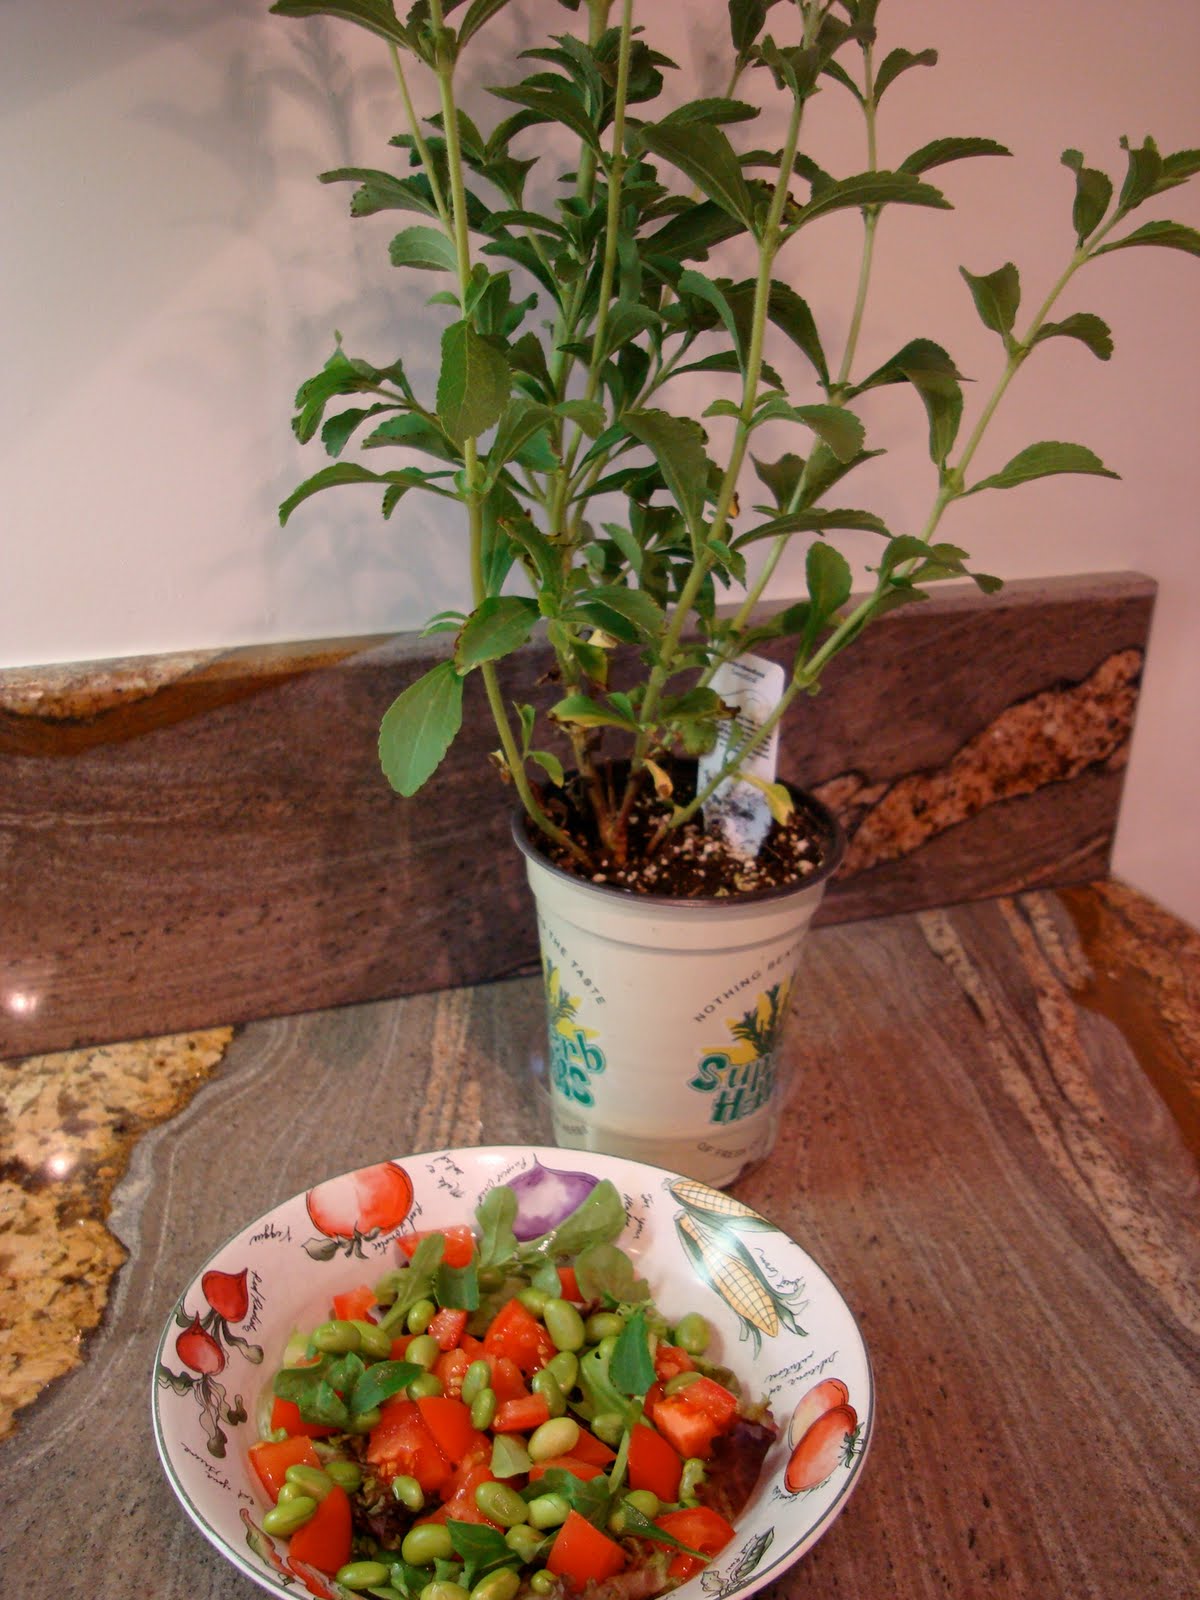
Green Food:  Edamame Salad with Stevia leaves from the Stevia Plant I bought last week

Edamame Salad and Stevia Plant
Close up of Edamame Salad with stevia leaves

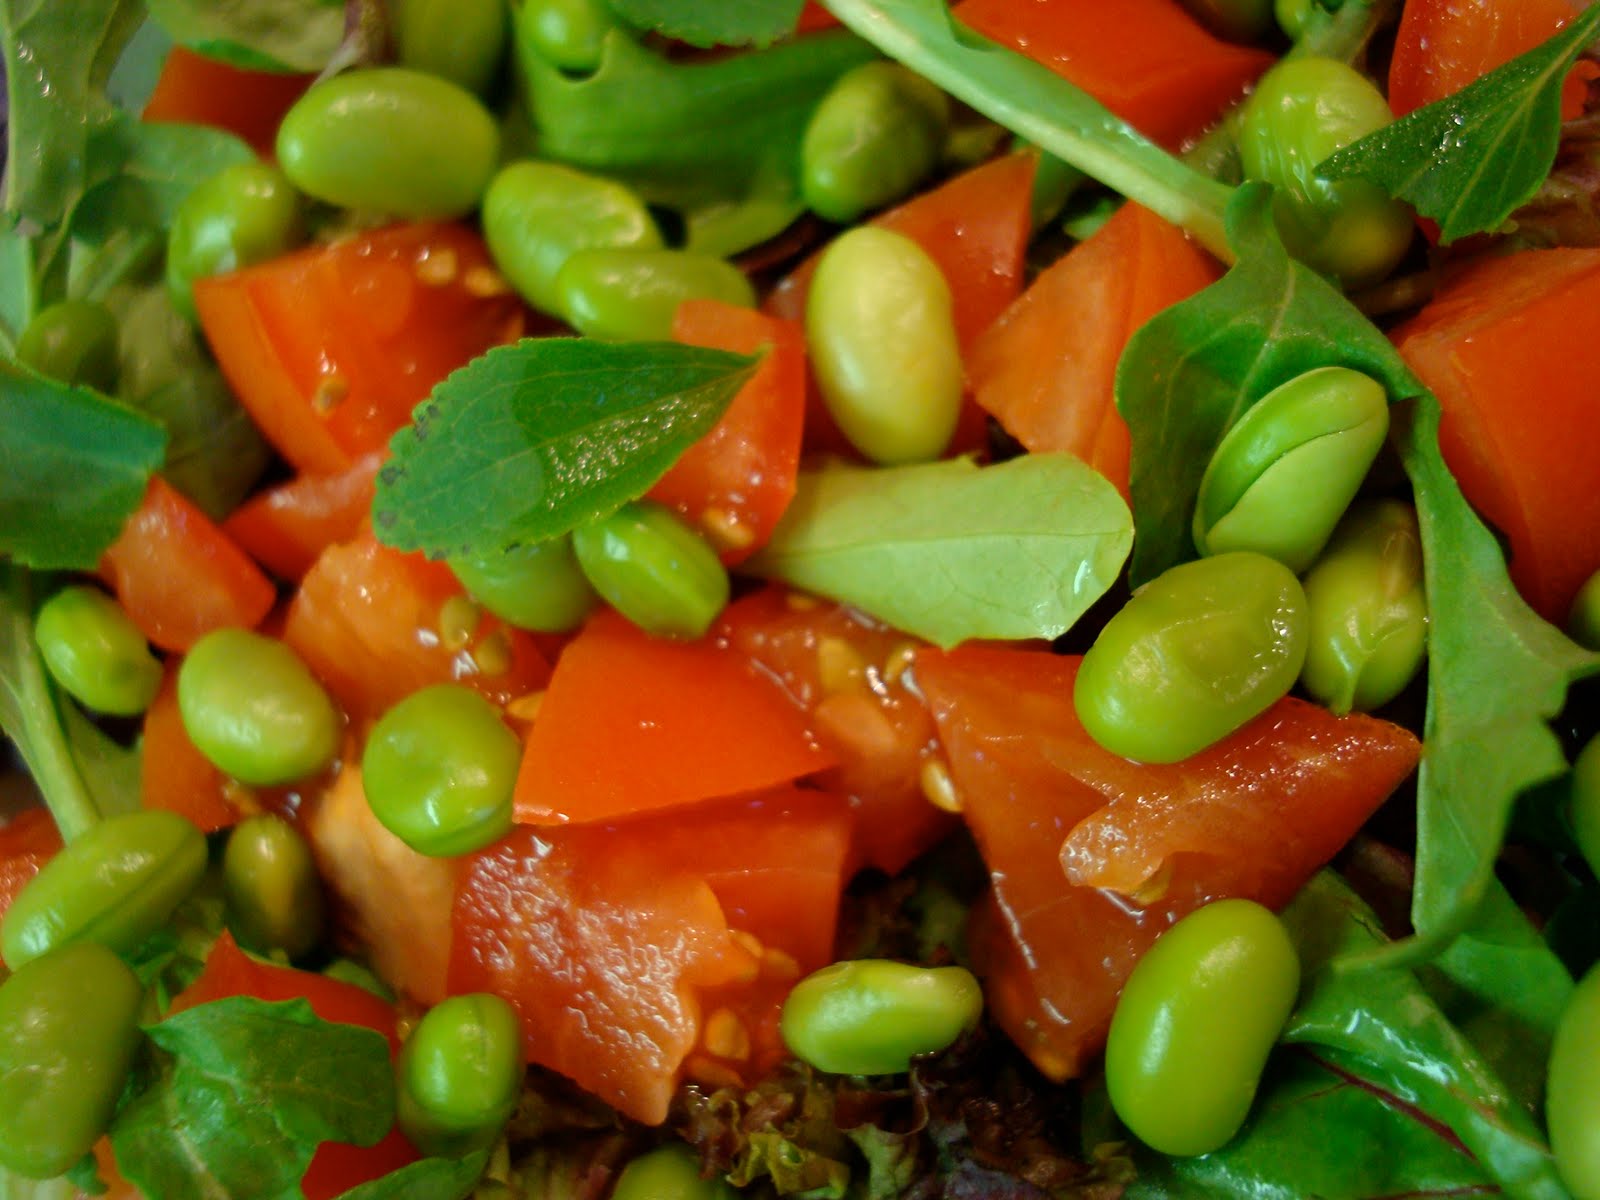
I have been on an Edamame Salad kick, daily, lately.  It’s my current food groove.  Groove, not a rut.

I used Greens and Tomatoes from the Farmer’s Market
Baby greens in bag
Vine ripened tomatoes
Dressed With Homemade Vegan Slaw Dressing using Reduced Fat Veganaise
Vegan Slaw Dressing next to ingredients
Close up of Edamame Salad with stevia leaves
 That center leaf is a Stevia Leaf.
My verdict on the Stevia Leaves in things is that with all the dressing I use and the flavors of the other veggies and greens, the stevia gets lost.

On it’s own, just chewing on a leaf, it’s definitely sweet but not in that shocking way that commercially ground white stevia powder is.  Think sweet like a piece of fruit, not sweet like, whoa blast your eyeballs out sweet, or anything.  And it’s a tiny little leaf.  You’d need about 500 leaves to get the flavor in one packet of stevia.  Just hazarding a wild guess, of course.

Verdict: Fun Plant, for me it was $2.99.  Buy one to have fun but not to replace your stevia powder.

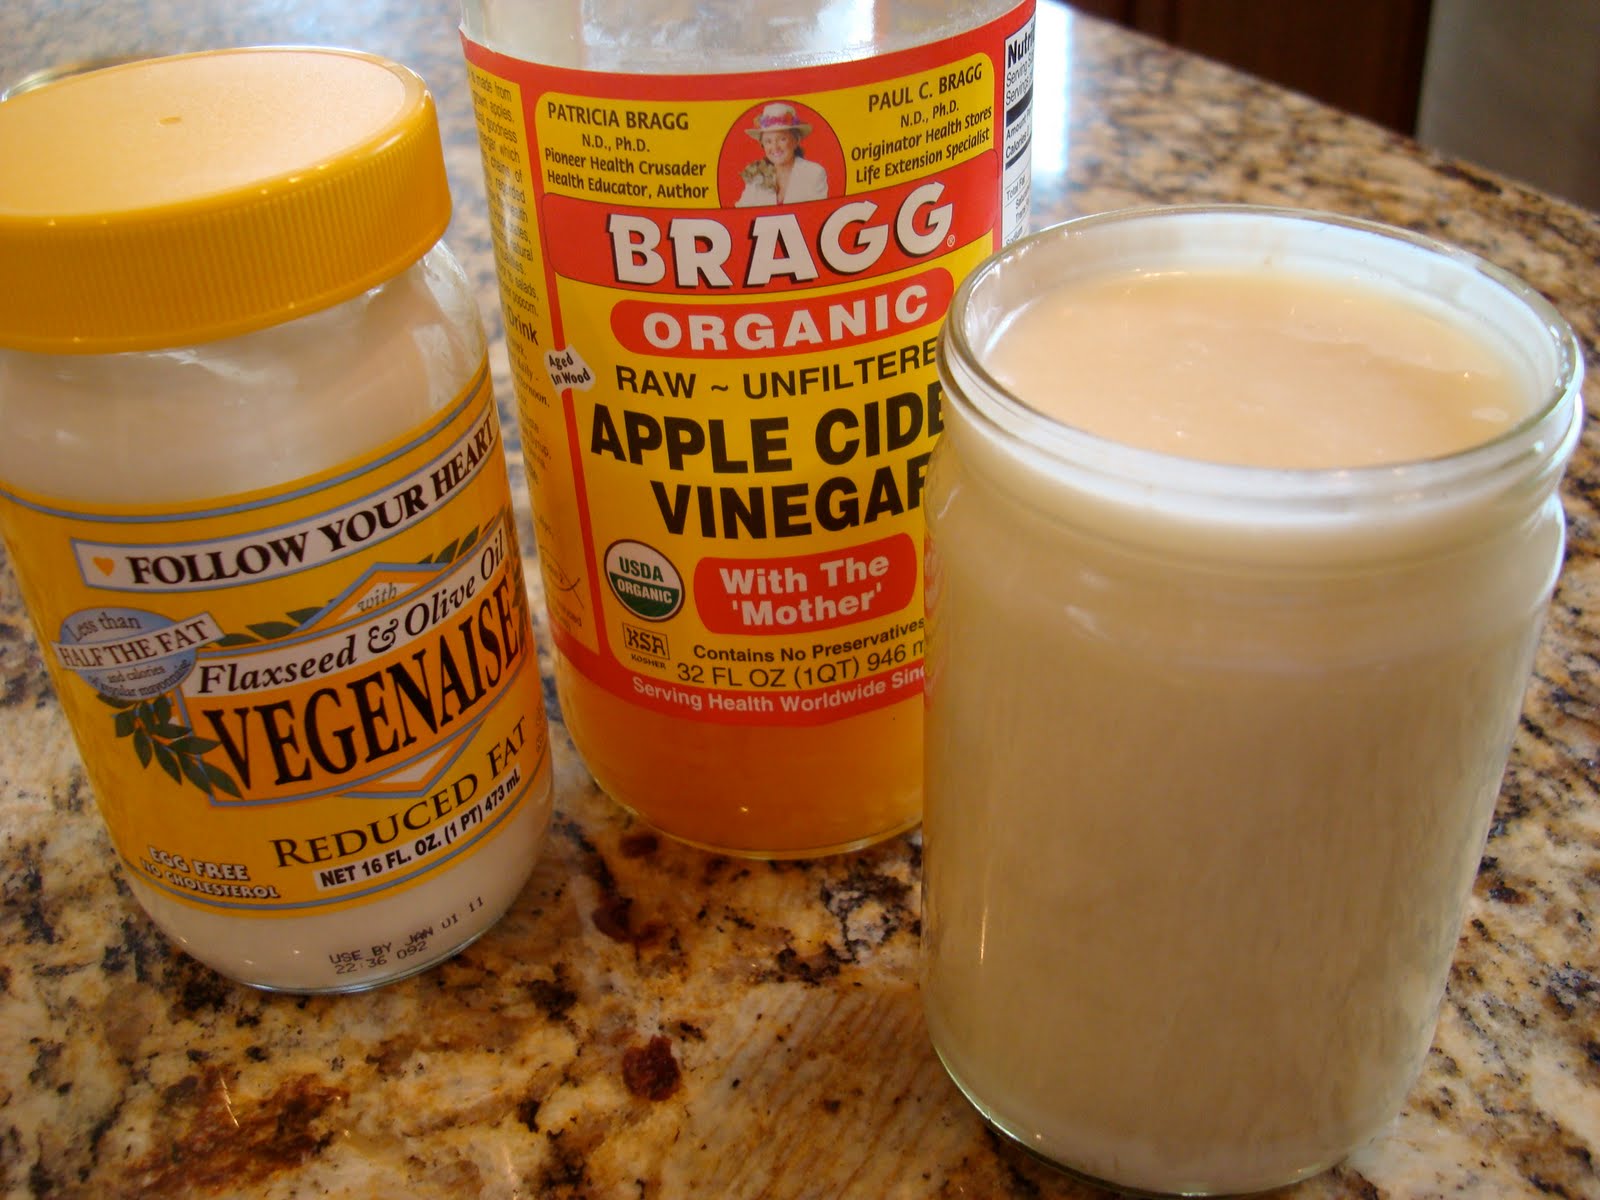
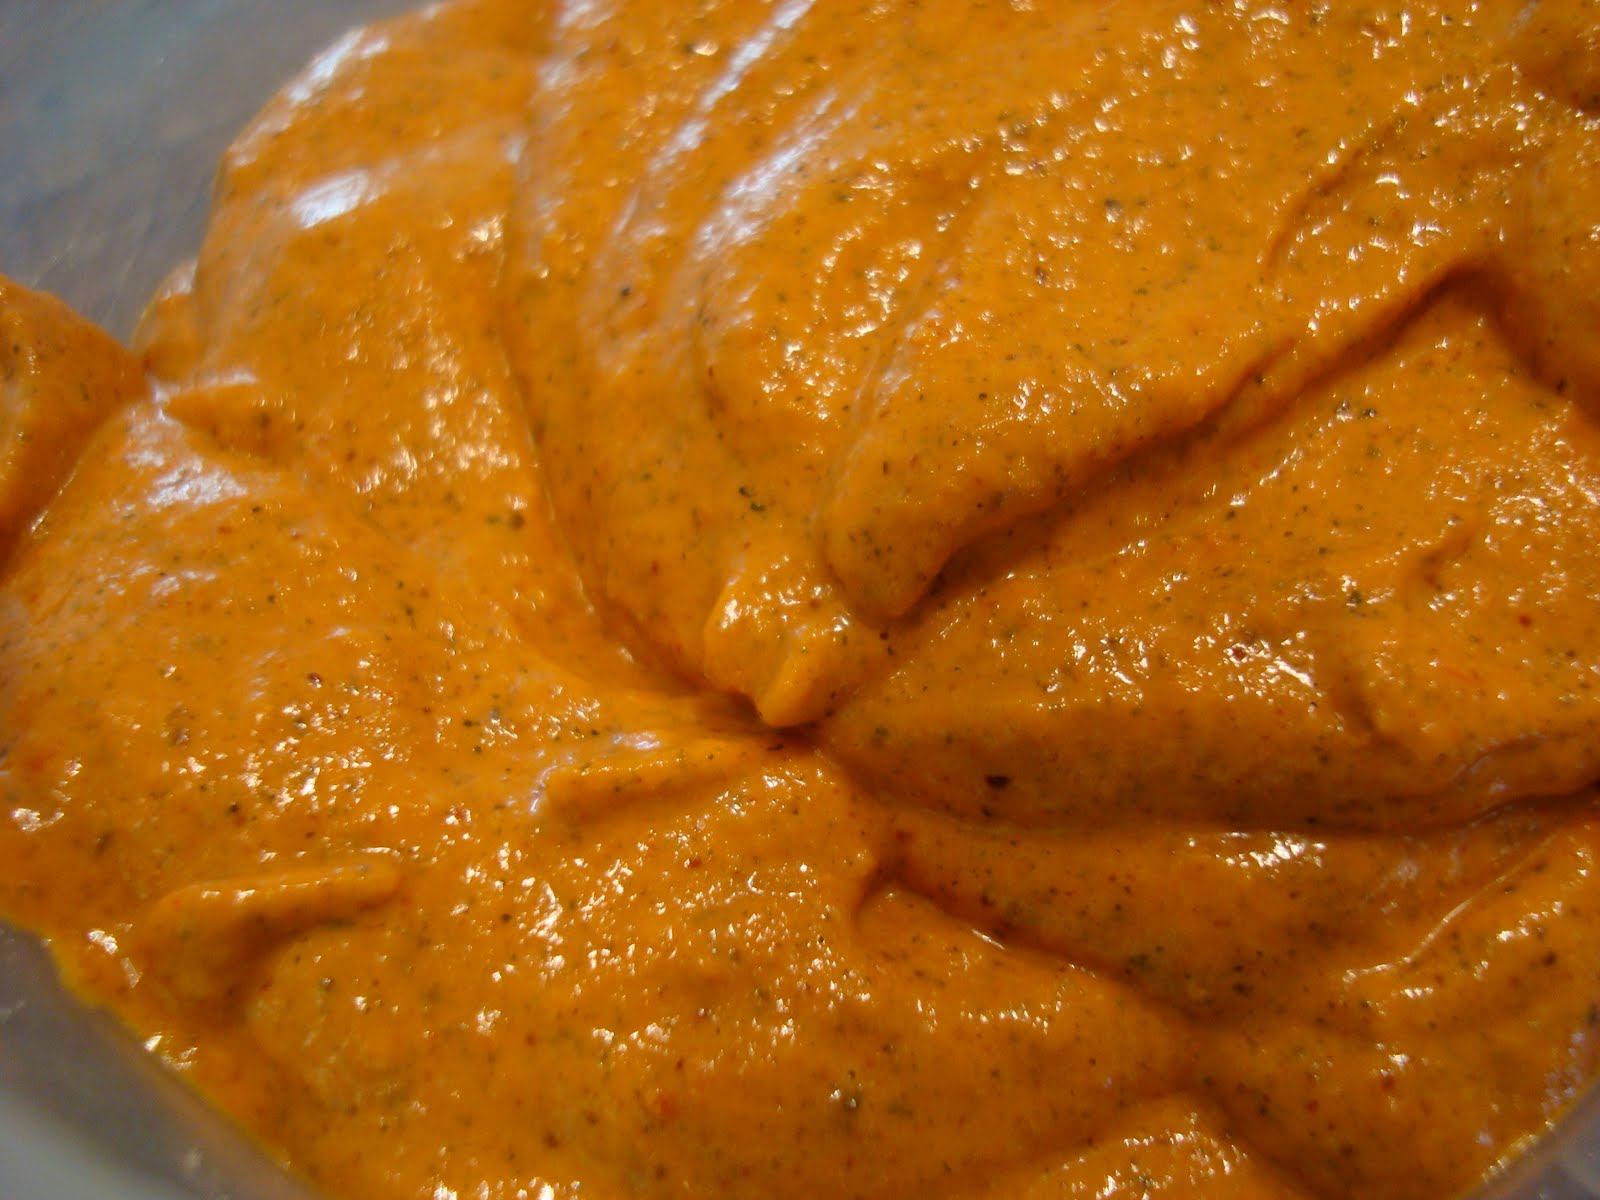
Also, I followed up with lots of veggies dipped in my latest creation: “Spicy Doritos” Cheezy Dip

"Spicy Doritos" Cheezy Dip in clear container
Close up of "Spicy Doritos" Cheezy Dip

Dessert:  Make some Raw Vegan Peanut Butter (or Sunflower Seed or Almond Butter) Vanilla Balls

Raw Vegan Peanut Butter Vanilla Balls in container
Close up of Raw Vegan Peanut Butter Vanilla Balls
 
Have you ever tried kombucha?


About the Author

Welcome to AverieCooks! Here you’ll find fast and easy recipes that taste amazing and are geared for real life. Nothing fussy or complicated, just awesome tasting dishes everyone loves!

Get the latest recipes via email!

Leave a Comment

Please note: I have only made the recipe as written, and cannot give advice or predict what will happen if you change something. If you have a question regarding changing, altering, or making substitutions to the recipe, please check out the FAQ page for more info.

Comments