
Cast Iron Pork Chops
🙌🏻🥘 What to make when you want JUICY pork chops that are ready in 20 minutes and full of flavor! It's all about the technique rather than fancy ingredients. This pork chop recipe only uses a handful of basic ingredients so it's a perfect, no-fuss, busy weeknight dinner recipe!
Servings: 4
Calories: 374cal
Equipment
- large skillet (stainless is an alternate option if you don't have cast iron, nonstick is not recommended)
Ingredients
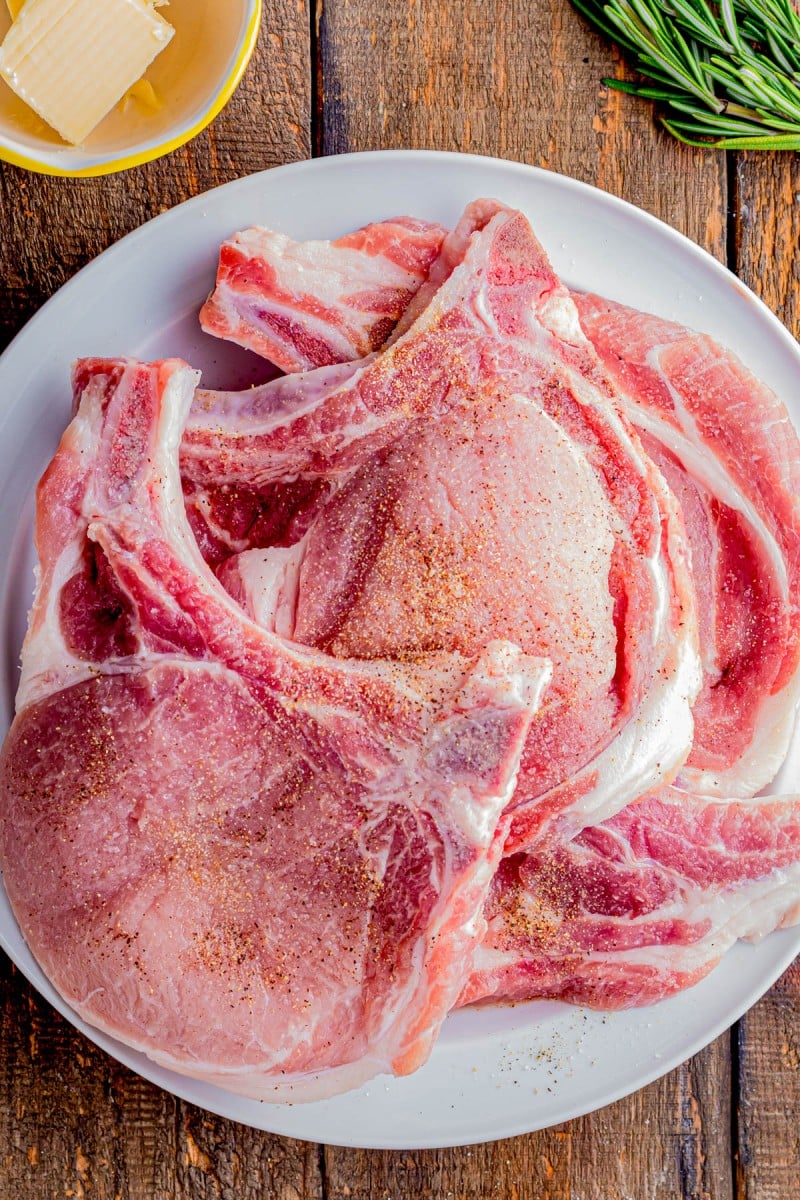
- 4 bone-in pork chops use 4 pork chops that are about 8 ounces each and about 3/4-inch thick (I used bone-in, boneless chops also work; take pork out of fridge 20-30 minutes so its at room temp before beginning)
- 1-2 teaspoons kosher salt or to taste (be generous)
- 1 teaspoon freshly ground black pepper or to taste (be generous)
- ½ to 1 teaspoon garlic powder or to taste (1-2 whole cloves fresh garlic may be substituted, sauté with the herbs at the end)
- 1 tablespoon avocado oil olive oil may be substituted
- 2 tablespoons unsalted butter room temperature
- 2-3 sprigs fresh rosemary (fresh thyme may be substituted if necessary but rosemary is more fragrant; 1/2 teaspoon dried herbs may be substituted but fresh strongly recommended)
- fresh parsley optional for garnishing
Instructions
- Using paper towels, pat dry the pork chops on both sides. Blotting the surface moisture will help the chops sear and form a nice crust, rather than steam. Tip - Starting with room temperature pork chops (or at least not fridge-cold) will yield a better result that cooks both more rapidly and more evenly.
- Evenly and generously season with salt. Evenly season with pepper and garlic powder. Tip - The salt adds flavor and helps a crust to form so don't be stingy!
- Add the oil to the cast iron skillet and heat over medium-high heat for about 1 minute, or until the oil is shimmering.
- Add the seasoned pork chops to the skillet, and cook for about 2 to 2 1/2 minutes on the first side. Tip - Once you place them in the skillet, leave them alone so that a nice crust can form.
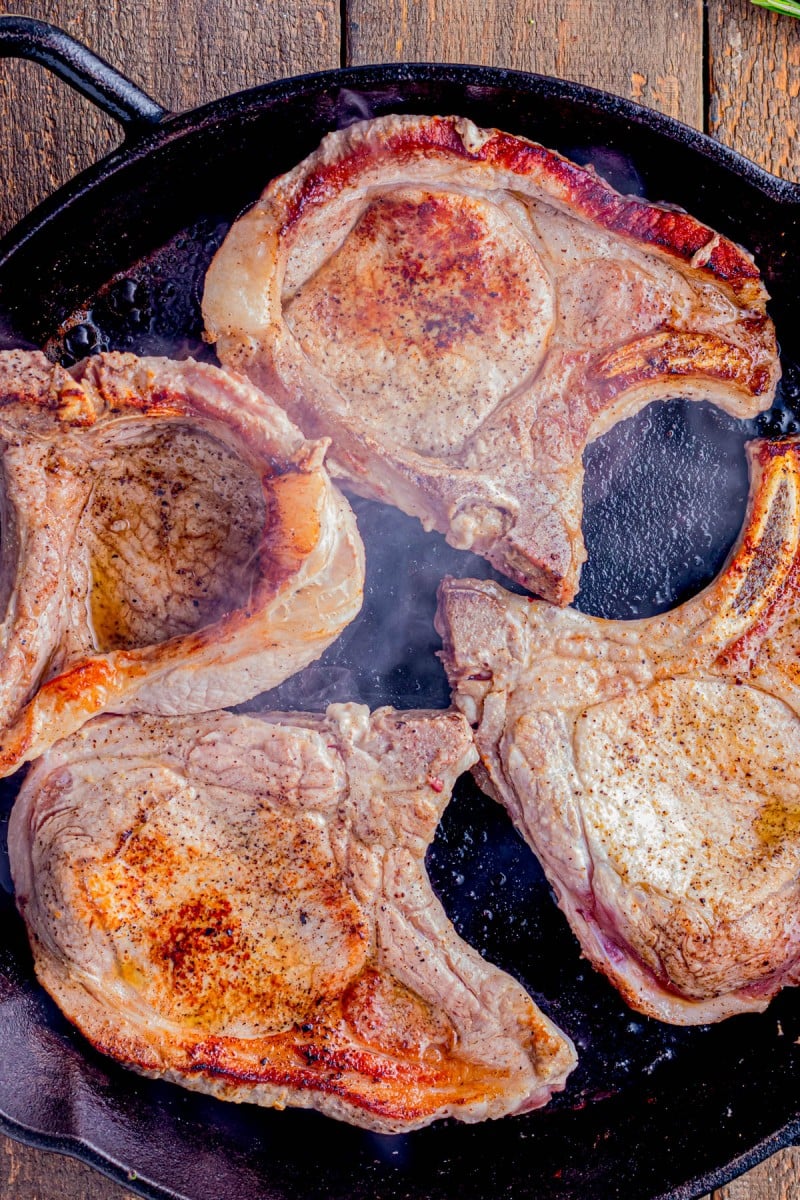
- Flip and cook on the second side for about 2 minutes, or until the pork has reached 145F in the thickest part, as measured by a thermometer. Cooking Tips - Do NOT guess when they're done, take the temperature so they're safe to eat but also not dried out. If your pork chops are 1-inch thick or thicker, they'll need more time on each side, 3-4 minutes, but it depends so always take the temperature.
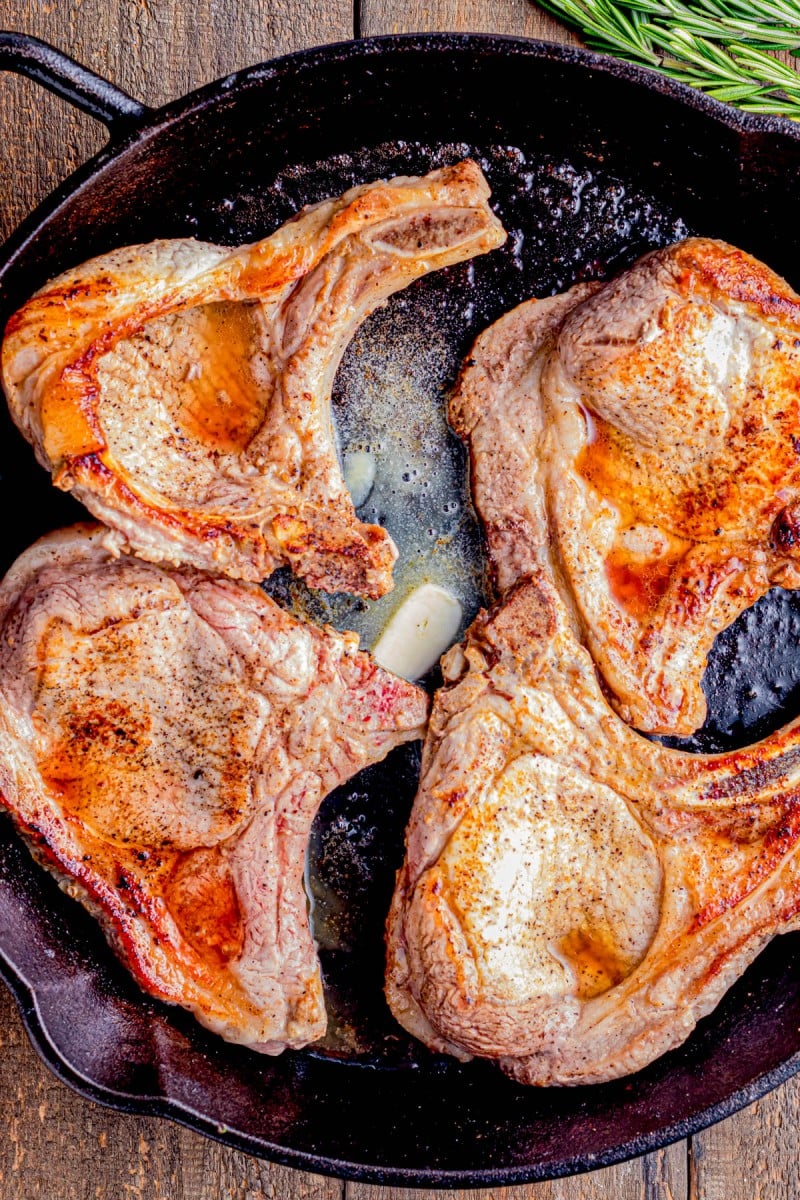
- Lower the heat to medium-low or low, add the butter, and swirl the pan nearly continuously or move the butter around with a spoon so the butter melts evenly and doesn't burn.
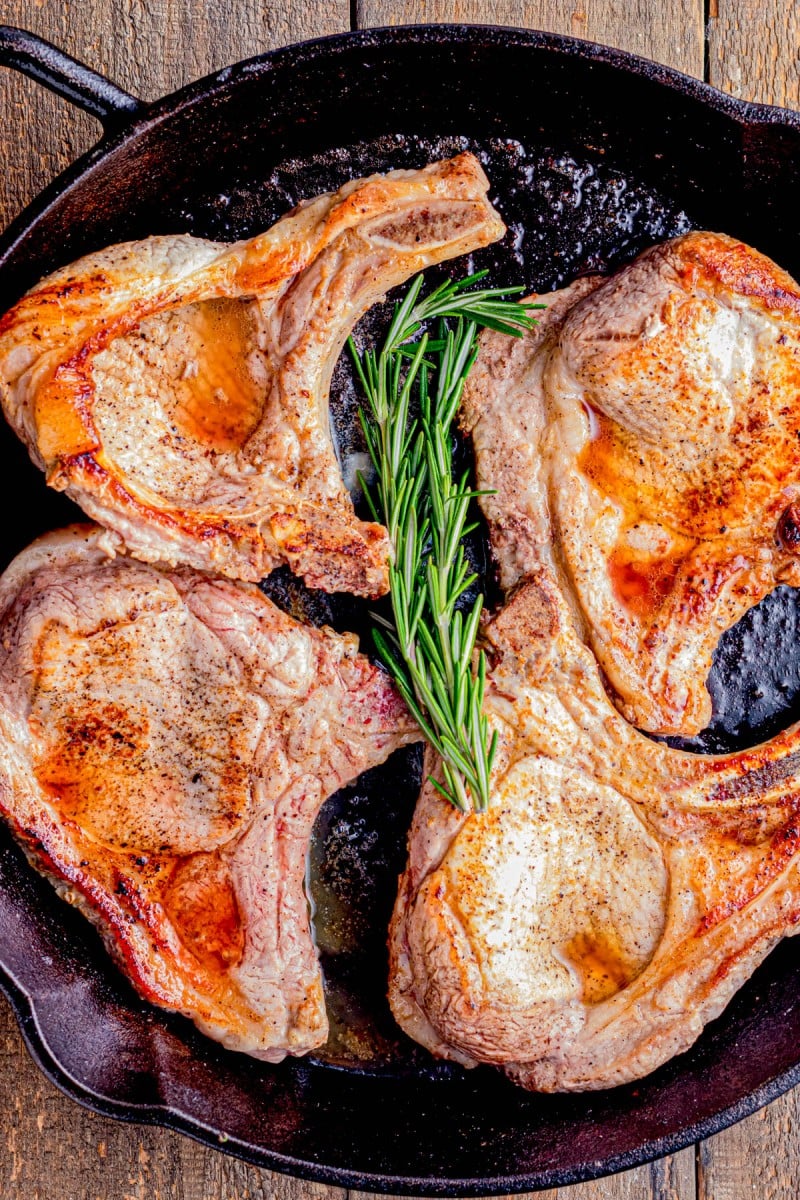
- Add the fresh rosemary sprigs or thyme sprigs (or dried herbs) to the melted butter.
- Use a small spoon to spoon and baste the chops with melted butter. Spoon, repeat, spoon, repeat. Do it evenly over all the pork chops for 1-2 minutes.
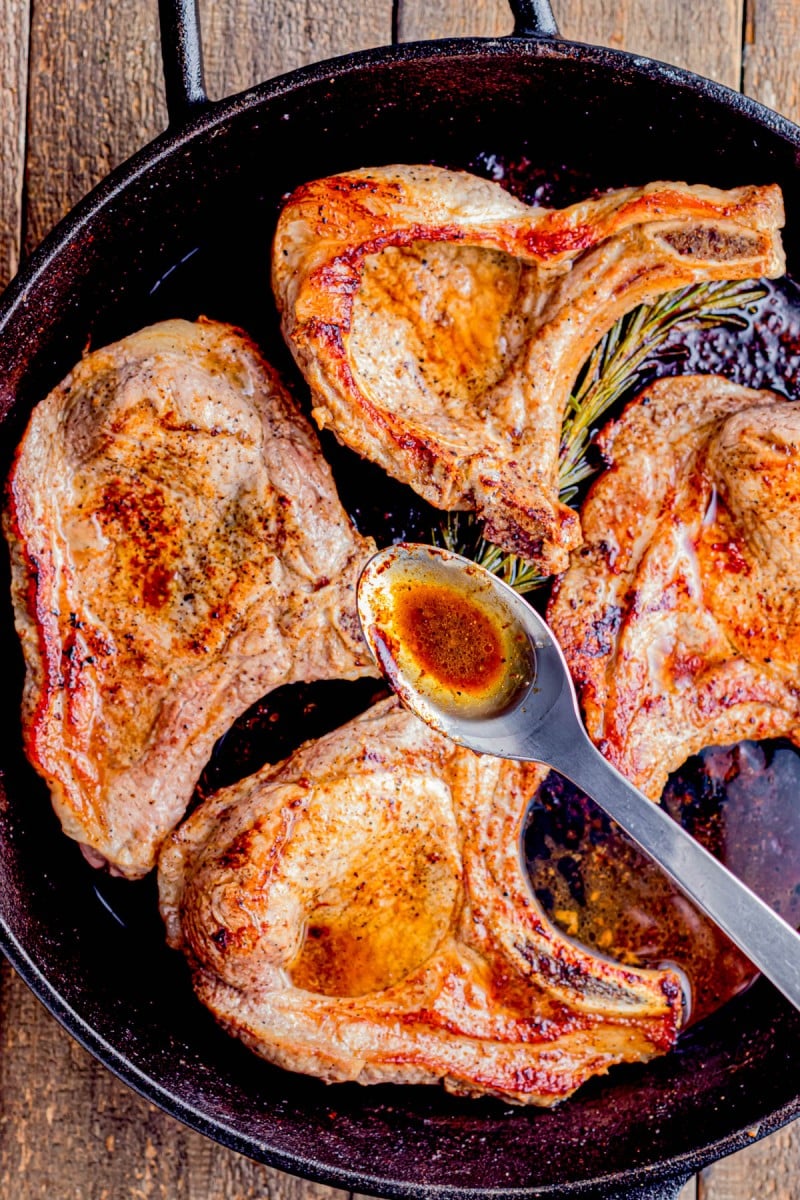
- Remove the pork chops, place them on a platter to rest, and allow them to rest for 5 minutes before serving. Resting Tip - Don't skip resting because it gives the natural juices time to redistribute so that when you slice into the pork, that the juices don't run out.
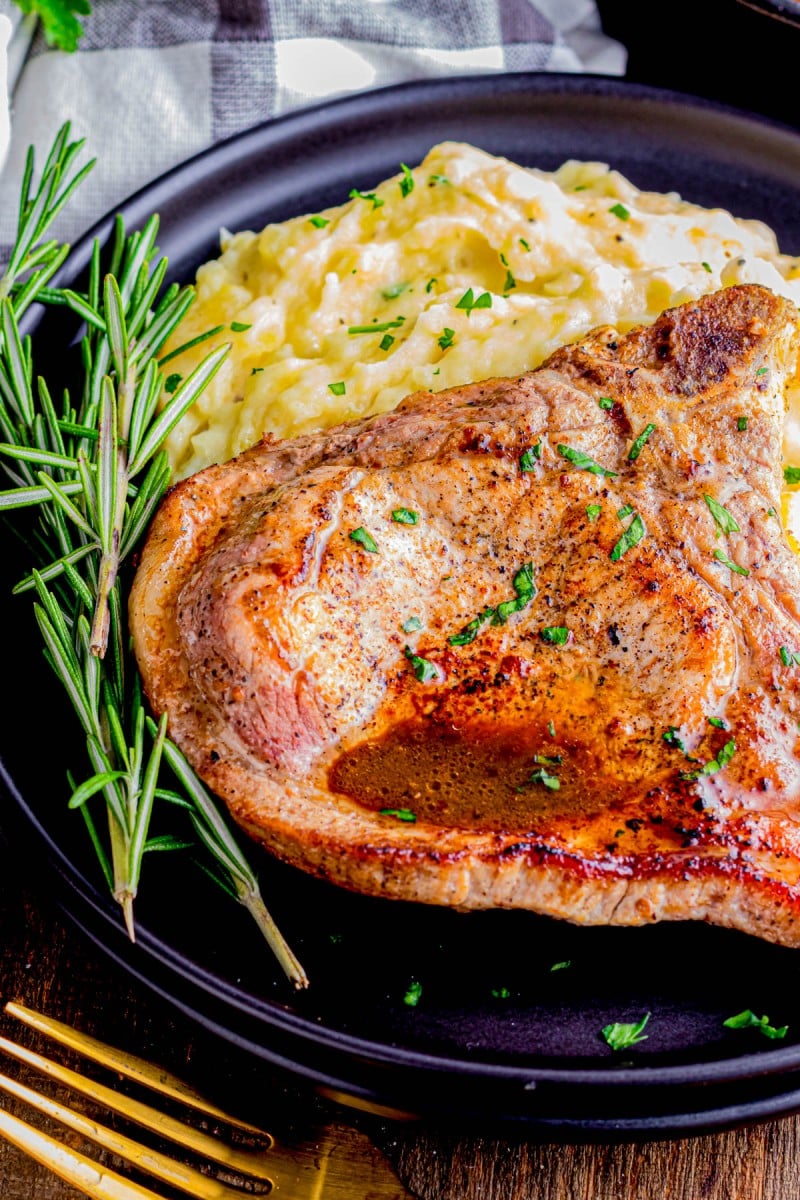
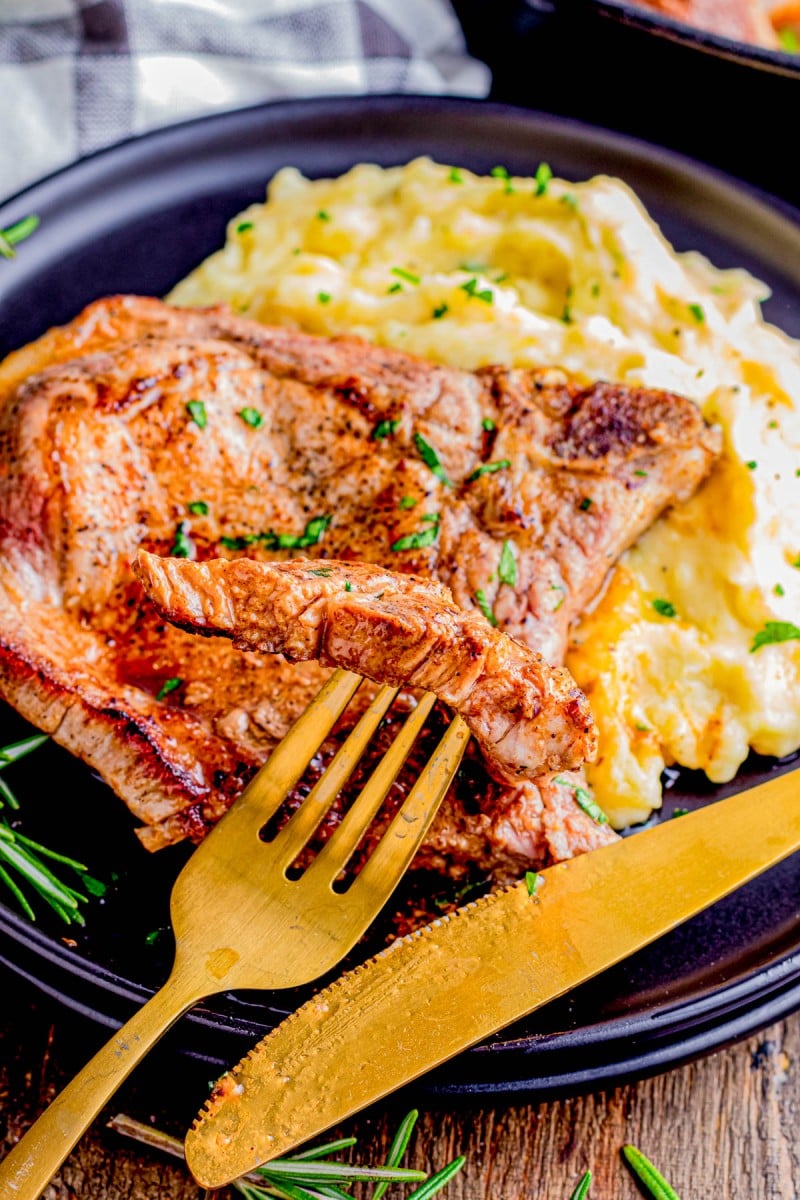
- Serve by drizzling the pan drippings and melted butter over the chops. Optionally garnish with extra rosemary, thyme, or fresh parsley and serve.
Notes
Storage: Extra pork chops will keep airtight in the fridge for 3-4 days or in the freezer for up to 2 months. Reheat gently in the microwave as desired.
Nutrition
Serving: 1serving | Calories: 374cal | Carbohydrates: 1g | Protein: 35g | Fat: 25g | Saturated Fat: 9g | Polyunsaturated Fat: 3g | Monounsaturated Fat: 10g | Trans Fat: 0.4g | Cholesterol: 132mg | Sodium: 676mg | Potassium: 606mg | Fiber: 0.4g | Sugar: 0.02g | Vitamin A: 206IU | Vitamin C: 0.1mg | Calcium: 41mg | Iron: 1mg
