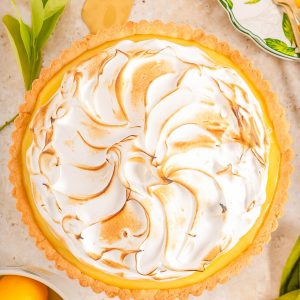
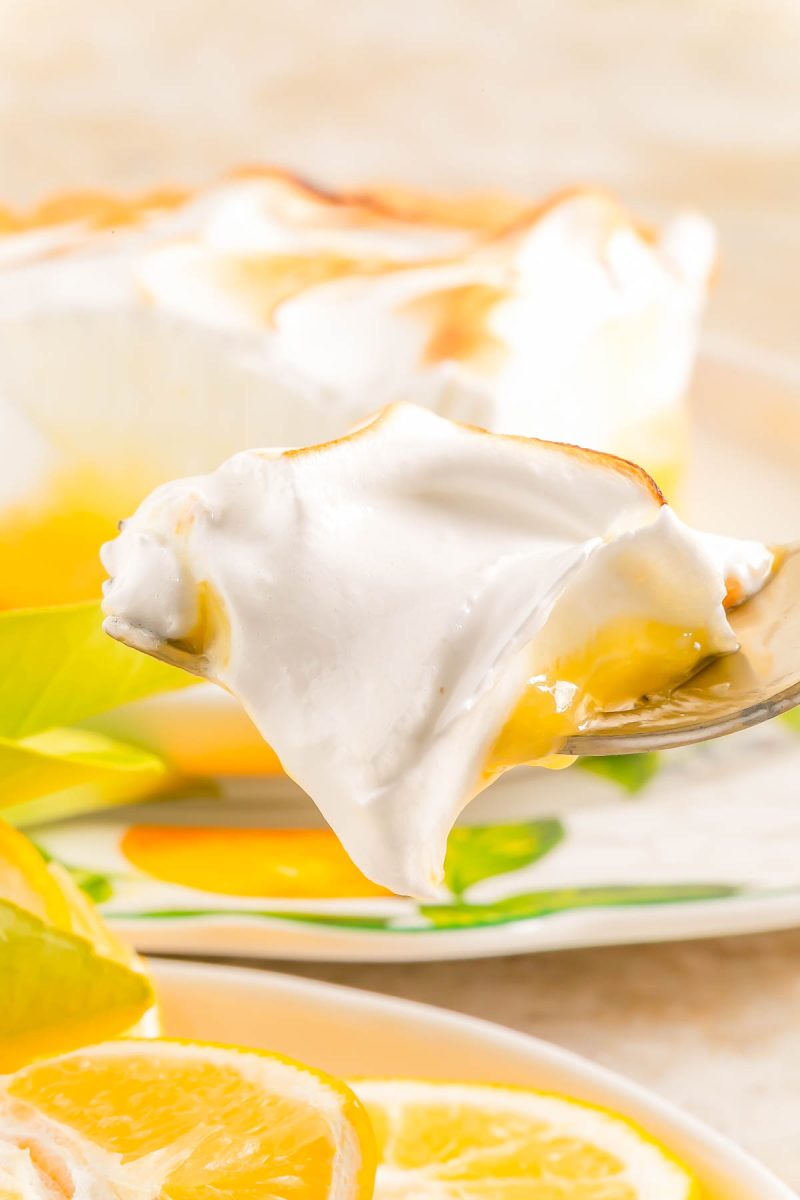
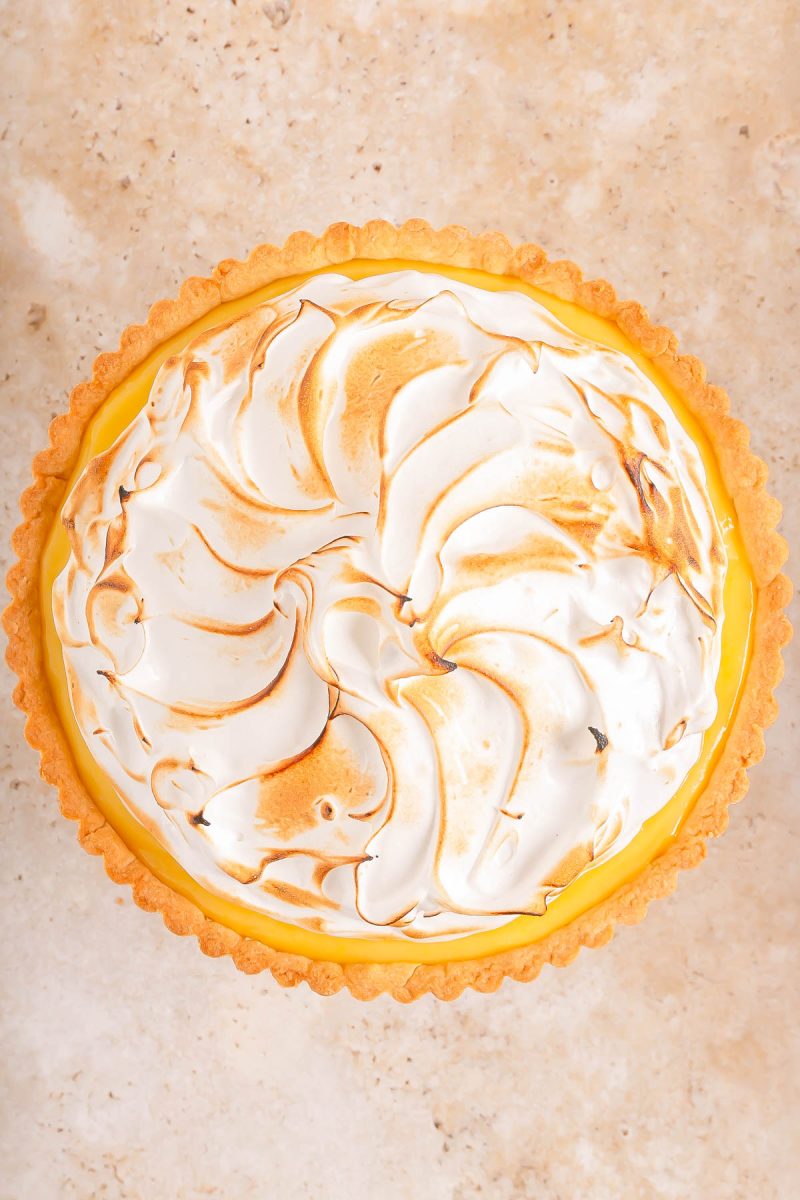
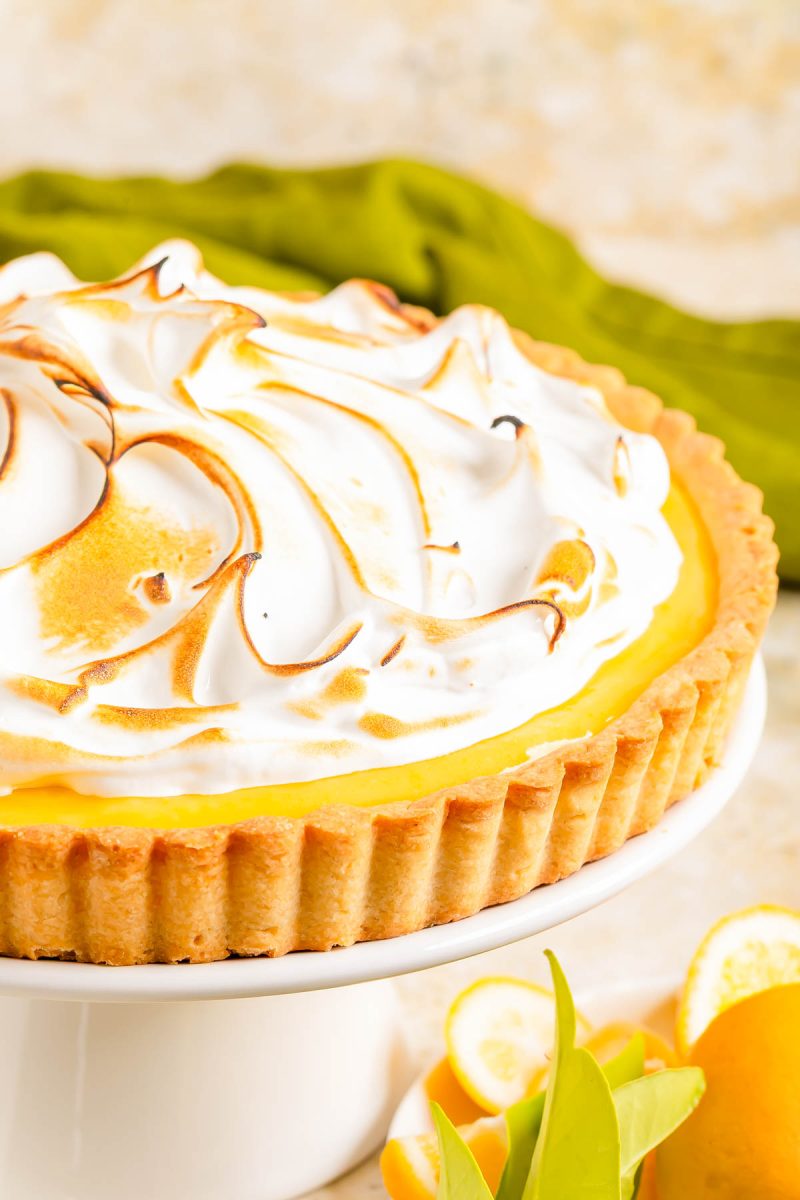
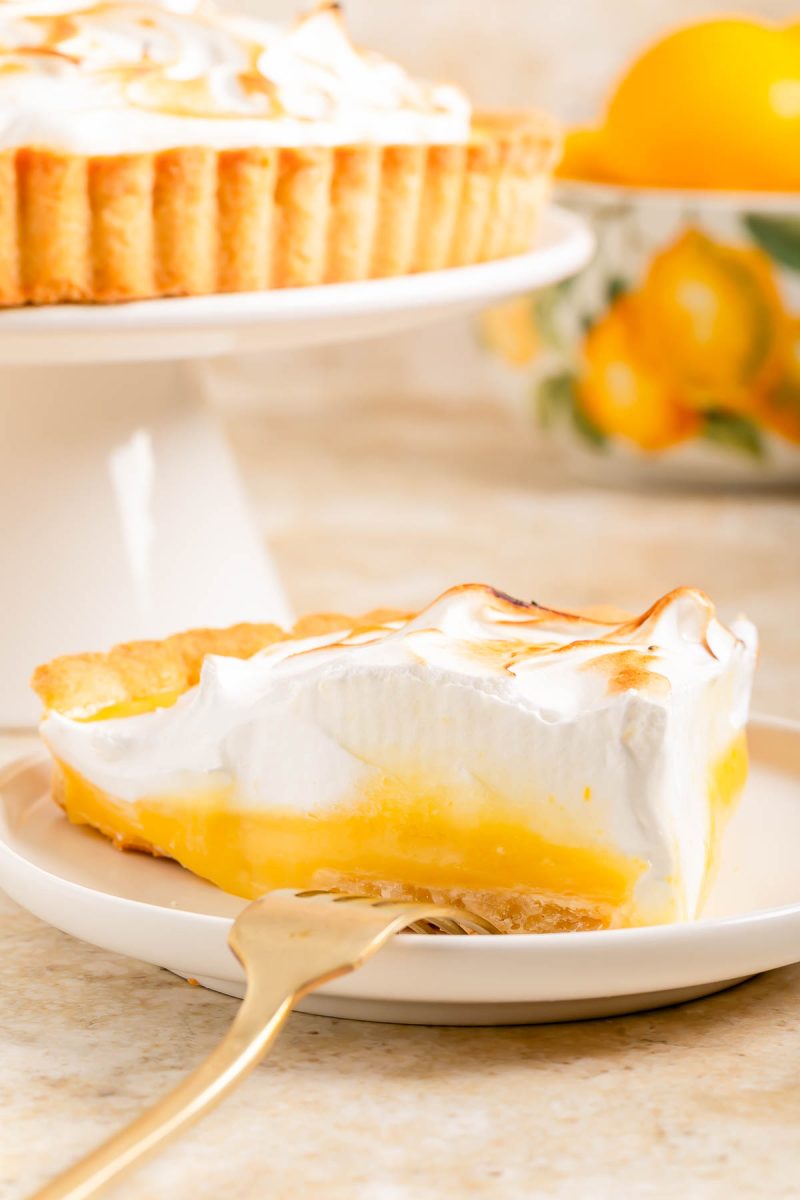
Lemon Meringue Tart
🍋💛 Homemade lemon meringue tart with rich lemon flavor is absolutely divine! The crust is buttery and flaky, the lemon curd filling perfectly tart yet sweet. And the homemade meringue that tastes as beautiful as it looks! This show-stopping dessert will turn heads at any special celebration or event!Make sure to read the recipe thoroughly before beginning so you know where you're going with things and know what's next. Read the Tips in the blog post and Instructions section below, and heed them. Don't make ingredients substitutions. Finally, having the right tools for the job makes this dessert a lot easier!
Servings: 8
Calories: 539cal
Equipment
- Stand Mixer OR
- pie weights (dried beans may be substituted)
Ingredients
Crust
- 1½ cups all-purpose flour (192g)
- 9 tablespoons unsalted butter, COLD and cubed (138g)
- ⅓ cup confectioners' sugar (40g)
- pinch salt
- 1 large egg yolk
- 1-2 tablespoons cold water (start with 1 tablespoon and add more as needed)
Lemon Filling
- 4 large eggs plus 2 egg yolks (SAVE the 2 extra egg whites for the meringue; place them in a small bowl in the fridge)
- 1 ¼ cups granulated sugar (240g)
- 1 tablespoon lemon zest
- ¾ cup fresh lemon juice, from about 5-6 lemons (192ml)
- 1 tablespoon cornstarch
- 2 tablespoons cold water
- 8 tablespoons unsalted butter, cubed at room temperature (113g)
Meringue
- 2 large egg whites, at room temperature (saved from the Filling above), take out of fridge and allow them to come to room temperature (66g)
- ¼ teaspoon cream of tartar
- ¼ teaspoon salt
- ¼ cup water (3.5 ounces)
- ½ cup granulated sugar (100g)
Instructions
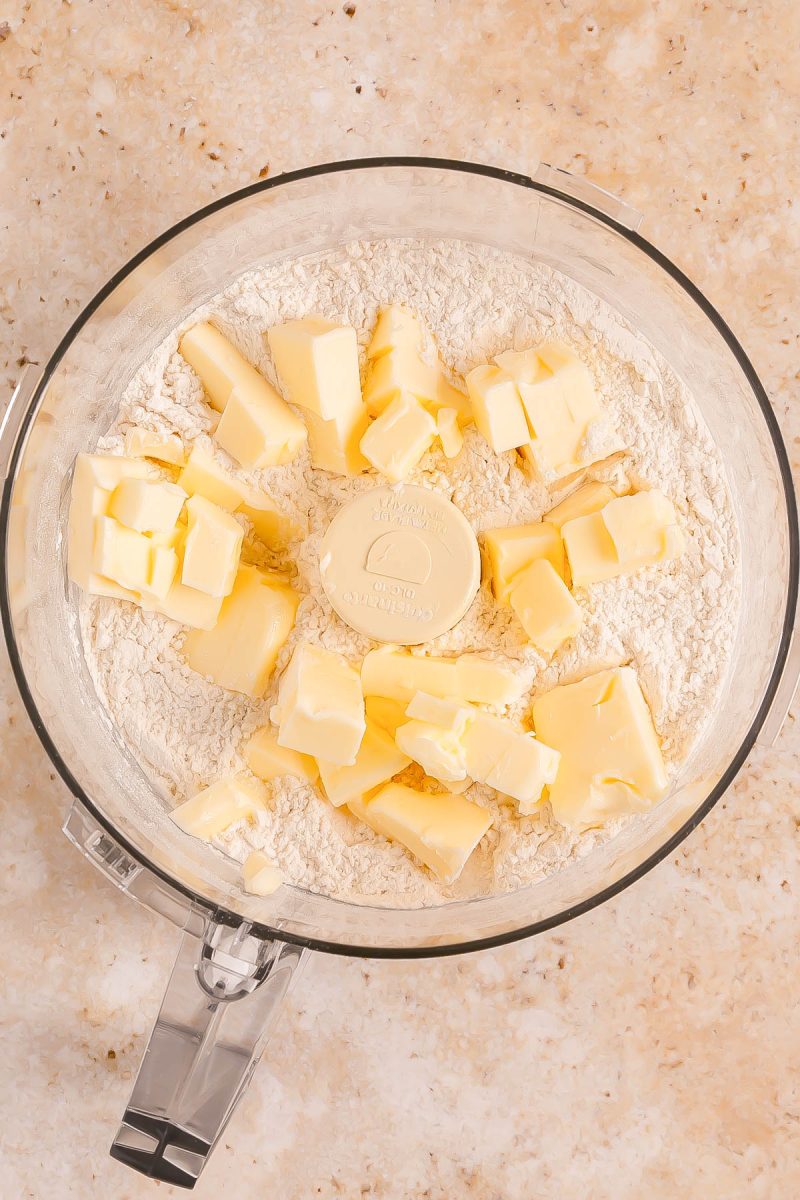
- Make the Crust with Food Processor: To a large canister of a food processor, add the flour, confectioners' sugar, salt, and pulse briefly to combine. See step 5 if you don't have a food processor and are making the crust by hand.
- Add the COLD cubed butter and pulse until it resembles coarse crumbs. Tip - Cold butter = flakier crust.
- Add the egg yolk and cold water (start with 1 tbsp, add more if needed), pulsing until the dough just comes together.
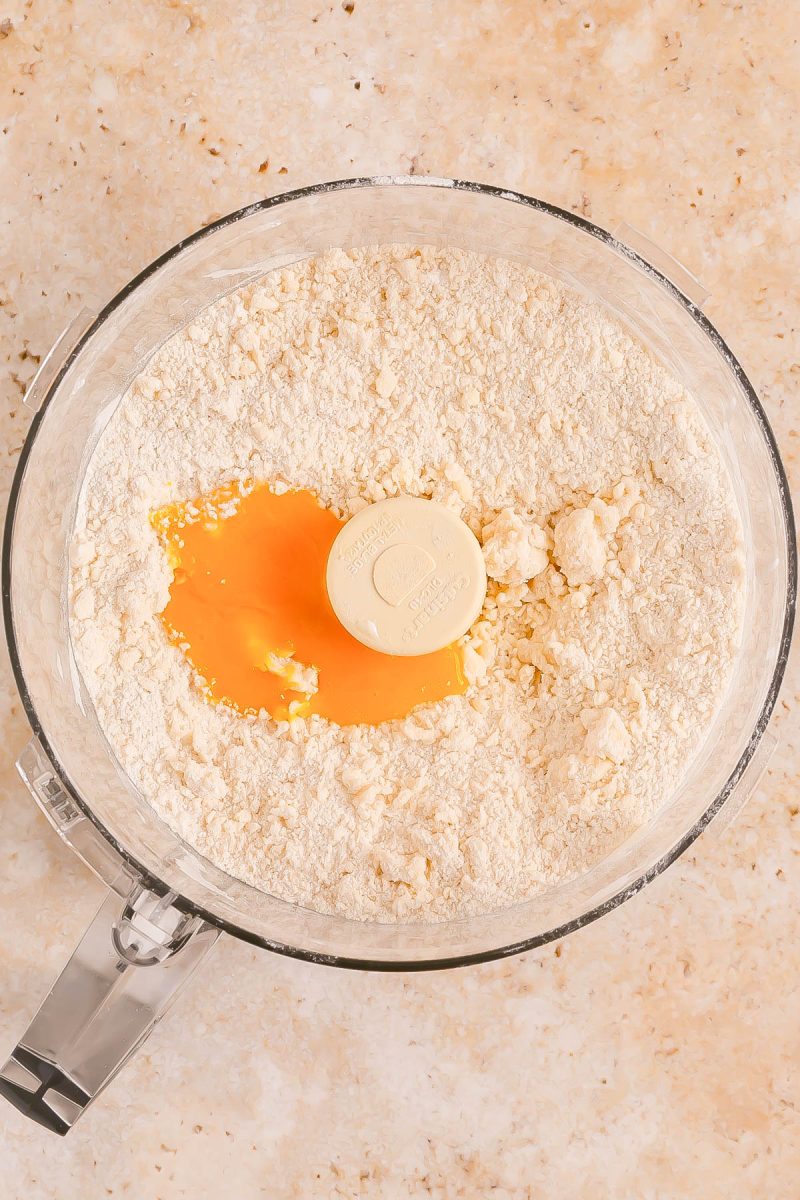
- When the dough has just come together, stop pulsing and take care not to overmix.
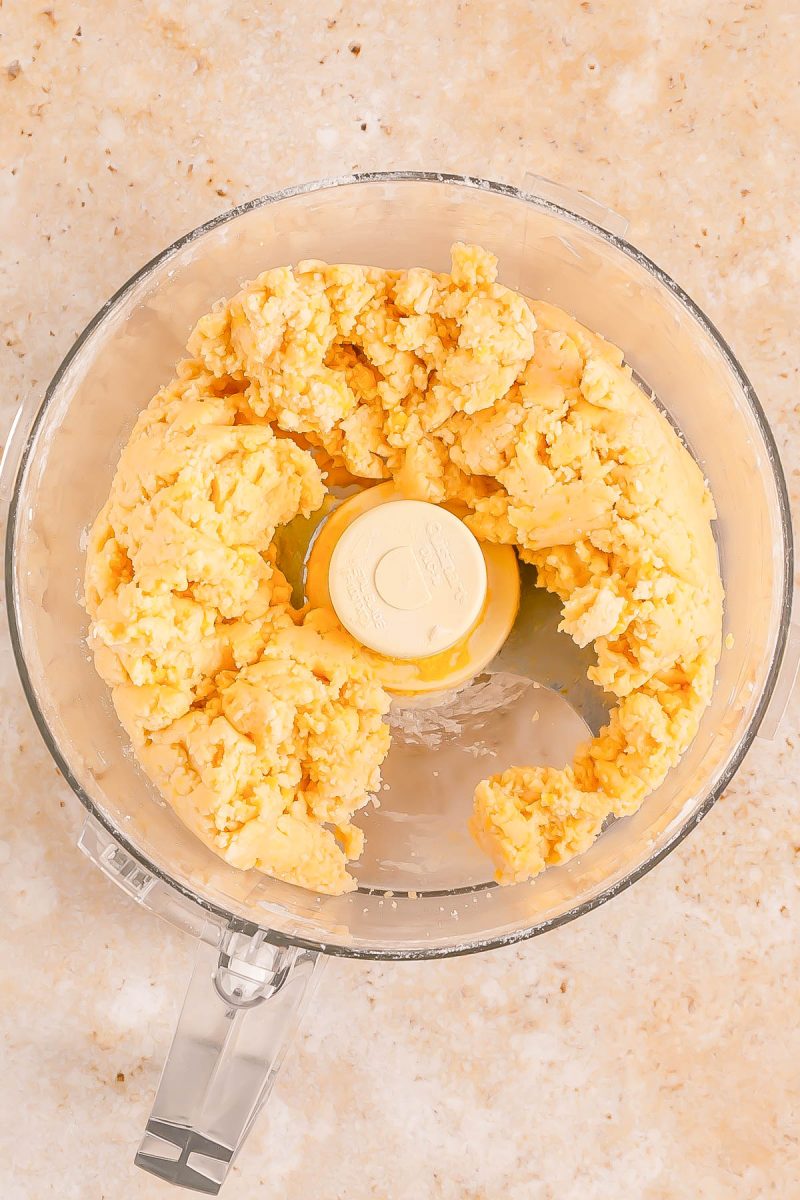
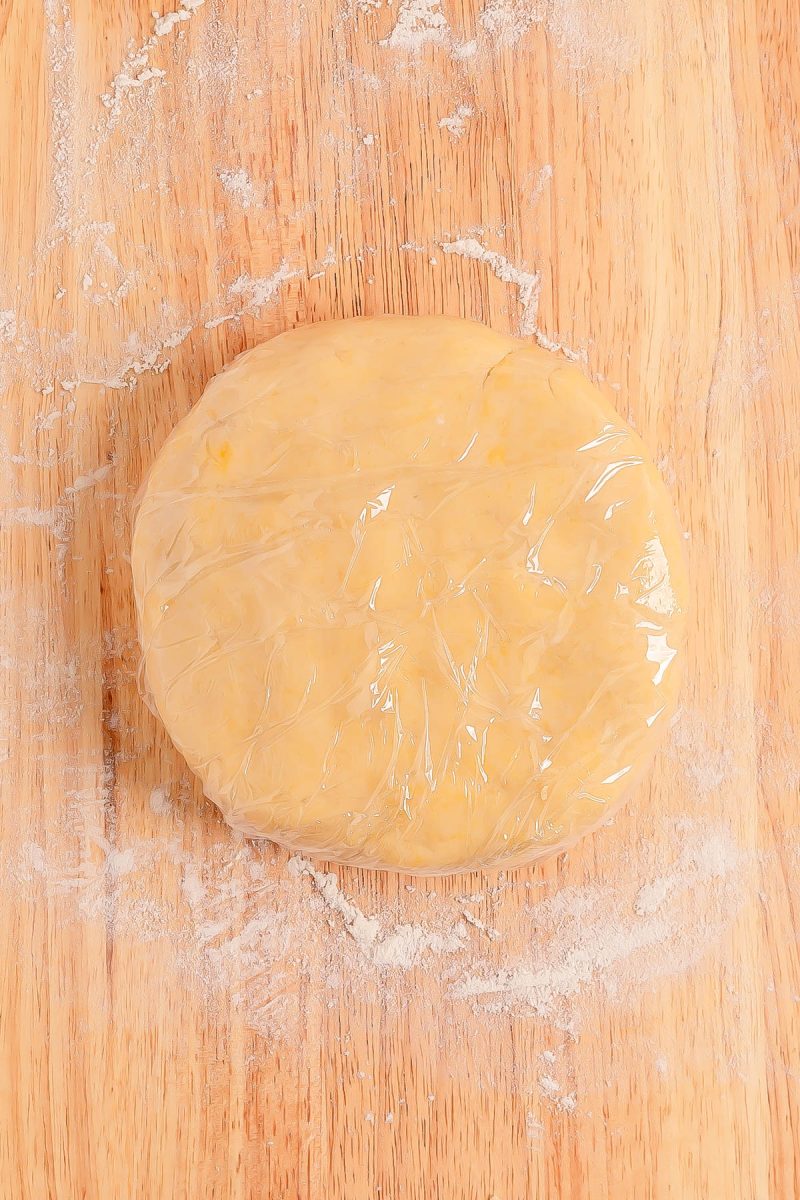
- Remove dough from canister, shape the dough into a disk, wrap in plasticwrap, and refrigerate for 30 minutes.
- Make the Crust by Hand: Add the dry ingredients to a large bowl, add the butter, use a pastry cutter to cut the butter in. Stop when the mixture looks like coarse crumbs with pea-sized bits of butter still visible. Add the egg yolk and mix lightly. Add cold water (1 tbsp at a time), gently stirring or kneading with your hand just until the dough comes together. Shape into a disc, wrap, and refrigerate for 30 minutes.
- Roll the Dough: Preheat oven to 375F. Spray or grease well a 9-inch tart pan; set aside.
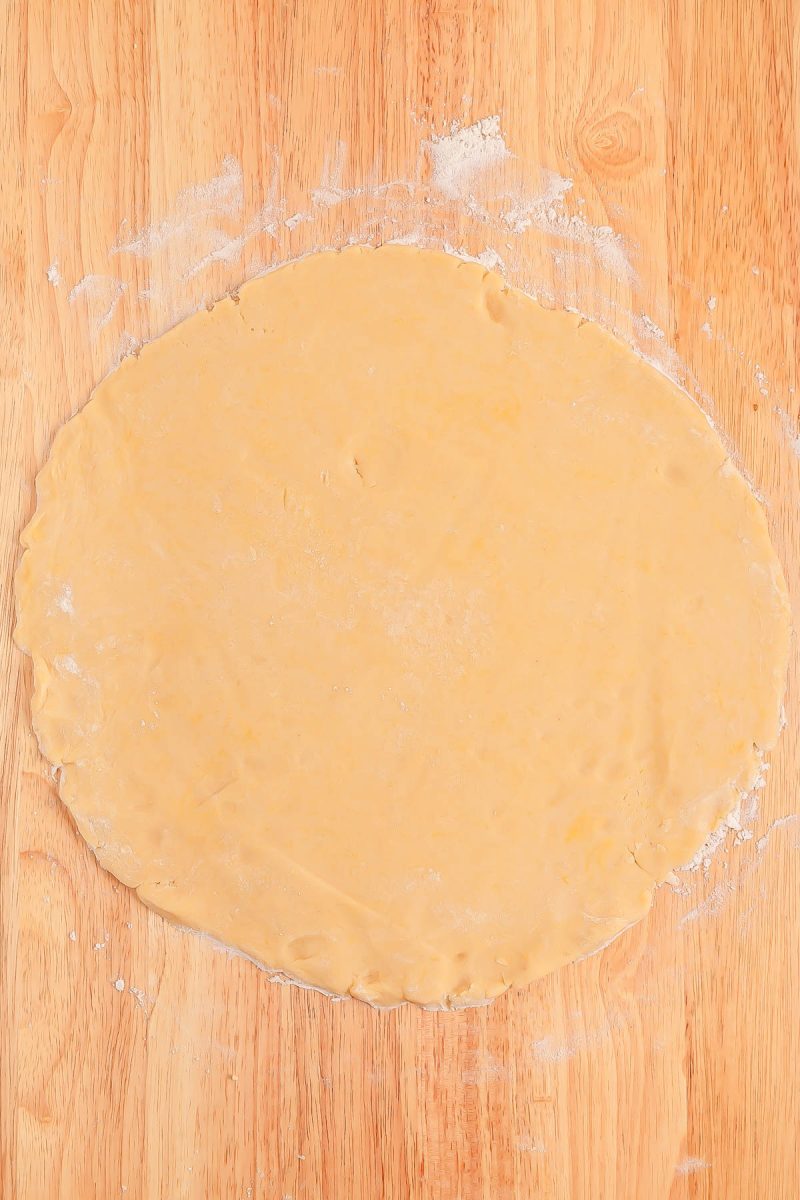
- On a clean and lightly floured countertop, use a rolling pin to roll out the chilled dough to about 10-11 inches.
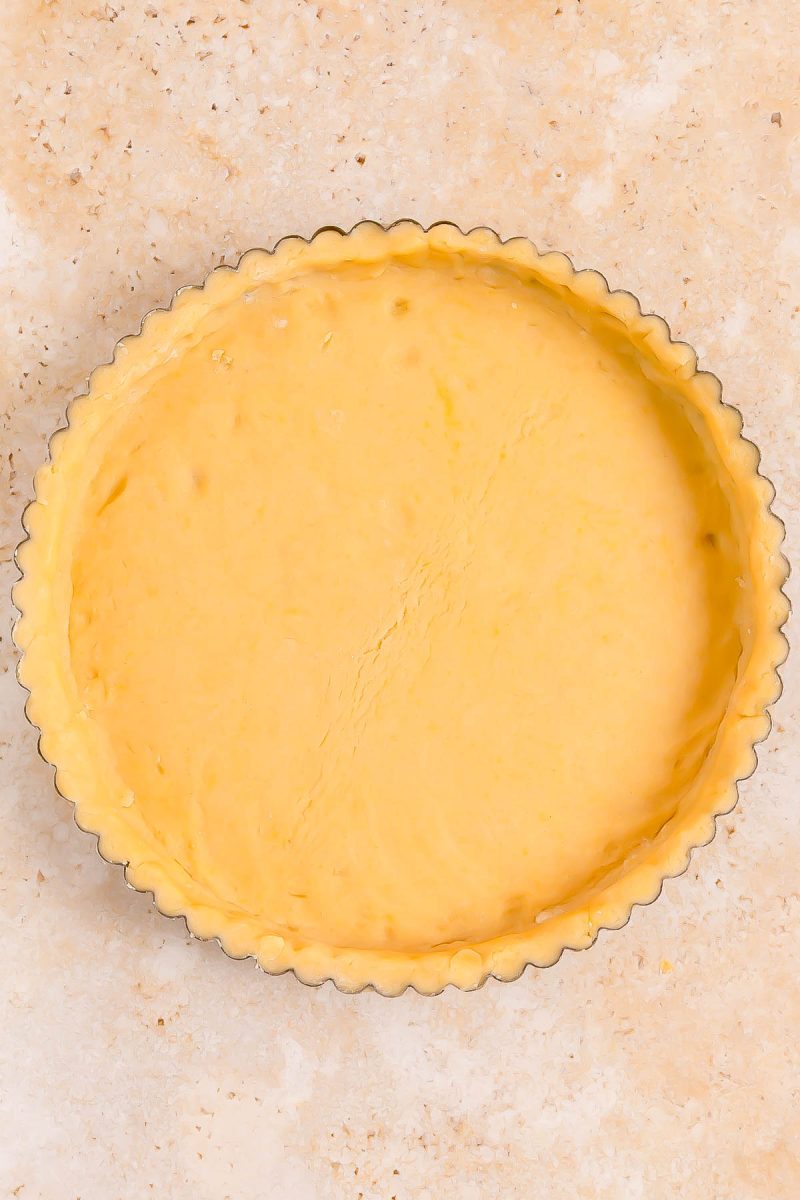
- Transfer the dough to the tart pan, press it into the bottom and up the sides.
- Blind Bake the Crust: Trim the excess crust from the edges with a paring knife, and prick the base with a fork about 6 times. Then place a sheet of parchment paper over the top.
- Fill the crust with pie weights or dried beans.
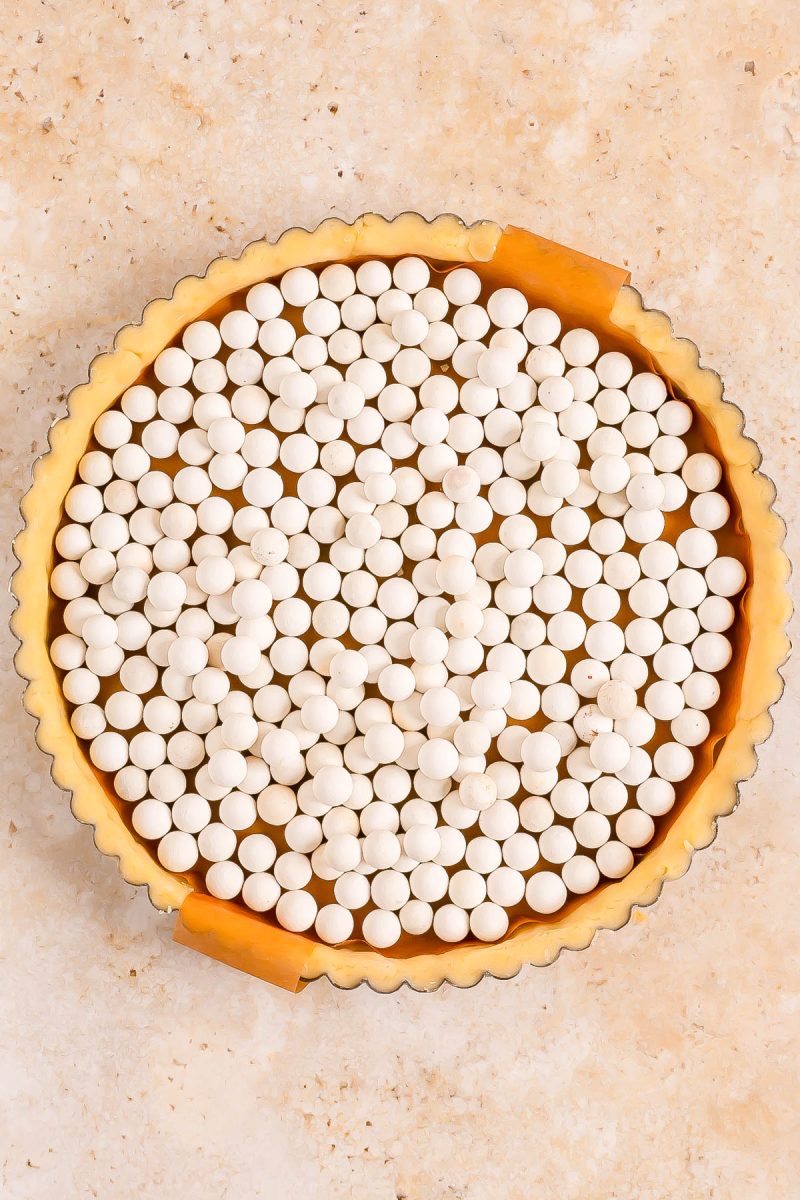
- Bake for 15 minutes, then remove the weights and parchment paper.
- Bake an additional 10 minutes, or until golden brown.
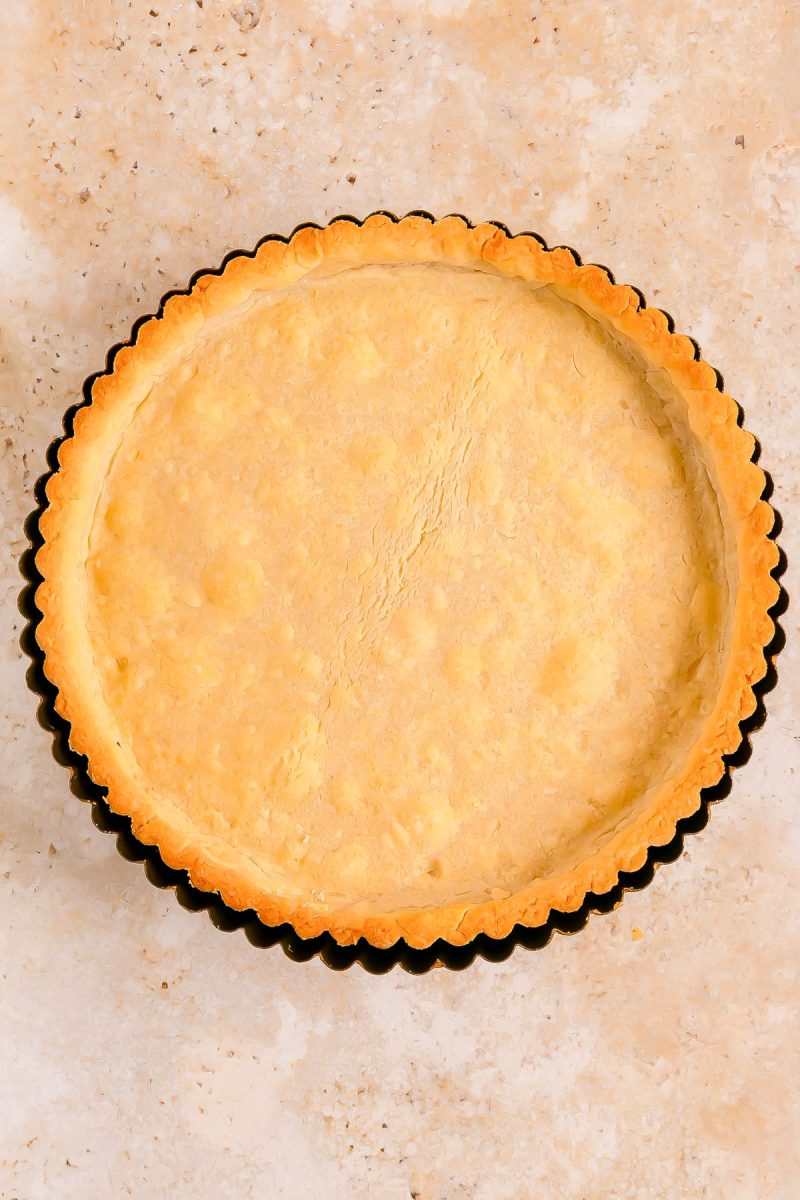
- Let the crust cool completely, at least 30-60 minutes.
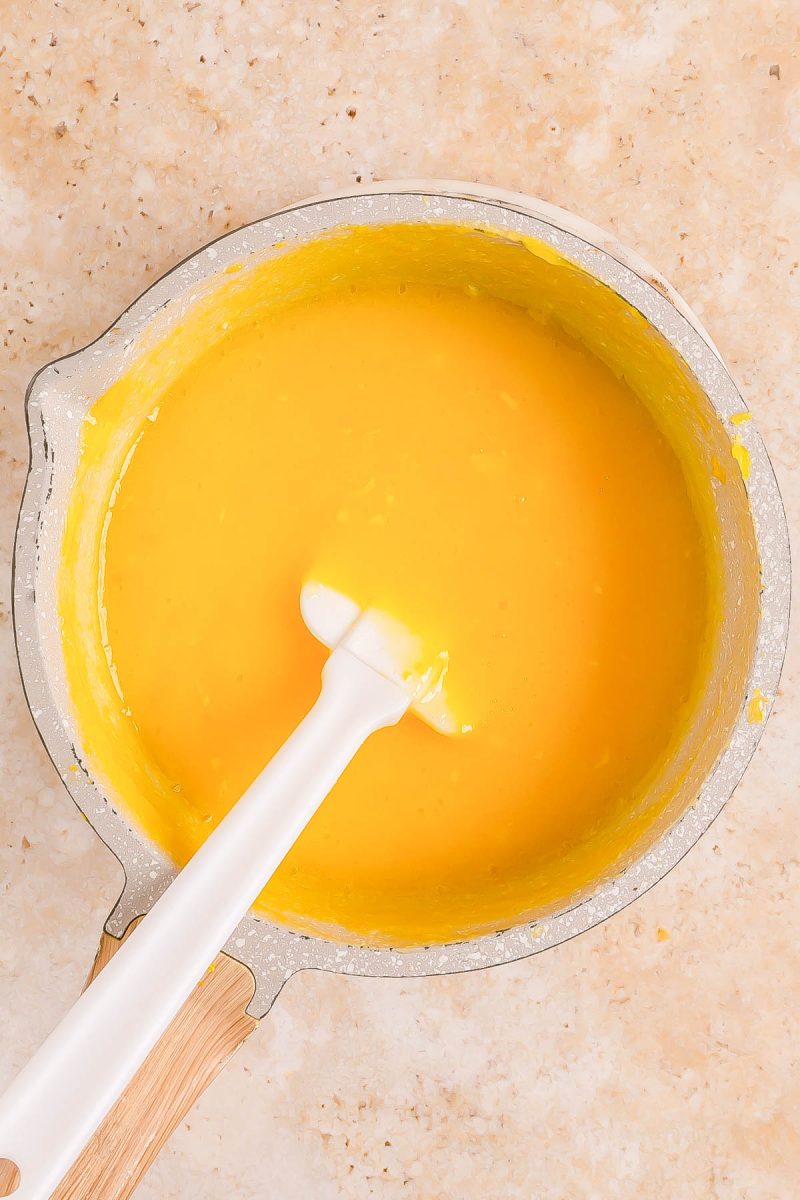
- Make the Lemon Filling: To a medium, high-sided saucepan, add the 4 eggs, 2 egg yolks, granulated sugar, lemon zest, lemon juice, and and whisk to combine and set the heat to medium-low. Tip - You need to SAVE the 2 extra egg whites because you'll them in the meringue, below.

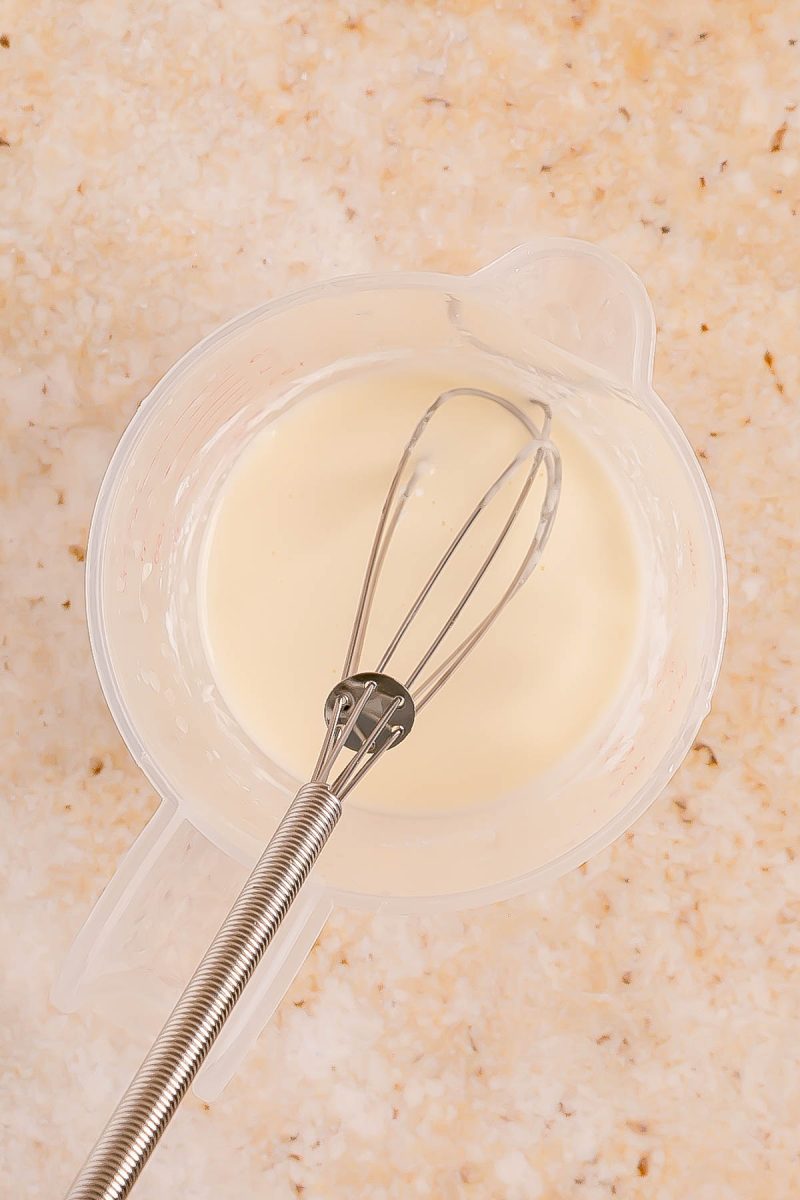
- In a small bowl, add the cornstarch, cold water, and stir to combine. Add this (it's called a slurry) to the saucepan.
- Cook the mixture, whisking constantly, until it thickens - about 8–10 minutes. Tip - It should be the consistency of a well-set pudding, so quite thick, and not runny. Although it will set up and firm up more as it cools in the fridge for 2+ hours.
- Remove the saucepan from the heat, add the cubed butter, and whisk in the butter until smooth and fully melted.
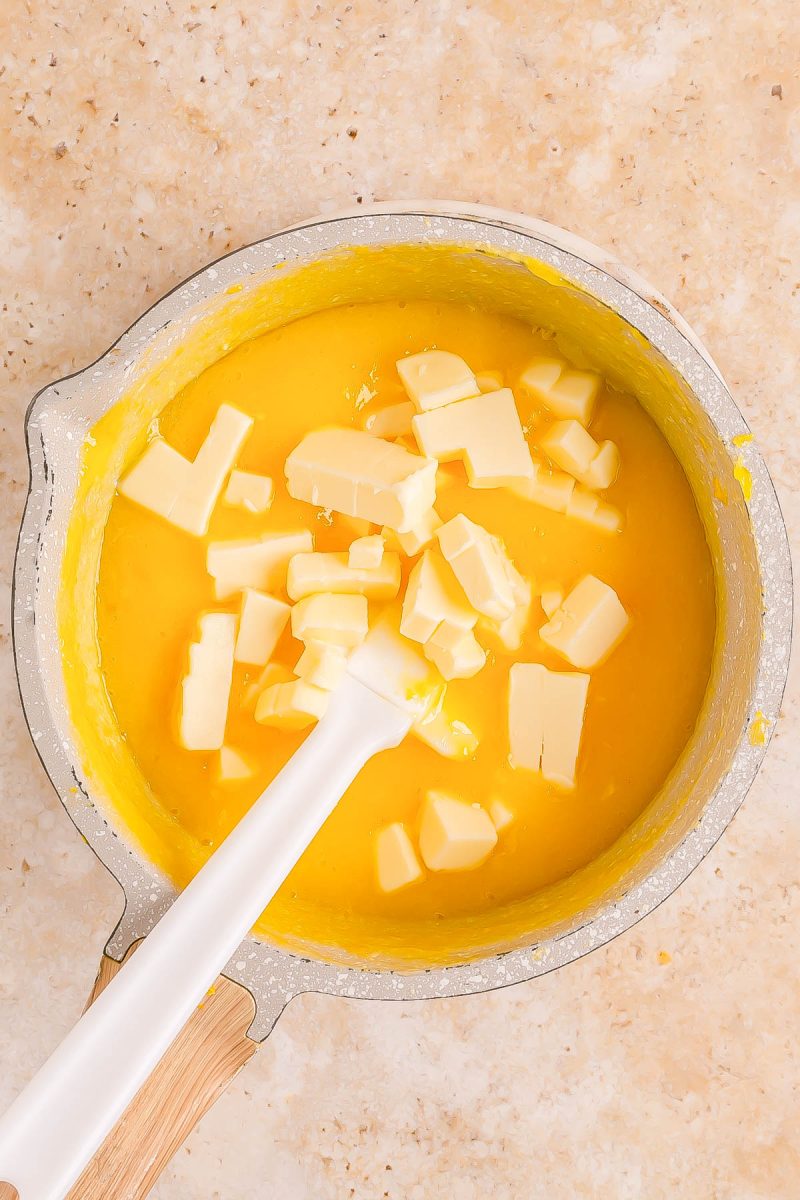
- Strain: Optional but recommended, strain the lemon curd mixture through a fine sieve to remove any cooked egg bits for an ultra-silky finish.
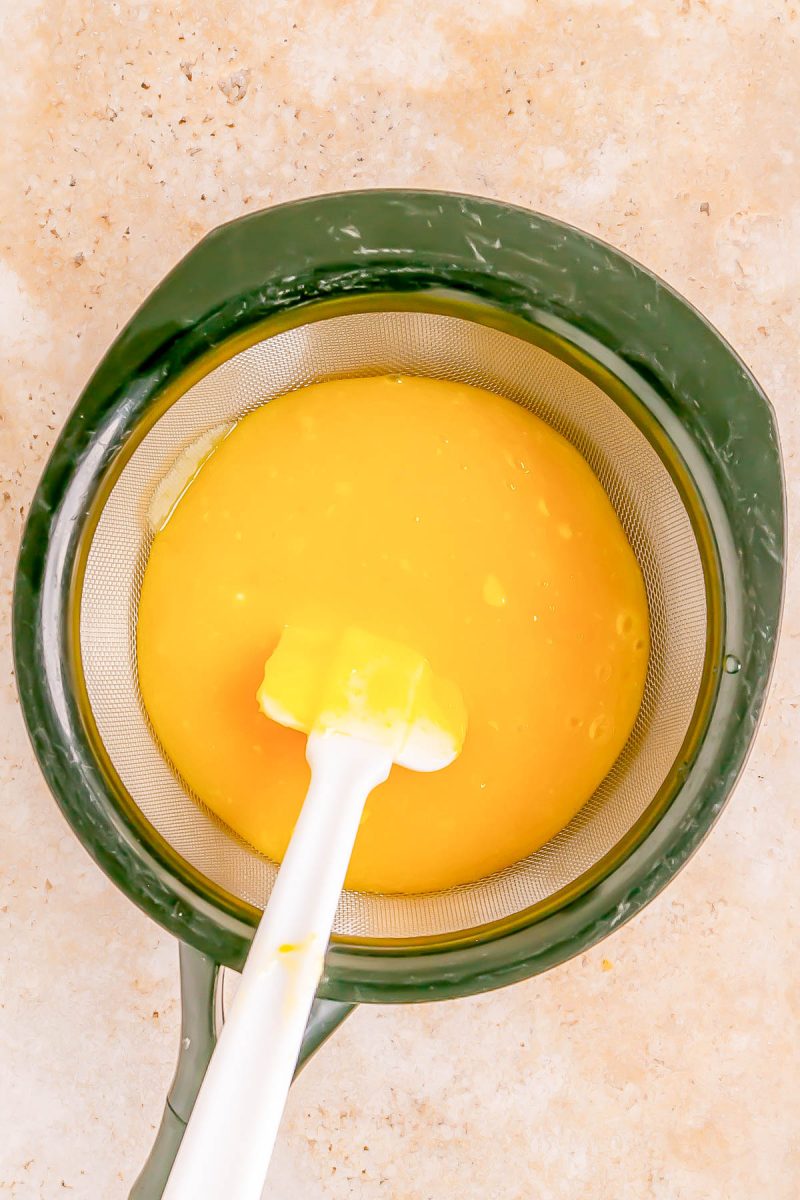
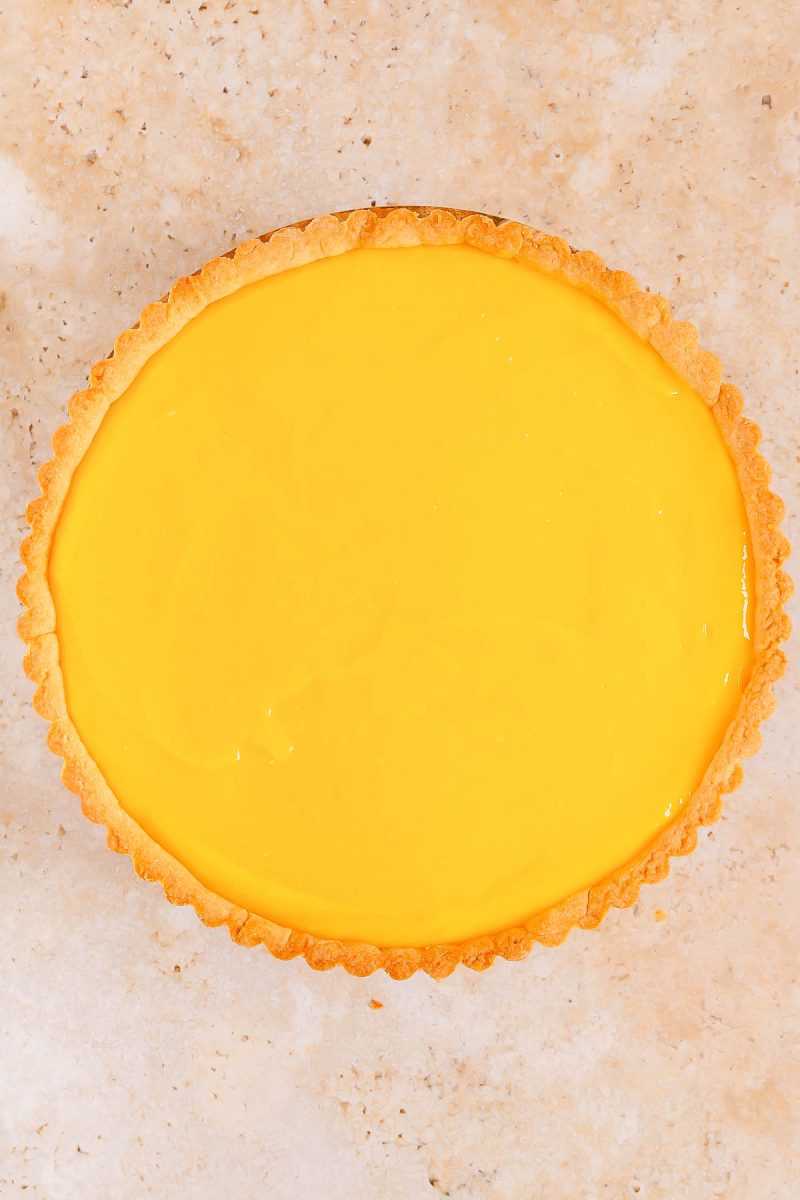
- Fill: Pour the lemon filling into the cooled tart crust, lightly smooth with a spatula.
- Chill: Gently and carefully place a piece of plastic wrap directly on top of the filling to prevent it from forming a skin. Refrigerate for at least 2 hours, or until fully set.
- Meringue: To the spotlessly clean bowl of a stand mixer or large mixing bowl hand mixer, add the room temperature saved egg whites (that you saved from making the filling), cream of tartar, and salt. Mix using whisk attachment at medium to medium-high speed until soft peaks form; set aside. Tips - Without an extremely clean and dry bowl this will be a much harder task; if there's any trace of egg yolks it will be an impossible task. Egg whites won't whip up in the presence of yolk. Be careful. Cold egg whites won't whip either so make sure they're at room temperature.
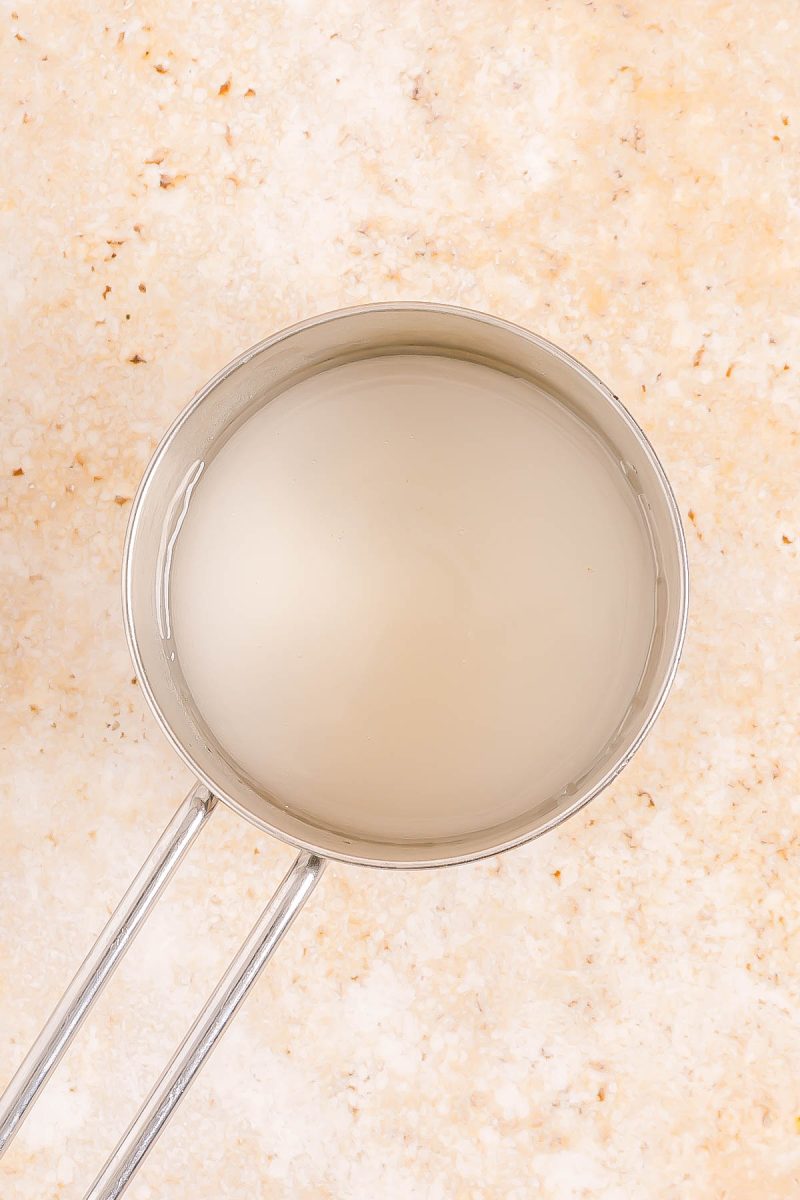
- Clip your candy thermometer to the side of a high-sided small saucepan, add the water and granulated sugar. If yours doesn't clip, that's fine but make sure you have it handy.
- Bring to a rolling boil and cook without stirring until the temperature reaches 240°F. Tip - The reason you don't want to stir is because you can disturb the sugar molecules from doing their thing (too complicated to explain), but the result in real terms is a grainy or granular meringue with a very undesirable texture.
- Remove the scalding hot sugar syrup from the stove taking caution and with the mixer running at medium-low speed, gradually pour the hot liquid into the mixer bowl. Allow it to beat at a couple minutes at this speed before increasing it.Tips - Aim for the side of the bowl where the egg whites touch the edge to reduce splatter and chances for burning yourself; wearing a pair of kitchen gloves or hot mitts is a good idea.
- Increase the mixer speed to high and beat until the egg whites are shiny and form stiff peaks.

- Add Meringue to Tart: Use a rubber spatula to place the meringue onthe chilled tart filling.
- Torching, optional: If desired, use a kitchen torch to brown areas of the meringue for appearance. I do NOT recommend using your oven broiler because it's imprecise and the chances of burning your meringue in less than 1 minute (thus ruining the entire dessert!) are high and simply not worth it. If you don't want to torch the meringue or don't have a kitchen torch, simply omit.
- Chill: Refrigerate for at least 1 hour before serving. Slice and serve chilled.
Notes
Make-Ahead: Dessert will keep well in the fridge for up to 2-3 days prior to an event so you can feel free to make it in entirety ahead of time.
Storage: Dessert will keep airtight in the fridge for up to 5 days. Serve chilled.
Nutrition
Serving: 1serving | Calories: 539cal | Carbohydrates: 69g | Protein: 7g | Fat: 27g | Saturated Fat: 16g | Polyunsaturated Fat: 2g | Monounsaturated Fat: 7g | Trans Fat: 1g | Cholesterol: 170mg | Sodium: 123mg | Potassium: 119mg | Fiber: 1g | Sugar: 49g | Vitamin A: 896IU | Vitamin C: 10mg | Calcium: 30mg | Iron: 2mg
