
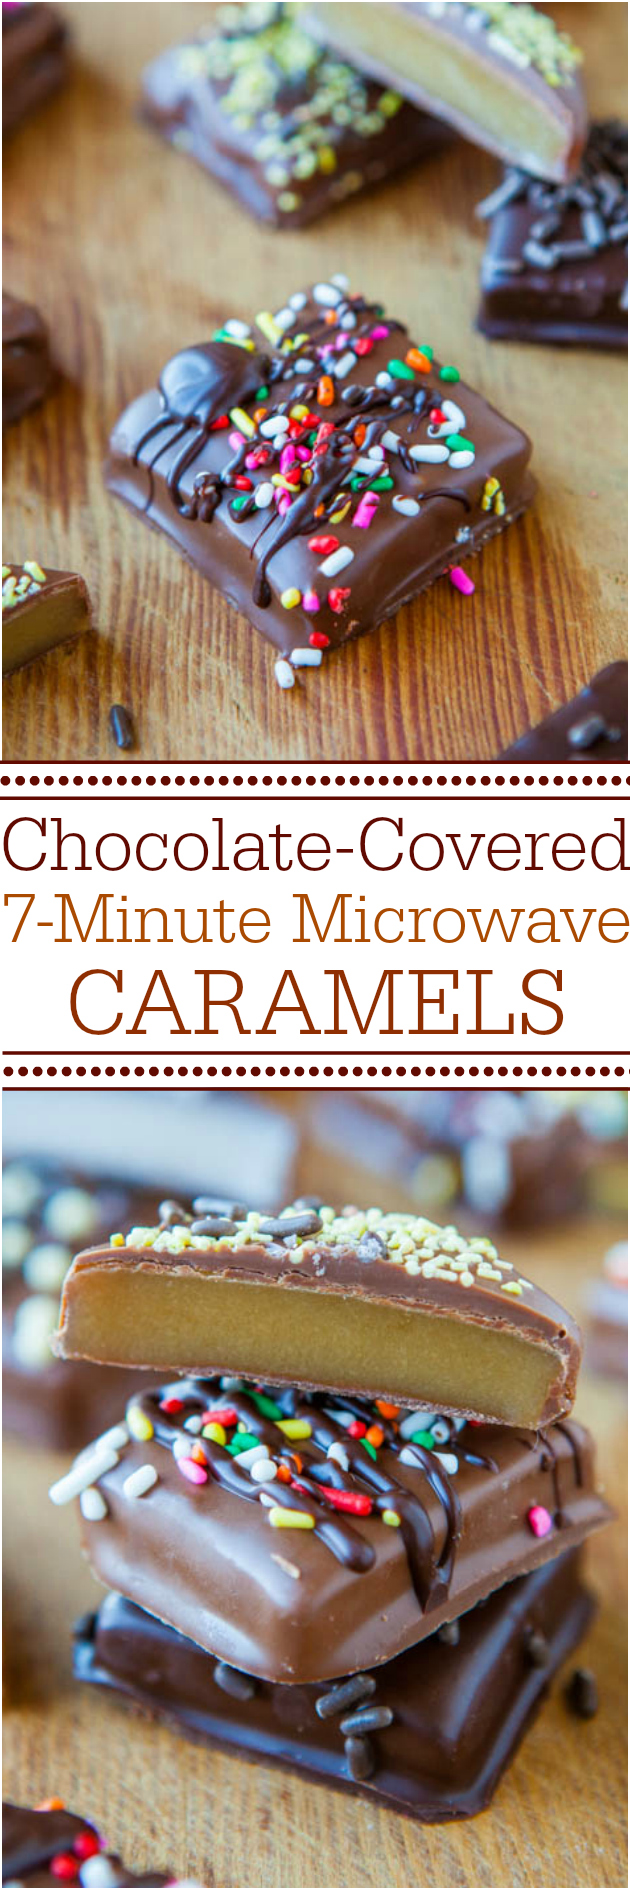
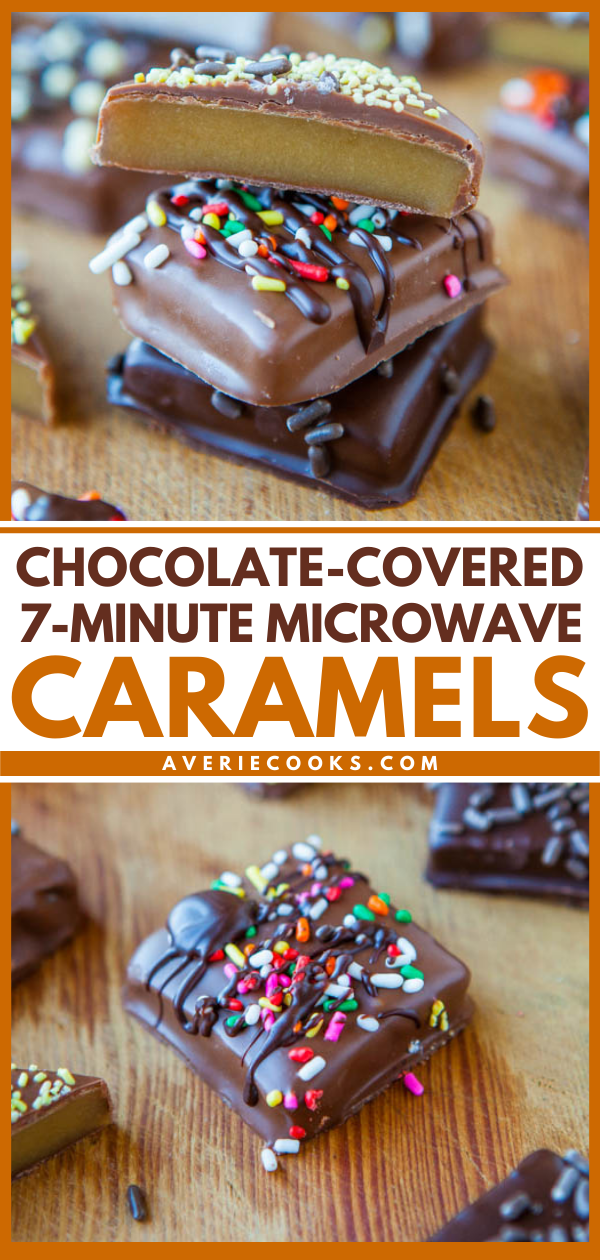
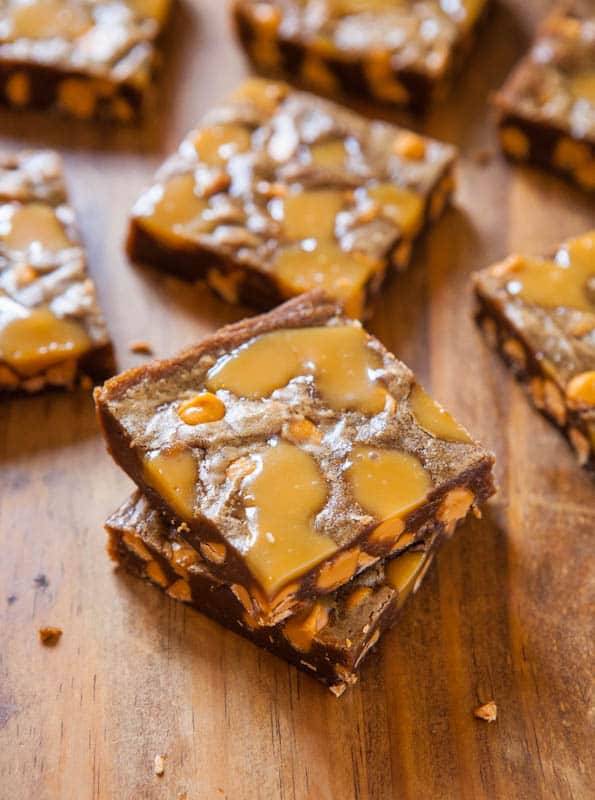
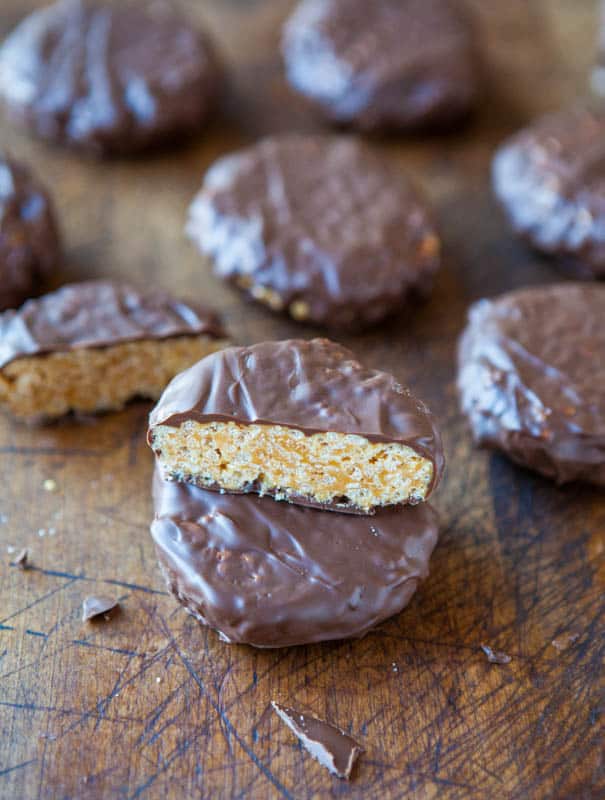
Chocolate-Covered 7-Minute Microwave Caramels are rich, buttery, creamy, sweet, and softly flavored with vanilla. They’re the perfect balance of soft-yet-firm and just melt in your mouth. I’ll put them up against fancy candy shop caramels. You’ll never need another candy shop caramel or recipe for homemade caramels after trying these. And they’re so easy.

If there’s one thing I like better than homemade caramels, it’s homemade caramels dipped in chocolate.
And decked out with sprinkles. They make everything better.
Last week when I made the Peanut Butter Cup Cookie Dough Crumble Bars and used half of a can of sweetened condensed milk, the other half was just begging to be made into caramels.
So that’s what I did. In seven minutes in the microwave.

They’re based on my January recipe for Seven Minute Microwave Caramels (no-bake, gluten-free) and yes, it really works. No candy thermometer, nothing fussy, tricky, or complicated.
The recipe is not only easy, it produces the best tasting caramels I’ve ever tried. Move over Godiva and even my beloved Sees. I prefer these.

To make them, combine a half can of sweetened condensed milk with four other halves: half cup of melted butter, half cup of corn syrup, half cup of brown sugar, and half cup of granulated sugar. Microwave it all together for 7 minutes, stopping at the halfway point and stirring briefly.
I wrote in detail in the other post about what to do and not do, tricks and tips, and the following is what I believe bears highlighting.

The bowl will get crazy hot. Make sure your bowl is truly heat-safe.
After stirring at 3:30 mark, take a damp paper towel and wipe around the sides of the bowl to remove any gritty sugar that’s clinging. Undissolved sugar granules that are clinging to the sides could result in your entire batch turning grainy. Grainy-ness spreads like wildfire and it will take over the pan like a bad science experiment.

You must line your pan with foil. Use a non-stick foil like this one, and spray it extremely liberally with cooking spray so that you don’t have molten caramel stuck to either your pan, or your foil.
When slicing the caramels, do it on a piece of parchment on top your cutting board. Use a pizza wheel or an extremely sharp knife, sprayed with cooking spray. They stick to everything so take precautions to avoid it.

When melting the chocolate for dipping, I highly recommend using baking chocolate or chocolate sold in bars, not chocolate chips. They’re more resistant to melting, and thicker and gloppier to work with. I used a medley of Trader’s Joe Pound Plus Bars: Milk (32%), Dark (54%), and Darker (72%).
Normally I don’t gravitate to eating or baking with milk chocolate, but with the caramels, the milkiness is very complimentary to their creaminess. Don’t automatically dismiss milk chocolate, thinking darker is better. Milk chocolate really shines here.

I highly recommend a tablespoon or two of shortening stirred in after the chocolate has melted. This helps the chocolate behave more like Candi-Quik, staying smoother longer. It makes any chocolate dipping project so much easier. I keep a small can of it in my pantry for this purpose only.
When dipping, quick baths in the chocolate are preferred to long, luxurious soaks. Balance the caramel on the tines of a fork, lower it, just cover it with chocolate, and get it out. Too long in the warm chocolate not only begins to melt the caramel, but it adds more chocolate than necessary, and you’ll have to melt more chocolate sooner rather than later, and it’s a pain to stop and start.

Place the dipped caramels on a parchment-lined tray or plate, and before the chocolate sets (you have many minutes if using shortening so not a rush), sprinkle them with your favorite jimmies, sprinkles, slivered almonds, coarse sea salt, graham cracker crumbs, dried cranberries, bacon bits or whatever your heart desires. Refrigerate for at least 2 hours.
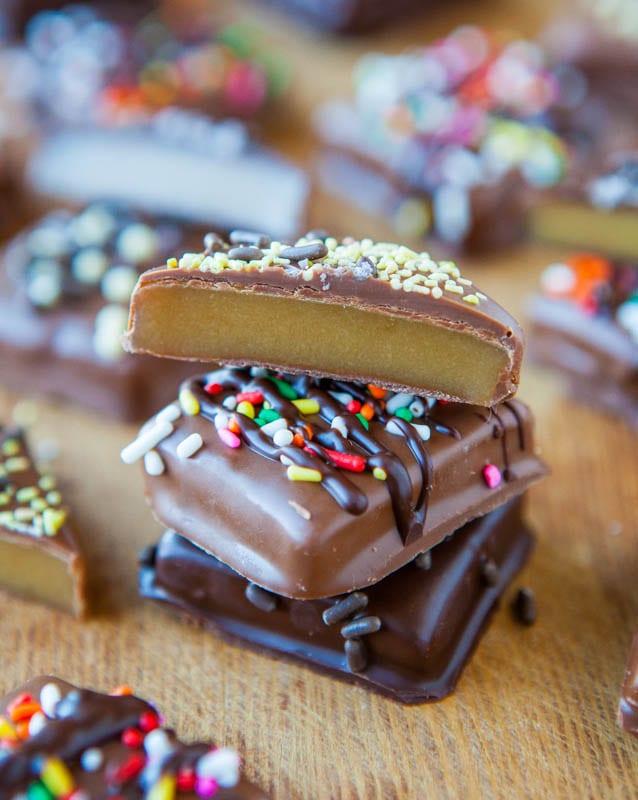
There will be chocolate “duck feet” as I call them on the bases of the caramels where it pooled on the parchment. Either nibble it off, break it off with your fingers, or if you want to make them look professional, trim it with a knife.

The caramels are smooth, creamy, buttery, with prominent notes of vanilla.
They’re soft, chewy, rich and simply my favorite caramels ever.

I’m convinced they’re the best possible use of my microwave and 7 minutes of time.
Chocolate-Covered 7-Minute Microwave Caramels
Ingredients
- ½ cup butter, 1 stick, melted (I use unsalted, use salted for saltier caramels)
- ½ cup granulated sugar
- ½ cup light brown sugar, packed
- ½ cup light corn syrup, light in color, not lite
- ½ cup sweetened condensed milk
- 1 ½ teaspoons vanilla extract
- chocolate for dipping – I used about 4 ounces each of Milk, 32%, Dark (54%), and Darker (72%)
- 1 to 4 tablespoons vegetable shortening, optional but recommended
- sprinkles, or jimmies, non-pareils, slivered almonds, coarse sea salt, graham cracker crumbs, etc., optional for sprinkling
Instructions
- This is a fast-moving recipe once it begins. Have everything in place including a large oven mitt because the bowl becomes extremely hot. Make sure your bowl is truly microwave-safe because it will get very hot. Clear out a space in your refrigerator in advance for placing the hot pan to cool. Do not use lite or reduced fat ingredients; use real butter, corn syrup, and sweetened condensed milk. Send small children out of the kitchen while making these and fully concentrate on the recipe because the mixture is incredibly hot.
- Line an 8-inch or 9-inch square pan with non-stick aluminum foil, and spray very generously with cooking spray; set aside. (For these, I used a 9-inch pan; for the previous recipe I used an 8-inch).
- In a very large microwave-safe bowl (nearly the largest your microwave can accommodate because the depth is necessary for the bubbling-up), melt the butter, about 90 seconds. To the melted butter, add the sugars, corn syrup, sweetened condensed milk, and stir until smooth. Place bowl in the microwave and heat on high power for 3 minutes and 30 seconds (3 and 1/2 minutes).
- Using a hot pad, remove bowl from the microwave, scrape down the sides incredibly well, and stir. Very important – it won’t appear that much of anything is on the sides but if there is sugar or sugar granules that are not dissolved and fully incorporated into the bubbling mixture and they remain uncooked, they can cause graininess or crystallization in the finished caramels. Uncooked sugar crystals have regrowth that spreads and can take over a whole pan, rendering it a grainy and inedible. After scraping down the sides of the bowl very well, wipe around the sides using a damp paper towel, making sure no sugar granules are clung to the sides.
- Return bowl to microwave and heat on high power for 3 minutes and 30 seconds (3 and 1/2 minutes). During this time, the mixture will foam, bubble vigorously, and become very active. I recommend standing in front of the microwave and watching it the whole time so you could power off the microwave immediately if necessary. Using a hot pad, remove the bowl from the microwave.
- Very carefully add the vanilla extract, standing at arm’s length. The mixture will likely still be boiling when you add it, it will bubble up even more. Use extreme caution and stir to incorporate the vanilla as the mixture continues to bubble quite rapidly.
- Pour the bubbling mixture into the prepared pan, cover pan with aluminum foil, and place it in the refrigerator to firm up for at least four hours, or overnight, before slicing caramels.
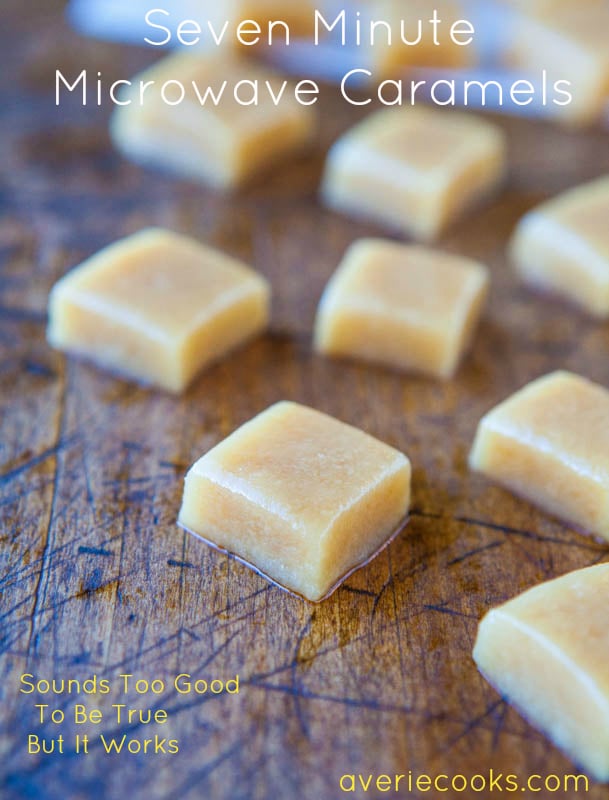
- Lift the caramels out using the foil overhang and flip them over, upside-down-cake style, onto a piece of parchment on top of the cutting board. Spray knife or pizza wheel with cooking spray before slicing, repeating as necessary. I made 6 rows of 6, for 36 caramels.
- Melt chocolate in a small microwaves-safe bowl, about 1 minute. Stir in 1 to 2 tablespoons shortening for every 4 to 6 ounces of chocolate. This helps keep the chocolate smoother and less prone to becoming gloppy or firming up too fast. I like to work in batches of 4 to 6 ounces of melted chocolate at a time.
- Balance 1 caramel on the tines of a fork, slowly lower it into the chocolate, and dip to coat. Don’t let it linger in the hot chocolate or it could melt the caramel, and more chocolate than necessary is used. Use another fork to help lift it out of the chocolate and slide it off the fork and onto a parchment-lined large plate. Add sprinkles before chocolate sets up. Repeat process with all remaining caramels, reheating or adding more chocolate and shortening as necessary.
- Place caramels in the refrigerator to firm up for at least 2 hours, or overnight. Caramels will keep airtight in the refrigerator for many months. I prefer to store them in the fridge rather than at room temperature. Note that because microwaves, ingredients, and climates vary, there could be variances in cook times; for my microwave 7 minutes is perfect.
Nutrition
Nutrition information is automatically calculated, so should only be used as an approximation.
©averiecooks.com. Content and photographs are copyright protected. Sharing of this recipe is both encouraged and appreciated. Copying and/or pasting full recipes to any social media is strictly prohibited.
Related Recipes
Seven Minute Microwave Caramels (no-bake, gluten-free) – The original recipe with more step-by-step shots and more how-to details
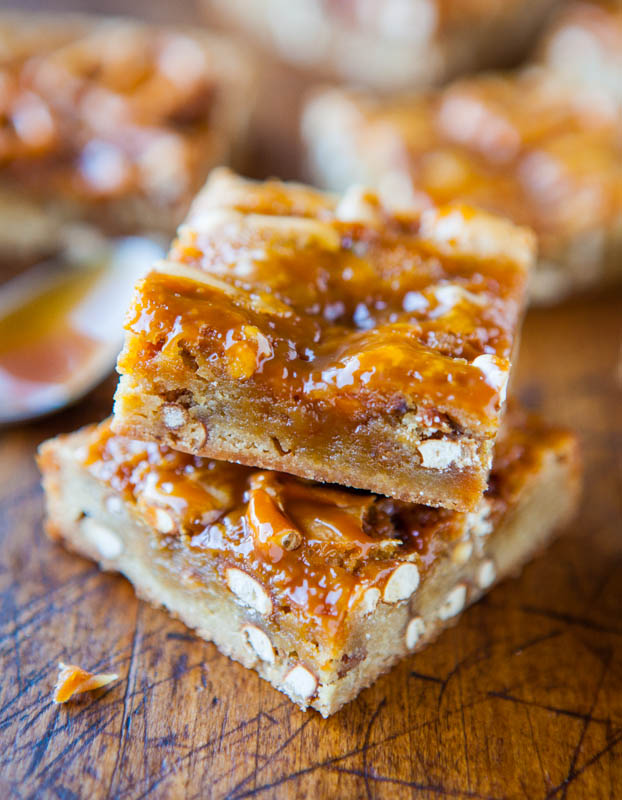
Browned Butter Caramel and Butterscotch Bars – Nutty and aromatic browned butter is paired with dark brown sugar, sweet butterscotch chips, and creamy caramel to create dense, rich, fast and easy bars
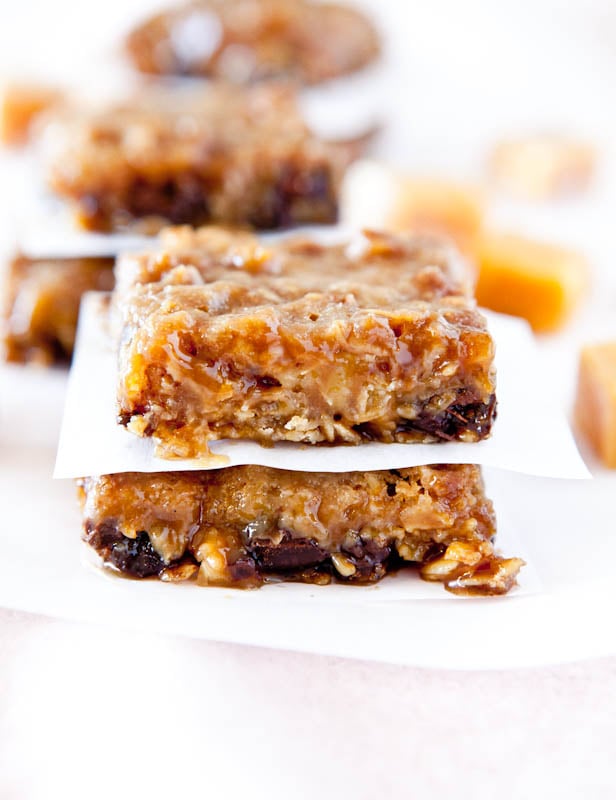
Caramel and Chocolate Gooey Bars (GF with Vegan adaptation) – Caramels, chocolate and oats are combined in these gooey, sticky, sweet, and texture-rich bars
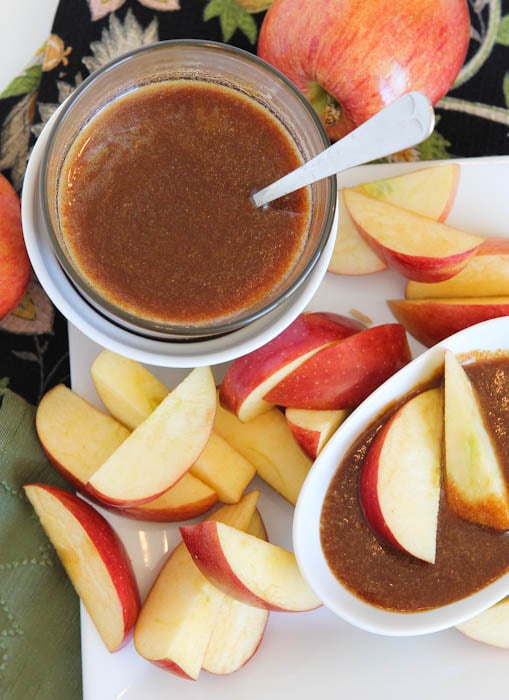
Dark Rum Caramel Sauce (gluten-free) – The caramel sauce can be made with or without rum, although I recommend it. A step-by-step guide for easy at-home caramel sauce to be used on everything from ice cream to apples
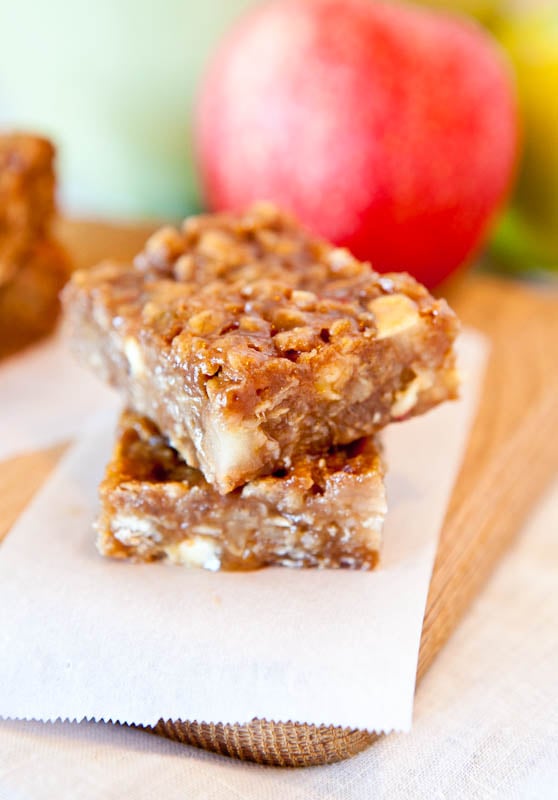
Caramel Apple Bars (gluten-free with vegan adaptation) – Apples, oats, brown sugar, peanut butter and plenty of caramel sauce are combined for a fast and easy bar that’s full of texture and richness
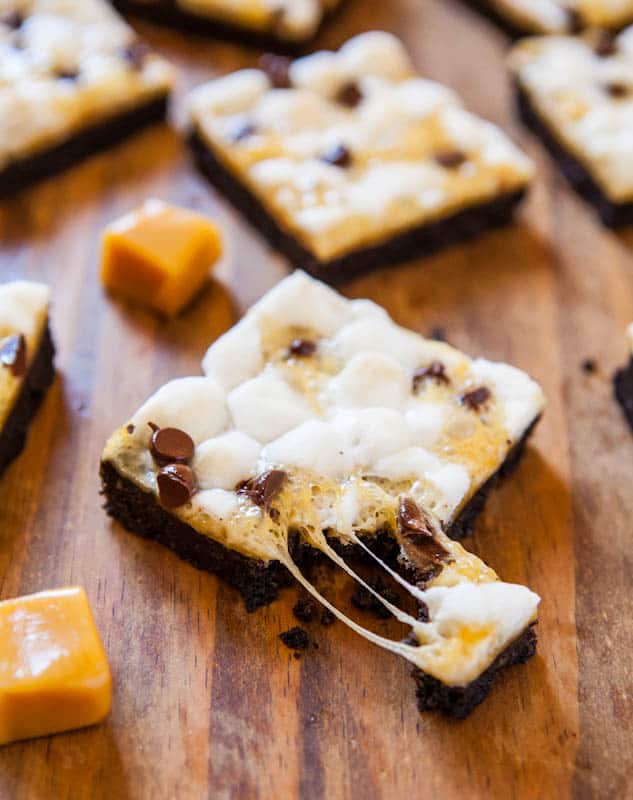
Marshmallow Caramel Oreo Cookie S’Mores Bars – An Oreo cookie-crumb and buttery crust is topped with marshmallows, caramels, and chocolate chips for an easy and fast dessert reminiscent of s’mores
Homemade Little Debbie Star Crunch (no-bake) – One of my favorite childhood treats, recreated. They include plenty of gooey caramel, tons of texture, and the flavor is spot-on
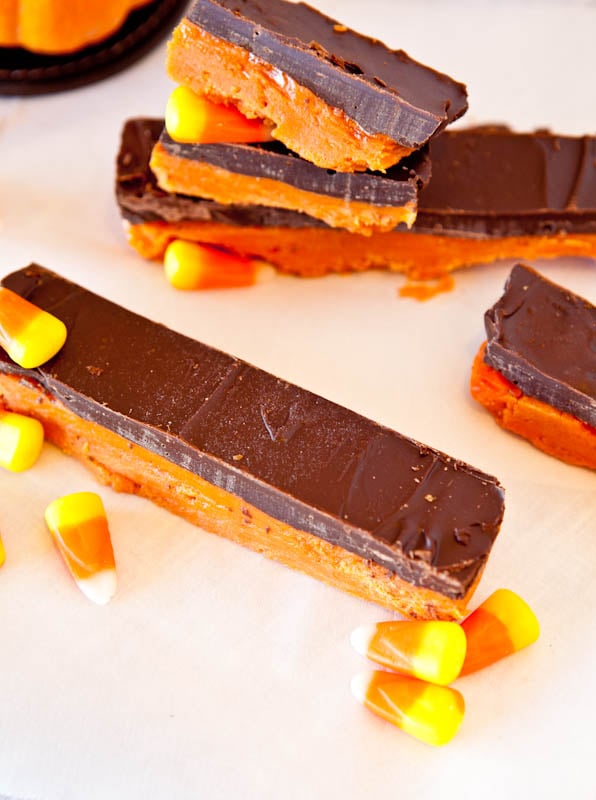
Butterfinger Bars (No Bake, Vegan & GF options) – Make in the microwave in minutes. They’re a dead-ringer for the original and made with 3 ingredients
Do you like caramels? Do you make your own caramel sauce or caramels? Or homemade candy?
Share links to your favorite recipes.

Hey Averie, do these work in a saucepan instead of a microwave if I cook them for a longer period of time? My mother won’t let me near the microwave because she thinks it’ll explode :/
Yes you can make this on the stovetop but I haven’t tried this recipe that way so cannot tell you how long to cook for. With making caramels, if you go too long, you’ll have rock hard candy. Too short, and you’ll have caramel sauce. You should probably research it get a candy thermometer and cook until the proper temp has been researched.
I made these thinking it would be easy and a great treat for me to make for our holiday exchange party. (No one brings cookies anymore) Unfortunately mine did not turn out right. I followed the recipe exactlty. It’s like the top hardened and underneath is a big wet mess. WHAT DID I DO WRONG? I had big fancy plans for these carmels…..thankfully I did a practice run to see how well they would turn out. I’m very disappointed
Ps they still tasted delicious….maybe add icecream?
One more thing. How do u store these? In candy form and in my case sauce????
Thanks.
I’m sorry they didn’t work out for you. Given that microwaves vary, this is one of those recipes it’s hard to troubleshoot from afar. Thanks for trying the recipe and storing what you have…maybe a glass jar would work. I have a sneaking hunch you didn’t microwave it long enough, but again, hard to say.
I was wondering if that maybe was a factor. I am giving this recipe another try. I’ll add an extra minute each time see where it goes from there. Thanks so much. Maybe I’ll pass the sauce off to a friend for a easy but homemade Christmas gift….
Thanks =)
Keep me posted how the future trials go. With something like caramel-making, I am not kidding, MOST people have a hard time. When you’re dealing with molten sugar, a couple degrees matters, and things can go from sauce to rock hard and it can take time and practice to figure out the sweet spot with your kitchen equipment, etc.
I do not buy shortening. Would I be able to substitute coconut oil in the chocolate?
Probably would be okay but I haven’t personally tested it.
Hi Averie. Had to let you know that this is the 4th recepie I have made from your blog this week. The other 3 were for healthy muffins and cookies. Loved every single one of them. Thanks for all of your delicious no fail receipes. You’re the best.
Four in one week? I am impressed and thank you!! So glad you liked the healthy muffins, cookies, and that you had great luck with all of them, including the caramels! Thanks for trying them all and keep me posted what else you may make! :)
These look incredible! Would the recipe be a disaster with dark corn syrup instead of light? Also, I only have fat free sweetened condensed milk on hand. Is that a definite “no” as well? If I can’t use either of those, I’ll just make a shopping trip; these look too good to skip!
You’re likely fine with dark corn syrup – they’ll just be darker in color.
FF Sweet. cond milk – good question. I don’t know. I can make a case for them working, or not working. You could always just try it and see what happens. 7 mins and not much to lose other than 1/2 can. LMK how it goes!
Hi again. I gave it a try with the FF milk and dark syrup, and I think they turned out alright! Unfortunately, the texture is a little off because they accidentally froze a little in the fridge, and the chocolate ended up a little thin because I used too much shortening. But it still tastes good, so I’d count that as a success :)
Well given all the adaptations you made, I say it’s a huge success and good to know that the FF milk works! And yes, anytime that sugar like this freezes, it can throw off the texture forever, not always, but it can do that. I wish my fridge got that cold :)
Hi Averie, I am anxious to try this recipe as I am a sucker for caramels, in particular raspberry caramels. Being a bit of a raspberry snob, however, I like to use raspberry puree instead of extract. Do you think using strained raspberry puree would alter the microwave magic and cause the caramels not to turn out? Are flavor extracts the only way to go here? Thanks!
Do you think using strained raspberry puree would alter the microwave magic and cause the caramels not to turn out? = yes, that is 100% correct. You cannot tinker with this recipe AT ALL. It’s based on chemistry, sugar molecules, etc. and adding or removing anything will result in caramels that will either turn rock hard or won’t set up at all.
Frist off Amazing for a 7 minute microwave caramel! Kudos on this recipe. I must say I have made caramels for yrs. More yrs at an hour a batch than id like to admit. However the recipe I have used is the best. It does render a large amount of caramels. Now that I found this recipe there is going to have to be some taste testing going on with my customers! My first attempt at another microwave caramel recipe was a flop. When I came across this one I had to try it. I did exactly to the T what the recipe said. They came out good, tasty, though (hubby caramel snob said not as good as my recipe) and very hard to cut. Oddly enough if you picked up the batch it would bend right over. I poured this in a bigger pan as I wanted thin caramels to make large turtles with. It was soft once eaten but so hard to cut. Next batch I followed exact again except cooking time I only did 6 minutes. Very tasty but a bit to soft still for the turtles I wanted. I should add I also added 2 more tsp of vanilla ( cant wait to use my homemade vanilla in this recipe). 3rd try did 6 mins 30 secs. Perfection!!!!! though I wish the color was more true no matter for a 7 min, microwave caramel you couldn’t go wrong! The batch size for me is perfect I often do not keep caramels in my store during slow times as they do not last— but for 7 mins and as tasty as they are I will ( try) to never be out of fresh home made caramels again!!!! Tomorrow I am going to try the recipe with 1 cup brown sugar and no white sugar to see if that darker color can be obtained. Other tips for first time caramel makers. Once I melted the butter in my deep dish pampered chef measuring bowl I swirled it up the sides so when the bubbling caramel mixture bubbled up, the grease from the butter helped keep the sugar crystals from sticking. I used a wet clean kitchen towel to wipe down all the sugar crystals, be careful stirring so you don’t get the caramel up the bowl. I did cover the first 2 batches with tin foil at the end, though the 3rd batch I did not and did not find that step nor putting it in the refrigerator necessary. I also use a silpat which is cut to my favorite caramel pan rather than the tinfoil. No extra spray needed. Do wipe a thin layer of butter or oil around the sides of the pan where the silpat does not cover. Once set flip caramel on a cutting board, using a pizza cutter cut in desired sizes. Or if making turtles, caramel preztels use a desired size cookie cutter to cut the desired size. Now for more fun with the awesome recipe… add fine grated coconut at the end. Raspberry flavor, any type of finally chopped nut, pretzels, short bread cookies. The skies the limit ladies!!!! Keep on cooking!!! Oh goodness as if this wasn’t long enough don’t forget the sea salt caramels that is all the rage and in my book a waste of good caramel.
Glad to hear that you’ll never be out of fresh caramels again in your store :)
These look delicious and sound pretty easy to make. I have a question: can this caramel be used for dipping purposes? I am planning on making a huge batch of caramel dipped, chocolate covered marshmallow pops as party favors,. Thanks for the recipe, love your blog!
If you’re going to use it to dip things in, I would cook it maybe 5-6 mins, not the full 7, and then just dip straight from the bowl. I haven’t tried it this way, so can’t make any promises, but if I wanted a dipping caramel and didn’t want to use storebought or make caramel on the stovetop, that’s what I would do. Now I don’t know how well it ‘sets’ but it’s caramel, so it’s not really going to set that much. It will (or should) always stay pretty soft and gooey. LMK how it goes!
Definitely would make a great dipping caramel but I have to say to stick to 5 mins or less. My 6 minute holds it shape well. Everyones microwave is different though but if you wanted a dip and you cant test it out ahead of time make sure you have some cream on hand and stir some in if it isn’t dipable! LOL is that a word? You can also add some choco to the caramel as long and the dip is kept warm. Pour the chocolate on top of the caramel in a circle, or back n forth then run a knife through it to kinda make it swirled and dip on.
Averie, your photographs of these are making my mouth water, delicious. I will definitely have to take you up on trying these out and possibly adding some chopped nuts to these. And as a fellow San Diegan, agree that we are so lucky to live in this beautiful, sunny spot. Thanks for sharing these!
Thanks Kevin! Just went to your site and pinned those awesome looking cheese sticks! Delish! :)
Just put the caramel in the fridge! I cannot wait to finish making them!
I am going to attempt placing a few 1/2 pecans on top before
Dipping on chocolate to make turtles! Thank you for the recipe!!
LOVE your Turtles idea! Thanks for trying the recipe & so glad you’re happy (and creative)!
The turtles would have been awesome but I made the mistake of using semisweet chocolate. I will definatly be making these again but with milk chocolate. (They still will be eaten though!!)
Good to know that the milk choc really makes that much of a difference, but I can see that, if you’re going for a true Turtle. Thanks for the info!