Homemade Sourdough Cheese Bread — No starter required and so easy! It tastes like it’s from a fancy bakery! Who can resist homemade cheesy bread?!

Easy Sourdough Cheese Bread Recipe
This is possibly the best sourdough bread I’ve ever made. It’s a cheesy version my Homemade Sourdough Bread. And everything is better with cheese.
Unlike most sourdough recipes that require a starter and weeks to complete, this easy sourdough bread recipe requires neither. The sourdough taste comes from a combination of Greek yogurt and sour cream that ferments the dough rather than using a starter. The longer you let the dough rise (ferment), the more sourdough-ey the bread tastes.
In my last sourdough recipe, I fermented for about 6 1/2 hours and this time went 10 hours. The 10-hour version is more sourdough-ey and also is more ‘holey’ with a more open crumb, but I wouldn’t necessarily say the 10-hour dough is ‘better’. Both tasted amazing and it just depends how sourdough-ey you prefer. And if you prefer it stuffed with cheese and yes, I do.
If you plan on making this bread, please thoroughly read my first sourdough recipe and post because I went into great detail with tips, tricks, and everything I could think of for optimal sourdough-making success.
If you’ve ever made bread, this homemade cheese bread will be a snap. Much easier than cinnamon rolls, sweet rolls, or dinner rolls, by a long shot. The recipe looks long but I write yeast recipes with as much detail and give as many tips as possible to set you up for success.
Read the recipe at least twice before starting, but you’re simply making dough, letting it rise for 6+ hours, stuffing with cheese, letting it rise again for 1+ hour, and baking.
The bread is hearty, satisfying, and has a firm crust that gives was to a super moist, soft interior with ample hunks of cheddar. The cheese is a perfect complement to the sourdough and really enhances the tangy factor.
It’s so rewarding creating bread in your own kitchen that tastes and looks like something from a bakery. You’re going to be head over heels with it.
If there’s anyone on earth who can resist warm, homemade, fresh bread that’s stuffed with cheese, especially after smelling it bake, then I’d like to have a sliver of your willpower. But it’s worth every last bit of cardio.
What’s in Sourdough Cheese Bread?
To make this sourdough cheddar bread recipe, you’ll need:
- Bread flour
- Unsweetened Greek yogurt
- Salt
- Instant dry yeast
- Cheddar cheese
How to Make Sourdough Cheese Bread
To make this homemade cheese bread, you’ll first need to combine the ingredients and knead the dough for 5 to 10 minutes (I give detailed instructions in the recipe card below for kneading with your hands versus using a stand mixer).
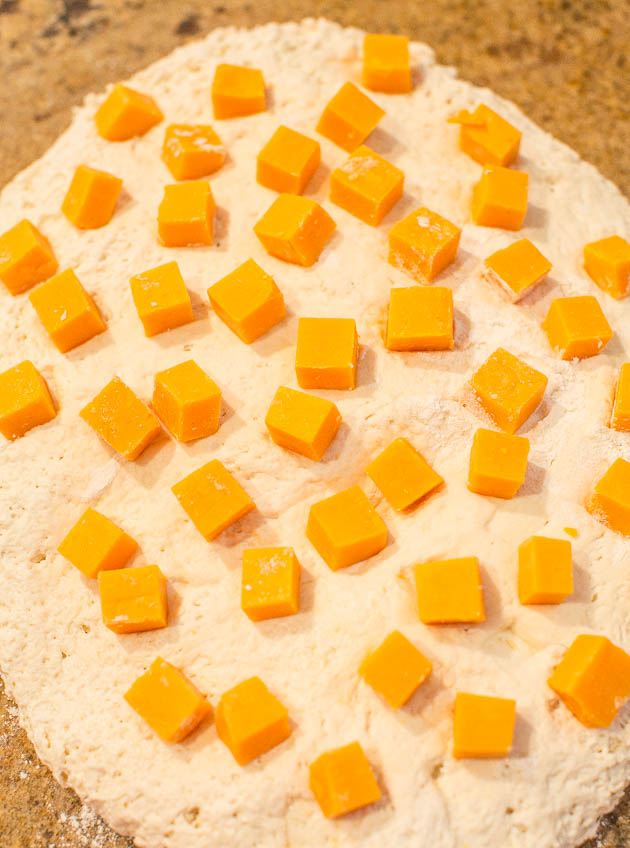
Once kneaded, place the dough in a greased bowl, cover with plastic wrap, and set in a draft-free place to rise for 6 to 8 hours. Then, turn the dough onto a floured surface and knead gently for a couple minutes. Flatten out the dough and sprinkle with cheese cubes. Turn up the sides to form a mound of dough.
Let the dough rise again until doubled (this should take 2 hours or less). While the dough is rising for the second time, place a Dutch oven into the oven to preheat for at least 45 minutes.
Once doubled in size, transfer the dough to the screaming hot Dutch oven and bake the sourdough cheese bread until as browned as desired.
The homemade cheese bread will need to be placed on a wire rack to cool completely before you can slice into it.
Do I Have to Use a Dutch Oven?
While it’s not imperative to bake the bread in Dutch oven, it really helps develop sourdough’s signature crusty crust because a covered Dutch oven traps in the steam the bread releases while baking, aiding in crust development. If you don’t have a Dutch oven, a cast iron skillet or heavy-bottomed skillet will work, although you will sacrifice some of the crustiness.
Can I Use Another Type of Cheese?
Definitely! My family isn’t big on jalepeños but I’d love something like a jalepeño-havarti or brie, or try smoked gouda, or an intense Blue cheese. The bread can really stand up to bold-flavored cheese so don’t be shy using a strong, bold cheese.
Tips for Making Sourdough Cheese Bread
When kneading the dough the first time, note that it will be seem like it’s almost too wet and it’s very heavy, but this is what you want. Err on the side of wetter than drier because flour and yeast love moisture when rising.
It’s important that you cover your bowl with plastic wrap when you set the dough aside to rise. A regular tea towel won’t work, you need to use plastic wrap to trap in all the gasses.
Your Dutch oven will need to preheat for a good 45 minutes before it’ll be hot enough to bake bread in. I know that seems like a long time, but Dutch ovens take forever to fully heat through.
Pin This Recipe
Enjoy AverieCooks.com Without Ads! 🆕
Go Ad Free

Easy Cheddar Sourdough Bread
Ingredients
- 3 cups bread flour, I use King Arthur
- one-17.6 ounce, 500 gram tub plain unsweetened Greek yogurt with active cultures (must say ‘active cultures’, I used 0% Non-Fat Fage)
- about 1/2 to 1 cup sour cream, or Greek yogurt, lite versions are okay, or as needed see below step 1
- 1 teaspoon salt, or to taste
- scant 1 teaspoon instant dry yeast, I use Red Star Platinum for 6 to 12 hours rising*
- 4 ounces cheddar cheese, diced in 1/2-inch cubes (I used Kerrygold Red Leicester, try your favorite)
Instructions
- To the bowl of a stand mixer fitted with the dough hook (or use a large mixing bowl and wooden spoon and your hands), add the flour, Greek yogurt, 1/2 cup sour cream, salt, and yeast.
- Turn mixer on low speed and allow it to knead dough for about 5 to 7 minutes (about 7 to 10 minutes by hand using a wooden spoon and then switching to your hands). Add sour cream as needed to form a very moist and wet dough. If it’s at all dry or crumbly, add more sour cream (or Greek yogurt) until it comes together. I used one-17.6 ounce tub of Greek yogurt and almost 1 cup lite sour cream. Dough will be seem like it’s almost too wet and it’s very heavy, but this is what you want. Err on the side of wetter than drier because flour and yeast love moisture when rising.
- Remove dough from the mixing bowl, spray a large bowl with cooking spray, pat dough into a round ball, place it in the bowl, and flip it over once so it’s lightly oiled on both top and bottom. It will look like a dimply head of cauliflower.
- Cover bowl with plasticwrap (spray it with cooking spray in case dough rises high enough to touch it) and place bowl in a warm, draft-free place to rise for about 6 to 8+ hours (I did 9 hours), or doubled in size. If you want to start this before work or before bed and made as an overnight dough and it’ll go 8-10 hours, that’s fine (I started it before bed and finished in the morning). There’s really no harm in letting it rise for up to 18 hours and the longer you let it go, the more of a classic sourdough/fermented flavor that will develop. If you suspect you’re going to allow it to rise on the longer side (12-18 hours), reduce yeast to about 1/2 teaspoon so dough doesn’t get too puffy and overflow the bowl.
- After 6+ hours of rising, turn dough out onto a floured surface (without punching it down to preserve the air pockets and bubbles that have been created) and knead lightly for about 2 to 3 minutes.
- With your fingers, make a flat 8 to 10-inch oval, evenly sprinkle with cheese. Tuck in sides so cheese is fully contained and pat into a round mound. Make sure cheese is fully enclosed and contained or it will burn.
- Place mound back into large mixing bowl, seam side down. Cover with plastic wrap, and allow to rise for 60 to 120 minutes, or until doubled in size (I did 75 minutes; I suspect the longer you let the second rise go, the more ‘holey’ the bread will be). Placing the bowl on the stovetop is a nice spot for this rise because you’re going to turn on the oven and the residual heat emitted helps with rising.
- Shortly after dough begins the 60-120 minute rising, turn oven on to 450F and place a covered Dutch oven (empty) or heavy-bottomed skillet into the oven and allow it to heat for about 45 minutes. Dutch ovens are so heavy and take so long to get truly hot, and when you’re ready to bake the bread, you want the Dutch oven screaming hot.
- After about 60-90 minutes or dough has doubled in size, remove Dutch oven from oven (careful, it’s screaming hot, use two pairs of hot mitts) and carefully place a piece of parchment paper on the bottom of Dutch oven to prevent bread from sticking.
- Carefully transfer dough from rising bowl to Dutch oven, cover it, and bake covered for 30 minutes. Don’t open the oven door or the Dutch oven lid to peek; you want to seal in the steam.
- After 30 minutes, uncover the Dutch oven, and allow bread to bake uncovered for 5 to 10 minutes (I did 8 minutes) or until it’s as browned as desired. Traditional sourdough has a darker crust than most bread (sometimes almost burnt-looking, but I prefer mine on the lighter side).
- Remove Dutch oven from oven, and remove bread from Dutch oven. Place it on a wire rack to cool completely before slicing. As tempting as it is, don’t slice too early because the cooling process is important and should be considered an important extension of the baking process.
- Slice or break off hunks, and serve with butter, jam, hummus, cheese, cheese spread, dip, etc.
- Bread is best fresh, but will keep airtight at room temp for up to 3 days. Older bread may be better toasted or make as grilled cheese.
Notes
Nutrition
Nutrition information is automatically calculated, so should only be used as an approximation.
©averiecooks.com. Content and photographs are copyright protected. Sharing of this recipe is both encouraged and appreciated. Copying and/or pasting full recipes to any social media is strictly prohibited.
More Easy Bread Recipes:
Easy Sourdough Bread — No sourdough starter required! The bread tastes like it’s from a fancy bakery and you won’t believe how easy it is!
No-Knead Make-Ahead Dinner Rolls with Honey Butter – The easiest dinner rolls ever! No kneading, no fuss & you can make the dough ahead of time! Perfect for holiday meals and parties!
Honey Dinner Rolls – Soft, fluffy rolls brushed with sweet honey butter! Truly the best dinner rolls ever. They disappear so fast at holiday meals & parties!
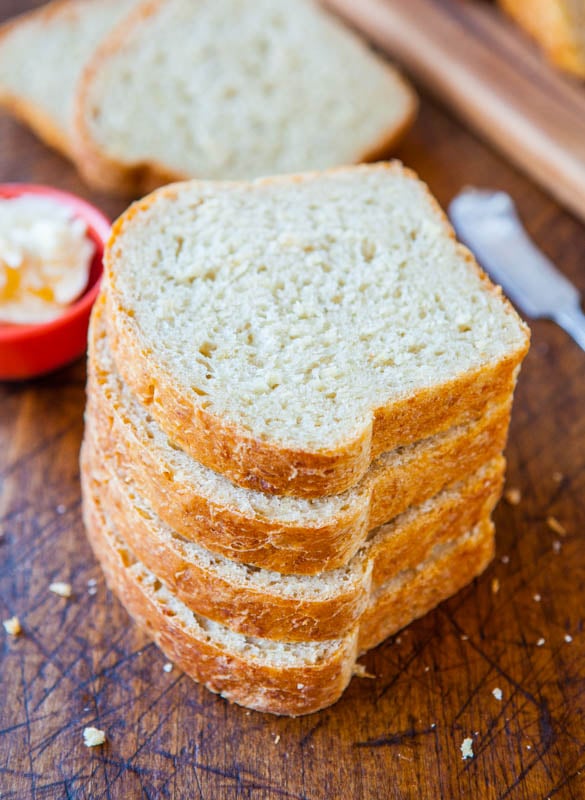
Soft and Fluffy Sandwich Bread — This sandwich bread is soft, fluffy, light, and moist. It’s made with a secret ingredient that keeps it moist and fluffy — oatmeal! It’s the perfect bread for a PB&J or grilled cheese sandwich!
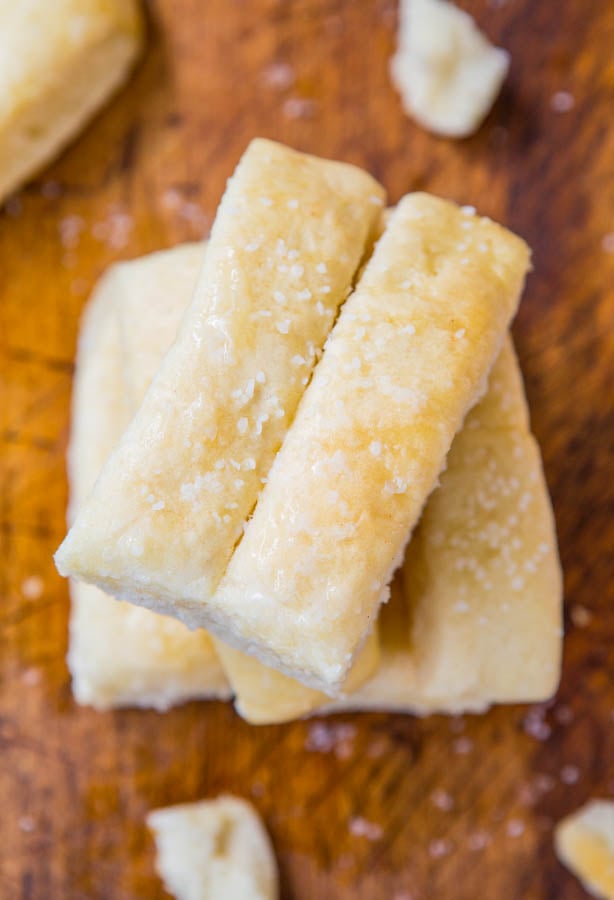
One-Hour Soft Buttery Breadsticks — Warm and fresh from the oven, these vegan buttery breadsticks are ridiculously good. They’re soft, fluffy, tender, and make your house smell amazing while baking.
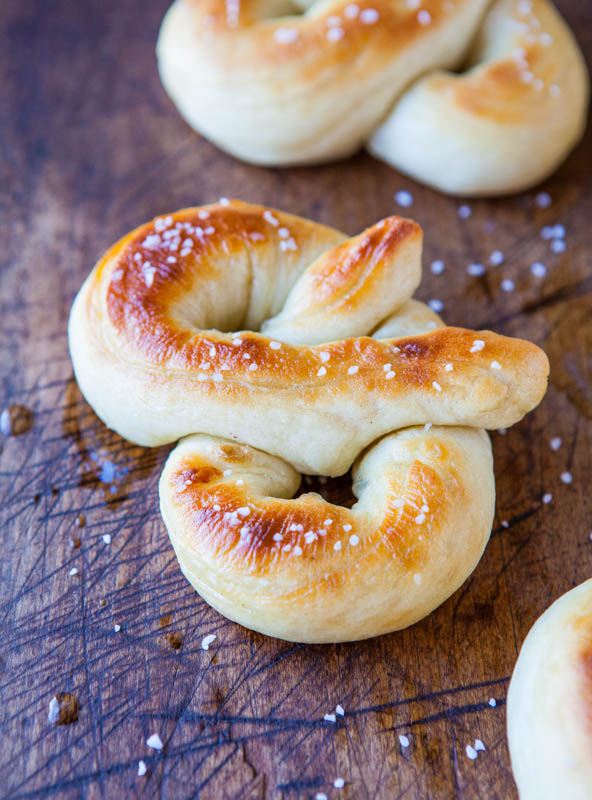
Soft Buttery One Hour Pretzels — These are like the soft, fluffy, buttery vegan pretzels you can buy at the mall that you can smell a mile away and they only take one hour to make!








I’ve tried this bread twice and both times it came out terribly burnt at only 30 minutes. Should I lower the temperature or shorten the cooking time?
A few things but it is so hard to really know from afar:
1. Make sure you’re baking the 30 minutes COVERED in step 10.
2. If it’s still burning, then turn down the heat by 25 degrees so at 425F and bake for 20 minutes (ignore what the recipe says and do that) and see how it looks.
Normally when something burns fast, it’s too hot of an oven for the given food. Or there is something wrong or off with the oven.
3. Calibrate your oven and make sure with a food thermometer inside the oven that your 450 is really 450 and not higher.
Please report back with how this goes!
i love making homemade bread. When I made the easy sourdough, I let it rise the 1st time for about 20 hours. After I kneaded it, I put the parchment paper in the bowl before I put the dough back in. Then when I had to move it to the Dutch oven I used the parchment paper to move it. The loaf I made was huge because I used a 32 oz yogurt & 6 cups flour. I only used 1 tsp yeast though because of the log rise. We loved the flavor. Cut the loaf in half & froze 1 half & the sliced the other half after the 1st day & froze that. We toast the slices directly from the freezer.
i love making homemade bread. When I made the easy sourdough, I let it rise the 1st time for about 20 hours. After I kneaded it, I put the parchment paper in the bowl before I put the dough back in. Then when I had to move it to the Dutch oven I used the parchment paper to move it. The loaf I made was huge because I used a 32 oz yogurt & 6 cups flour. I only used 1 tsp yeast though because of the log rise. We loved the flavor. Cut the loaf in half & froze 1 half & the sliced the other half after the 1st day & froze that. We toast the slices directly from the freezer.
Thanks for the 5 star review and glad you loved the flavor!
I think this bread would be great with chili or pasta. May add finely grated garlic. I think & would prefer shaved cheese instead of chunks so don’t have such big holes.
I use 11% fat content Greek yogurt for all my cooking. Do you think this would make a change to the outcome? Or would one use these ingredients and follow the directions to make a regular bread dough as described in the instructions?. I suspect that the end product may be a bit more buttery in taste and texture?
I think that it will be fine. However you won’t know until you just give it a try. Good luck!
Thank you. Not planning on making this right away, but will try and remember to let you know how it turned out when I do. My thought also was it shouldn’t matter much only a bit richer.
Yes agreed, shouldn’t matter but a bit richer!
Have everything to make the bread but I’m not sure how the cheese gets incorporated. Looking at the picture, it shows a somewhat flat dough like when making cinnamon rolls. Do you roll the dough and tuck the ends in?
Looking forward to making the bread.
Step 6. Enjoy the bread.
Sorry for being so dense, I don’t understand how create the boule from the flattened dough. The cheese is sitting on top of the dough, the sides won’t encase the cheese. I’m confused.
Push the cheese into the flat dough, make a mound that entraps the cheese if you will, make a ball, cheese is now encased.
I really wanted to love this bread. I make dutch oven breads regularly. I followed directions, but my bread came out very dense, almost dough-like, but it was baked through. Not sure what happened. I love trying new recipes, but this one didn’t work out for me. It has for others, so that is good.
I’m not sure what happened either. Possibly not the freshest yeast if it was dense and doughy? Thanks for trying the recipe and sorry it didn’t work for you. As you said, it worked for others and it’s worked great for me but bread making can by tricky sometimes.