
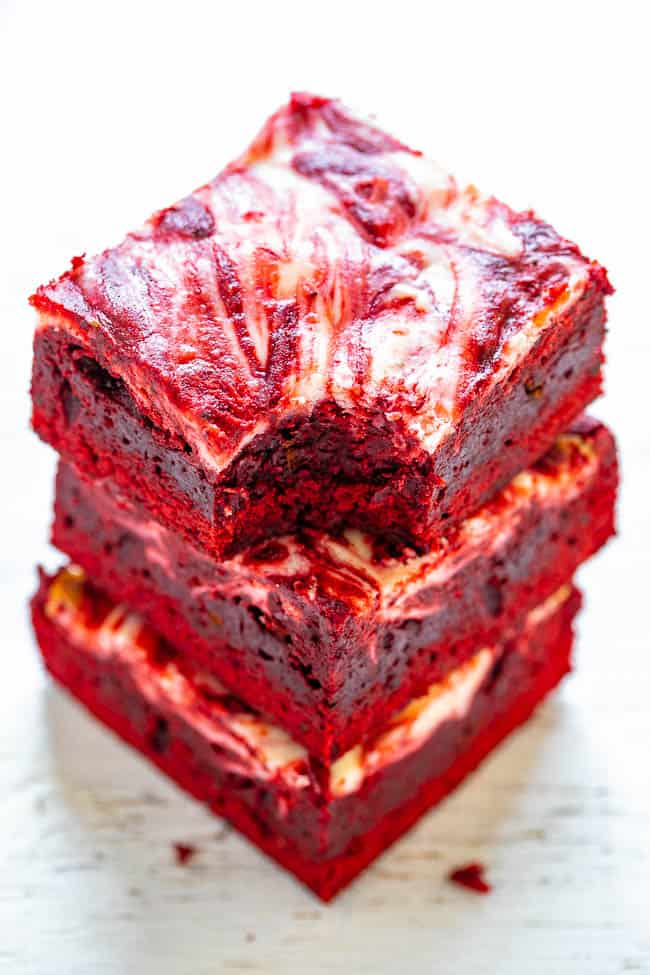
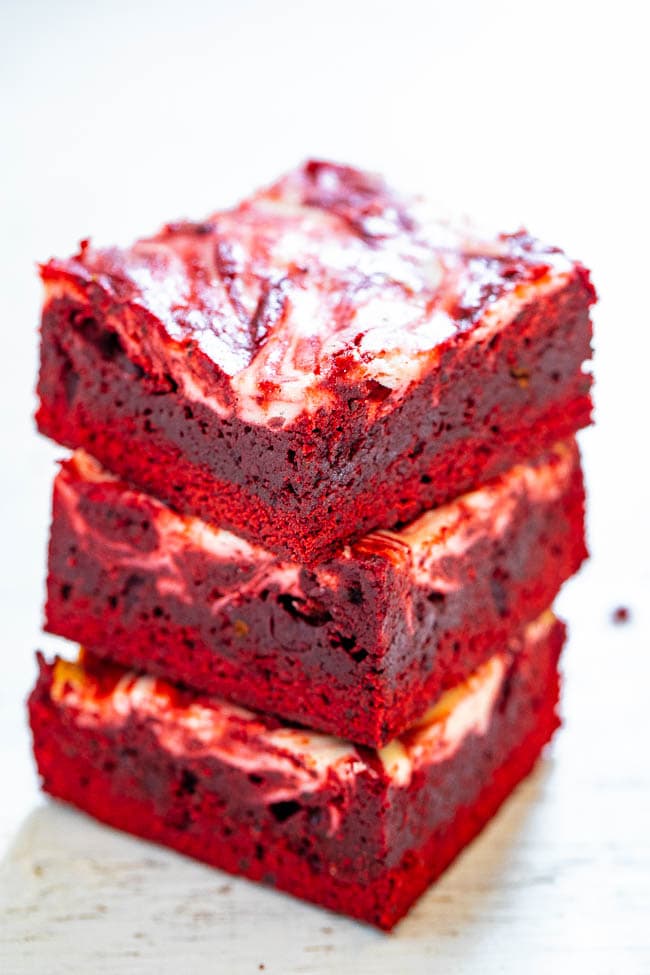
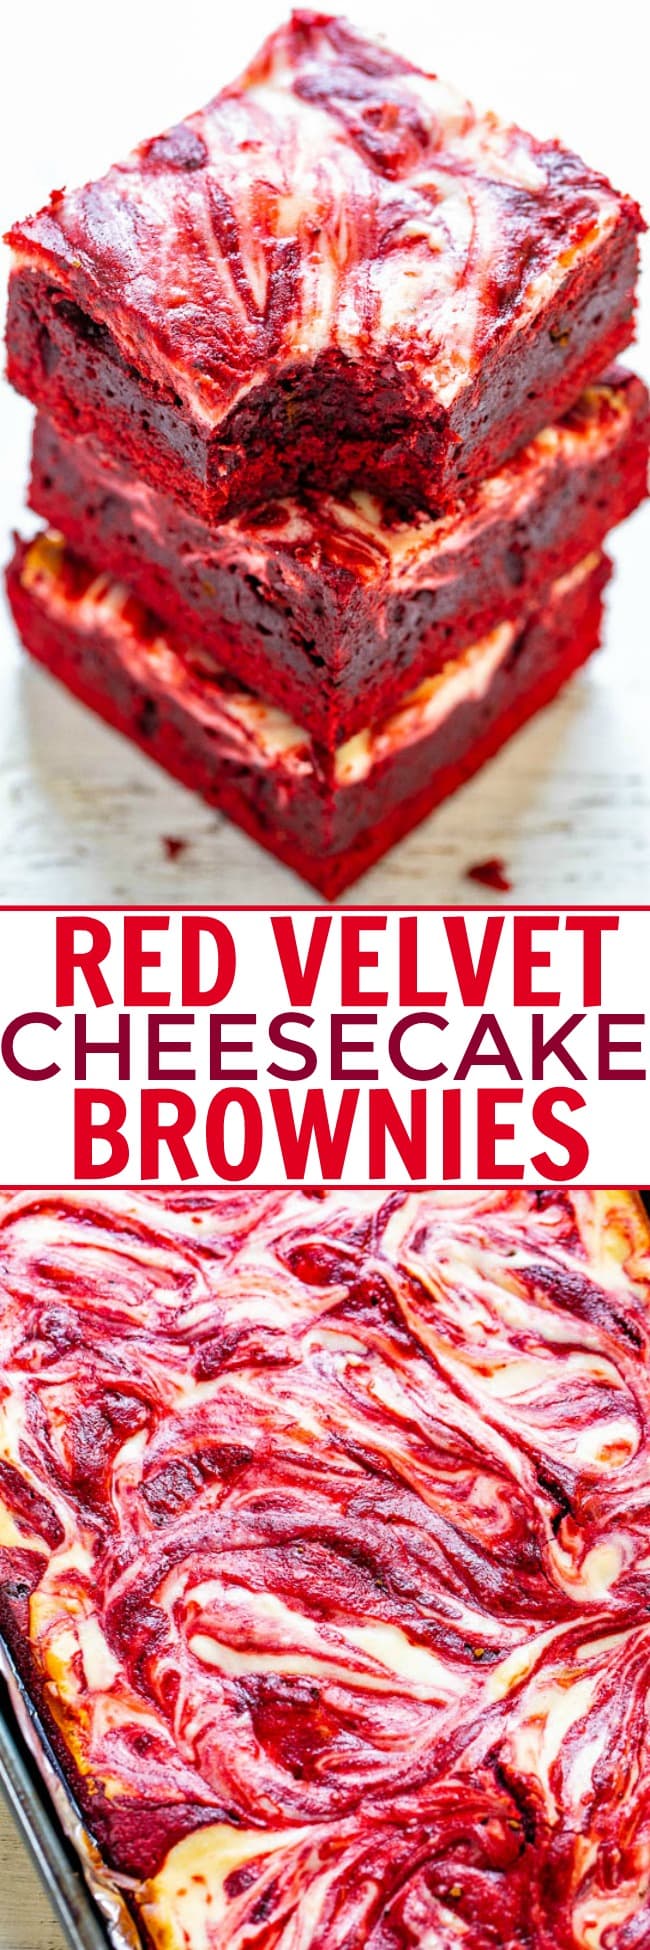
Red Velvet Cheesecake Brownies — ❤️🙌🏻🍫 Rich, decadent, red velvet brownies topped with tangy cream cheese swirls! PERFECT for Valentine’s Day, the Christmas season, or anytime you’re craving red velvet! EASIER than you think to make from scratch and everyone ADORES them!
Easy Red Velvet Cheesecake Brownies Recipe
These brownies are rich, decadent, with a texture that’s not as all cakey. If you like really rich brownies, you’re going to love these. It’s one of my favorite brownie recipes!
- They’re made with both melted chocolate and cocoa powder so they pack a definite chocolate punch and have perfect red velvet flavor.
- The cream cheese swirls add the perfect tanginess to cut through some of the richness of the brownies. It also helps to keep the brownies extra moist.
- These red velvet brownies are a perfect treat for Valentine’s Day, the Christmas season, or anytime you’re craving red velvet.
- They make a 9×13-inch pan and because they’re thick and rich, you can definitely stretch the yield to get 18 brownies out of a pan.
Fun Fact: I originally posted this recipe February 7, 2020 and and resharing it February 7, 2025. An unplanned accident 5 years to the date, later. I have so many new readers and want everyone to see these!
more easy red velvet desserts

What’s in Red Velvet Brownies?
To make these red velvet cream cheese brownies, you’ll need:
- Unsalted butter – Melted butter is used so there’s no need to break out a stand mixer or hand mixer in this recipe
- Bittersweet chocolate
- Granulated sugar
- Eggs
- Red food coloring – You can use liquid food coloring or gel food coloring
- Vanilla extract
- Unsweetened cocoa powder
- All-purpose flour
- Salt
- Cream cheese
Note: Scroll down to the recipe card section of the post for the ingredients with amounts included and for more complete directions.
How to Make Red Velvet Brownies
Even though this isn’t a one bowl recipe, it’s a two bowl recipe. Gotta love scratch brownies recipes like this one! For something that tastes to decadent, they’re actually very easy to make!
- Melt together butter and chopped chocolate in a large bowl before stirring in sugar, eggs, red food coloring, vanilla, cocoa powder, and fold in the flour. Turn the red velvet brownie batter out or pour it into a prepared baking pan. I recommend a 9×13-inch pan. You can line with parchment paper or just spray it very well.
- In another bowl, beat together cream cheese, egg whites, sugar, and a bit of flour. Beat for about 5 minutes, or until the cream cheese is totally smooth and mixture has fluffed up significantly in volume.
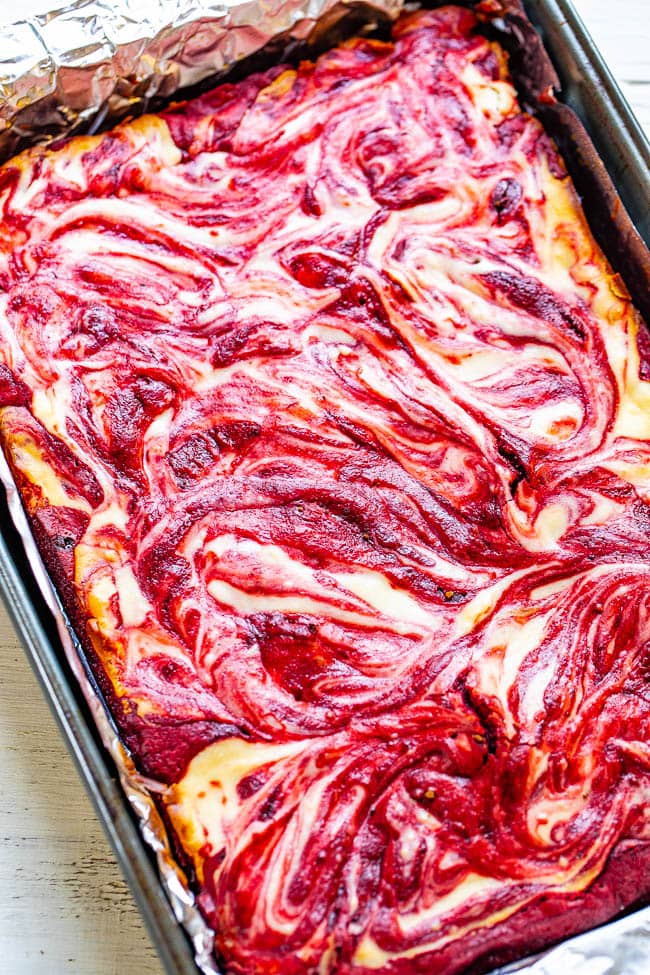
- Drop tablespoon-sized amounts of the cream cheese mixture over the brownies and gently using a knife to create a marbled effect.
- Then bake off your brownies. This is a big heavy pan of brownies and while mine took 42 minutes, if yours take longer than 45 minutes or so, don’t worry about it. Bake until they are done in your oven without regard to what the clock says.
- Cool fully before slicing with a sharp knife and serving!
How Much Red Food Coloring Will I Need?
I used a 1-ounce bottle McCormick Red Food Coloring. Anything less than this quantity would not have given me a sufficiently red enough shade.
All brands of food coloring and personal preferences vary so use as much as needed. But don’t be surprised if you need a lot more than originally anticipated, i.e. a whole 1-ounce bottle in my case.
This is not the kind of recipe where a couple drops will do it. Make sure you have an extra bottle on hand, just in case, so you get the true red velvet color effect.
You can also consider using red gel food coloring which is more concentrated so you’ll need less than if you use liquid food color. Again, how much to use will depend on how intense you want the red color.
Storage
In the Refrigerator: I store the red velvet cake brownies in an airtight container at room temperature for up to 5 days. If you’re more comfortable storing them in the fridge, do so. Note that they will be more prone to drying out if you store them in the fridge.
In the Freezer: While I haven’t frozen them, you could probably store them airtight in the freezer for up to 3 months.
Tips for Making Red Velvet Cheesecake Brownies
- I find actually bringing a bit of the brownie batter up and into the cream cheese mixture, and then swirling, gives a nice visual effect so you can see the red in the white – almost like layers. Everyone will have a different technique and swirl however you see fit.
- A big tip here is to not over swirl because then you won’t have an “artsy” looking design with a swirl pattern. You will just have a uniform pink-ish design and it doesn’t look as pretty.
- When you get to a place you think it looks good, have the courage to just stop swirling, set down that rubber spatula, and don’t do “one more little swirl,” which I can relate to.
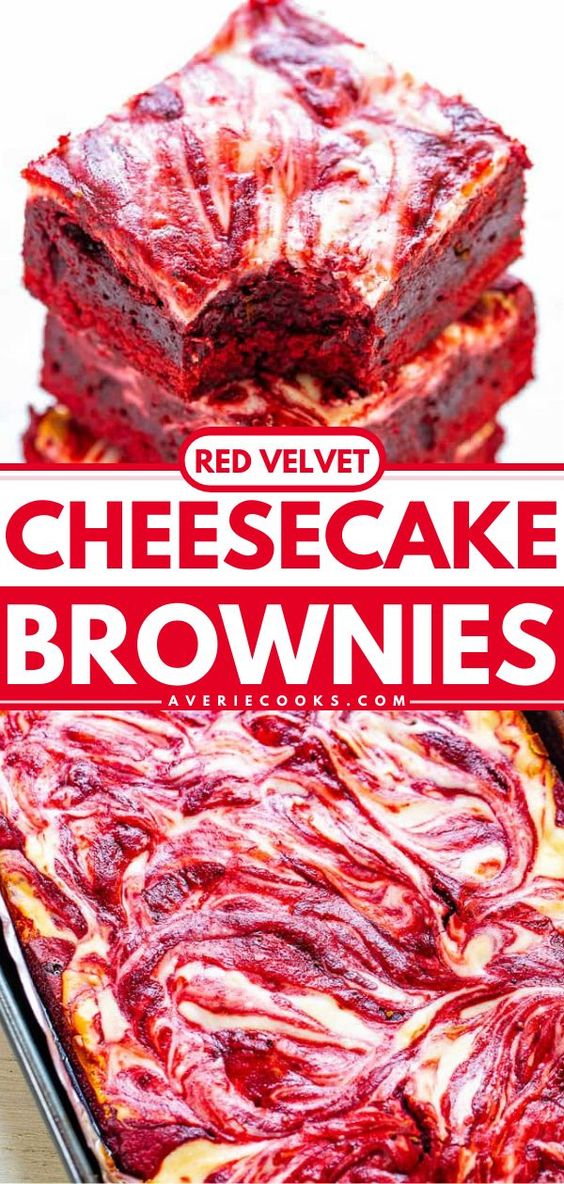

Red Velvet Cheesecake Brownies
Equipment
Ingredients
Brownies
- ¾ cup unsalted butter, diced into large cubes
- 4 ounces 72% bittersweet chocolate, coarsely chopped; or a similar percentage dark chocolate (I used Trader Joe’s 72% Pound Plus Bar)
- 2 cups granulated sugar
- 4 large eggs
- 1 ounce red food coloring, or as needed for desired shade (see Note 1 below)
- 2 teaspoons vanilla extract
- ⅓ cup unsweetened cocoa powder, sifted if it’s lumpy
- 1 ½ cups all-purpose flour
- ½ teaspoon kosher salt
Cream Cheese Swirl
- 2 large egg whites
- 8 ounce package cream cheese, very well softened
- ¼ cup granulated sugar
- 2 tablespoons all-purpose flour
- 1 teaspoon vanilla extract
Instructions
Brownies
- Preheat oven to 350F, line a 9×13-inch pan with heavy duty aluminum foil if desired for easier cleanup, and spray with cooking spray; set aside.
- To a very large microwave-safe bowl, add the cubed butter, chopped chocolate, and heat on high power for 90 seconds, or until the butter has melted and the chocolate can be stirred smooth. Heat for additional time in 15 seconds bursts if needed.
- Add the sugar and whisk to combine; mixture will seem thick and granular.
- Add the eggs and whisk to combine.
- Add the red food coloring, vanilla, and whisk (gently at first) to incorporate. Add additional food coloring as desired until the batter is as red as desired.
- Add the cocoa powder and stir to incorporate.
- Add the flour, salt, and stir to incorporate.
- Turn batter out into prepared pan; set aside.
Cream Cheese Swirl
- Add the egg whites, cream cheese, sugar, and beat on high with a handheld electric mixer for about 5 minutes, or until cream cheese is totally smooth and mixture has fluffed up significantly in volume.
- Add the flour, vanilla, and beat to incorporate.
- Drop the cream cheese mixture over the brownie batter in heaping tablespoonfuls. It seems like there is a lot of the cream cheese mixture, and there is, but after swirling it into the brownies, and baking, it’s just the right amount.
- Swirl gently using a knife to create a marbled effect. * (see note)
- Bake for about 40 to 45 minutes (I baked 42 minutes), or until a toothpick inserted into the center comes out clean or with a few moist crumbs. Start checking at 30 minutes and I advise rotating your pan once midway through baking to ensure even cooking and browning. Because all climates, ovens, and ingredients vary, and because this is a big heavy pan of brownies, if yours take longer than 45 minutes, don’t worry about it; bake until they are done in your oven without regard to what the clock says.
Notes
Nutrition
Nutrition information is automatically calculated, so should only be used as an approximation.
©averiecooks.com. Content and photographs are copyright protected. Sharing of this recipe is both encouraged and appreciated. Copying and/or pasting full recipes to any social media is strictly prohibited.
More Red Velvet Recipes:
ALL OF MY RED VELVET DESSERTS!
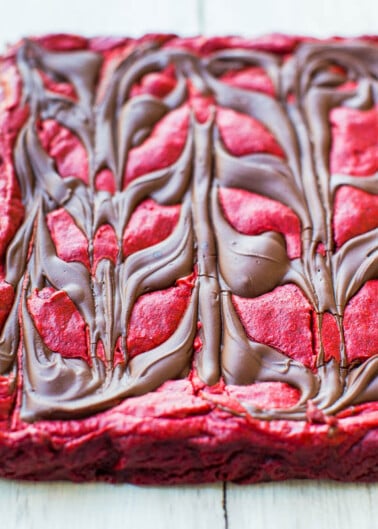
Red Velvet Chocolate-Swirled Brownie Bars – These easy bars topped with an abundance of chocolate are velvety soft and smooth! They don’t call it red velvet for nothing!

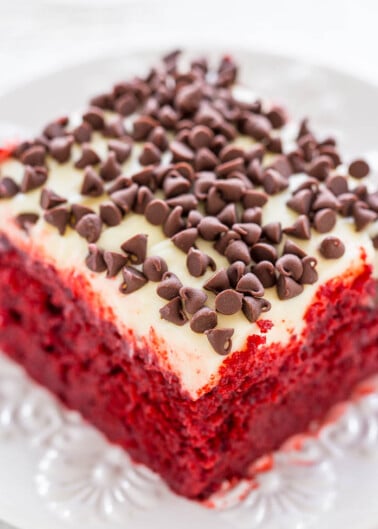
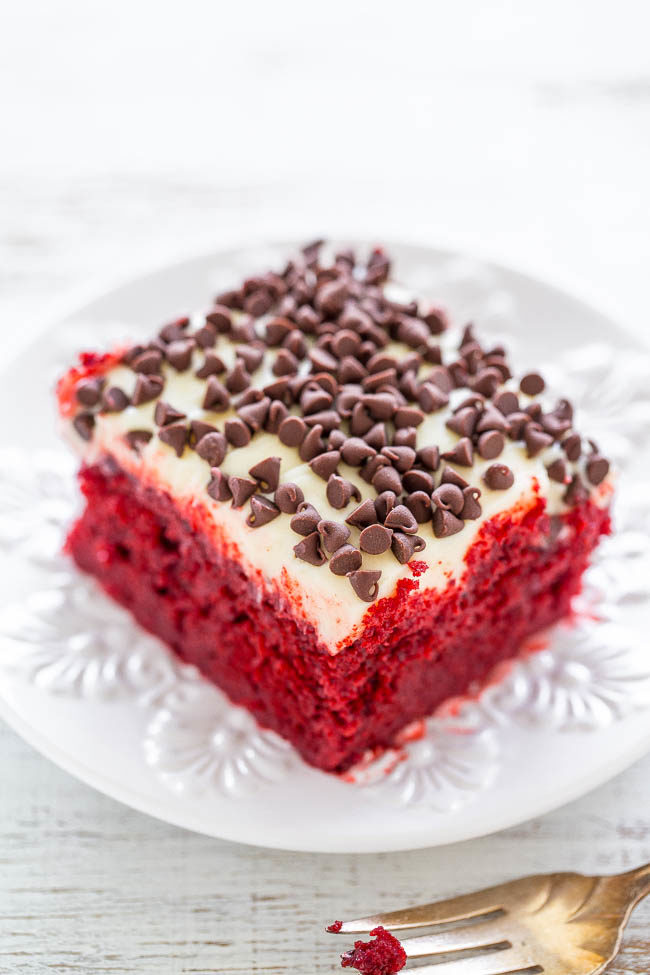
Red Velvet Poke Cake with Cream Cheese Frosting — If you like red velvet, you’re going to LOVE this EASY cake!! Super soft, moist, topped with luscious cream cheese frosting and chocolate chips! Perfect for holidays and special events!!
Red Velvet Cupcakes with Vanilla Cream Cheese Frosting {From Scratch} – Made in 1 bowl, no mixer, so easy, and the cupcakes taste like they’re from a bakery!

Red Velvet Gooey Butter Chocolate Chip Cookies – The softest, moistest, gooiest cookies ever! They’re so buttery they just melt in your mouth!

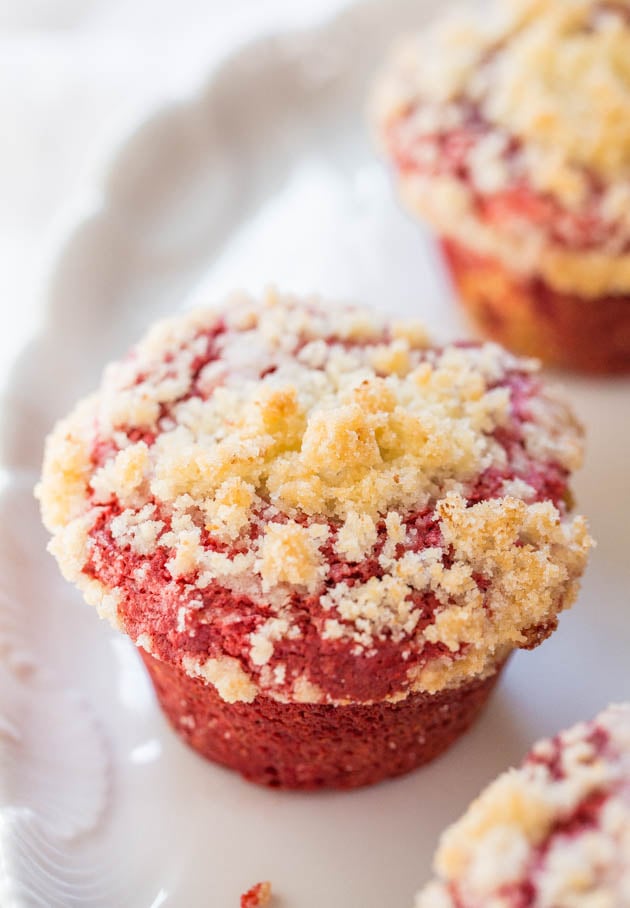
Red Velvet Muffins — They’d be so festive for holiday parties from Christmas to Valentine’s Day or anytime. Red velvet fans love it year-round and the muffins will be a hit with any red velvet lover.
Originally posted February 7, 2020 and reposted with updated text February 7, 2025.

Avery’s recipe are amazing !!! Thank you for these recipes..
Thanks for your lovely praise and compliments, Joni! I appreciate your support!
great
great
Simply loved this recipe. It’s that kind of recipe where you feel you are in heaven with every single bite.
My kids and all my friends all loved it too.
Fudgiest brownie I have ever had. In love with it totally.
My only concern is was, as mine took more than 45 minutes, the swirls on top obviously started to turn brown because of the heat. Is there any trick to make them look the way yours did ??
If yes please do share💕.
Thanks for the 5 star review and glad that this was heaven in every bite! We felt the same way about these brownies :)
As for the browning on top, I would say tent it (drape) a sheet of foil over the pan at about 25-30 minutes so that it doesn’t brown as much. However, cream cheese tends to do this regardless and my brownies were as underdone as you can get away with, thus less browning of the cream cheese, so it’s a balancing act for sure, but tenting will also help.
Made these last night and they were a hit! I only had semi sweet chocolate, medium eggs, and no red food coloring but still delicious and really cool looking! Always love your recipes, Averie! Thanks for another great one!
Made these last night and they were a hit! I only had semi sweet chocolate, medium eggs, and no red food coloring but still delicious and really cool looking! Always love your recipes, Averie! Thanks for another great one!
I tagged my red velvet/brownie/cheesecake loving teenaged son on this recipe when you posted in on Instagram. He wanted to try them, so I made a batch this weekend. (Baked a half recipe in an 8×8.) Not really wanting to use a whole bottle of artificial food coloring (just personal preference, no judgement), I used beet juice to color ours. (Which only gave it the slightest tinge of red. Like, you had to *think* “red” when you looked at them to even know they were supposed to be red, lol). Regardless of the color, the taste is fabulous. Son is a fan. :) Great fudgy texture we love about so many of your dessert recipes.
I tagged my red velvet/brownie/cheesecake loving teenaged son on this recipe when you posted in on Instagram. He wanted to try them, so I made a batch this weekend. (Baked a half recipe in an 8×8.) Not really wanting to use a whole bottle of artificial food coloring (just personal preference, no judgement), I used beet juice to color ours. (Which only gave it the slightest tinge of red. Like, you had to *think* “red” when you looked at them to even know they were supposed to be red, lol). Regardless of the color, the taste is fabulous. Son is a fan. :) Great fudgy texture we love about so many of your dessert recipes.
Thanks for the 5 star review and glad these were a big hit! I completely understand about the beet juice vs. red food coloring. For a blog, I need to have these be really RED or it just doesn’t convey but yes of course, do whatever is best for you! Completely get that!
And glad your teenage son wanted to try these and is now a fan!
Have you ever used the red velvet emulsion? I like the flavor of that versus the whole bottle of food coloring….
No I have not. I will have to research it.
Oh my–3 of my favorite desserts all in one! Fabulous!!
You’ve got to love a 3-in-1 dessert, right! :)