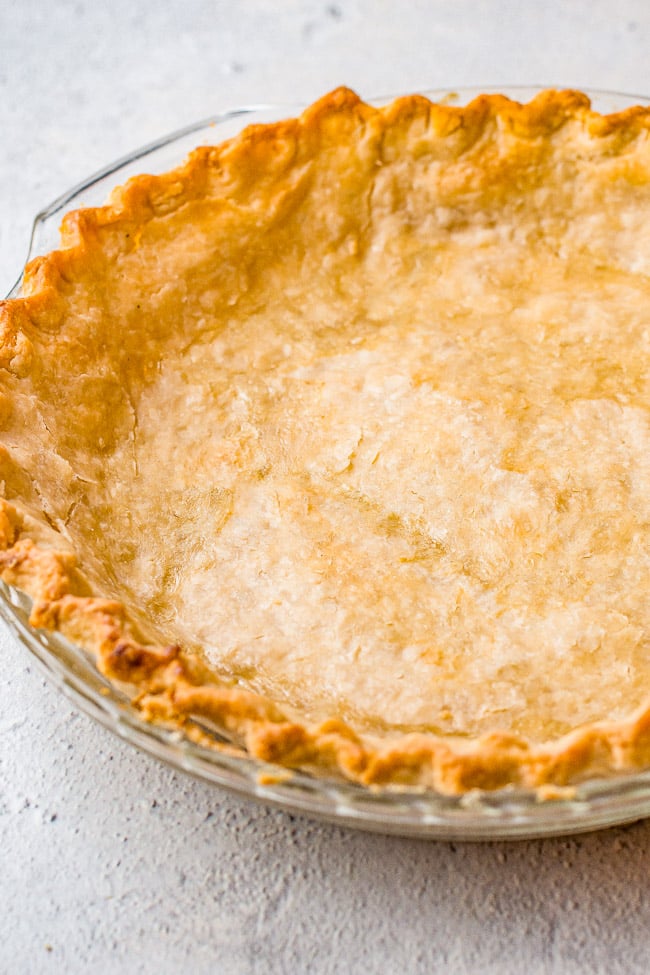
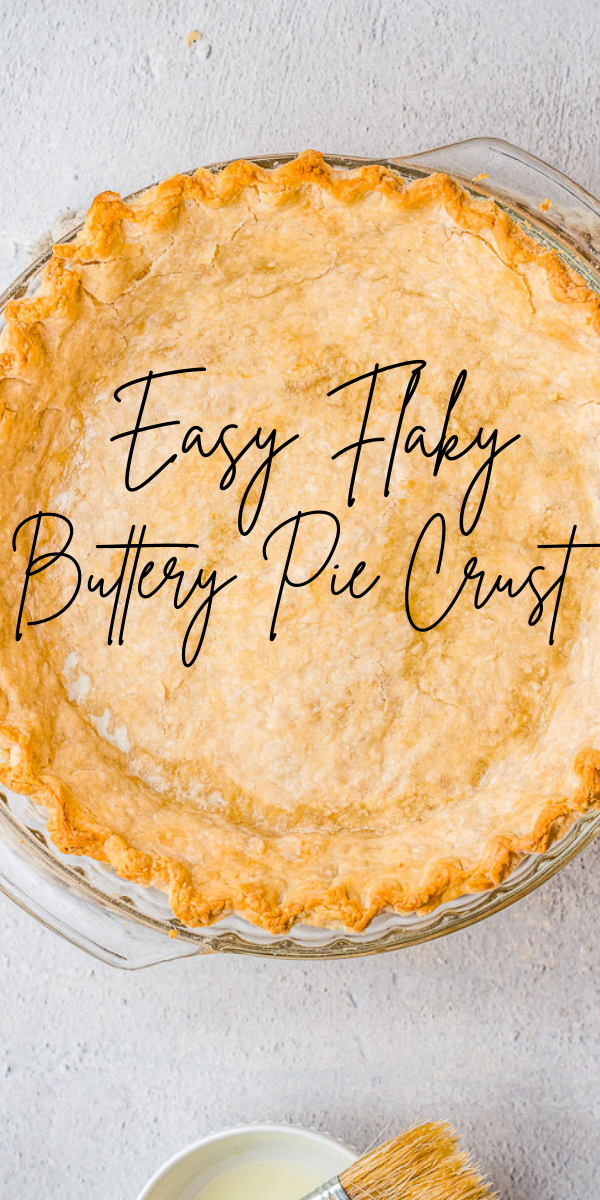
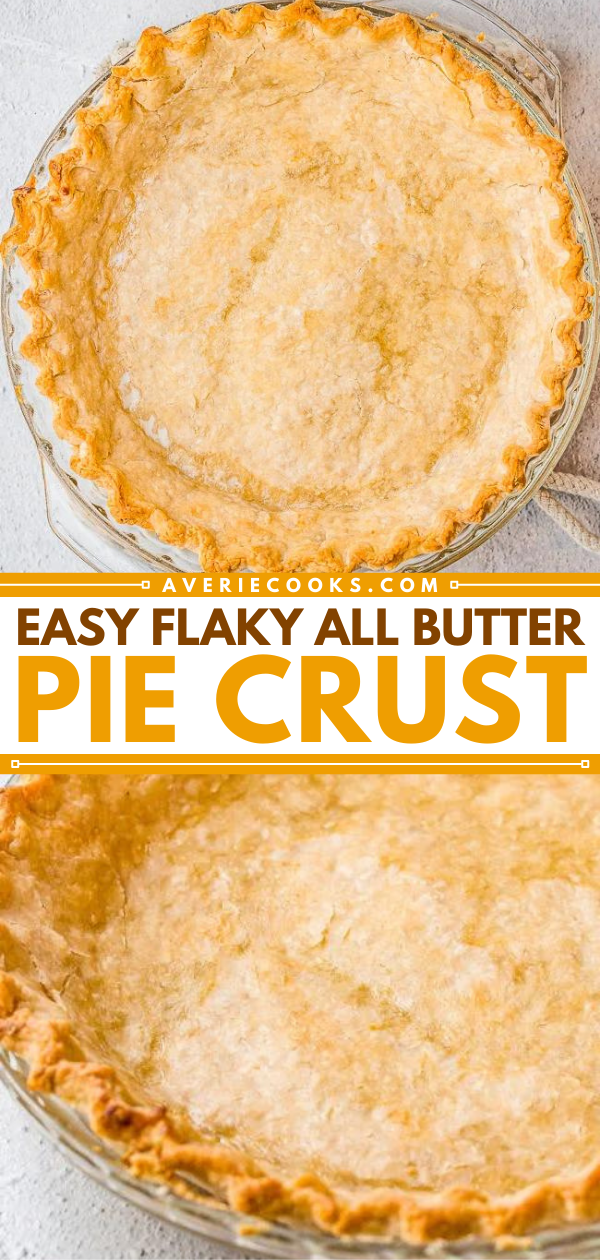
Flaky All-Butter Pie Crust — This perfect pie crust is so FLAKY and BUTTERY! It’s EASY, no-fuss, and foolproof! It’s great pre-baked to use in no-bake pies or for double-crust pies!
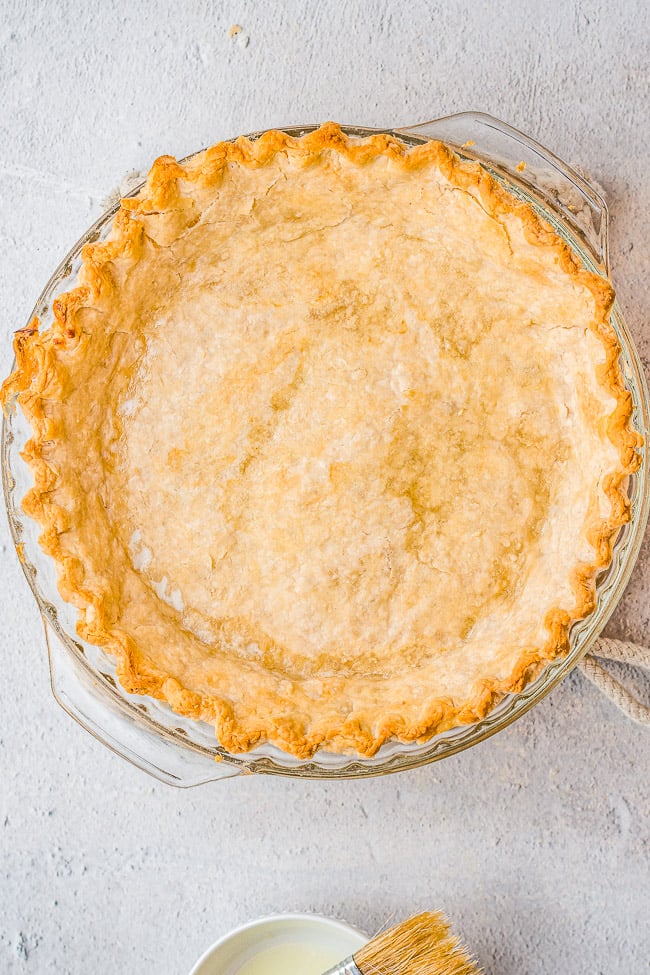
Table of Contents
Simple Pie Crust Recipe Made with Butter
I know that at times it can seem intimidating to make certain things from scratch, and I know that for many, pie crust is one of those things!
My recipe for a pie crust made with butter is easy, no-fuss, and because it’s made in the food processor, it’s ready in mere minutes. Not to mention, no elbow grease required on your part!
Also included in this post are my tips, tricks, do’s and don’ts so that you yield the best and perfect pie crust that will certainly impress your friends and family.
All-Butter Pie Crust Ingredients
For this flaky butter crust recipe, all you need are these five basic pantry and fridge ingredients (since water doesn’t count as an ingredient):
- All-purpose flour
- Salt
- Granulated sugar (optional)
- Unsalted butter
- Ice water
- Egg whites, for brushing
Note: Scroll down to the recipe card section of the post for the ingredients with amounts included and for more complete directions.
How to Make Pie Crust with Butter
It’s actually so easy to make an all-butter pie crust! Detailed instructions are given in the recipe card at the end of the post, but here’s an overview of the steps:
- Begin by adding some the flour, salt, and optional sugar (not necessary for a savory pie) to the canister of a large food processor and pulse once or twice to combine.
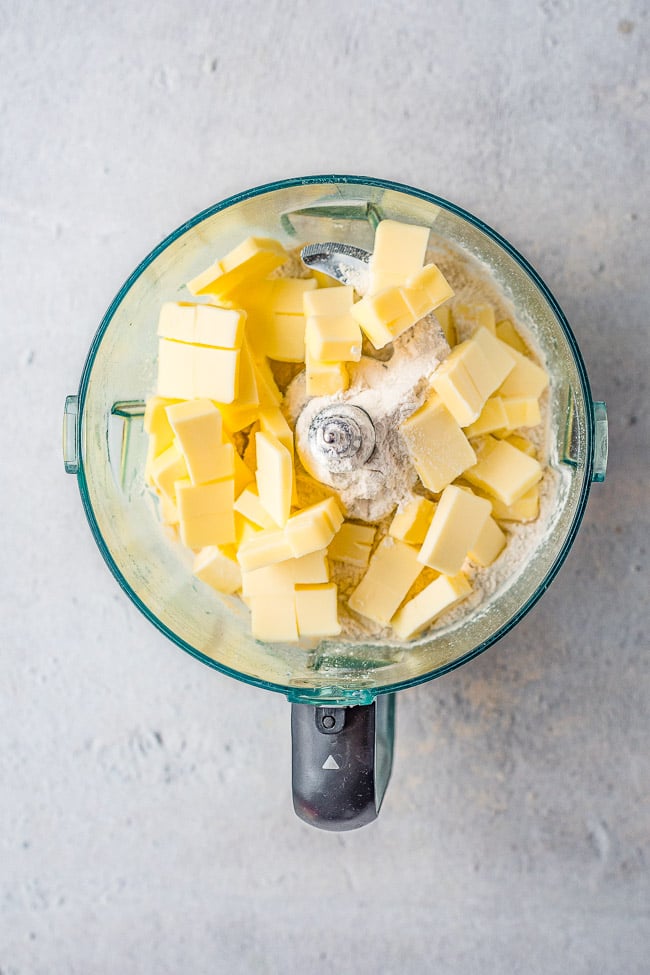
- Add cubed COLD butter and pulse for 50 seconds until a paste forms. Break up the clumps evenly around the food processor.
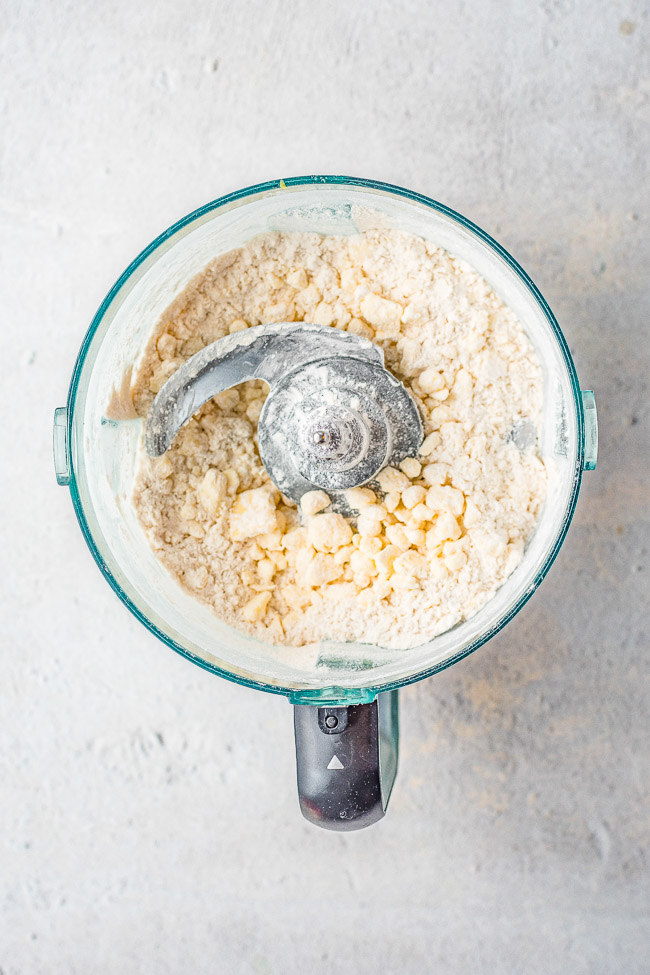
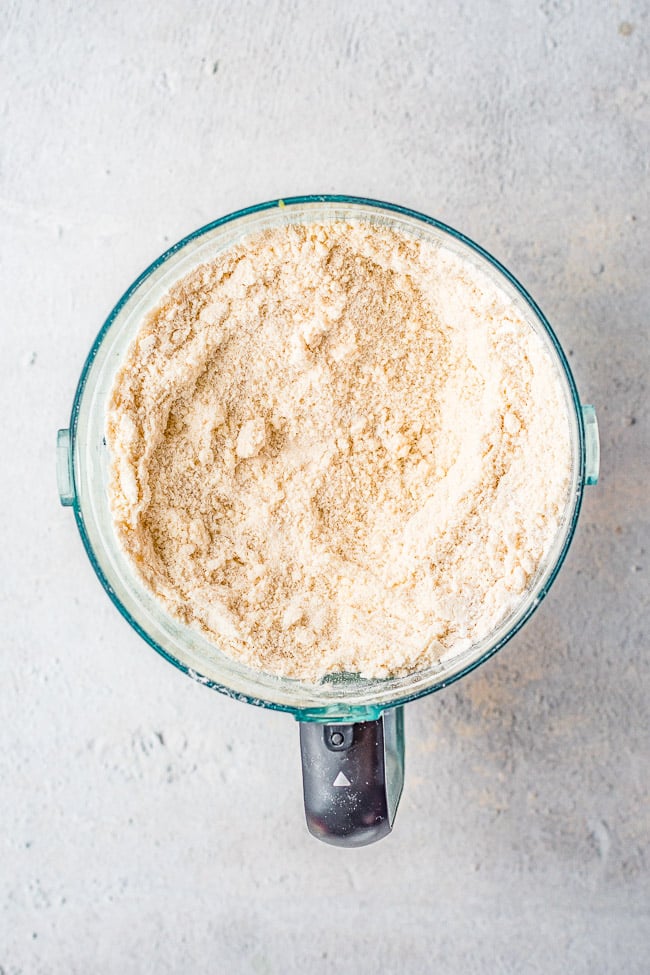
- Add the remaining flour and pulse another 3 or 4 more times until you have pea-sized pieces. (See the photo below for reference!)
- Add some very cold water and pulse to combine before adding additional water if necessary if the mixture looks a bit dry, as shown below.
- Pulse two or three times until the dough comes together.
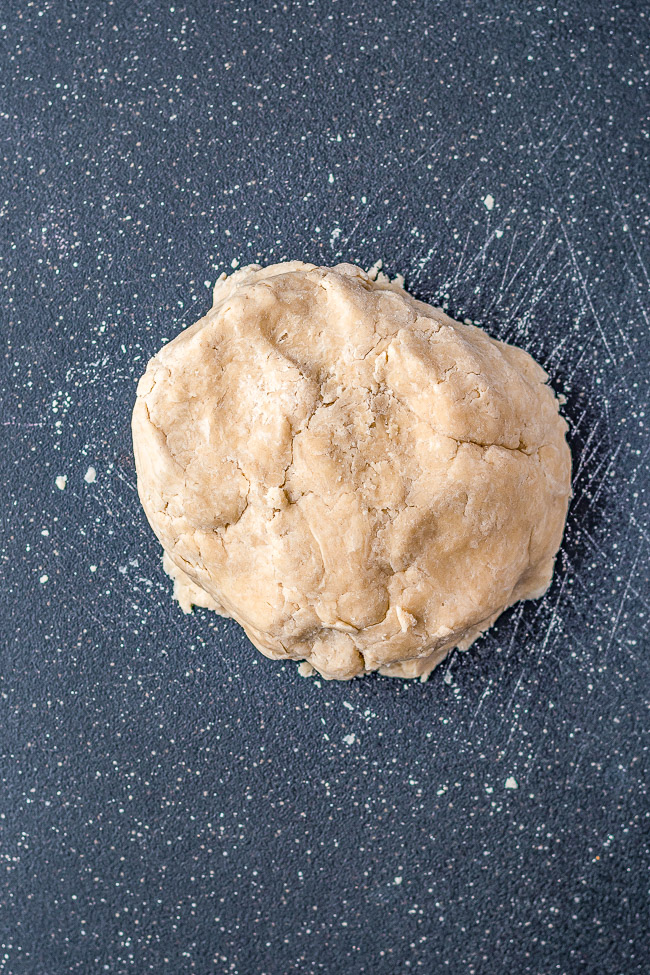
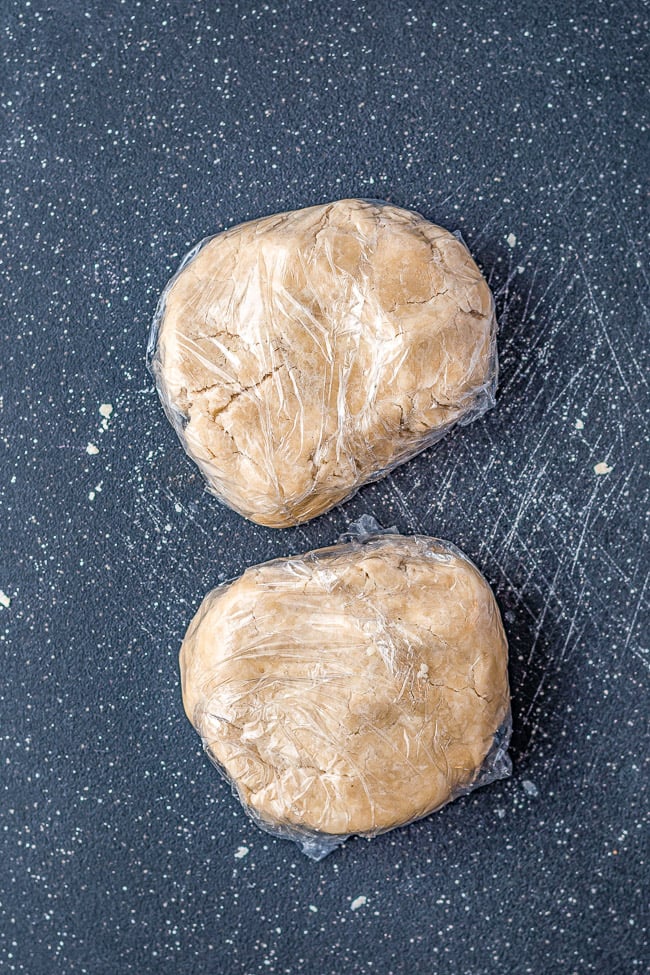
- Remove the dough, form a ball, and divide it into two equal portions.
- Roll each portion of dough into a ball and place it inside a piece of plastic wrap, wrap it tightly, and press down to form a thick disk.
- Repeat with the second portion of dough.
- Refrigerate for 1 hour, then allow the disks to sit on the counter for 10 minutes before rolling them out.
How to Blind Bake a Pie Crust
If you are using a recipe that needs a blind bake (meaning baking just the crust before you add any filling into it), preheat the oven to 450°F.
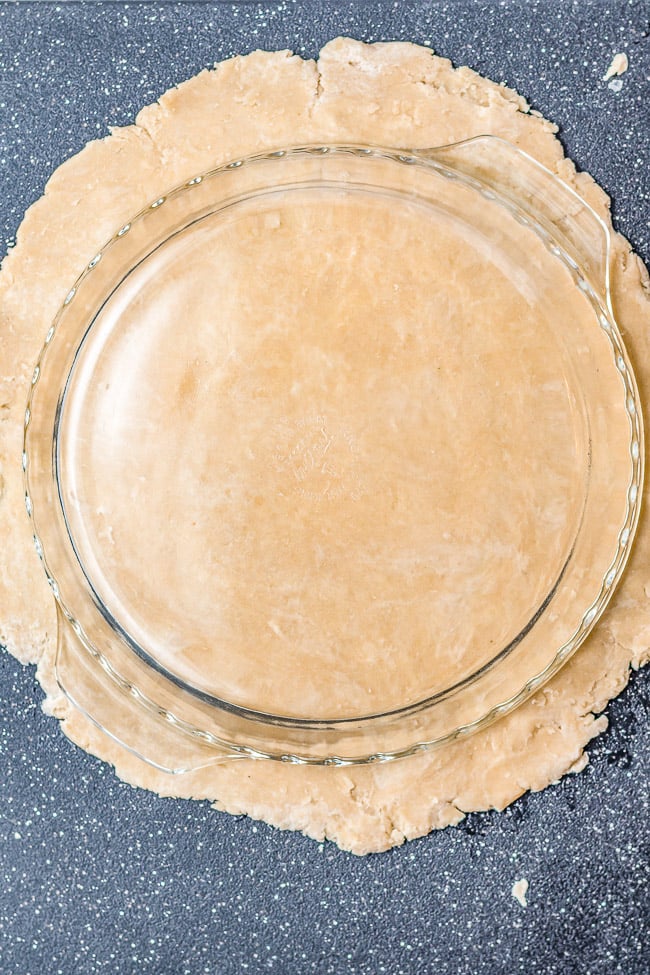
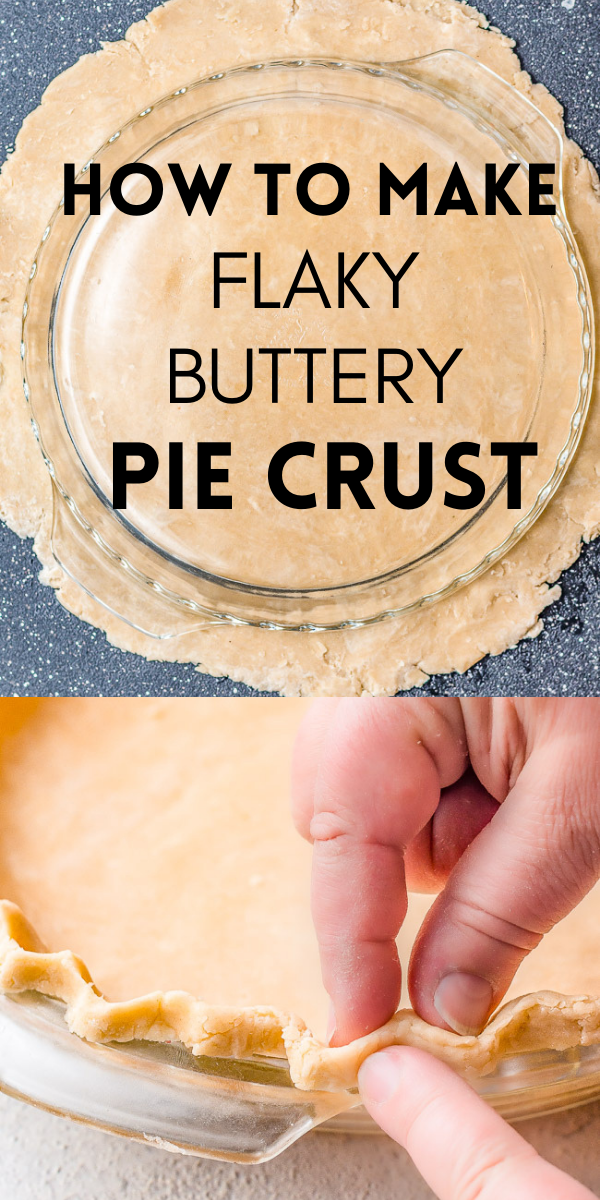
To bake a single butter pie crust, roll the dough out slightly thicker than you normally would.
Roll the crust up over the rolling pin, then gently unroll over the pie pan. Press it into the base of the pan.
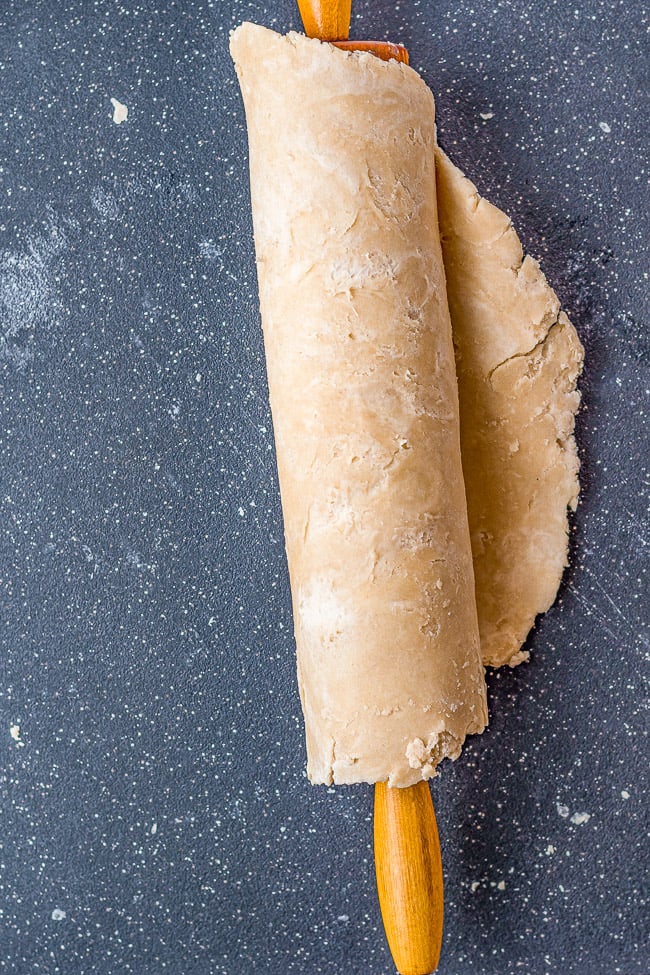
Trim the crust one inch over the edge.
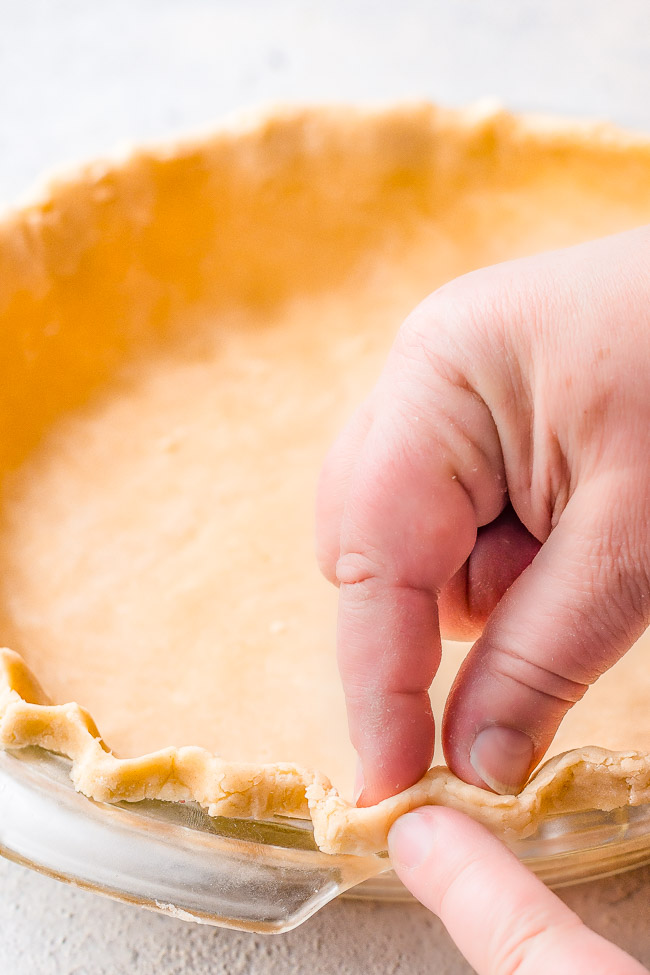
Fold the extra crust under the edge to make the edges thicker. Then, using your first finger and thumb on one hand and a first finger on the other, press the dough with one finger into the middle of the other two fingers. This gently creates a ridge around the crust.
There are many ways to edge the crust.
If you have time, refrigerate the pie plate with the pie crust in it for 30 minutes or so. This creates a flakier crust in the final analysis because the cold butter behaves differently during the baking process.
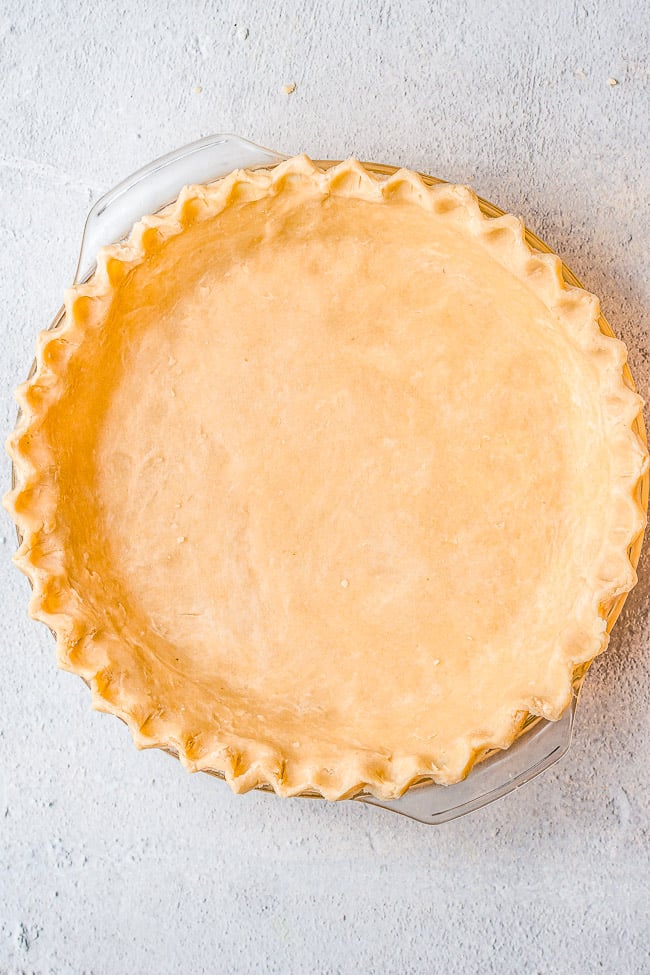
Cover the bottom with aluminum foil and fill with dry beans or pie weights if you have them. This will prevent the pie from bubbling up in the middle.
Additionally, you can also prick the bottom of the crust with a fork a few times.
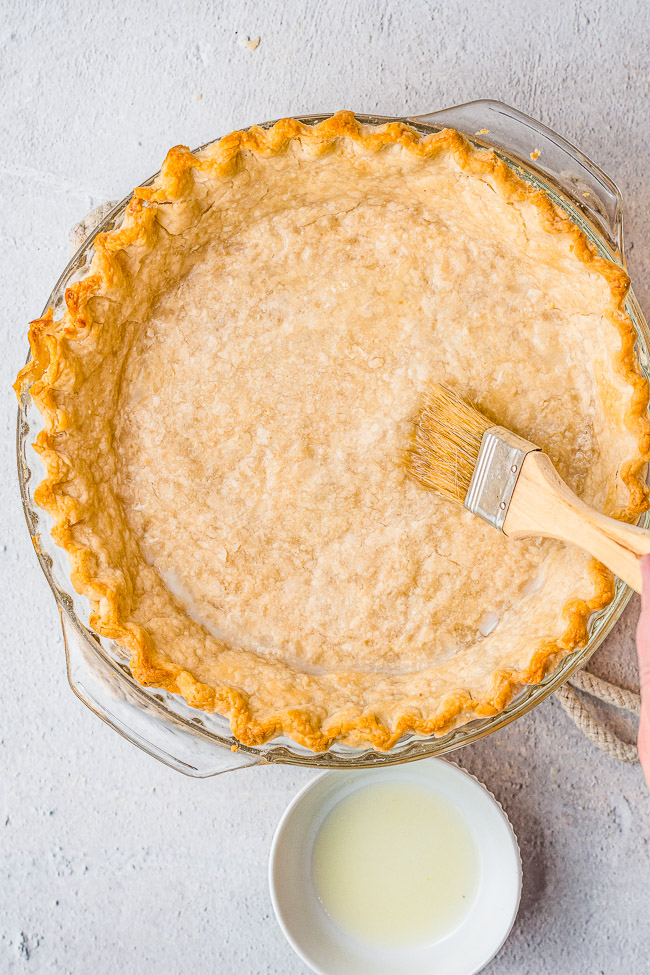
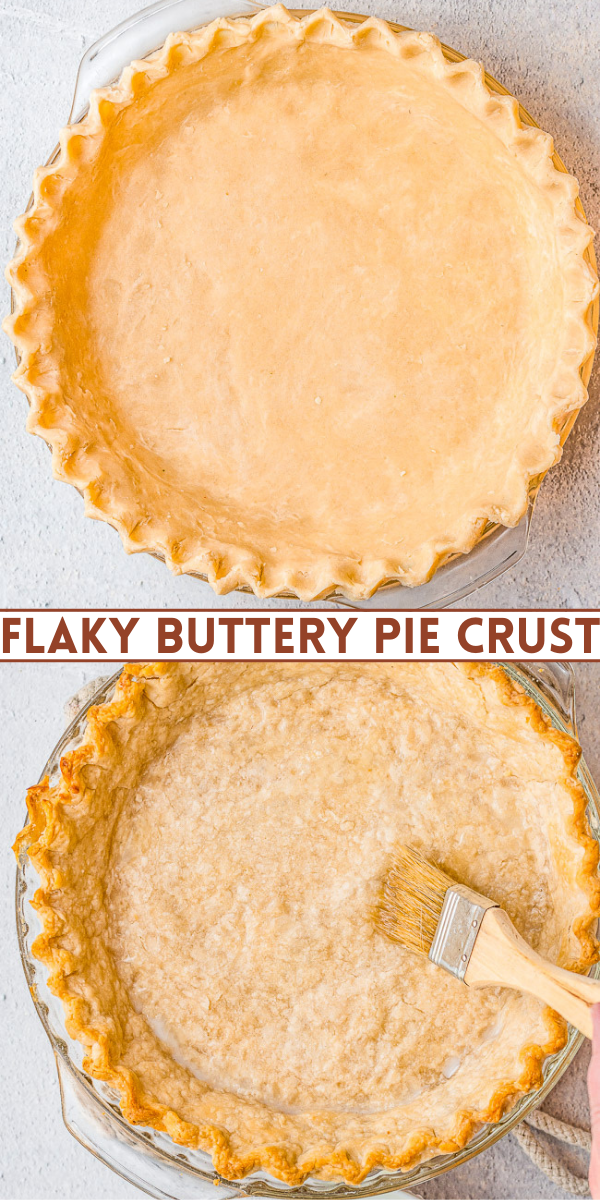
Bake for 15 minutes, then brush with egg whites.
Return to the oven and bake for an additional 3 to 4 minutes and then fill with your favorite pie filling or carry on with whatever pie recipe you were making, such as my Fresh Strawberry Pie or Rhubarb Berry Pie.
Recipe FAQs
Pie crust made with butter is FLAKY! As the cold pieces of butter melt in the oven, they release steam. Those pockets of steam within the pie crust are what make it super flaky! Plus, butter has more flavor that shortening and I simply prefer the flavor of a flaky, buttery pie crust.
No, real butter only for this flaky pie crust recipe. And make sure it’s very cold.
I prefer to use unsalted butter and add 1 teaspoon of salt when making an all-butter pie crust. While theoretically salted butter could work, your crust may end up turning out too salty because you’re not in control of just how much salt is in those two sticks of butter. Salted butter can really vary in its saltiness from brand to brand.
All-purpose flour is the only flour that I know for sure will work in this recipe. I don’t recommend using any other flour. I can’t say if gluten-free flour that’s intended for baking in a cup-for-cup fashion will work or not. Don’t use whole wheat flour since it won’t behave the same as all-purpose.
If you have a scale, weigh your flour. You need 2.5 cups, or 12.5 ounces, to make this buttery, flaky pie crust.
Using a food processor is much easier for making pie crust. Your hands will warm the butter and can make the dough too soft, which is why it’s easier to make the dough in the food processor. It comes together in mere minutes. If you don’t have a food processor, it’s better to use a fork or a pastry cutter rather than your bare hands. Again, you don’t want to warm the butter!
No, don’t use a blender or a high-speed blender like a Vita-Mix since they use a different mixing action than a food processor.
This butter pie crust recipe will make enough dough for two pies baked in a standard 9- to 9.5-inch glass pie plate. Or, use the recipe for one 9-inch pie with a double crust.
Very cold ice water and very cold butter will help the dough come together and stay together.


How to Store Pie Dough
The raw pie dough will keep airtight in the refrigerator for up to 3 days. Let it sit out on the counter for 10 to 15 minutes before rolling it out and baking it.
Can Pie Crust Be Frozen?
Yes, raw pie dough can be wrapped airtight and frozen for up to 3 months. Thaw it fully before rolling it out. I recommend placing it in the fridge overnight to thaw.
Tips for the Best All-Butter Pie Crust
Gluten is the enemy of a good pie crust. To help with this, flour is added in stages and the butter will get coated with the addition of flour. This encapsulates the flour and keeps the gluten from doing its work.
Make sure not to over work or pulse the mixture too much or the gluten will start working, thus creating a tougher, denser crust that is chewier rather than flaky and light. When making bread, you want to work that dough to activate the gluten, which creates a chewy texture which is great for bread, but the opposite is true for pie crust.
Refrigerating the pie crust before rolling and then again after it is in the pie dish for about 30 minutes will make for a better, flakier, lighter crust because the cold butter will help create flaky little air pockets when the crust bakes.
Brushing egg whites over the baked crust and baking again for a couple of minutes will help seal the crust to keep it from getting soggy when you add the filling.
Pin This Recipe
Enjoy AverieCooks.com Without Ads! 🆕
Go Ad Free

Easy Flaky All Butter Pie Crust
Ingredients
- 2 ½ cups 12 ½ ounces all-purpose flour, divided
- 1 teaspoon salt
- 1 tablespoon sugar, optional (omit for savory pies)
- 1 cup very cold unsalted butter, cut into tablespoon slices
- 5- 7 tablespoons very cold ice water
- 2 tablespoons egg whites, lightly beaten for brushing on the crust
Instructions
Making the Crust:
- To the canister of a large food processor, combine 1 ½ cups flour, salt, sugar and pulse 1 or 2 times to combine.
- Add the sliced butter cubes to the food processor and pulse for approximately 50 seconds, or until a paste forms. Break up and distribute the clumps evenly around the processor canister.
- Add in the remaining 1 cup flour and pulse another 3 or 4 more times until the flour is in approximately pea-sized pieces.
- Add 5 tablespoons of water and pulse combine.
- Optionally, add the remaining 2 tablespoons water and pulse 2 or 3 times. Do not add this additional water if your dough has already come together and seems sufficiently moist.
- Remove the dough and form a ball.
- Divide the dough into two equal portions.
- Roll each portion into a ball and wrap tightly in plastic wrap.
- Press down to form a thick disk. Repeat with the second portion of dough.
- Refrigerate for 1 hour, then allow to sit on the counter for 10 minutes before rolling out for the crust.
Blind Baking the Crust:
- If you are using a recipe that needs a blind bake (baking the crust first before adding any filling), preheat the oven to 450°F.
- To bake a single crust, roll the dough out slightly thicker than you normally would.
- Roll the crust up over the rolling pin, then gently unroll over the pie pan.
- Press it into the base of the pie pan.
- Trim the crust 1-inch over the edge.
- Fold the extra crust under the edge to make the edges thicker.
- Then using your first finger and thumb on one hand and a first finger on the other, press the dough
with one finger into the middle of the other two fingers gently creating a ridge around the crust. This is an easy way to edge the crust but note there are many ways to edge crust. - Optionally, if you have time, return the pie dish with the crust in it to the fridge for approximately 30 minutes to chill once again. This will produce an even flakier, lighter crust because of how the cold butter in the dough will behave in the hot oven.
- Cover the dough with aluminum foil and fill with dry beans or pie weights if you have them. This will prevent the pie from bubbling up in the middle. Additionally, you can also prick the bottom of the crust with a fork a few times before covering with foil and adding the dry beans.
- Bake for 15 minutes, then brush with egg whites.
- Return to the oven and bake for an additional 3 to 4 minutes. This helps set the crust.
- Fill with your favorite pie filling.
For Recipes That Don't Require Blind-Baking:
- Roll out the dough to approximately 12-inches in diameter.
- Roll the crust up over the rolling pin, then gently unroll over the pie pan.
- Press it into the base of the pie pan.
- Trim the crust 1-inch over the edge.
- Fold the extra crust under the edge to make the edges thicker.
- Then using your first finger and thumb on one hand and a first finger on the other, press the dough
with one finger into the middle of the other two fingers gently creating a ridge around the crust. This is an easy way to edge the crust but note there are many ways to edge crust. - Fill with your favorite pie filling
For Pies Requiring a Double Crust:
- If you're baking a classic apple or cherry pie for example, or another type of double-crusted pie, proceed with likely blind baking the crust
- Add the filling.
- Rolling out the second crust to approximately 12-inches in diameter.
- Roll the crust up over the rolling pin, then gently unroll over the top of the pie pan.
- Trim the crust 1-inch over the edge.
- Then using your first finger and thumb on one hand and a first finger on the other, press the dough
with one finger into the middle of the other two fingers gently creating a ridge around the crust. This is an easy way to edge the crust but note there are many ways to edge crust. - Vent the pie in the center with a paring knife by making a few slits for the hot steam and air to escape. Alternatively, you can research online how to make pretty design cutouts with a paring knife.
Notes
- You can make the crust in advance and it will keep airtight in the refrigerator for up to 3 days. Let it sit out on the counter for a bit before rolling out.
- Alternatively, you can make the crust in advance and it will keep airtight in the freezer for up to 3
months. Thaw before rolling.
Nutrition
Nutrition information is automatically calculated, so should only be used as an approximation.
©averiecooks.com. Content and photographs are copyright protected. Sharing of this recipe is both encouraged and appreciated. Copying and/or pasting full recipes to any social media is strictly prohibited.
Recipes Using Butter Pie Crust:
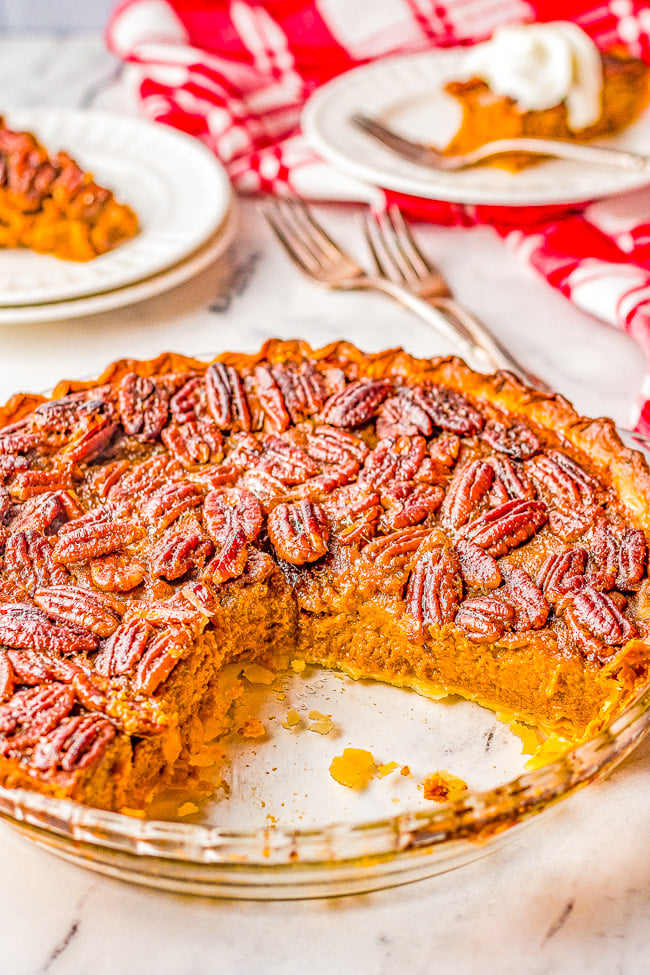
Pumpkin Pecan Pie — Merging two favorite pies in one so that the whole family can agree on a holiday dessert! This EASY pie is perfect for Thanksgiving, Christmas, holiday entertaining, and can be made in advance with store bought crust to save time!
Best Homemade Apple Pie (From Scratch!) — This fabulous apple pie is a specialty of my grandma’s. The sauce for the apples is slowly poured over the lattice crust until it fills the shell.

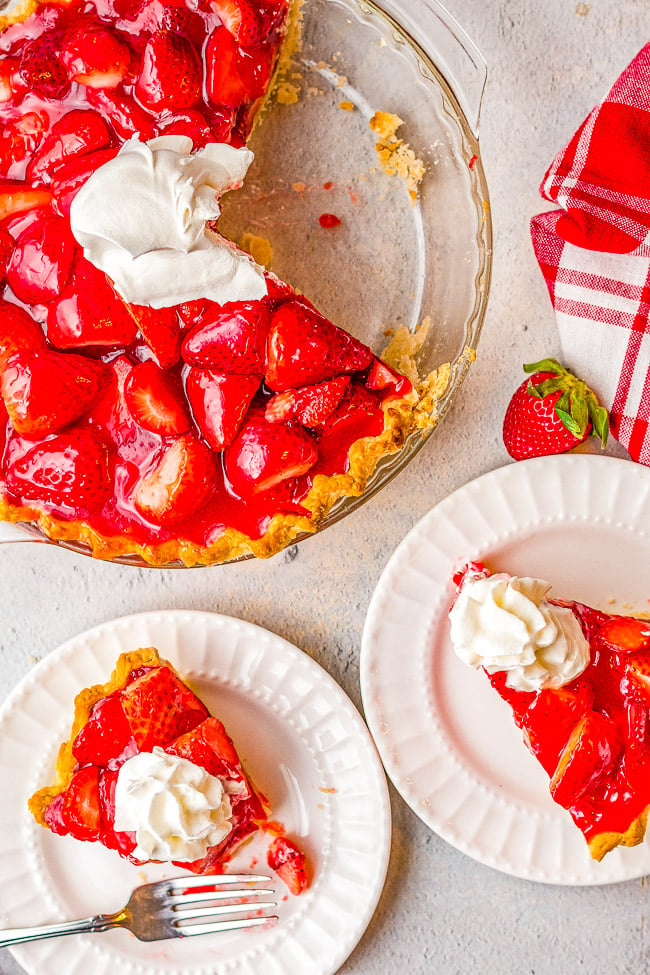
Fresh Strawberry Pie – This EASY strawberry pie is bursting with juicy, fresh strawberries and covered in a delicious glaze! Use a homemade flaky crust OR a refrigerated store bought crust for this amazing pie that everyone LOVES! Only SIX main ingredients!
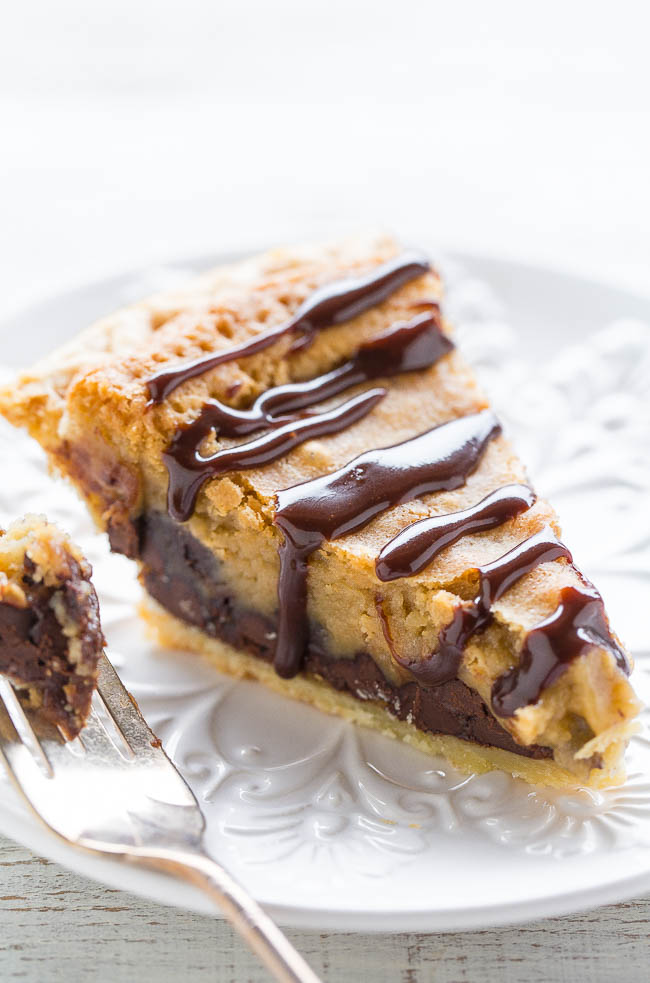
Copycat Toll House Pie (aka Chocolate Chip Pie) — The filling tastes like the center of an underbaked chocolate chip COOKIE!! Gooey perfection! Easy, rich, decadent, extremely CHOCOLATY and you can use a frozen pie crust!!
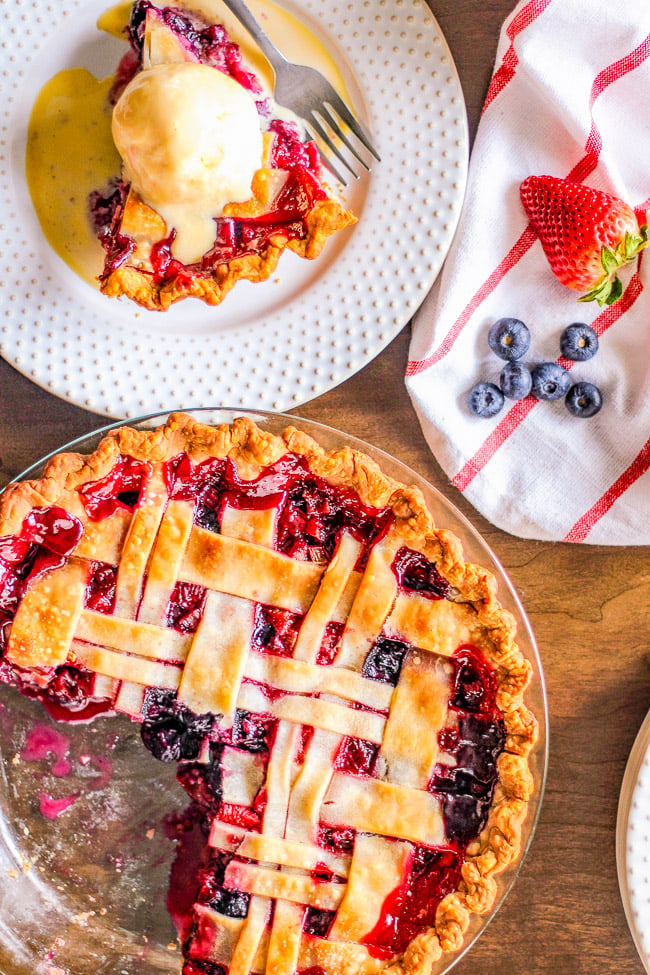
Rhubarb Berry Pie – A classic, EASY, fruit pie made with rhubarb, strawberries, and blueberries! Sweet yet a bit tart, very juicy, and a PERFECT spring or summer dessert!
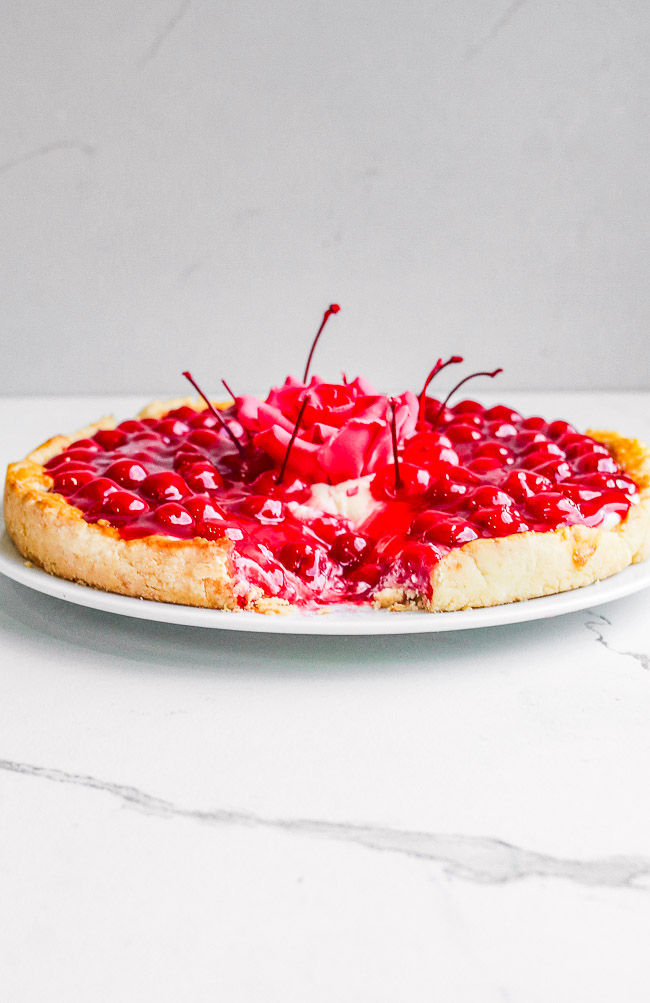
Cherry Cream Pie — An old-fashioned pie with homemade scratch crust topped with NO-BAKE layers of sweetened cream cheese along with juicy cherry pie filling!!
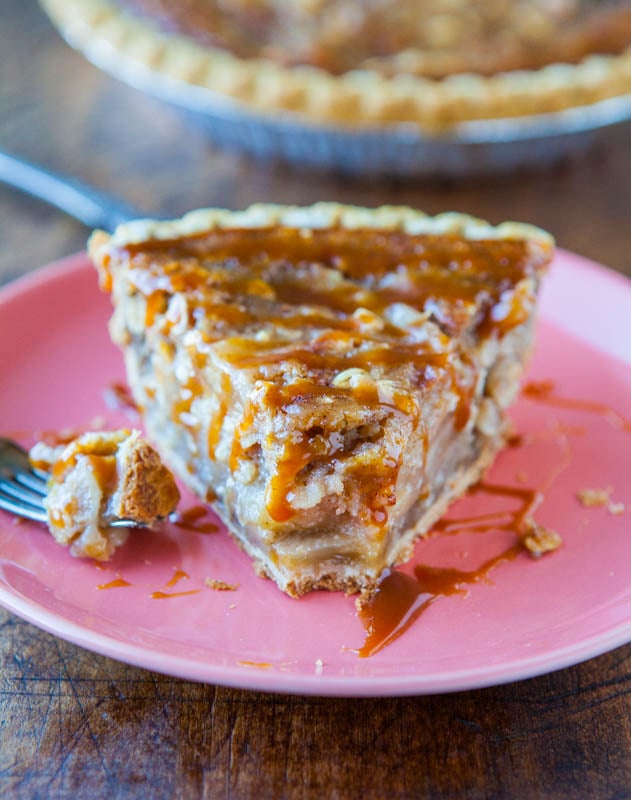
Caramel Apple Crumble Pie — Apple pie meets apple crumble in this easy caramel apple crumble pie recipe. This apple pie is dense, rich, and is packed with caramel apple flavor!
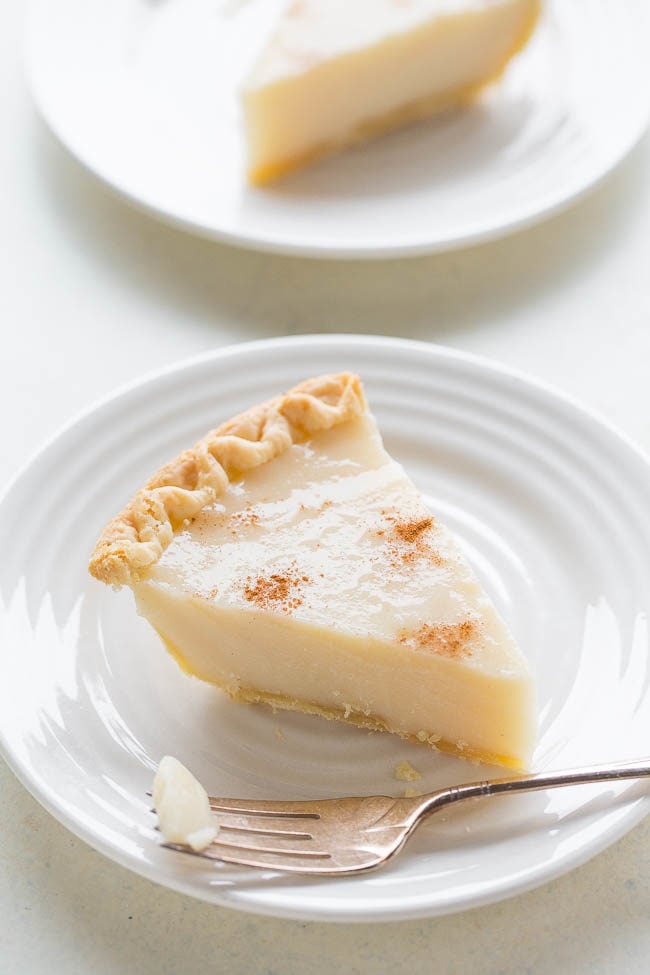
Sugar Cream Pie— This sugar cream pie reminds me a bit of crème brûlée. The filling is custard-like, and when topped with a sprinkle of cinnamon it’s irresistable!
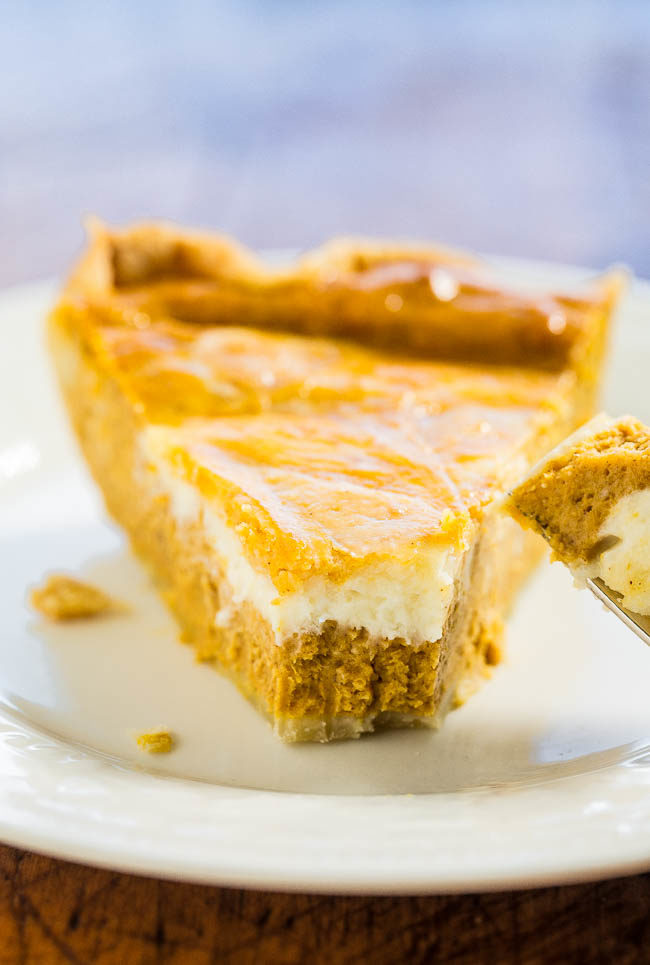
Pumpkin Cream Cheese Pie — The tangy cream cheese is a perfect contrast to the warming pumpkin pie spice. The pie is rich, perfectly dense, and your house will smell like Thanksgiving as it bakes!
This is the easiest butter crust I’ve ever made. I used almost frozen butter and a little more ice water than called for so I can roll it out but I’ll be making this for all of my pies!!
Thank you. Your Buttery Pie Crust recipe is so easy but the greatest. Thanks again.
Thank you. Your Buttery Pie Crust recipe is so easy but the greatest. Thanks again.
Thanks for the five star review and I’m so glad this turned out great, and it was easy!
This recipe has been a really special recipe for me. Those who haven’t tried the recipe should try it now.
great
I’m using this for pasties….but I’m not a seasoned dough maker this is actually my first time. What is the cooking temp when no blink bake is needed?
Everything is really well outlined in the recipe card section of the recipe including baking times and temps. But if you’re not blind baking the crust, you would bake your pie at whatever temp the recipe of the pie calls for such as 350F for an apple pie or a coconut cream pie.
Thanks for the recipe. I can’t wait to try it. I always learn so much on your site. Thanks for all the extra tips!