
😋💛🦃 Homemade Turkey Gravy from pan drippings is an EASY, foolproof recipe with lots of TIPS for PERFECT turkey gravy that’s ready in 15 minutes! The whole family will LOVE this gravy over their Thanksgiving turkey, mashed potatoes, or as a comfort food addition to your dinner table during other times of the year!
Homemade Thanksgiving Gravy Using Turkey Drippings
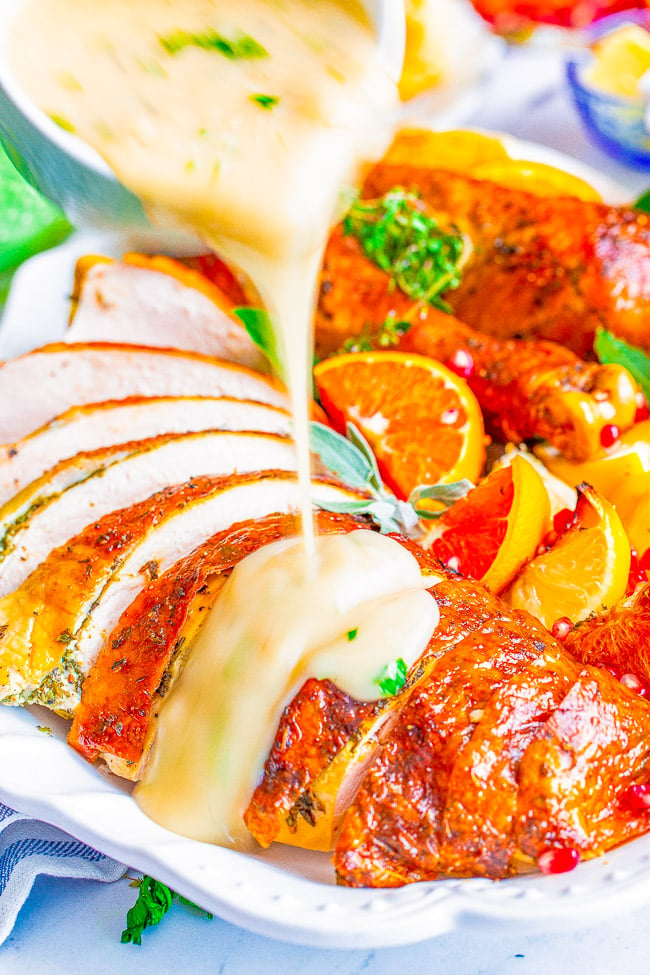
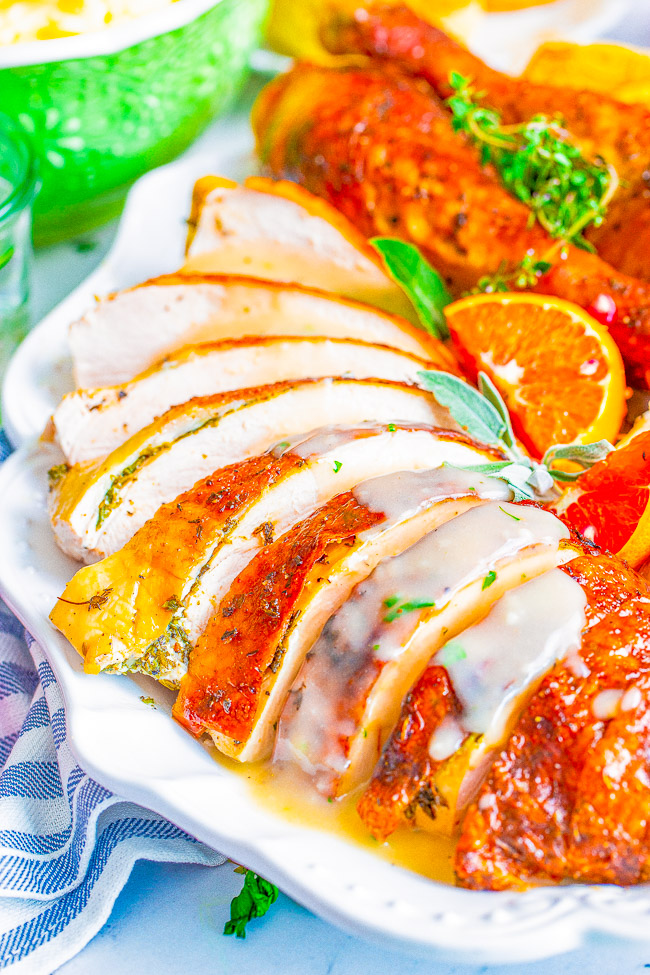
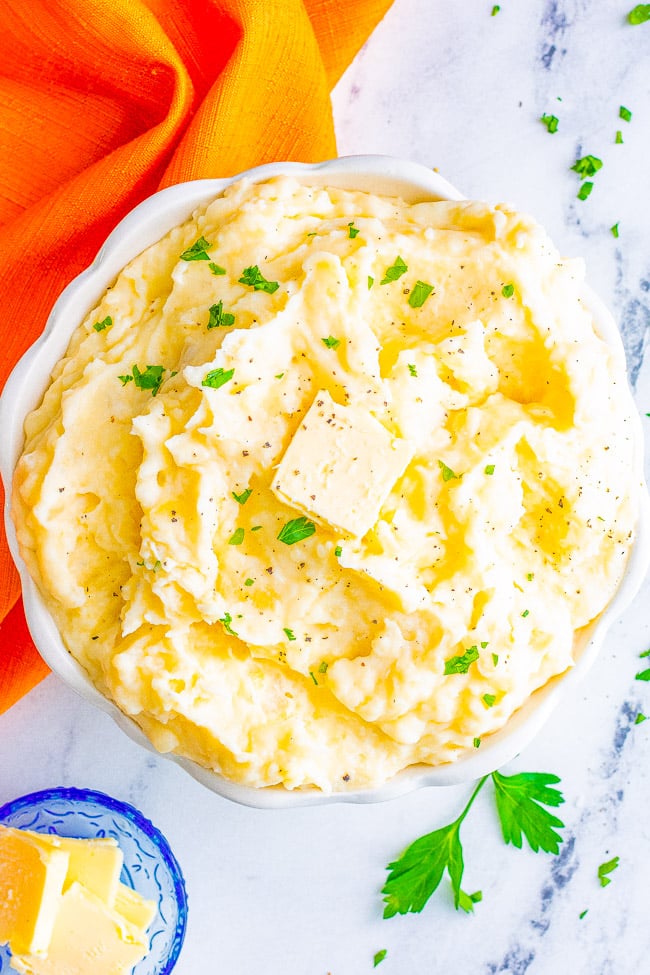
It’s really not Thanksgiving without gravy. Sure, oven roasted citrus turkey is always going to be the star of the show, but without gravy adorning it, it’s definitely not the same. Nor are mashed potatoes.
I’m sharing my recipe for the best homemade turkey gravy. It turns out perfectly every time, there’s no more guesswork wondering if it will turn out or will it be lumpy or this or that. No! It’s going to be perfect gravy. Best yet, there are only 5 minutes of active cooking time before you have yourself some turkey gravy from drippings that the whole family is going to adore!
Ingredients for Making Turkey Dripping Gravy
Making homemade gravy with drippings doesn’t need to involve all kinds of things that people think are necessary. For instance, I don’t use bullion cubes or cornstarch in my recipe.
All you’ll need are these simple ingredients:
- Turkey drippings (theoretically you can cheat and use turkey stock, although I highly recommend turkey drippings over stock)
- Fat (from a roasted turkey or slow cooker turkey breas,t or if you’re not roasting a turkey first, use butter)
- All-purpose flour – Susbtitute a 1:1 all-purpose gluten-free flour if needed
- Fresh herbs and spices – Fresh parsley, fresh thyme, black pepper, and kosher salt
Note: Scroll down to the recipe card section of the post for the ingredients with amounts included and for more complete directions.
How to Collect Turkey Drippings for Gravy
The first step to this Thanksgiving gravy recipe is to collect the most important ingredient — the drippings!
To do this, carefully remove your piping hot turkey from the roasting pan and onto a cutting board or serving platter.
Then, ladle the drippings on the bottom of the roasting dish to a saucepan or bowl. From there, you’ll need to separate the fat from the drippings before making the easy homemade gravy.

How to Separate the Fat From Turkey Drippings
When making homemade gravy from drippings, you MUST separate the fat from the drippings or else your gravy will be greasy rather than rich and creamy.
- Option 1: Use a Fat Separator (Recommended) — A fat separator is a very handy and inexpensive gadget that helps you separate the fat from the drippings, while also staining out any unwanted bits.
- Option 2: Let Rest in a Bowl for 30 Minutes — Put all the drippings into a very large bowl and let it sit on the counter for about 30 minutes so all the fat rises to the top. Then, using a ladle, carefully spoon all the fat off the top into another bowl.
- Option 3: Chill to Separate the Fat — Put the bowl with all the drippings in the refrigerator or freezer. The fat rises to the top and solidifies, making it super easy to take off the top.
How to Make an Easy Turkey Gravy Recipe from Turkey
Now that I’ve clarified in depth and detail drippings, fat, and how to separate the two, making homemade Thanksgiving gravy really is an easy process!
- Place the fat into a large skillet with deep sides over medium-low heat.
- Once hot, add in the flour and whisk to combine. Cook the flour in the fat for about 2 minutes and whisk intermittently.
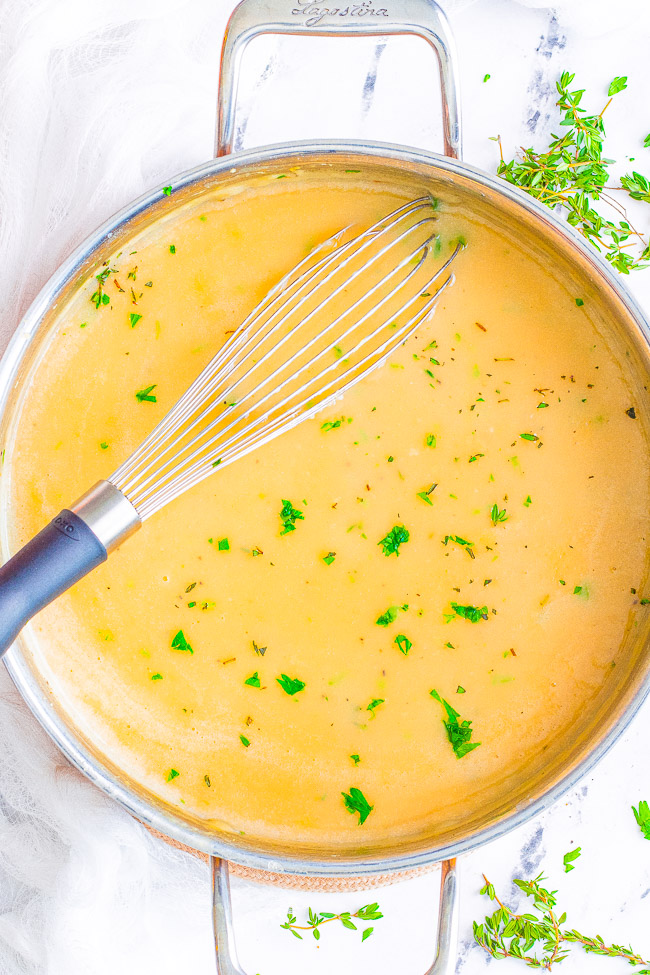
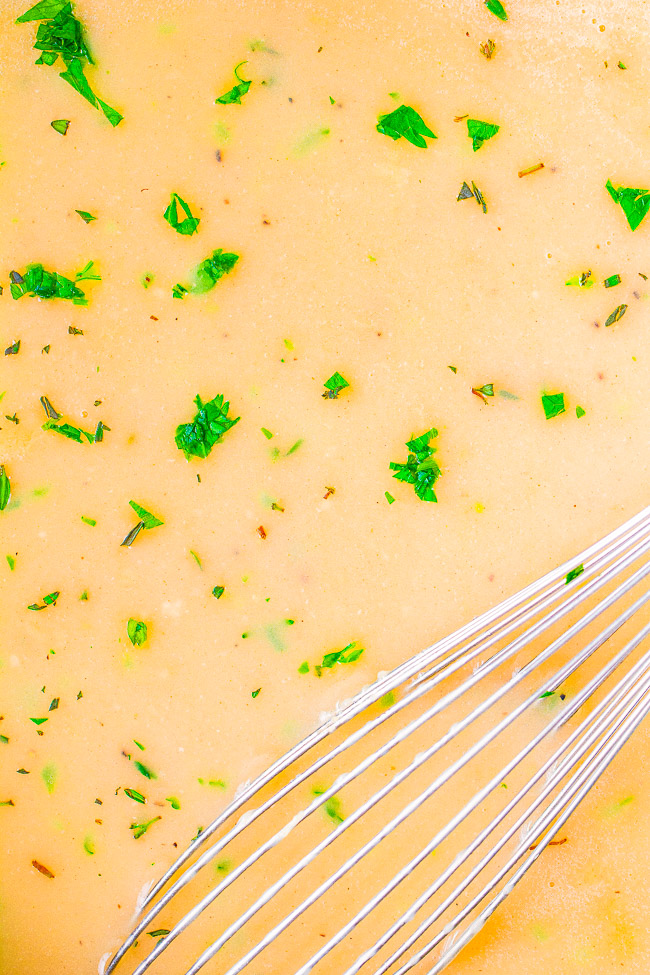
- Slowly pour in the drippings, whisking constantly to prevent lumps from forming.
- Let the gravy come to a simmer and simmer until thickened, whisking frequently.
- Add in the parsley, thyme, and black pepper, taste, and add salt if necessary to taste.
How to Thicken Gravy
If you want your gravy extra thick, reduce the amount of drippings from 5 cups to 4 cups. For me, this would be a bit too thick, but some people really like their gravy extra sludgy.
Alternatively, if your gravy becomes a bit too thick, whisk in a splash of chicken stock or chicken broth.
Recipe FAQs
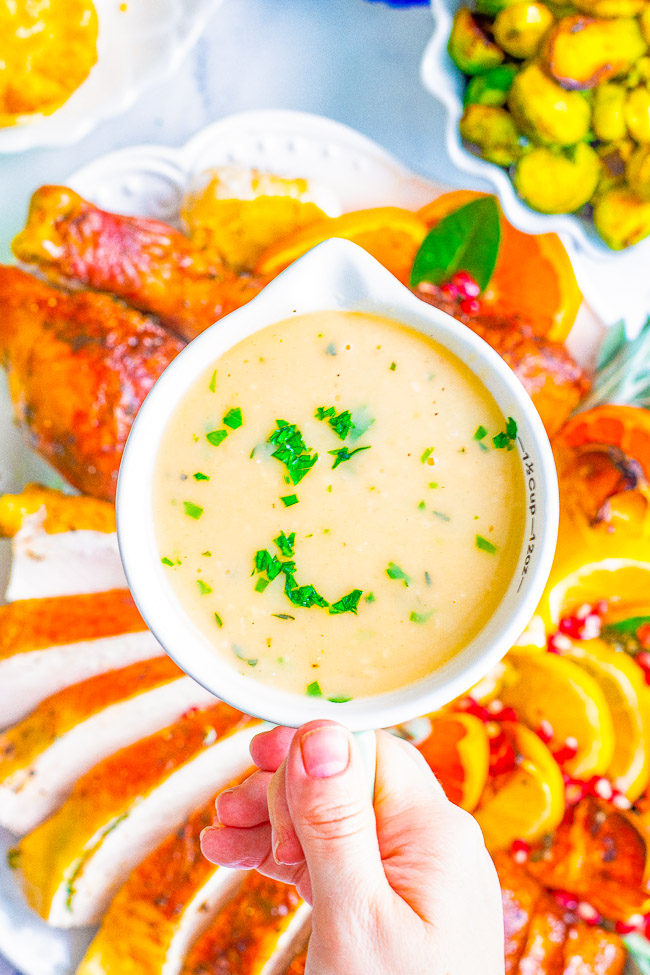
You’ll need roughly 5 cups of turkey drippings (separated from the fat!) to make about 5 cups of turkey gravy.
You could cheat and use turkey stock. However, stock doesn’t have the same richness and depth of flavor as using the drippings from a roasted turkey. If you’re going the turkey stock route, use a high-quality turkey stock that you really like the flavor of, since that flavor will be very dominant in your gravy.
As it pertains to the type of fat to use, I’d go with unsalted butter if you don’t have the fat from a roasted turkey. Also, feel free to use leftover turkey giblets, liver, or gizzards for extra flavor.
I prefer using flour as it results in a smoother gravy that also reheats much better. Cornstarch is easy to overcook and can result in a sludgy gravy. I only use cornstarch if one of my guests is gluten-free (and if using cornstarch, note that you need HALF the amount of flour called for since cornstarch is twice as strong as flour).
If you’re using turkey drippings and turkey fat, which is what my recipe is based upon, and what I highly recommend doing for the best turkey gravy, then no not really since you need to wait for that turkey to roast and then make use of the drippings and fat.
If you’re going to ‘cheat’ and not roast a turkey and go the route of using turkey stock and butter, then yes, theoretically you can make this gravy in advance. It will keep for a few days if kept airtight in the fridge.
Yes, this homemade turkey gravy can be frozen since it’s thickened with flour and doesn’t contain dairy. To freeze, let it cool completely before sealing in a freezer bag or freezer-safe container. It can be frozen for up to 3 months. To thaw, place in your fridge overnight or reheat from frozen.
Homemade turkey gravy should be gently reheated in a saucepan over medium-low heat. Stir it frequently to prevent the gravy from burning or clumping up. Chilled leftover gravy will be very thick; let the gravy warm up before adding broth to thin it out. Once warmed, the gravy may be thin enough!


Turkey Gravy From Drippings
Ingredients
- 5 cups of turkey drippings, separated from the fat* (See Note 1)
- 6 tablespoons fat*, See Note 2
- 6 tablespoons all-purpose flour
- 2 tablespoons fresh parsley, chopped fine
- 1 tablespoon fresh thyme, chopped fine
- ½ teaspoon black pepper, or to taste
- kosher salt, if desired and to taste
Instructions
- Place the fat into a large skillet with deep sides over medium-low heat.
- Once hot, add in the flour and whisk to combine. Cook the flour in the fat for about 2 minutes and whisk intermittently. You’re essentially making a roux here and the goal is to get rid of that raw, uncooked flour taste, and brown up the flour in the fat a tiny bit.
- Slowly pour in the drippings, whisking constantly. Make sure you whisk constantly to avoid lumpy gravy.* (See Note 3)
- Let the gravy come to a simmer and simmer for 3 minutes or until thickened, whisking frequently.
- Add in the parsley, thyme, and black pepper, taste, and add salt if necessary and to taste. You may not need to add any salt because they turkey drippings and fat arrive salted from the turkey.
Notes
Nutrition
Nutrition information is automatically calculated, so should only be used as an approximation.
©averiecooks.com. Content and photographs are copyright protected. Sharing of this recipe is both encouraged and appreciated. Copying and/or pasting full recipes to any social media is strictly prohibited.
More Easy Thanksgiving Side Dishes:
Creamed Corn Casserole — 🌽😋💛 The EASIEST holiday side dish you’ll ever make! This CREAMY corn casserole is a simple stir-and-bake affair that can be made in advance!

Easy Green Bean Casserole — A fresher take on classic green bean casserole! No processed soups nor canned ingredients and instead made with fresh green beans, mushrooms, red onions, and a cheesy crispy breadcrumb topping that will have the whole family going back for seconds!

The Best Mashed Potatoes — Buttery, creamy, PERFECT mashed potatoes that rival your favorite restaurant’s version but EASY and ready in 45 minutes! The quintessential holiday side dish for Thanksgiving, Christmas, or a great family-friendly weeknight comfort food side dish!
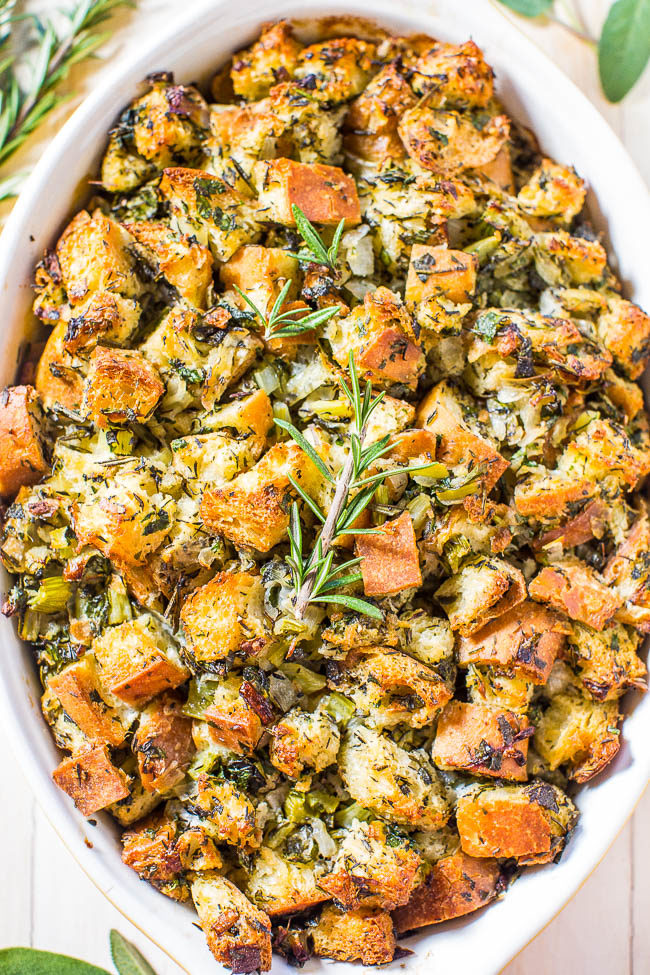
Traditional Thanksgiving Stuffing – Nothing frilly or trendy. Classic, amazing, easy, homemade stuffing that everyone loves! Simple ingredients with stellar results! It’ll be your new go-to recipe!
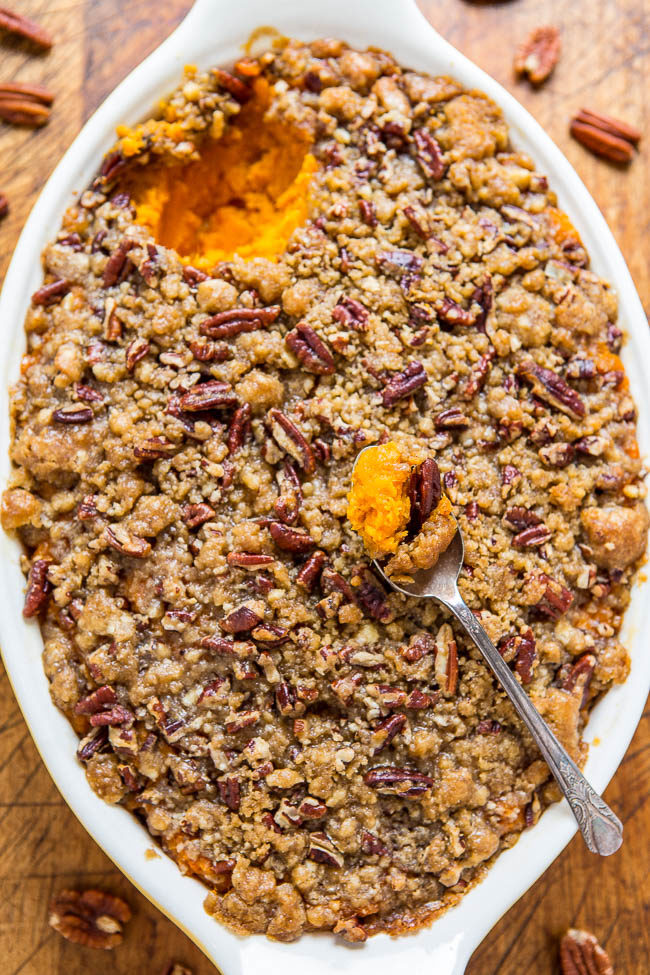
Sweet Potato Casserole with Butter Pecan Crumble Topping – The holiday classic just got even better because of the amazing topping! A buttery, brown sugary, crunch that’s irresistible! Easy and you can pre-assemble to save time!
Cabernet Cranberry and Blueberry Sauce – Make your own cranberry sauce with amazing depth of flavor in 30 minutes! The best cranberry sauce you will EVER have, guaranteed!
 - Make your own cranberry sauce with amazing depth of flavor in 30 minutes! Easy recipe at averiecooks.com")
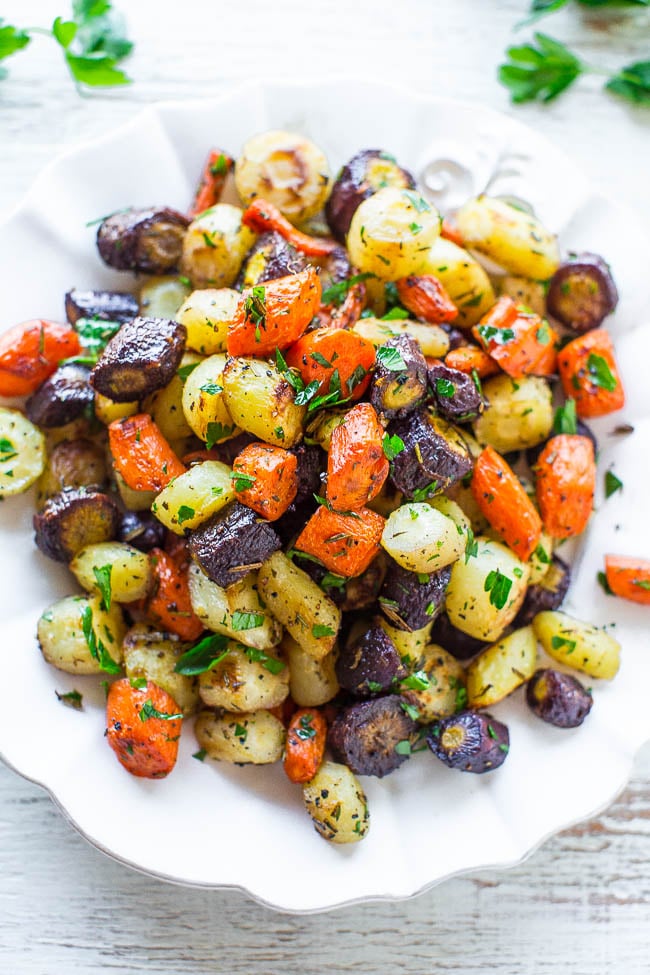
Roasted Rainbow Carrots — Lightly caramelized around the edges, crisp-tender in the center, and seasoned with rosemary, thyme, and parsley!! A trusty side that you’ll make again and again for holidays or easy weeknight dinners!!

This sounds easy enough but in all fairness we prefer the “white” gravy, which uses milk for half of the liquid ingredients. So for those of us who prefer this style, how would you suggest making it to be as perfect as this recipe? I must add, the pictures you show are definitely not the brown looking gravy that so many people end up with.
If you want a different recipe that you know is not this one, then I would look online for something more in line with what you are hoping to achieve.
How to make gravy a new way
great
great