I have a weakness for cheese and if it’s fried, even better.
Growing up in Minnesota in the dairy heartland, and neighbor to the great cheese producing state of Wisconsin, I great up eating copious amounts of cheese, including fried cheese curds.
For those of you who have never had fried cheese, don’t start. It’s everything that coronary heart disease is made of and it tastes delicious.
Then I lived in Chicago where the Greeks fry and ignite their cheese in the form of flaming saganaki and boy, that makes me shout, Opa!
After moving to and settling in San Diego, I have access to so many wonderful Indian restaurants with their fried paneer cheese.
I’ve never met fried cheese I’ll say no to. Show me an appetizer menu at a restaurant and if there’s mozzarella cheese sticks on it, that’s what I’m having, extra marinara sauce for dipping. Extra of the extra, please.
But these cheese balls aren’t actually fried and instead I baked them. I don’t fry in my house because frying stinks it up for days and the next morning I do not want to smell fried cheese or fried anything. Or smell whatever it was that I fried five days later.
These cheese balls start out with good old all-American Kraft Macaroni and Cheese from a box. I had a box with Spongebob Squarepants-shaped noodles, and these cheese balls are what became of it. I boiled the macaroni according the package directions and added a handful of extra shredded cheese, and extra butter and extra cream because powdered cheese in a packet needs some doctoring up, even though I have a nostalgic soft spot for the blindingly bright orange powder. If you have a favorite homemade macaroni and cheese recipe, by all means make it, or use your favorite storebought variety.
After making your mac ‘n cheese, homemade or from a box, you must and I repeat must, put it into an airtight container and refrigerate it for at least 12 hours, up to 3 or 4 days because in order to shape the cheese balls prior to baking, and not have them turn into a literal cheesy hot mess in the oven while they bake, you need cold, thick, day-old mac ‘n cheese. I refrigerated mine for two days. It needs to congeal, set up, and get thick. If you’ve ever turned your nose up at cold, refrigerated, leftover mac ‘n cheese because it’s thick, gloppy, and solidified, that is exactly what you want. Now you know what to do what that kind of mac ‘n cheese in the future.
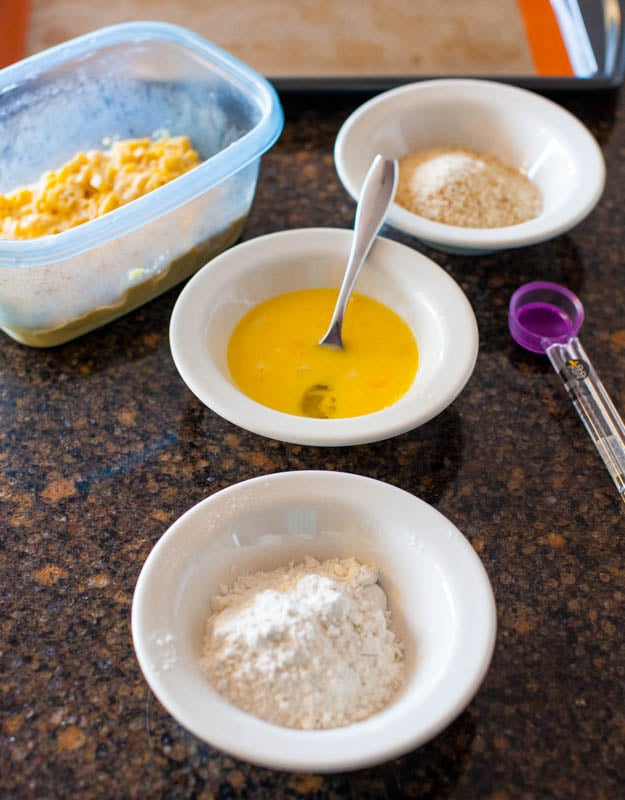
In the fifteen minutes preceding breading and battering, I put the container in the freezer so the mac ‘n cheese would be extra chilled prior to shaping the balls. When you’re ready to bake, get your assembly line of flour, two beaten eggs, and breadcrumbs lined up. I used Trader Joe’s breadcrumbs which aren’t seasoned, but use seasoned breadcrumbs or toss a few pinches of garlic powder, onion powder, cayenne pepper, salt and pepper, or whatever sounds good for seasoning plain breadcrumbs if you prefer them seasoned.
Prepare two baking sheets by lining them with Silpats or aluminum foil and I really suggest lining your baking sheets for easier cleanup. Drizzle about one tablespoon of olive oil on each baking sheet and spread it around with your hands. Then, scoop out tablespoon-sized balls of mac ‘n cheese with a small cookie scoop. If you don’t have a cookie scoop, mine is $3.99 and I highly recommend it, but using a tablespoon and hand-shaping the mac ‘n cheese into domed mounds will work. Whatever method you use, it’s a messy project; keep the paper towels handy.
Don’t make the mistake of initially scooping out or rolling your balls too large. What looks small before being breaded becomes much larger after the breading and battering process. You want your finished cheese balls in the golf ball-sized as opposed to the baseball-sized range.
Roll each ball through the flour, dip it briefly in the egg, and dredge it through the breadcrumbs. Repeat until your mac ‘n cheese is gone, placing about 10 balls on each cookie sheet. I made 20 balls in this batch from the 5.5-ounce box of mac ‘n cheese.
Bake for ten minutes at 425F, add one more tablespoon of oil to each baking sheet, flip all the balls over, and bake for another 7 to 10 minutes, or until they are golden brown, crispy, and crunchy on the edges.
Or bake until your smoke detector goes off and there’s a fairly high likelihood it will. There is something about baking at temperatures over about 400F and if any oil is present whatsoever, my smoke detector goes off and it’s so highly alarming. Pun intended. I hate that jarring, nerve-rattling screeching and I jump ten feet and my heart pounds. Just giving you a heads up so you can take a Zanax beforehand if necessary.
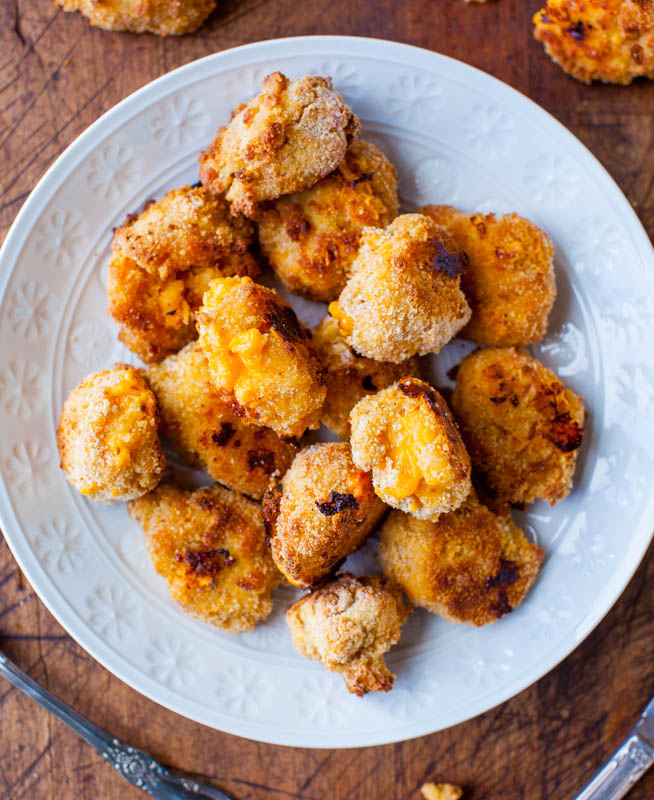
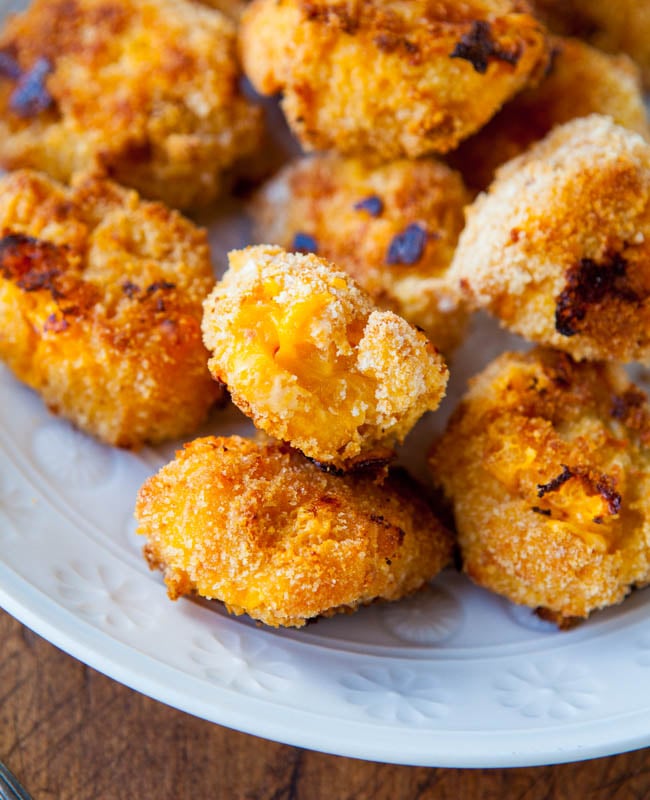
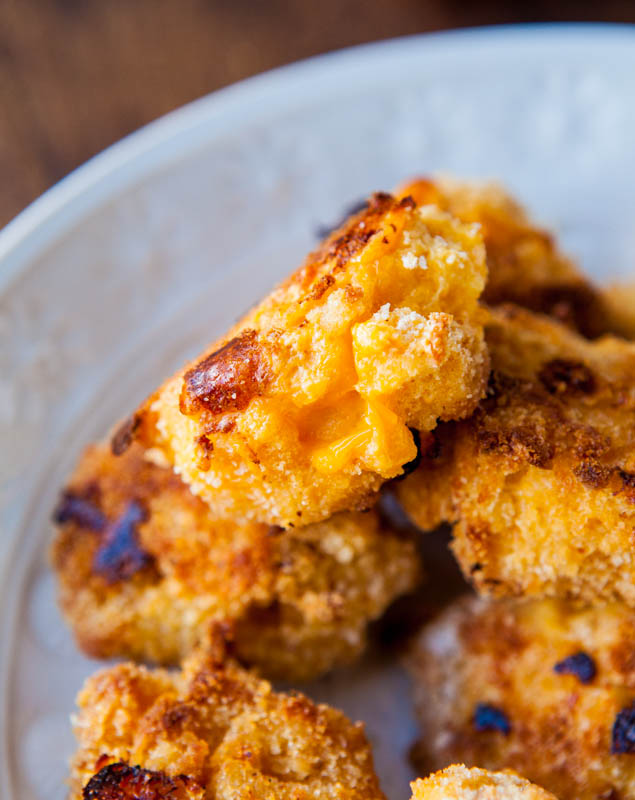
These cheese balls were worth the alarm bells. The outside was extra crunchy and crispy, which I attribute to the battering process as well as a very hot oven because the fiery and intense heat really sets up the coating and gives it crispness. The cheese balls need to get into, and out of the oven; no lingering in a moderate oven because there’s too much risk for the cheese to leak and ooze the longer they’re exposed to heat.
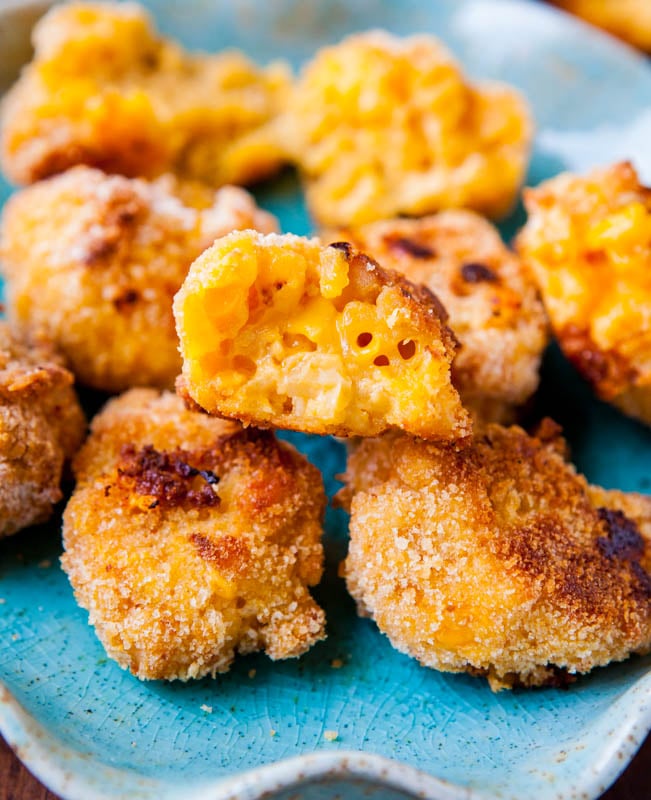
The macaroni noodles inside these golden nuggets lend texture and chewiness amidst the sea of molten, hot, warm, gooey and oozing cheese. Even with melted cheese, I like texture and the noodles gave me what I was looking for.
I ate them dipped in various condiments including barbeque sauce, ketchup, Ranch dressing, and Homemade Spicy Honey mMustard. I get around when it comes to condiments. Extra of the extra, please.
I really don’t think you’ll have trouble polishing off a batch of these but if you do, leftovers can be stored in the refrigerator and reheated gently in the microwave or wrap them in plasticwrap and toss them into your lunch for the next day. Scott savored a few cheese balls the next day in his lunch.
I did all my savoring immediately after these photos were taken.
Pin This Recipe
Enjoy AverieCooks.com Without Ads! 🆕
Go Ad Free
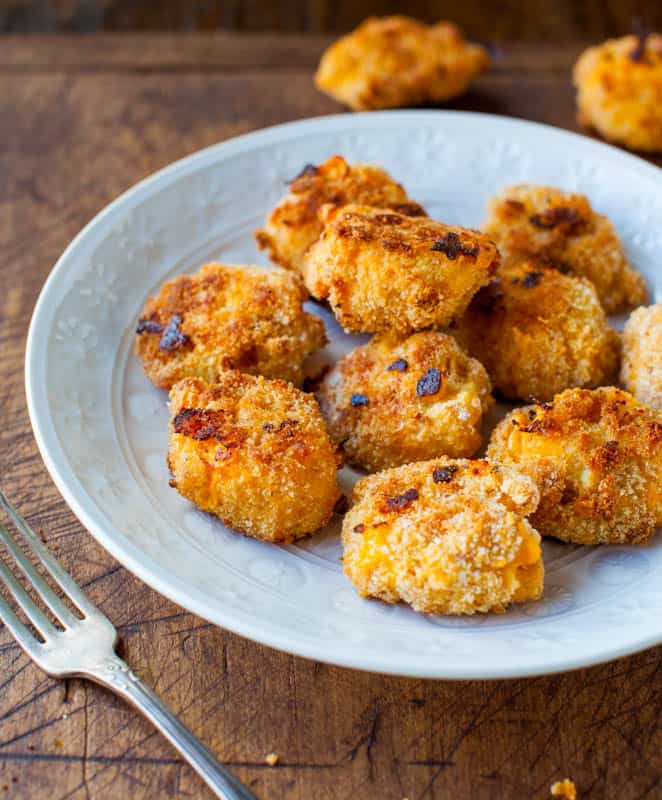
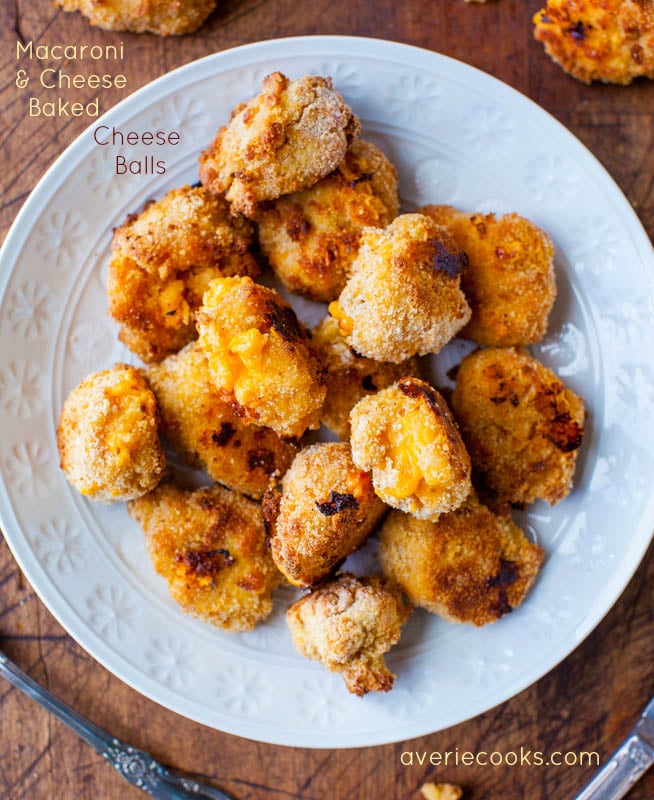
Macaroni and Cheese Baked Cheese Balls
Ingredients
- 1 batch macaroni and cheese, prepared as directed and well chilled (1 box store-bought or your favorite homemade recipe, I used one 5.5-ounce box Kraft
- ½ cup all-purpose flour
- 2 large eggs, beaten
- about 1 cup breadcrumbs, seasoned if preferred; I used Trader Joe's which are unseasoned
- 4 tablespoons olive oil, divided
Instructions
- Prepare mac 'n cheese according to package directions. Place in an airtight container and refrigerate for at least 12 hours, up to 3 days; I made these after 2 days. Chilling the mac 'n cheese is an instrumental step and cannot be skipped because the cheese needs to congeal, solidify, and dry out a bit prior to baking the cheese balls. You may be able to speed this process up and shortcut it a bit by freezing the cooked mac 'n cheese, but I have not tested it.
- About 15 minutes prior to preparing the cheese balls, place the container of mac 'n cheese in the freezer for a quick cold blast. Meanwhile, place flour, eggs, and breadcrumbs in 3 separate small bowls; set aside.
- Preheat oven to 425F and line two baking sheets with Silpats, parchment paper, or aluminum foil (line baking sheets with something to save yourself cleanup work). Drizzle 1 tablespoon olive oil on each baking sheet, smear it around with your hands; set baking sheets aside.
- Remove mac 'n cheese from the freezer and using a 1-inch cookie scoop or tablespoon-sized scoop, portion out and shape the balls, taking care not to make them larger than about 1-inch in diameter because after battering and breading, they become much larger in size. Depending on the type of noodles in your mac 'n cheese, how cold, or how cheesy the mac 'n cheese is, lightly hand-shaping the noodles into balls may be necessary rather than replying solely on a cookie scoop. Roll each ball through the flour, dip briefly in the egg, roll it through the breadcrumbs, and place it on baking sheet. Repeat until all balls have been battered, placing about 10 balls per baking tray.
- Bake for 10 minutes (don't be surprised if your smoke detector goes off), remove trays from oven and add 1 tablespoon of oil to each tray and smear it around, flip balls over, and bake for 7 to 10 minutes, or until browned and golden. Remove from the oven and serve immediately; optionally serve with Homemade Spicy Mustard, prepared mustard, ketchup, chipotle mayo, or a favorite condiment.
Nutrition
Nutrition information is automatically calculated, so should only be used as an approximation.
©averiecooks.com. Content and photographs are copyright protected. Sharing of this recipe is both encouraged and appreciated. Copying and/or pasting full recipes to any social media is strictly prohibited.
Related Recipes
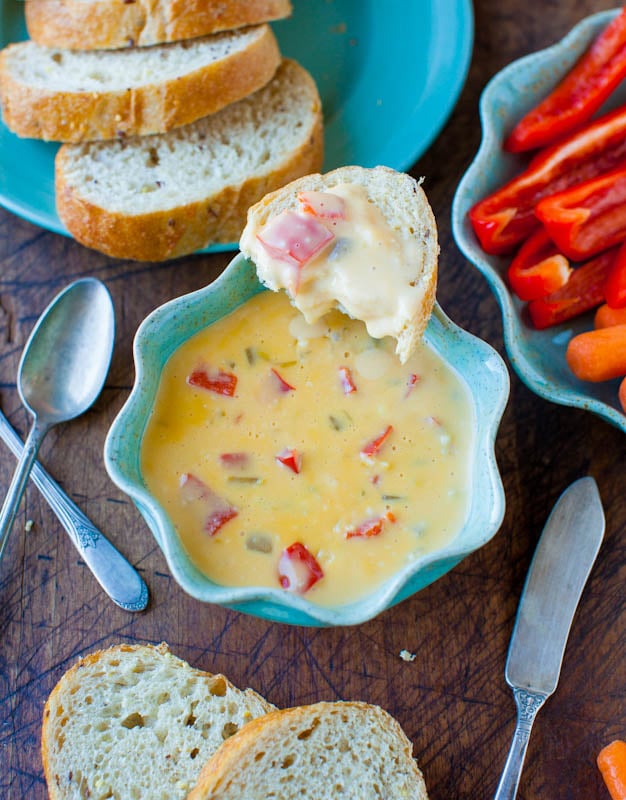
Double Melted Cheese and Red Pepper Dip – Make in the microwave in 5 minutes. It’s the fastest and easiest cheese dip I’ve ever made
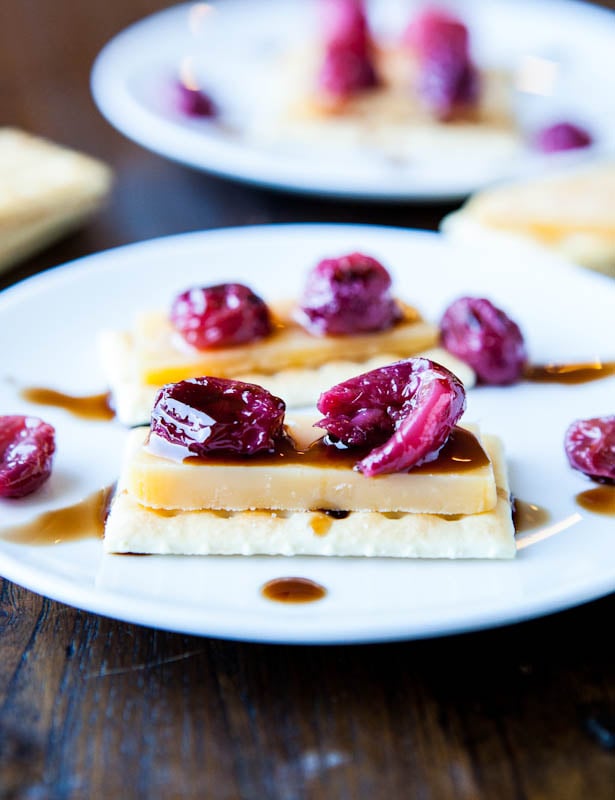
Roasted Grapes with Balsamic Reduction (vegan, GF) with Cheese and Crackers – People make a big deal about reducing balsamic with very elaborate methodology, but simply add a little brown sugar to balsamic vinegar, and boil until it reduces by about half. I boil at a fairly rapid boil because I’m impatient and it literally takes 5 to 7 minutes from start to finish and costs pennies compared to store-bought. It’s wonderful drizzled over anything
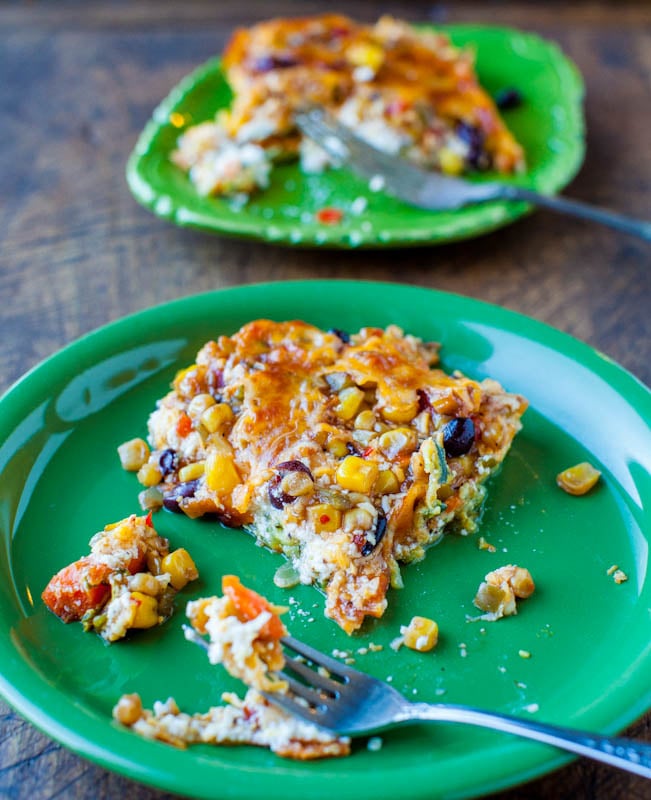
Vegetable Lasagna Casserole (vegan, GF) – A noodle-less, non-traditional lasagna that’s made using a giant zucchini-carrot pancake-like ‘noodle’ and lots of veggies and cheese
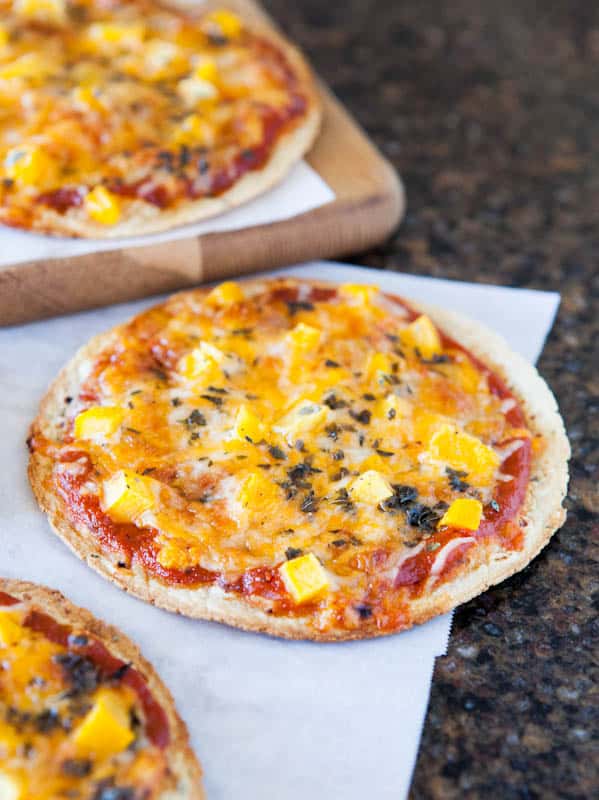
Mango Basil Personal-Sized Tortilla Pizzas – Extra cheese, mangoes or pineapple, and hot pepper flakes are my favorite pizza toppings. These pizzas are personal-sized and easily customizable so everyone gets their preferred toppings
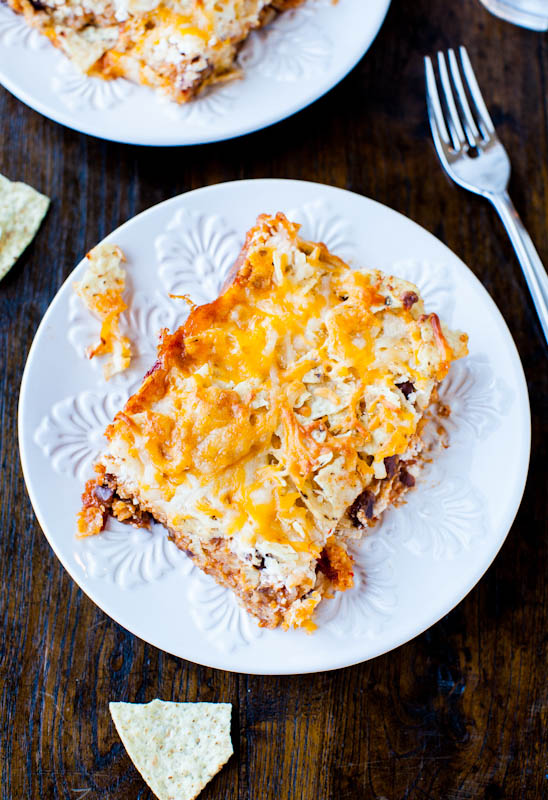
Chips and Cheese Chili Casserole (vegetarian/vegan, GF) – Chips and cheese, baked together, for a hearty and easy meal
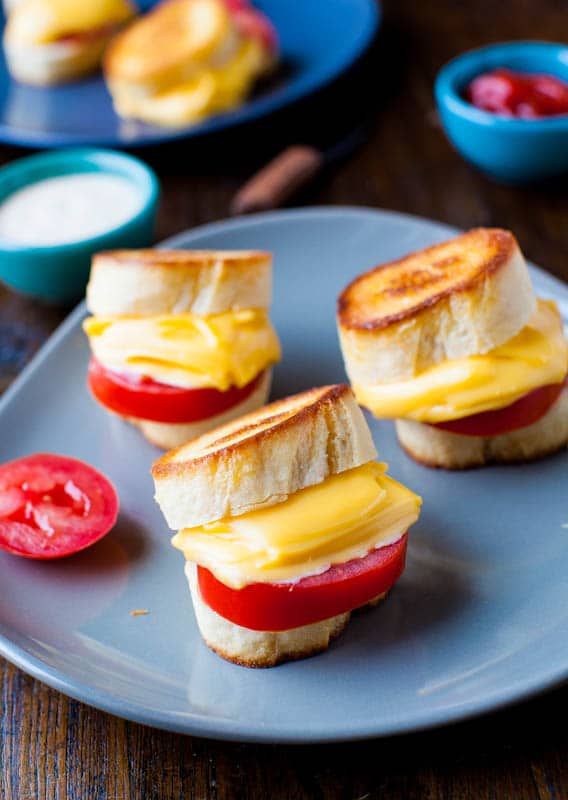
Mini Grilled Cheese and Tomato Sandwiches – Everything tastes better when it’s mini. I love the texture and flavor of tomatoes in my grilled cheese, with ketchup on the side
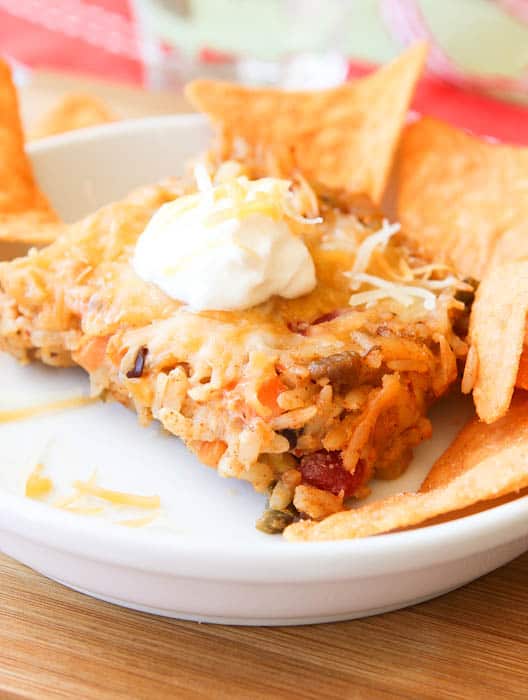
Cheesy Taco Casserole (GF with vegan options) – Think of a taco with rice and beans baked into a casserole with cheese. Easy, cheesy, and comforting
Do you like cheese balls, cheese sauce, cooking with cheese, or eating cheese in general?
Feel free to link up your favorite cheesy recipes.


Can I prepare these the night before refrigerate and heat them up the next day. Thanks for input.
Yes that will most likely be fine.
Love them! My and I are cheese lovers. And I have been craving macaroni and cheese ball! I did use Italian crumbs and my homemade Cajun style flour. Thank you!
Love them! My and I are cheese lovers. And I have been craving macaroni and cheese ball! I did use Italian crumbs and my homemade Cajun style flour. Thank you!
Thanks for the 5 star review and glad that you love them!
During this COVID-19 health crisis , I have been trying very hard to be better at planning meals and repurposing leftovers. That’s how I came across this recipe. I also do not fry in my house, so it caught my eye. I followed it as closely as I could but my homemade mac/cheese has Ritz crackers on top, so I used crushed/buttered Ritz instead of the breadcrumbs. OMG!!!!!!!!! These little gems are delicious…. :)
During this COVID-19 health crisis , I have been trying very hard to be better at planning meals and repurposing leftovers. That’s how I came across this recipe. I also do not fry in my house, so it caught my eye. I followed it as closely as I could but my homemade mac/cheese has Ritz crackers on top, so I used crushed/buttered Ritz instead of the breadcrumbs. OMG!!!!!!!!! These little gems are delicious…. :)
Thanks for the 5 star review and glad you are planning/repurposing better these days and glad they turned out delicious!
I made this tonight, and got rave reviews. Thanks for the recipe. I’m sure I’ll be using it forever. It was easy and awesome.
Thanks for the 5 star review and glad you got rave reviews and that you’ll use it forever!
You might want to consider using an oil with a higher smoke point if you keep tripping your smoke alarms. Grapeseed oil is pretty common, and has a high smoke point. Really enjoyed this recipe.
This is a recipe from 2013. I have since moved onward and upward to a lovely home with a much better smoke detector :)
You are absolutely hilarious and I must say We loved the Macaroni and cheese balls.
Thanks for being such a breath of fresh air.
Thanks for the 5 star review and glad you can appreciate my sense of humor as well as the recipe :)
All I needed to read to convince myself is that it has cheese in it. The process is quite not familiar to me, but I will try my best to do this! Can’t wait to enjoy these cheese balls! Thank you for sharing!