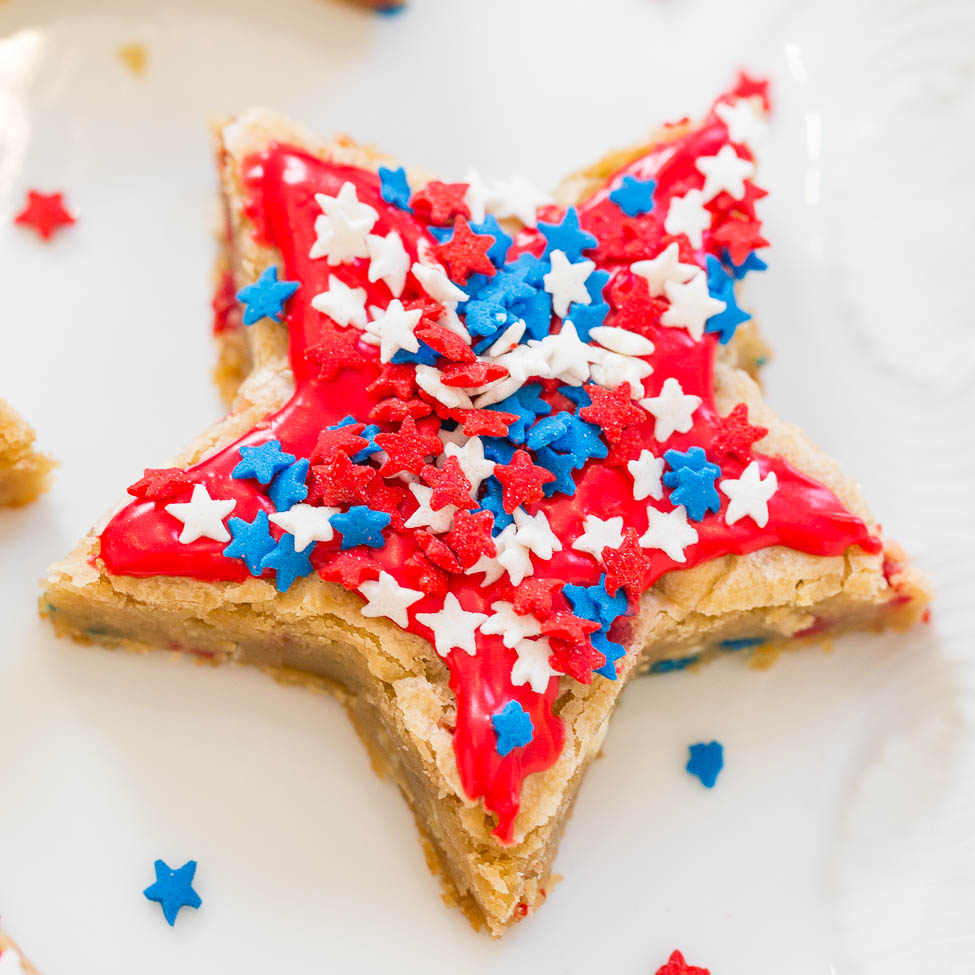
Red, White, and Blue Cookies — Get patriotic with these SOFT, chewy, frosted star cookies that are loaded with SPRINKLES!! No rolling pin required! They’re a holiday WINNER!!
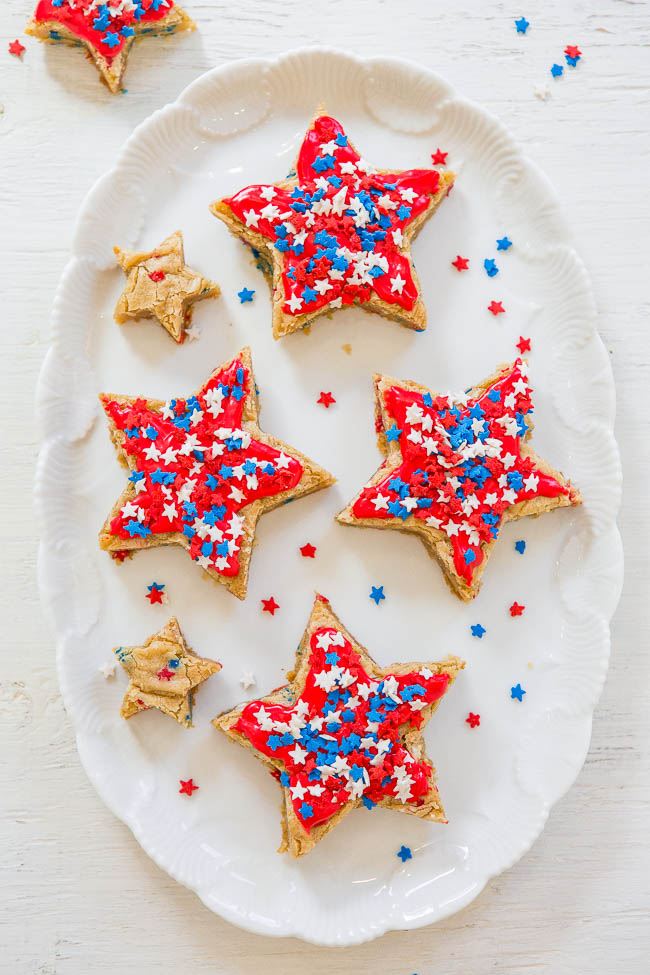
Table of Contents
Patriotic Red, White, and Blue Cookies
It’s that time of year for red, white, and blue. And flags, stars, and all things patriotic. Including cookies.
The cookies are soft, chewy, made in one bowl, and you don’t have to roll out dough. Love that.
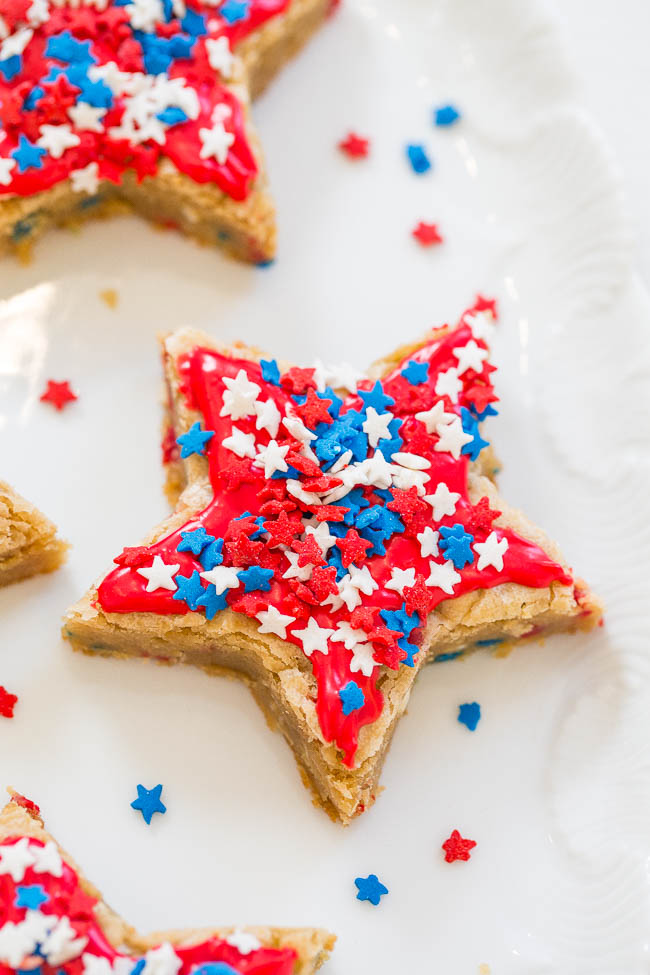
I used my trusty blondie base, baked the dough off in a pan, and then used star-shaped cookie cutters to cut out the cookies before frosting and decorating them.
These star-shaped cookies are so buttery with vanilla notes that shine through thanks to the McCormick Pure Vanilla Extract I used.
Are These Just 4th of July Cookies?
There are red, white, and blue sprinkles baked into the patriotic cookies and on top. The more the merrier.
The cookies are so perfect for get-togethers such as Fourth of July, Memorial Day parties, or Labor Day potlucks, and your friends and family will thank you as they’re nibbling away.
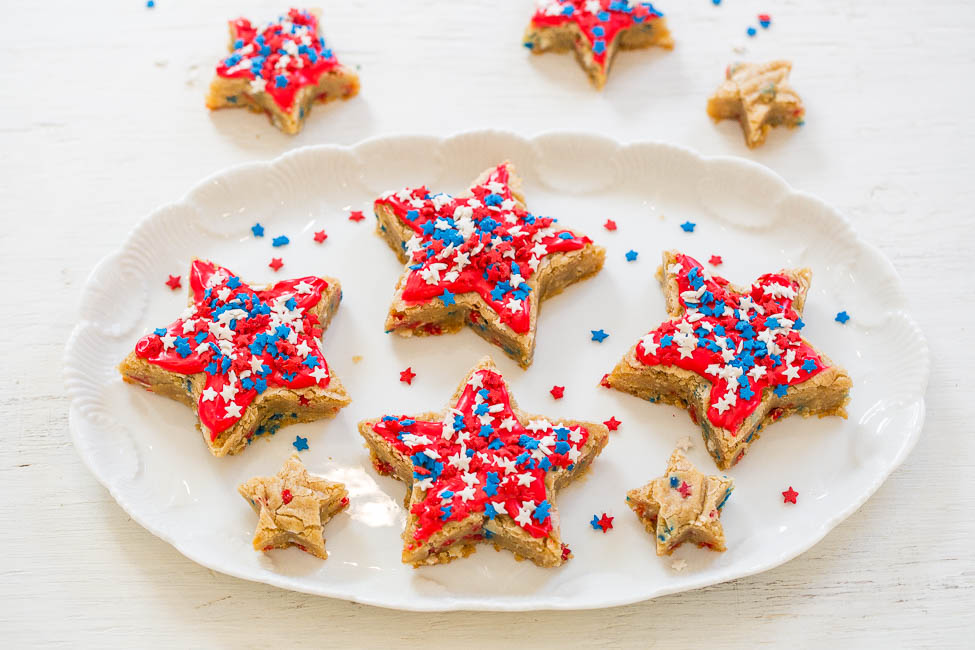
Don’t tell them about all the edges and odds-and-ends pieces you nibbled when you were cutting out the stars. I think those are the best parts!
Remember to save the recipe for Labor Day and Memorial Day, too.
Ingredients in Red, White, and Blue Cookies
Do make the 4th of July sugar cookies, you’ll need the following basic ingredients:
- Melted butter
- Egg
- Brown sugar
- Vanilla extract
- Flour
- Salt
- Red, white, and blue sprinkles
To make the frosting for the cookies, you’ll need one tub of store-bought whipped fluffy white frosting OR
- Butter
- Confectioners’ sugar
- Cream or milk
- Red Food Color, as necessary
- Red, white, and blue sprinkles, as desired for decorating
How to Make Red, White, and Blue Cookies
Making these star-shaped 4th of July cookies is so quick and easy! Instead of rolling out the dough, cutting out the stars, and then baking them, I opted to make bar cookies and then cut the cookies out!
Here are the basic steps to making these patriotic sugar cookies:
- Mix together the ingredients in the cookie base. It’s an easy, no-mixer recipe that’s as easy as stirring together melted butter with an egg, brown sugar, vanilla, stirring in flour, salt, and the festive sprinkles.
- Pour the mixture into a 8×8-inch baking pan and bake it off.
- Let the baked cookie bars cool for at least 90 minutes before cutting with a star-shaped cookie cutter.
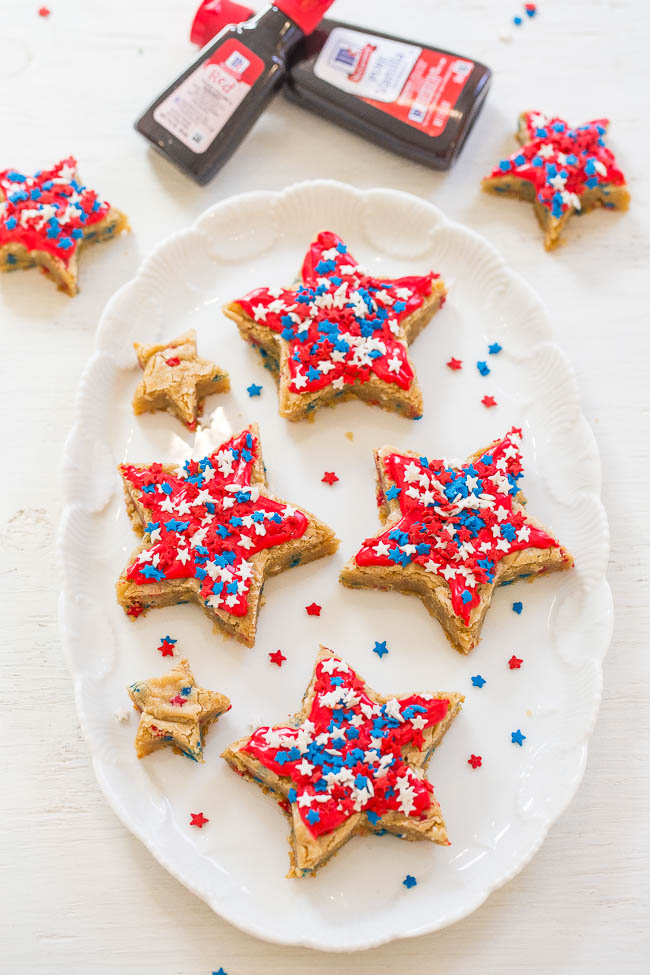
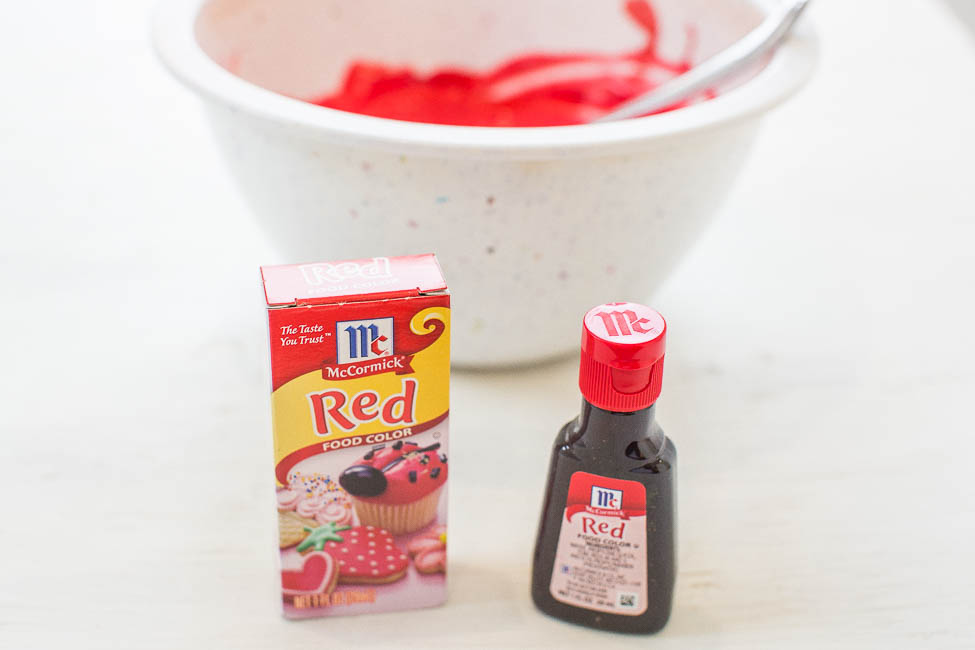
- Rather than making scratch frosting, I took a shortcut and used white store-bought frosting and stirred in McCormick Red Food Color. If you want to make scratch frosting, there’s one listed in the recipe section.
- Once you’ve colored the frosting, spread it over the cut-out sugar cookies, top with sprinkles, and enjoy!
FAQs About Red, White, & Blue Cookies
Yes! Double the ingredients and bake the cookies in a 9×13-inch pan. You might need to adjust the bake time.
No! This is a no-roll sugar cookie recipe. The dough is baked in a pan, allowed to cool, and then cut into stars. The dough isn’t sturdy enough to roll out before baking.
Not if you don’t want to! You can still make the cookies red, white, and blue just by adding sprinkles to the cookie dough and frosting.
I’m comfortable storing frosted items at room temperature for up to 3 days. If you’re not, store them in the fridge. Just note that cookies will be more prone to drying out in the fridge.

Pin This Recipe
Enjoy AverieCooks.com Without Ads! 🆕
Go Ad Free
Star-Shaped Red, White, and Blue Cookies
Ingredients
Cookies
- ½ cup unsalted butter, 1 stick, melted
- 1 large egg
- 1 cup light brown sugar, packed
- 1 tablespoon McCormick Pure Vanilla Extract, or as desired
- 1 cup all-purpose flour
- ½ teaspoon salt, or to taste
- ½ cup red, white, and blue sprinkles
Frosting*
- ¼ cup unsalted butter, softened
- about 2 to 2 1/4 cups confectioners’ sugar
- 2 to 3 teaspoons cream or milk
- one 1-ounce bottle McCormick Red Food Color, as necessary
- red, white, and blue sprinkles, as desired for decorating
Instructions
Cookies
- Preheat oven to 350F. Line an 8-by-8-inch baking pan with aluminum foil, spray with cooking spray; set aside.
- To a large, microwave-safe bowl add the butter and heat to melt, about 1 minute on high power.
- Wait momentarily before adding the egg so you don’t scramble it. Add the egg, brown sugar, vanilla, and whisk until smooth.
- Add the flour, salt, and stir until just combined, don’t overmix.
- Add the sprinkles and stir to incorporate.
- Turn batter out into prepared pan, smoothing the top lightly with a spatula as necessary. Bake for about 20 to 24 minutes, or until top is set in center and done; don’t overbake. Blondies firm up as they cool. A toothpick should come out clean, or with a few moist crumbs, but no batter. Place pan on a wire rack to cool for at least 90 minutes before cutting and frosting.
- Cut with star-shaped cookie cutters or simply frost the entire pan if desired.
Frosting
- If using a tub of store-bought frosting, skip to step 5. Otherwise, follow the instructions below.
- To a large bowl (or to the bowl of a stand mixer), add the butter and beat until light and creamy.
- Add the confectioners’ sugar, vanilla, and beat with an electric mixer (or use the paddle attachment of a stand mixer) to incorporate.
- Add the cream slowly in the amount necessary to achieve desired frosting consistency.
- Add the red food color as necessary until desired color is achieved; stir after every 10 drops or 15 drops.
- Spread frosting over cookies. Note – You may have frosting left over if you don’t like an overly thick amount of frosting on your cookies. If you leave the 8×8 pan intact and don’t cut into cookies, it should be approximately the right amount. Extra frosting will keep airtight in the fridge for at least 2 weeks.
- Add sprinkles as desired for decorating.
Notes
Nutrition
Nutrition information is automatically calculated, so should only be used as an approximation.
©averiecooks.com. Content and photographs are copyright protected. Sharing of this recipe is both encouraged and appreciated. Copying and/or pasting full recipes to any social media is strictly prohibited.
More Patriotic Desserts:
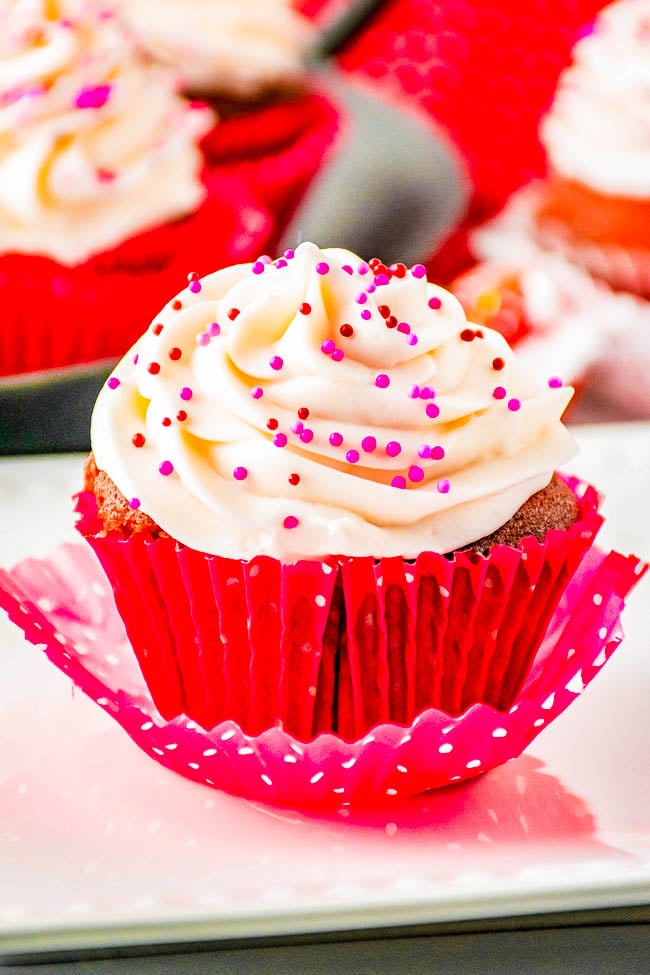
Red, White, and Blue Cupcakes — Perfect for your 4th of July, Labor Day, or Memorial Day festivities! These EASY NO-MIXER festive cupcakes topped with buttercream frosting are moist, springy, fluffy, and sure to be a crowd FAVORITE!

Chocolate Truffle Red Velvet Cupcakes – Tender fluffy red velvet cupcakes stuffed with chocolate truffles and topped with sweet and tangy cream cheese frosting! Color half the frosting blue and pipe in white and blue swirls to make 4th of July appropriate.
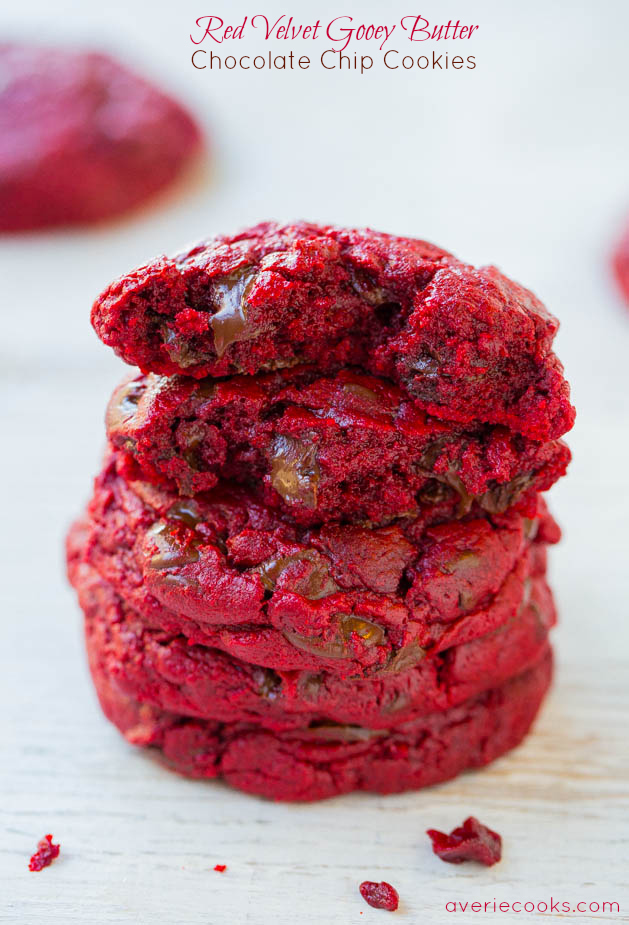
Chocolate Chip Red Velvet Cookies — These chocolate chip red velvet cookies have a secret ingredient — cake mix! These cookies are super ooey gooey and ultra rich!
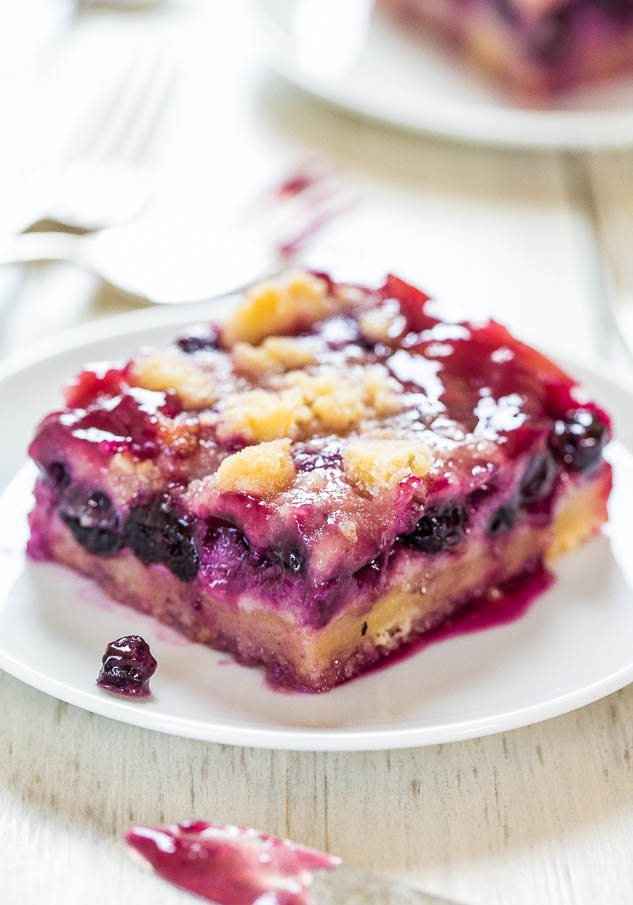
Blueberry Pie Bars — These pie bars are one of my all-time favorite frozen blueberry recipes! They have the flavors you love in a blueberry pie, but you don’t have to mess around with homemade pie crust.
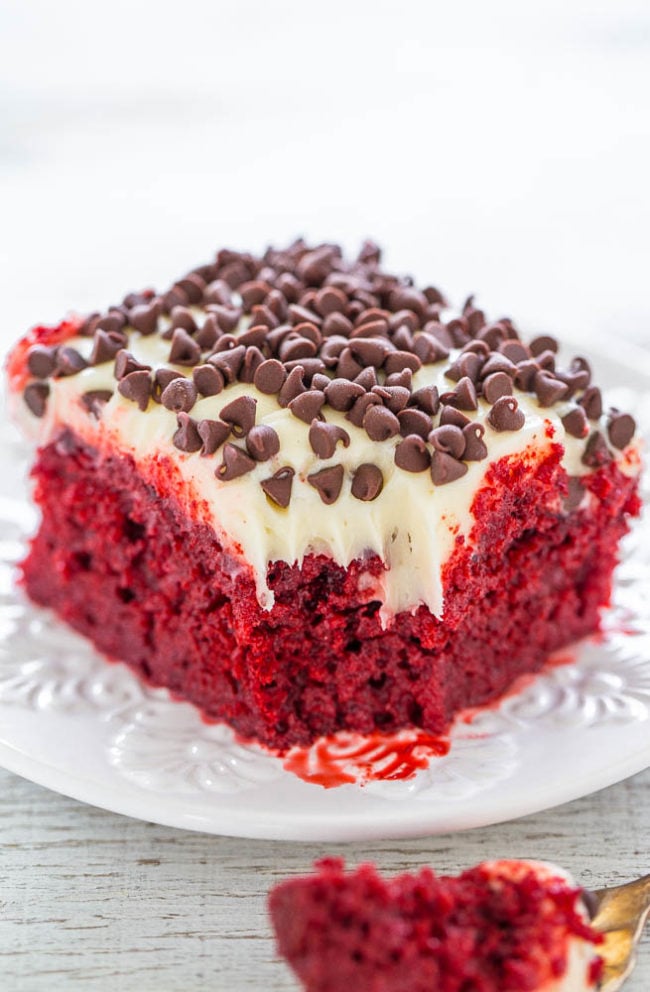
Red Velvet Poke Cake with Cream Cheese Frosting — If you like red velvet, you’re going to LOVE this EASY red velvet cake recipe!! Super soft, moist, topped with luscious cream cheese frosting. Top with red, white, and blue sprinkles instead of chocolate chips for a patriotic twist!
Red Velvet Cheesecake Brownies — Rich, decadent, red velvet brownies topped with tangy cream cheese swirls!! PERFECT for Valentine’s Day, the Christmas season, July 4th, and Memorial Day! EASIER than you think to make!!

Funfetti Cookies — These funfetti cookies are essentially sugar cookies from scratch that have been loaded with sprinkles. Swap in red, white, and blue jimmies to make these for July 4th or Memorial Day!

Post is brought to you by McCormick. The recipe, images, text, and opinions expressed are my own. Originally posted June 16, 2017 and reposted July 4, 2020.
great
great
It’s Look So yummy, I am definitely trying this one.
Thanks for Sharing.
I made these this weekend in a star shaped baking pan. I didn’t plan to frost them so I just sprinkled the pan with red, white, and blue jimmies before baking. I tasted the dough after spreading it out in the pan and worried that it was too sweet. The only thing I could do at that point was sprinkle kosher salt over the top. They came out delicious. Everyone who tasted them loved them including a little 4-year old. She’s the type to take a bite of something and then move on but she ate several! I took that as a compliment.
I made these this weekend in a star shaped baking pan. I didn’t plan to frost them so I just sprinkled the pan with red, white, and blue jimmies before baking. I tasted the dough after spreading it out in the pan and worried that it was too sweet. The only thing I could do at that point was sprinkle kosher salt over the top. They came out delicious. Everyone who tasted them loved them including a little 4-year old. She’s the type to take a bite of something and then move on but she ate several! I took that as a compliment.
Thanks for the 5 star review and glad everyone loved them! This is a very sweet dough, I know, I often feel the same. But during baking it mellows. But great idea about the kosher salt too!
What a fantastic idea!! These are a wonderful alternative to traditional sugar cookies and couldn’t be any easier. I love the bake then cut aspect and, yes, eating the scraps is a bonus. They are soft, chewy, buttery perfection. A must try for sure!!
Oh my god this is my favorite cookie texture EVER (while not an absolute, crispy cookies are often a waste of my time when chewy is an option). I really enjoy the sprinkle ratio too. :-)
crispy cookies are often a waste of my time when chewy is an option <---- AMEN yes that!
These look great. Could you double the recipe and put it in a 9×13?
Yes
Yum!! These look amazing! Which is what I say basically every time I see a cookie with frosting on it!
Paige
https://thehappyflammily.com
That’s how I feel about cookies too :)
Very festive! Cutting out shapes after baking solves the issue of working with a raw and more delicate dough. I would usually have a few that would develop unsightly bends, tears or lumps as I was getting them onto the baking sheet. And those leftover bits? I agree–the best!!
The leftover bits are always so good and delicate dough and me aren’t friends which is why this is so much easier!