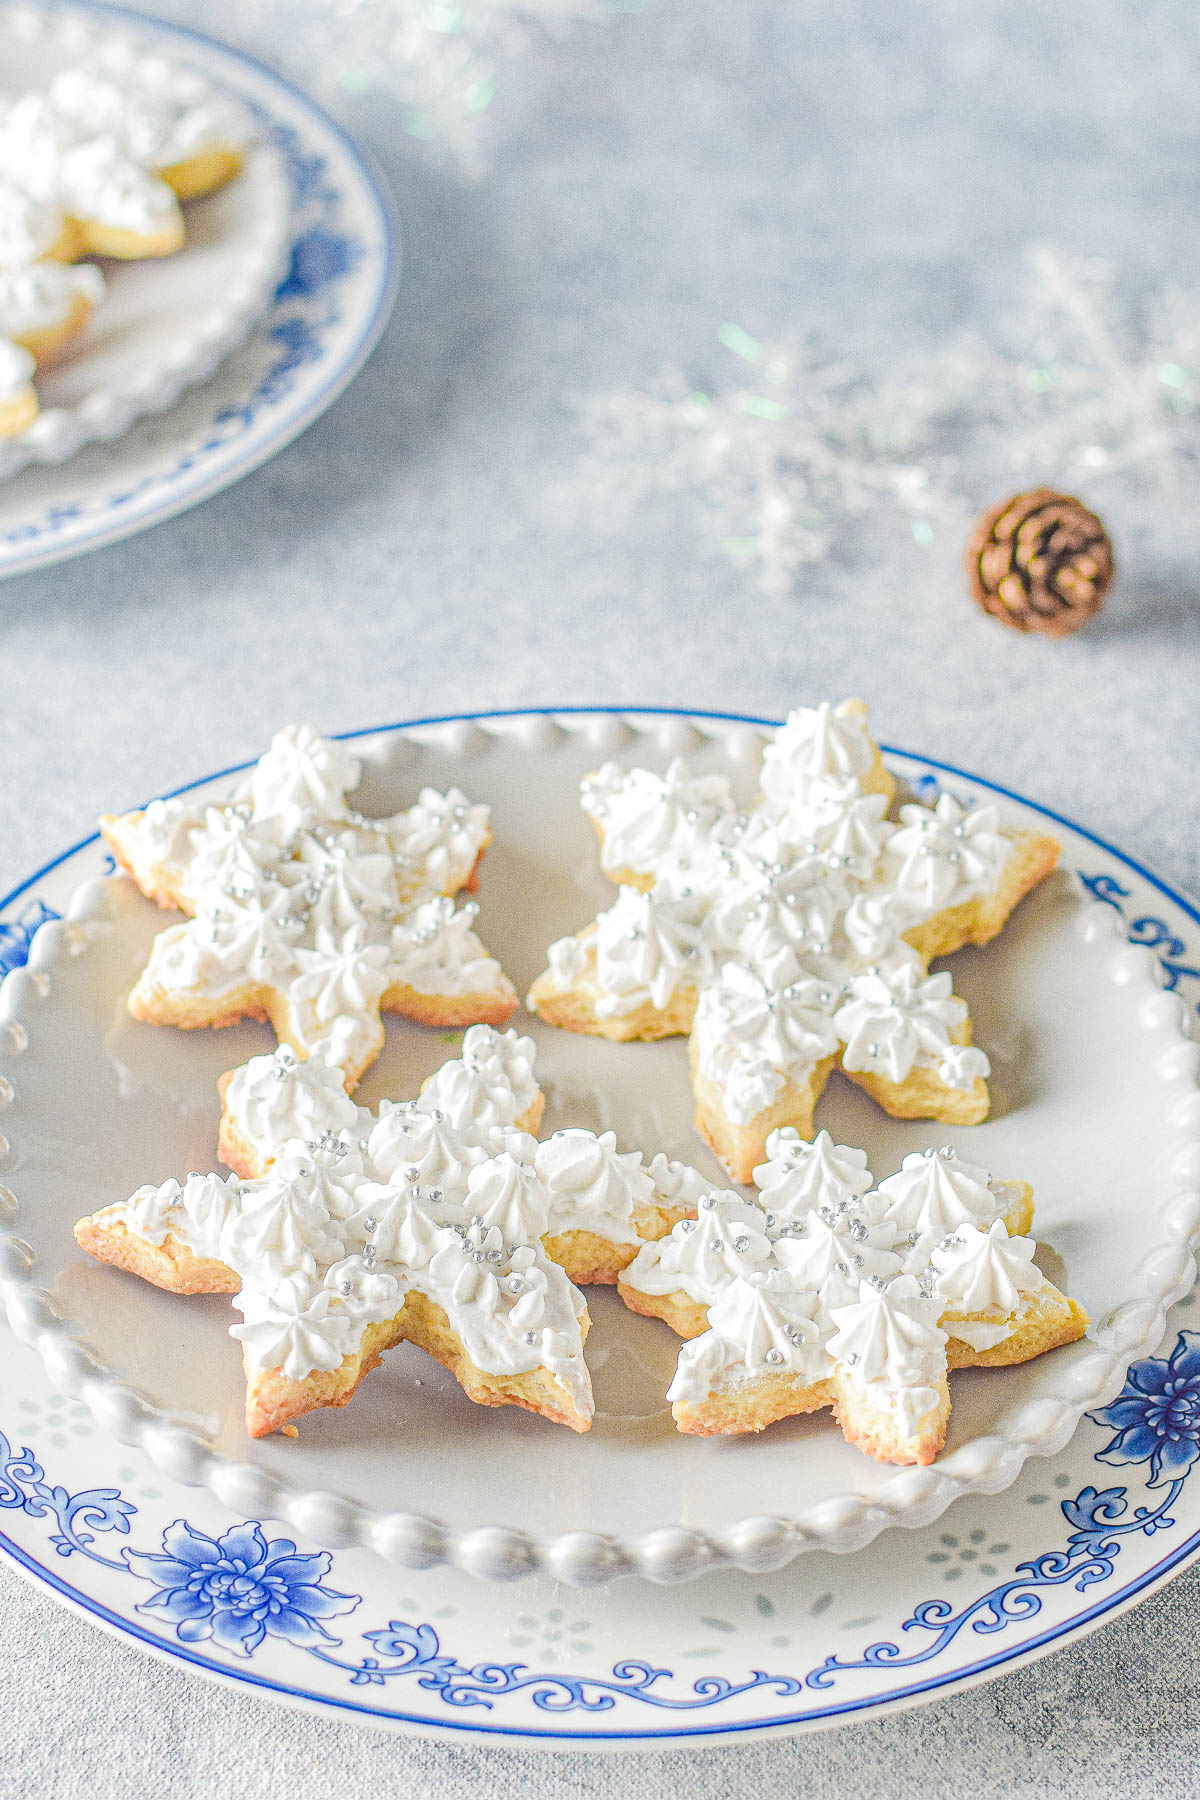
Decorated Snowflake Sugar Cookies — Classic sugar cookies that are heavenly sweet, soft, and all dressed up with piped vanilla frosting and sprinkles! They’re always the biggest hit at Christmas parties and cookie exchanges! Easy enough for novice bakers thanks to my straightforward directions which set you up for PERFECT Christmas cookies!
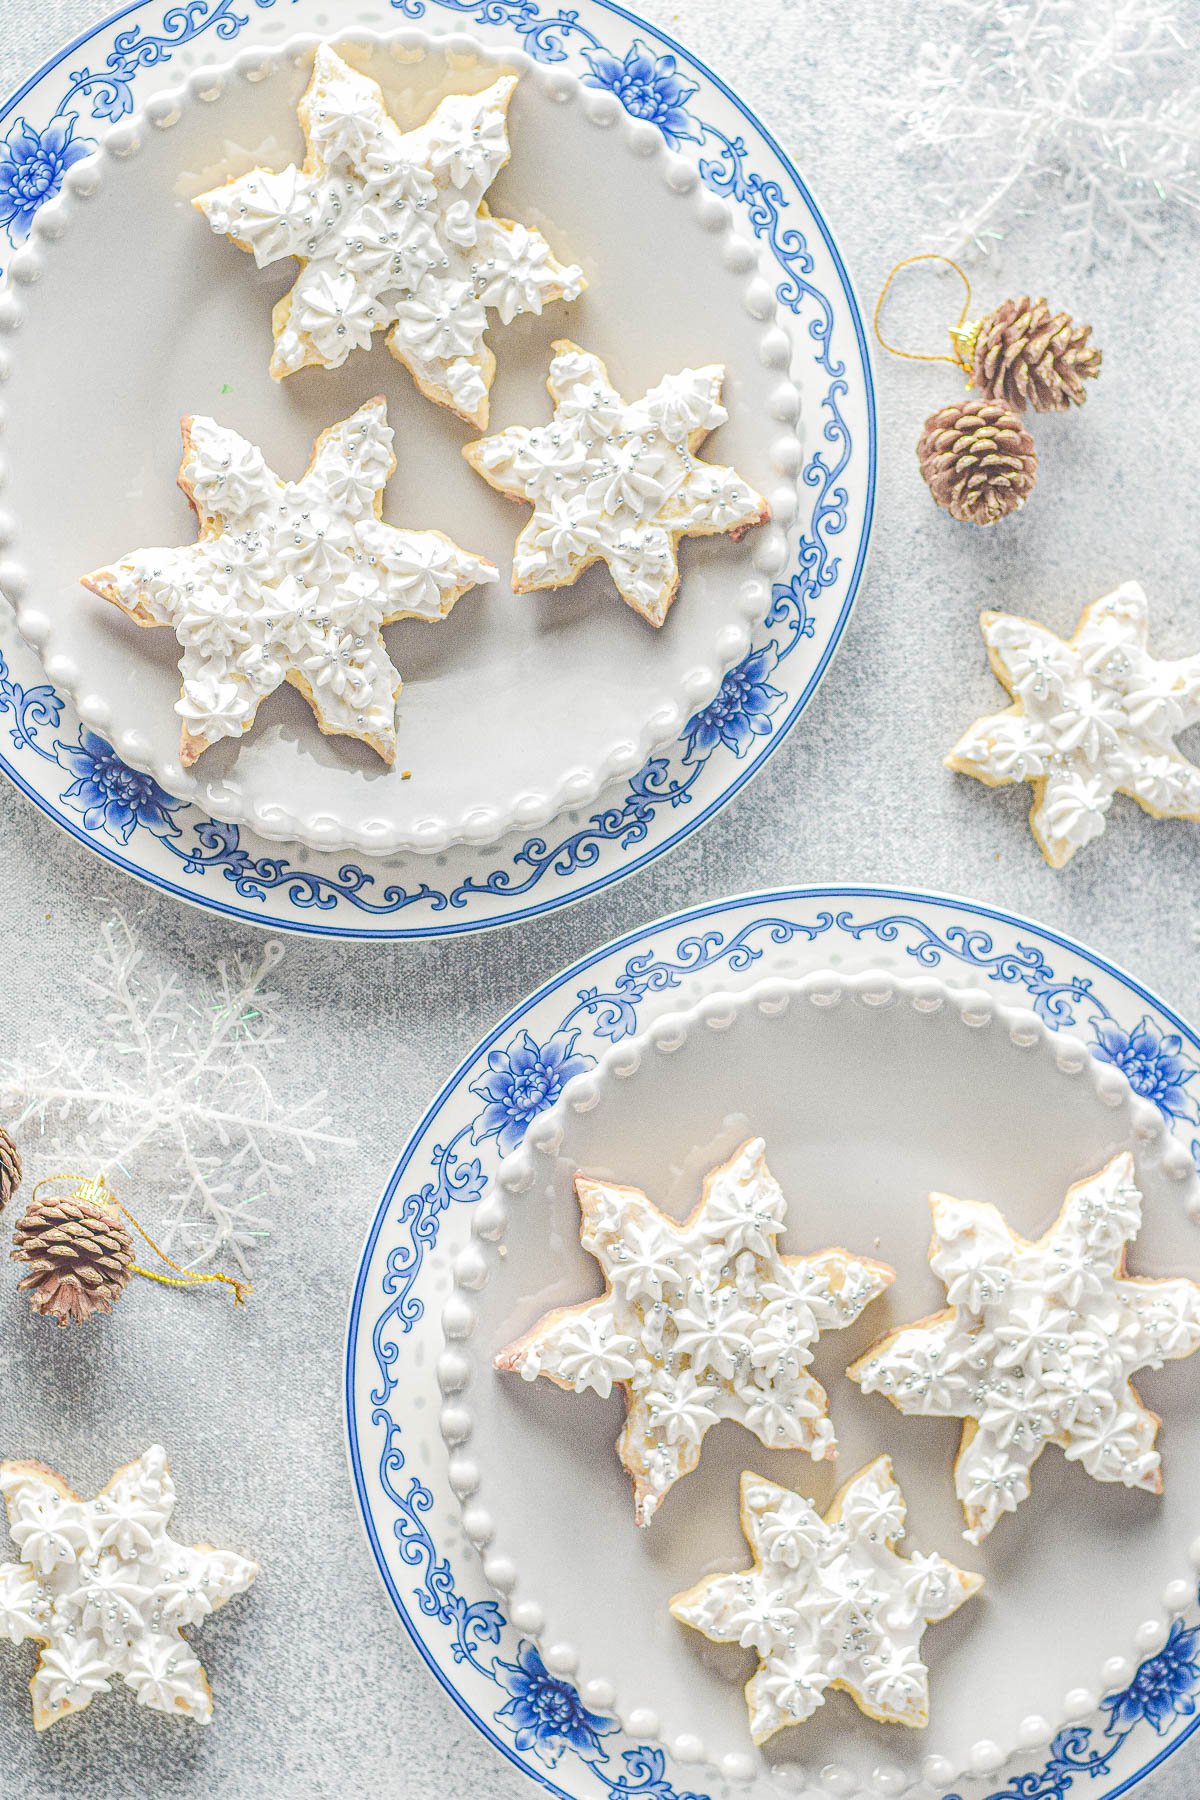
Table of Contents
- Winter Snowflake Cookies
- Ingredients for Snowflake Sugar Cookies
- How to Make Snowflake Sugar Cookies
- What Is The Best Frosting For Snowflake Cookies?
- Option 1: Vanilla Whipped Cream Frosting
- Option 2: Vanilla Buttercream
- Option 3: Store-Bought Vanilla Frosting
- Decorating Snowflake Cookies
- Recipe FAQs
- Serving and Gifting Suggestions
- How To Store Decorated Snowflake Cookies
- Tips For The Best Snowflake Sugar Cookies:
- Snowflake Sugar Cookies Recipe
- More Easy Christmas Cookie Recipes:
Winter Snowflake Cookies
I just love a cookie that’s as picture-perfect as it is tasty! We’re officially in the heart of cookie season, and this buttery sugar cookie recipe that’s perfectly sweet and soft might just be one of my favorites to make a big batch of.
If you love homemade sugar cookies, you’re going to fall head over heels for this easy snowflake sugar cookie recipe!
This is a classic no-frills sugar cookie recipe that you can count on, but made to look festive for the season by cutting them out in the shape of snowflakes.

A snowflake cookie cutter is all you’ll need to make these seasonally appropriate snowflakes that give these cookies such character. But of course, you can use any type of cookie cutter you want from santas to Christmas trees.
Frosting the snowflake cookies is honestly so much fun, and you can make them as decorative and elaborate (or not) as you’d like.
Whether you’re a piping bag master or feel more comfortable just spreading an even layer of vanilla frosting on each cookie, they’ll turn out so cute and scrumptious every single time.
Ingredients for Snowflake Sugar Cookies
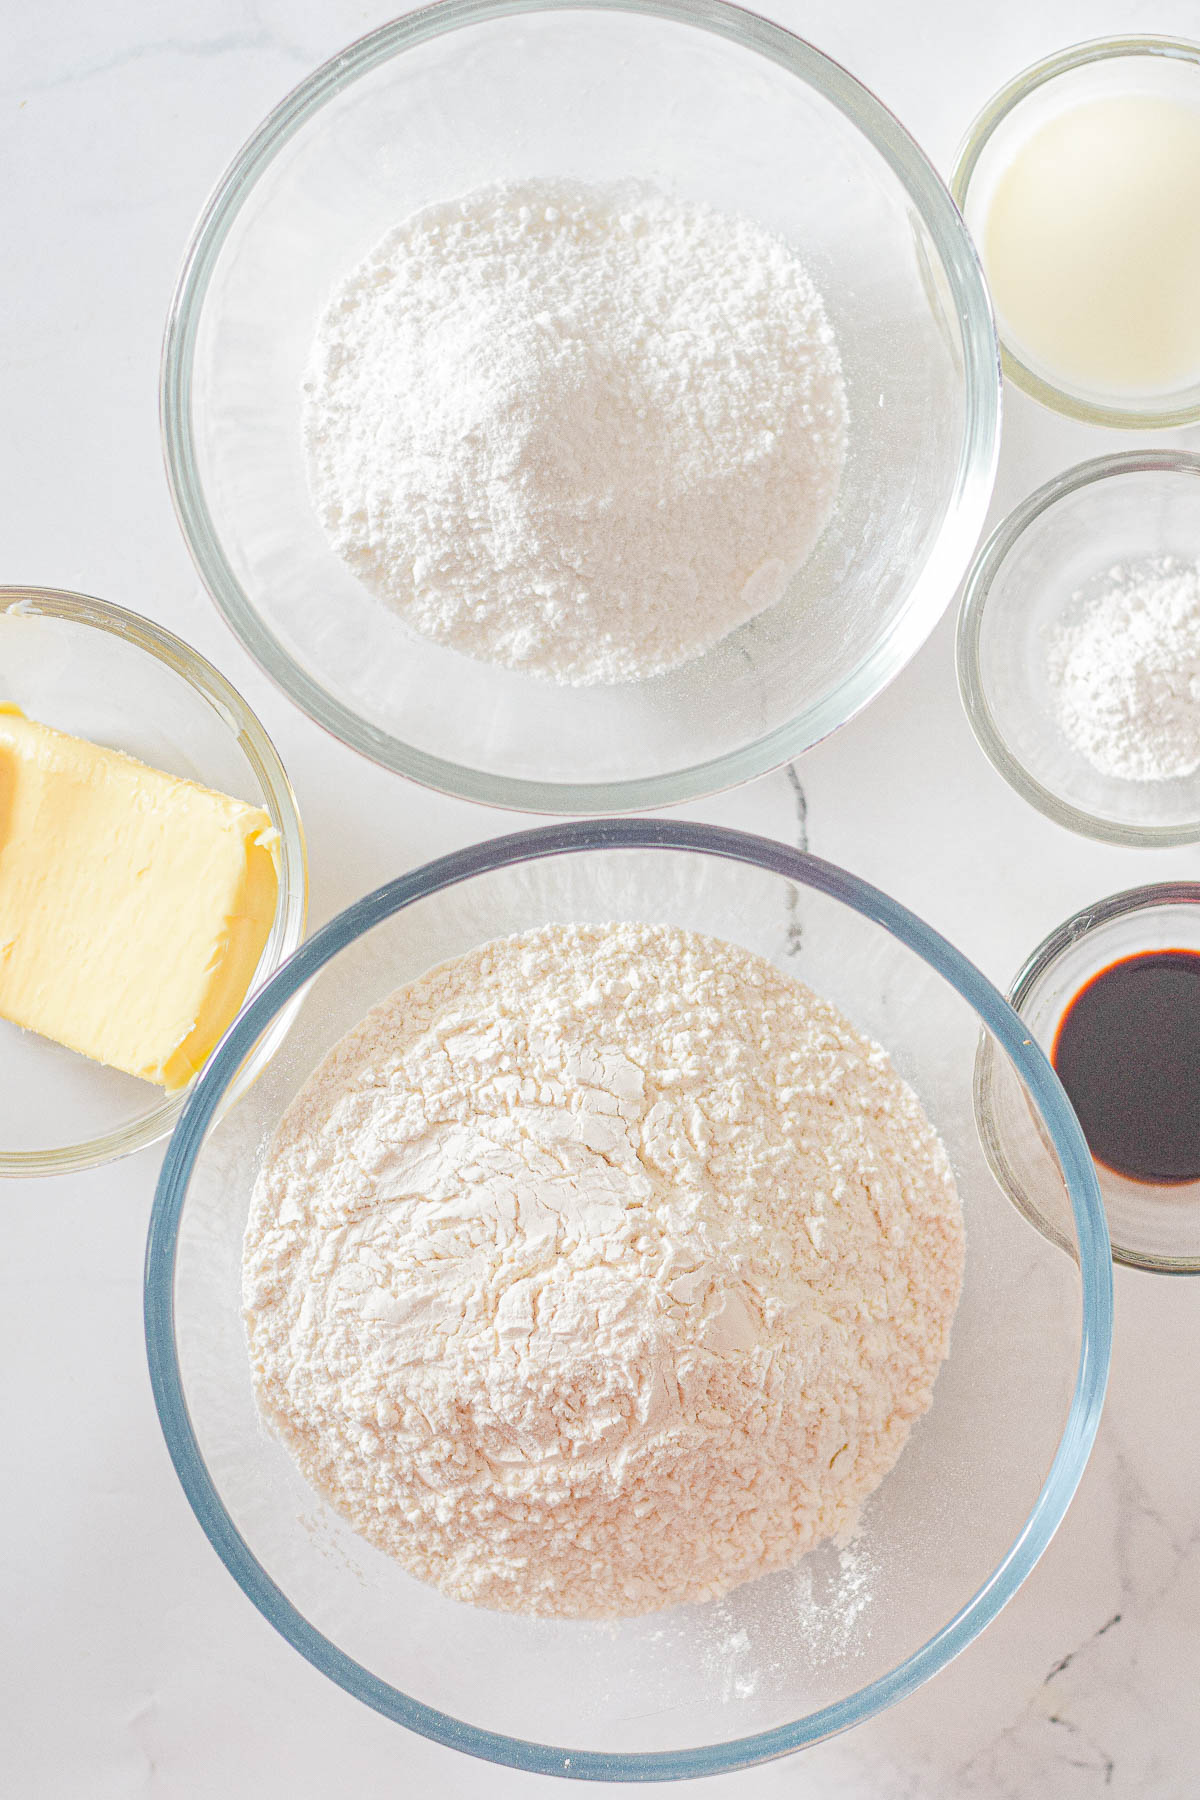
For the snowflake Christmas cookies, you’ll need a handful of inexpensive fridge and pantry staples that most bakers already have ready to go.
Here’s what to add to your short and sweet shopping list if you don’t already have it on hand:
For the Cookies
- Unsalted butter
- Confectioners’ sugar
- Vanilla extract
- All-purpose flour
- Baking powder
- Salt
- Whole milk
For the Frosting
- Vanilla frosting (either a whipped cream vanilla frosting OR vanilla buttercream frosting OR store-bough vanilla frosting)
Note: Scroll down to the recipe card section of the post for the ingredients with amounts included and for more complete directions.
How to Make Snowflake Sugar Cookies
Making snowflake sugar cookies with vanilla frosting is easier than you think. Follow my straightforward steps outlined below:
Step 1: Using a stand mixer or handheld electric mixer, beat the butter.
Step 2: Sift in the confectioners’ sugar, vanilla, and beat until creamy.
Step 3: Mix in all of the dry ingredients before adding the milk a tablespoon at a time until a dough forms.
Step 4: Let the dough chill in the fridge for at least 1 hour, or overnight.
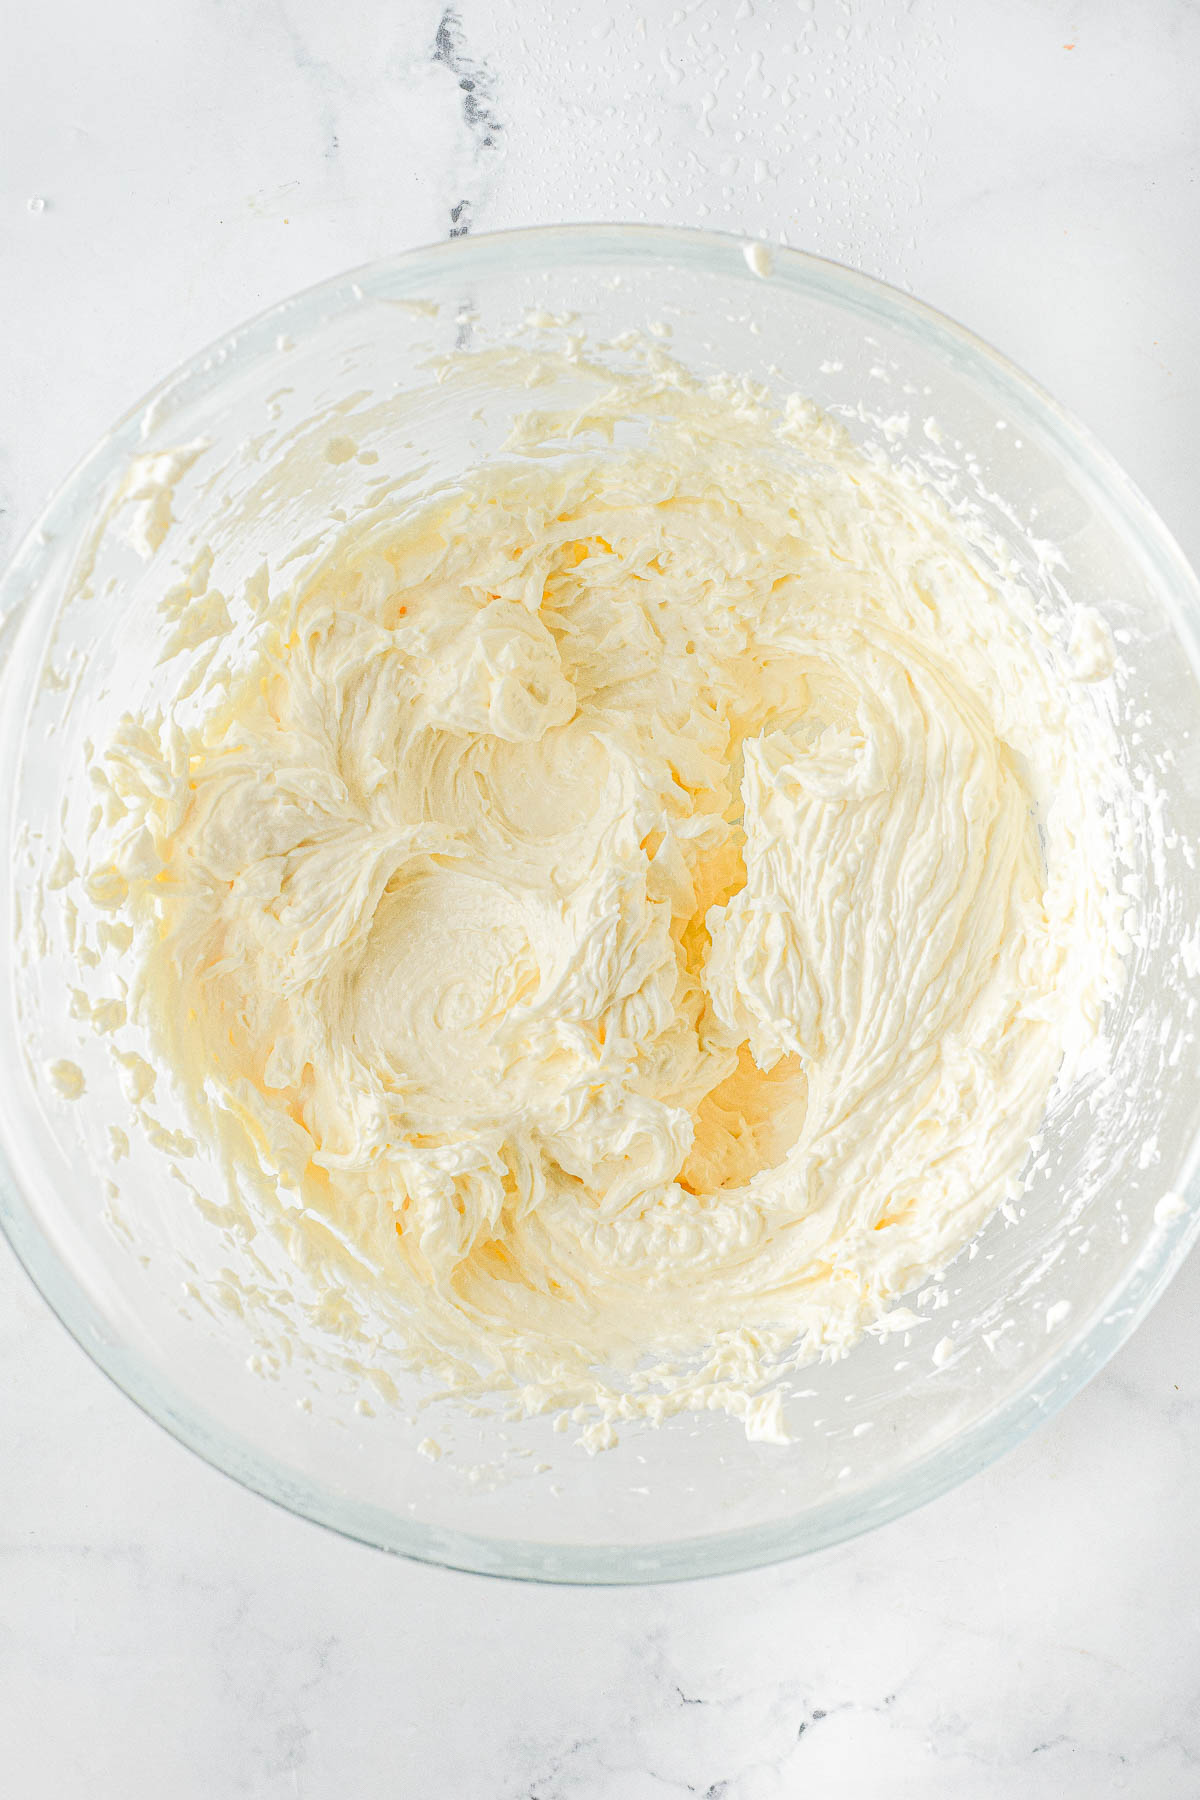
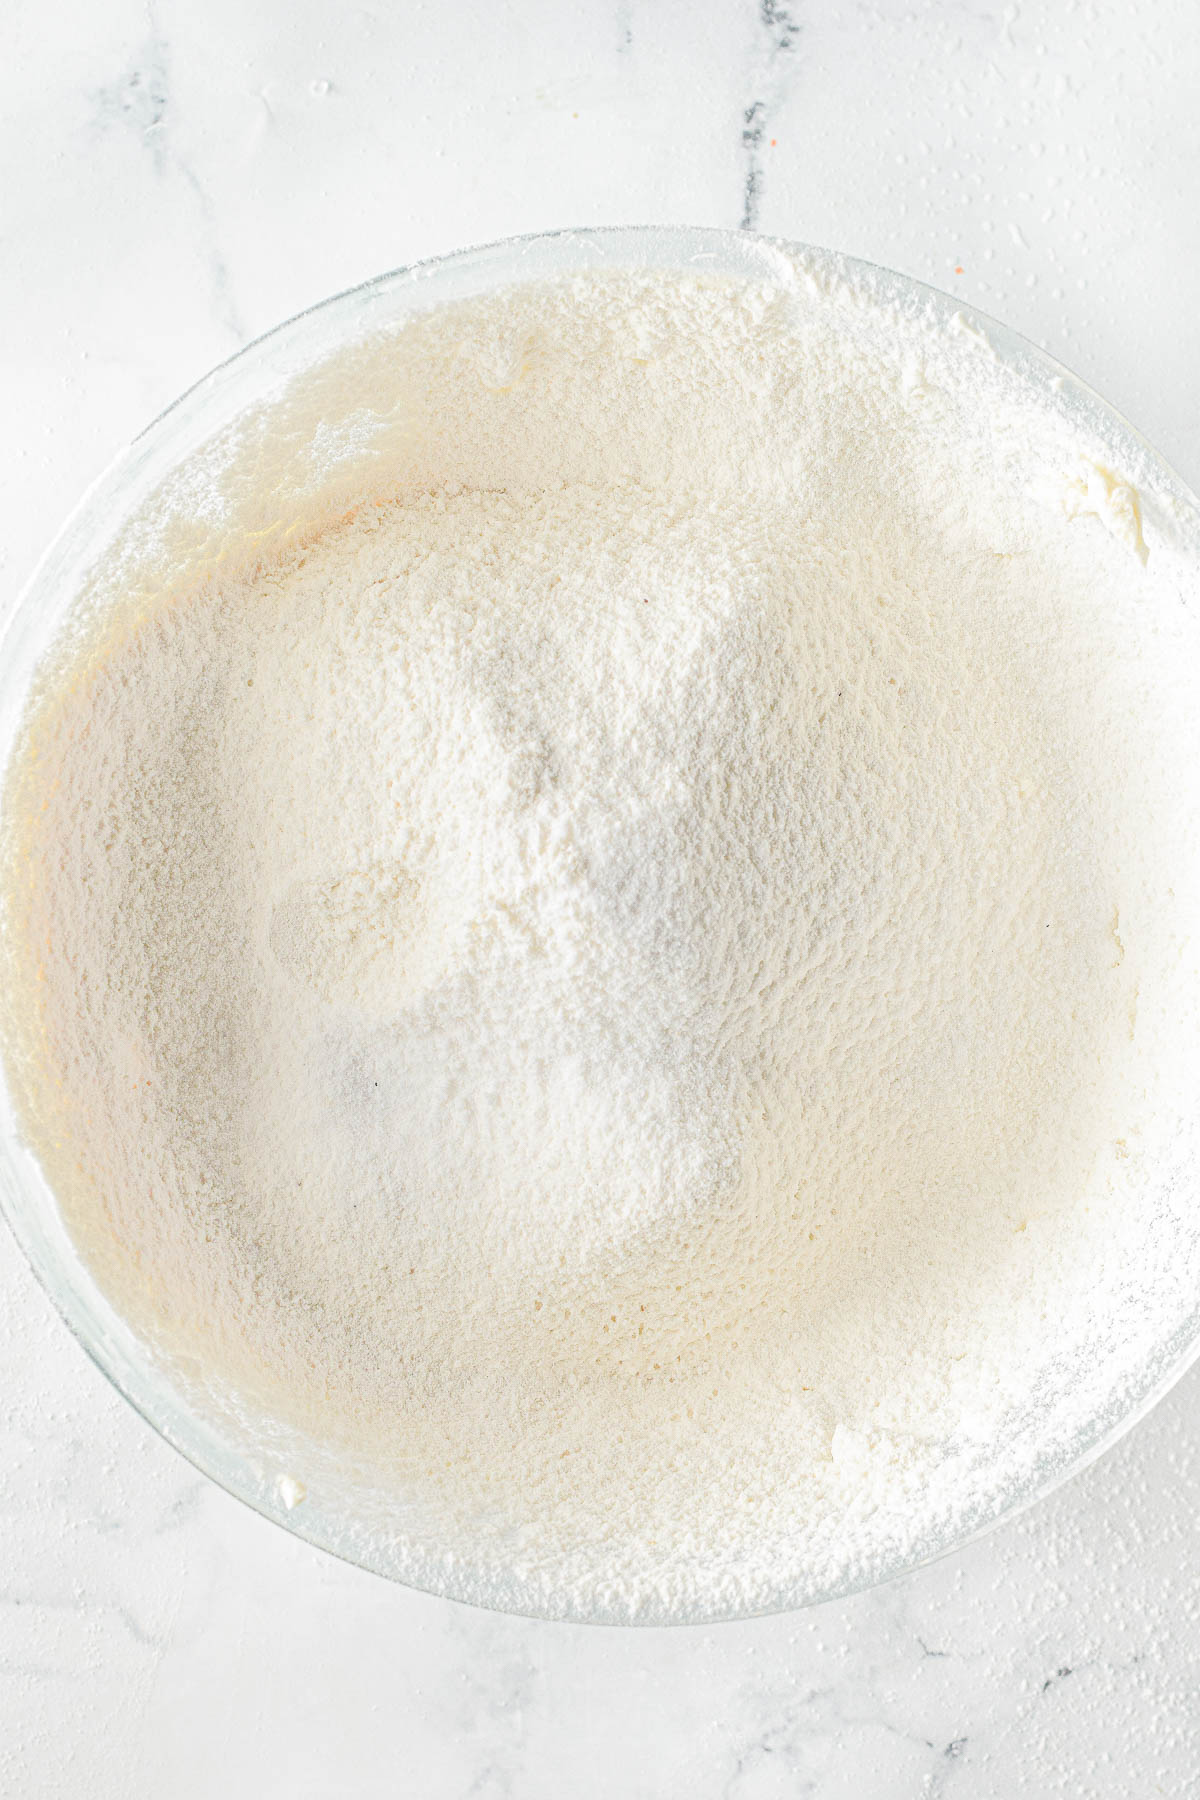
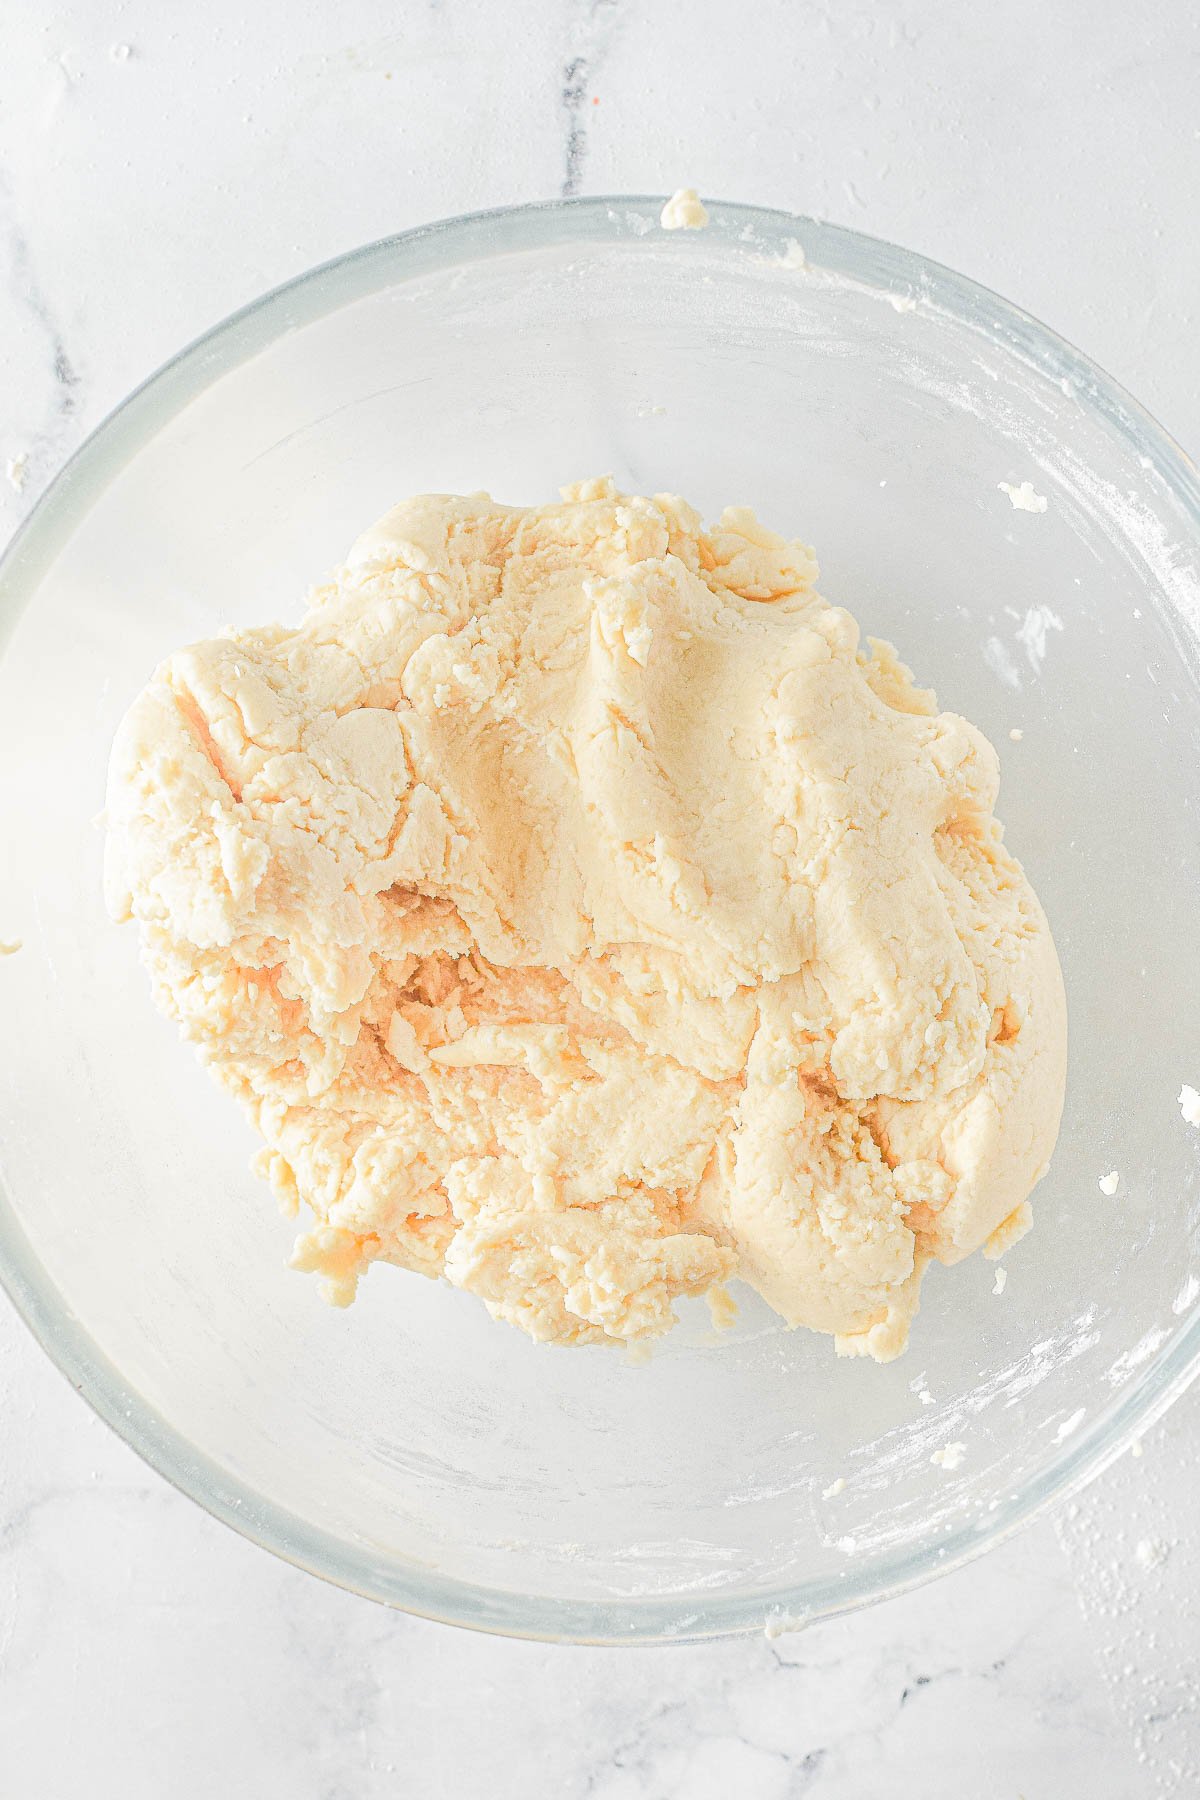
Step 5: Roll the dough out to 1/8-inch thickness and cut it into snowflake shapes using a snowflake cookie cutter.
Step 6: Bake on parchment or Silpats at 350°F for about 9 to 10 minutes.
Step 7: Allow the cookies to cool to room temperature before frosting them.
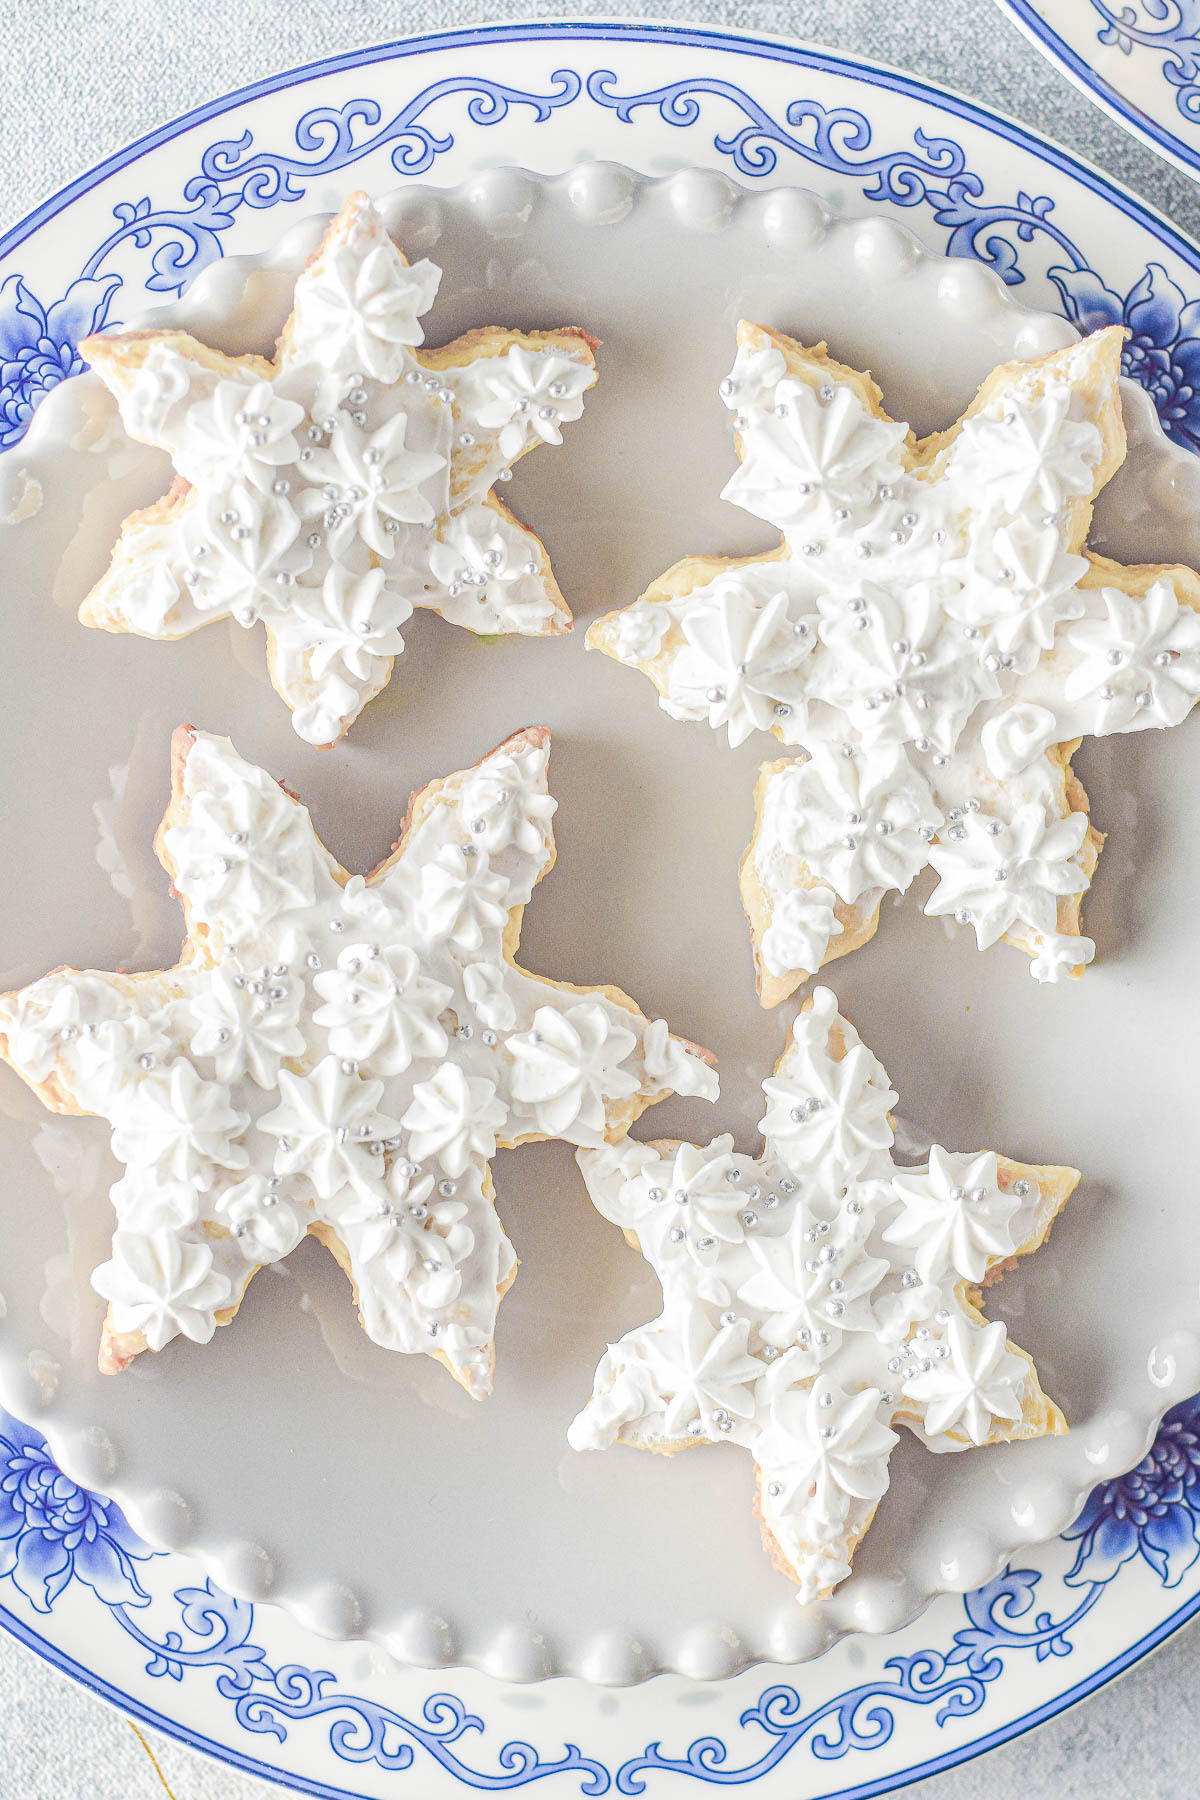
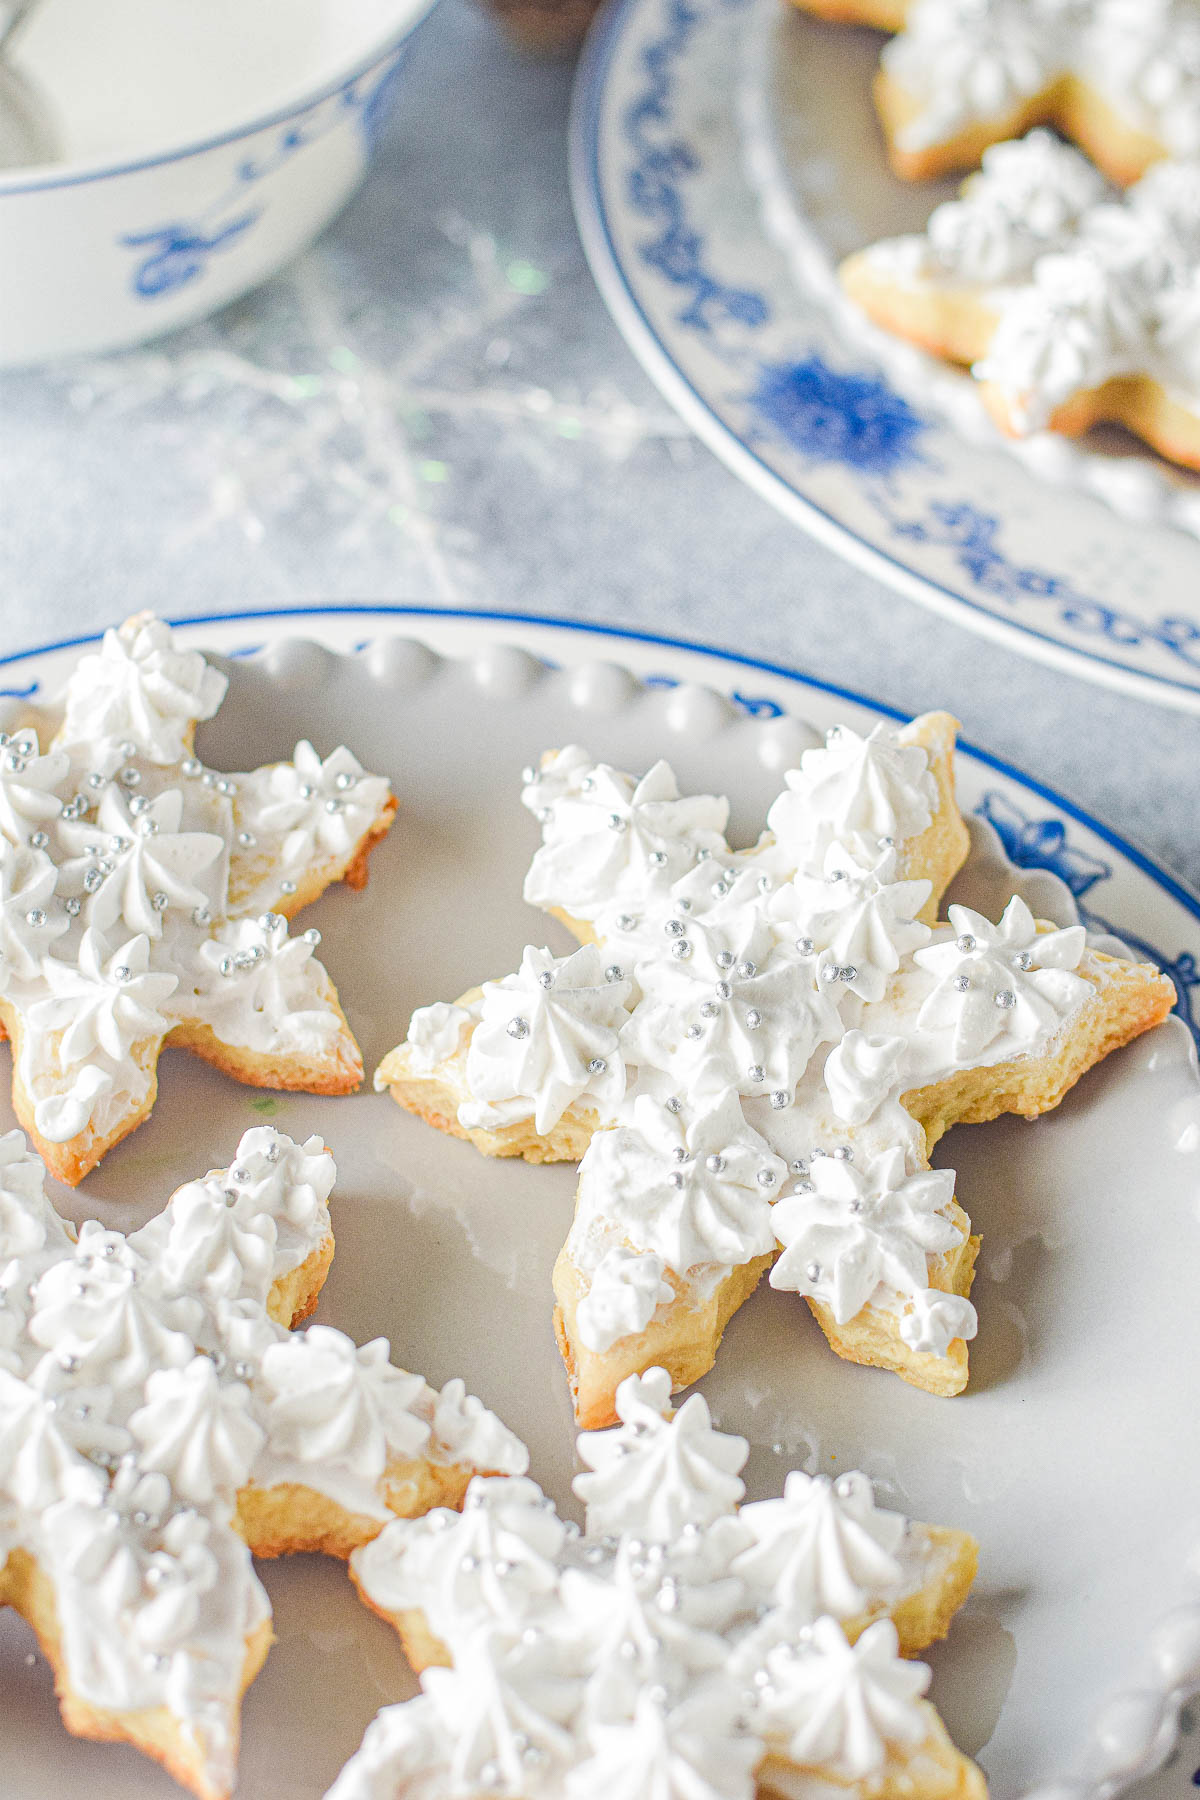
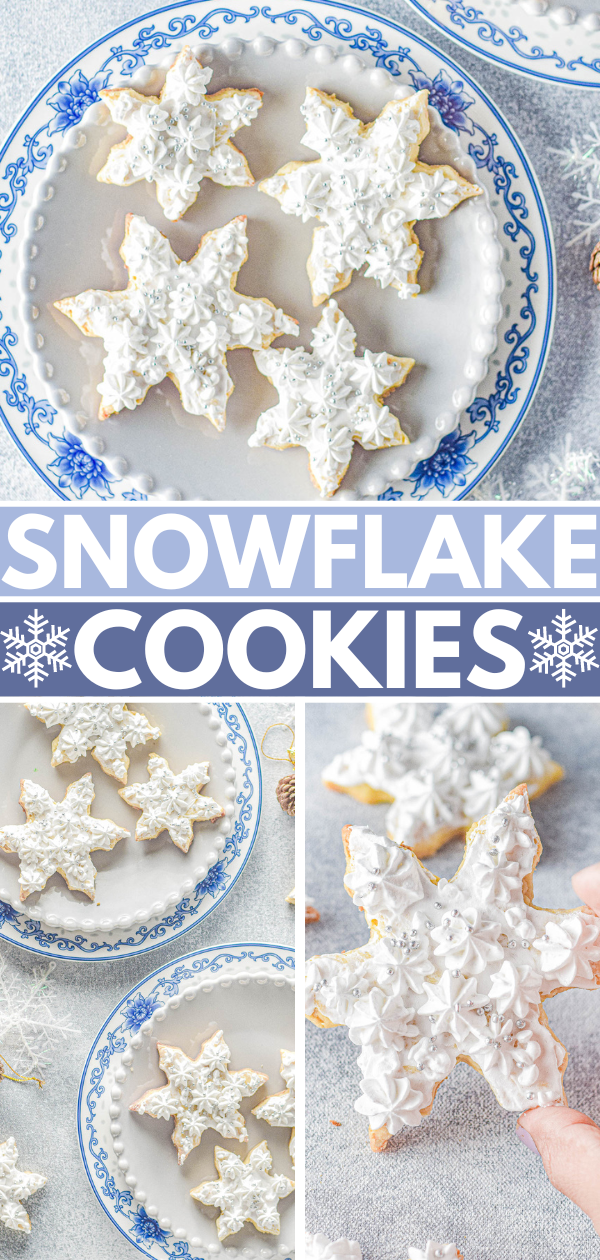
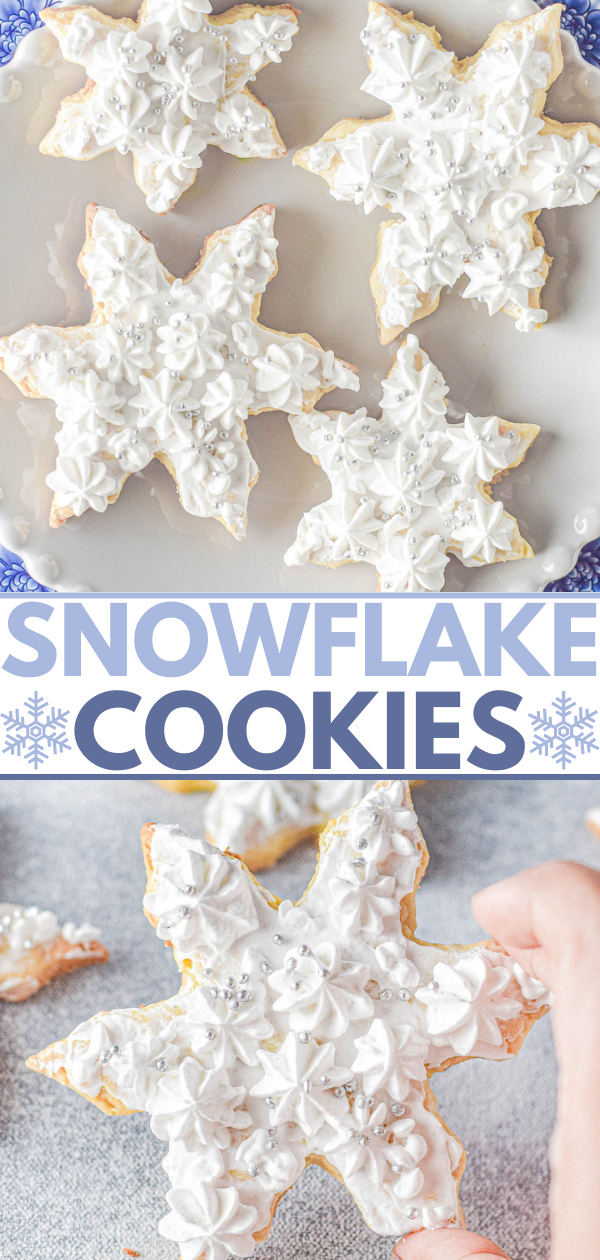
Step 8: Frost the cookies by spreading a layer of frosting on each cookie and then if you’re piping them, add the frosting to a piping bag, and use a star tip to pipe on small stars over the surface. Otherwise smear a layer of frosting over each cookie and call it a day!
Step 9: If desired, add sprinkles all over the cookies and enjoy!
What Is The Best Frosting For Snowflake Cookies?
There are a few different routes you can take with the frosting, each with their slight pros and cons which include:
Option 1: Vanilla Whipped Cream Frosting
If you check out my recipe for Christmas Tree Cupcakes, you’ll see that I use a vanilla whipped cream frosting that’s perfect for these cookies as well. Double the recipe since there are more cookies than cupcakes.
Note that this frosting needs to be stored in the fridge, where it’ll keep for 3 to 4 days.
Bottom Line – Fast and easy frosting, cookies will last 4 days max in the fridge.

Option 2: Vanilla Buttercream
Another tasty option is to use the frosting that I use in my Patriotic Cupcakes. It’s a wonderful vanilla buttercream frosting that turns out perfectly and pipes beautifully.
Your cookies will stay fresh for about 4 to 5 days at room temperature. I store buttercream frosted items for that long at room temp but if you want to refrigerate the cookies, they’ll keep for up to 1 week.
Bottom Line – Cookies will last longer at room temp which is a holiday cookie bonus.
Option 3: Store-Bought Vanilla Frosting
Store bought vanilla frosting in a tub is always fast, easy, and economical.
Bottom Line – Cookie will easily keep for 5 days at room temp but frosting cannot be piped.
Which frosting is best? The choice is up to you! However, for time and energy’s sake, a fast and easy shortcut is to use store bought frosting that you smear on with a butter knife and then douse with all kinds of festive colored sprinkles!
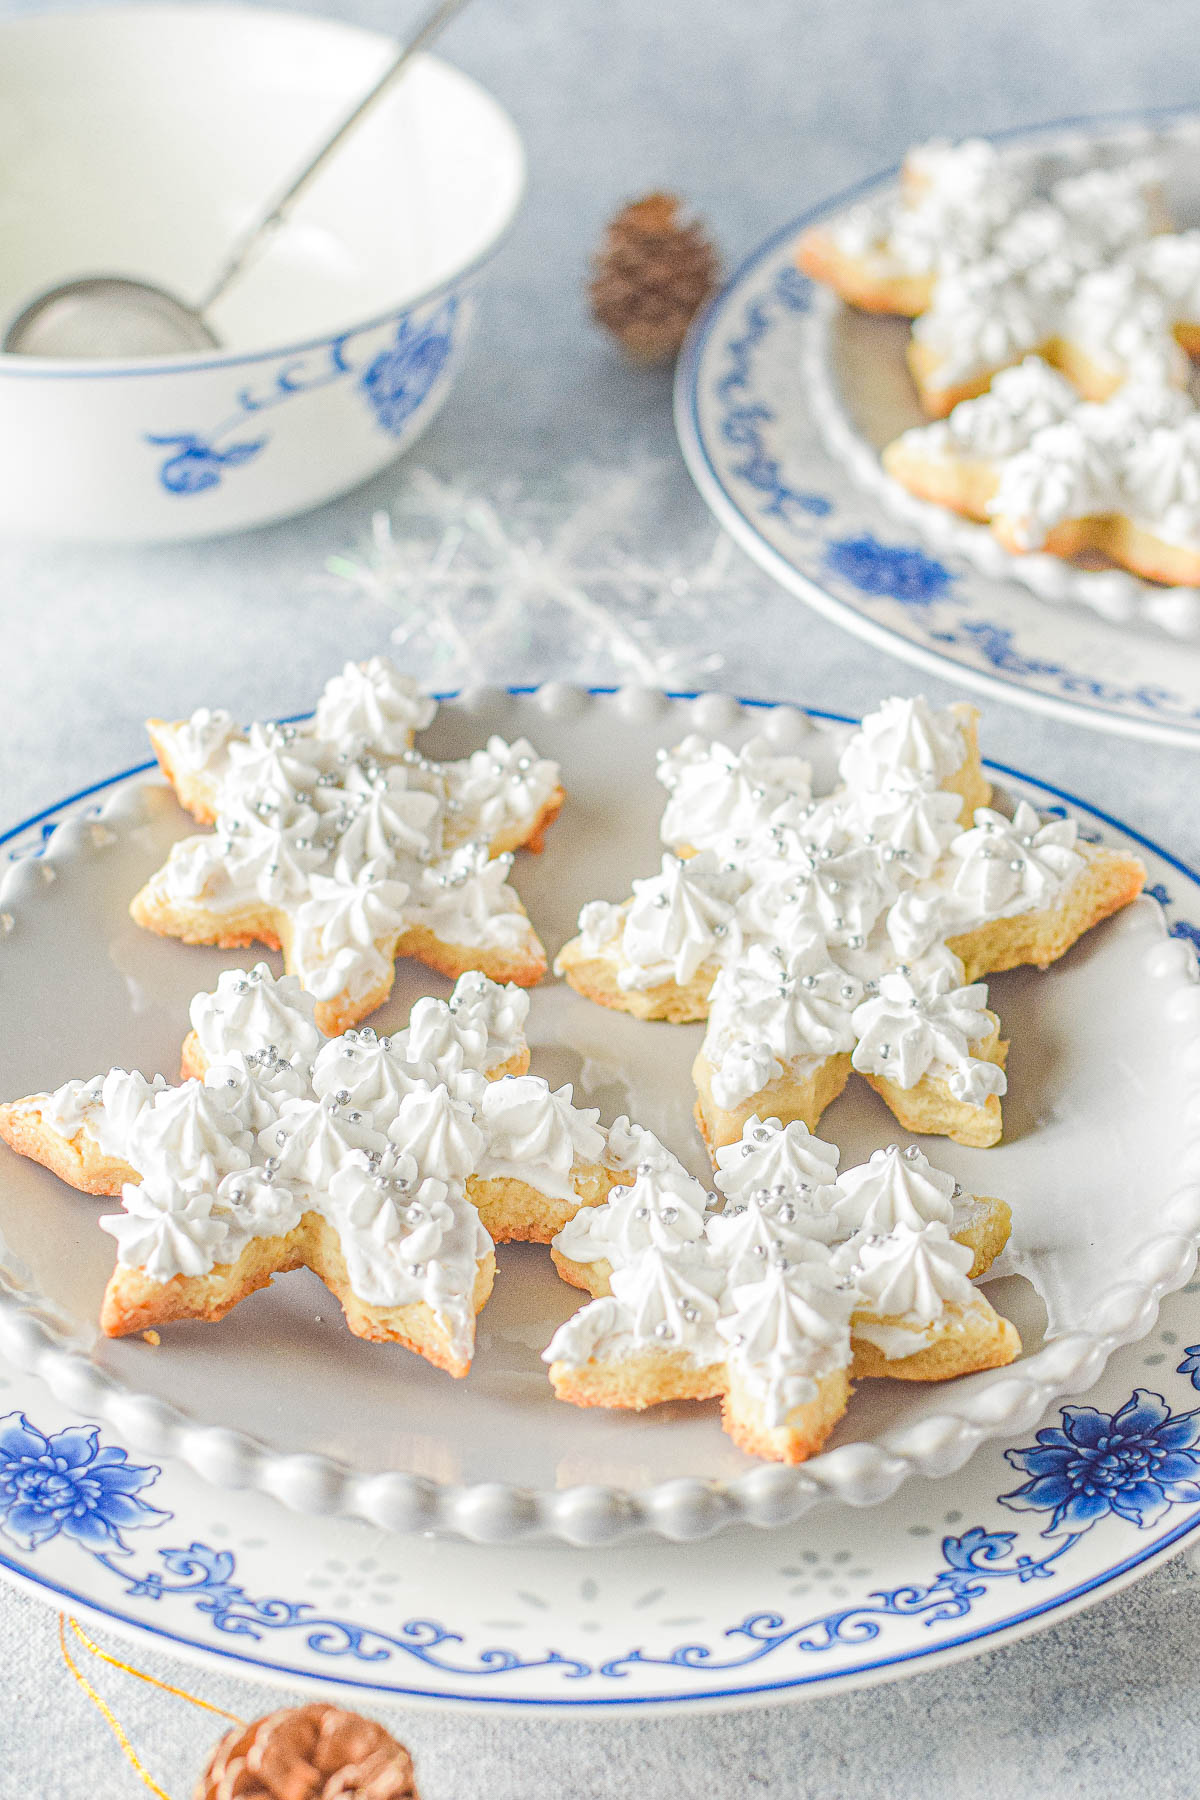
Decorating Snowflake Cookies
You don’t need to be a super skilled baker to master this easy piped frosting technique. The best part is that they look oh so picturesque and impressive. It can be your little secret that they’re a total breeze.
- First things first, make sure the cookies have fully cooled to room temperature prior to frosting. If they’re even still slightly warm, the icing will melt and the cookies will be ruined.
- Next you have your choice of whipped cream frosting or buttercream frosting to make.
- Then, using a spatula or butter knife, gently spread a thin layer of vanilla frosting on each snowflake cookie.
- Next, attach the a star nozzle (1M tip) to the piping bag and fill the bag with the remaining frosting.
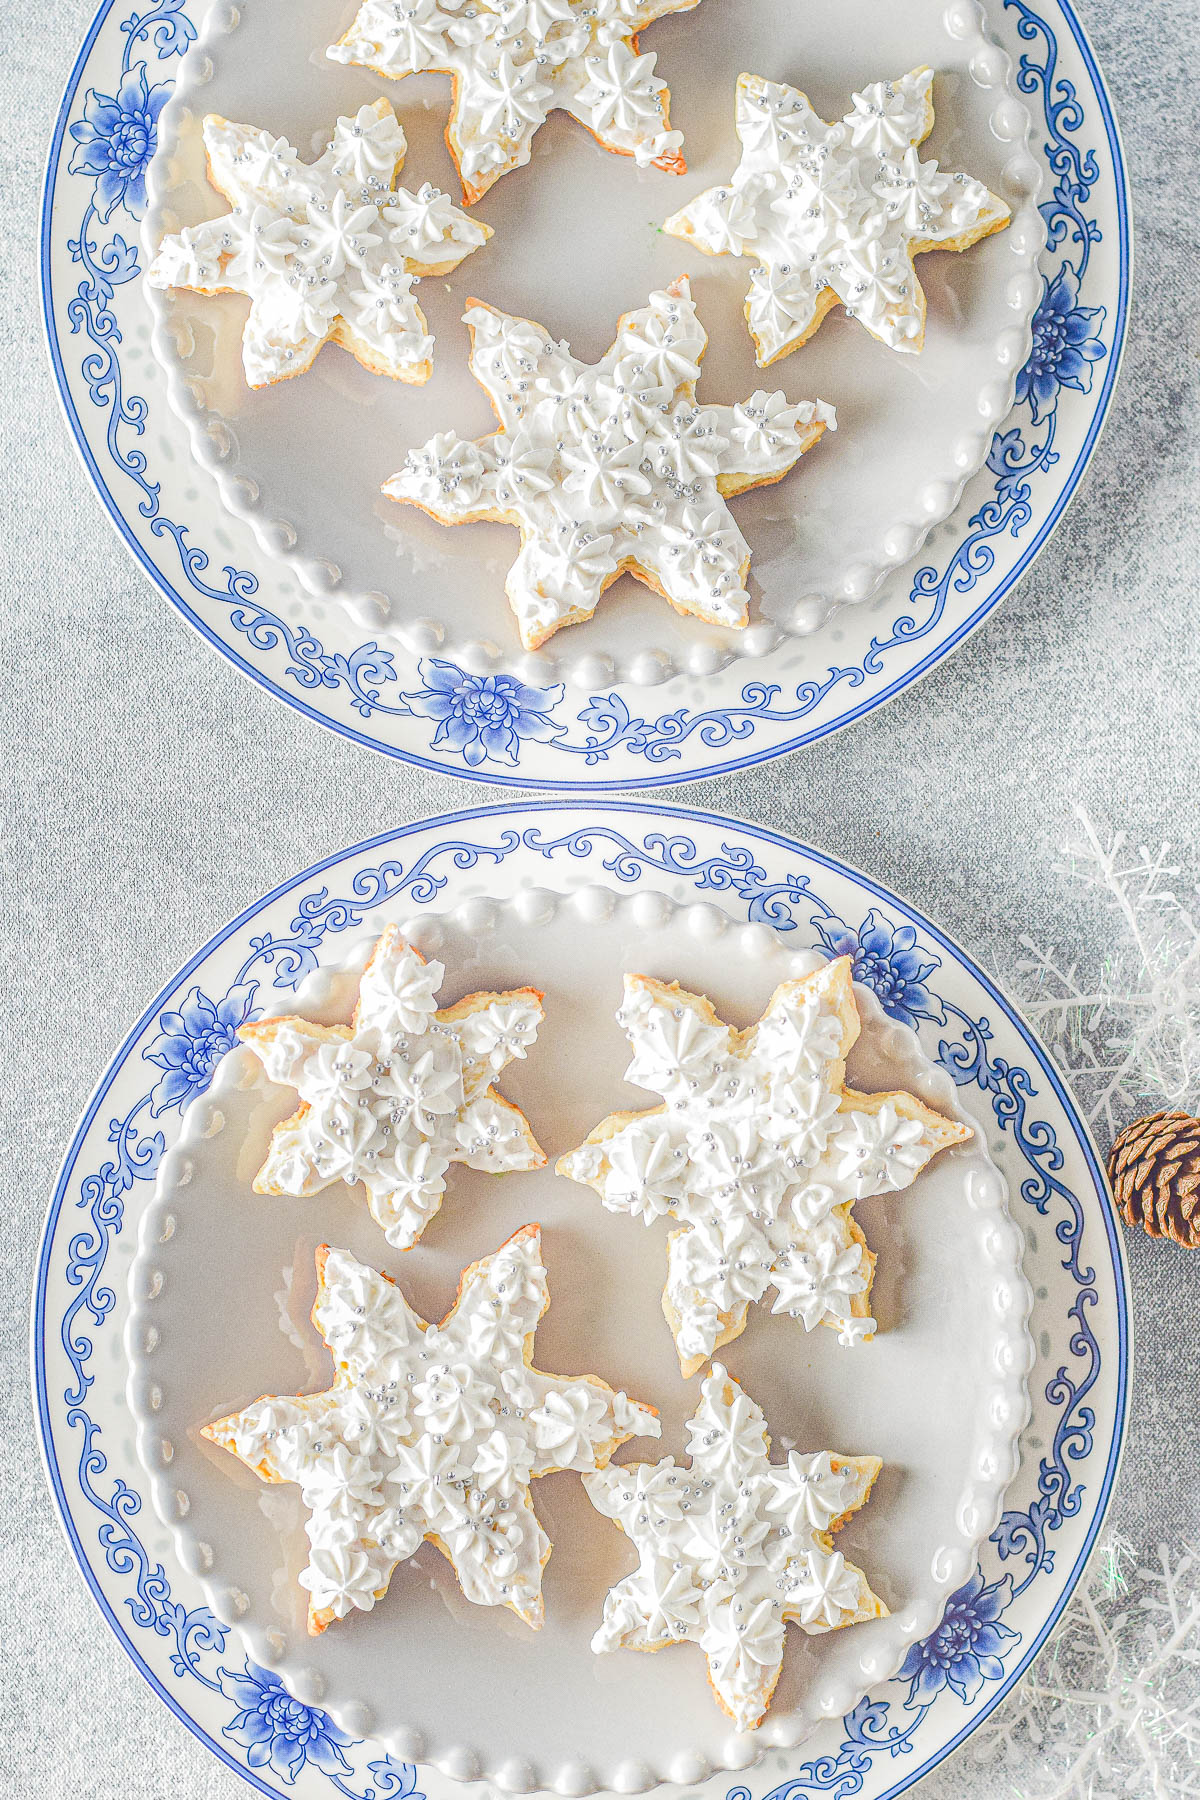
- Pipe the little star shaped dollops of frosting all over the cookies, and don’t be disheartened if every cookie looks a little different. After all, no two snowflakes are ever alike! That’s what makes them so special.
- If you want to color the frosting with food coloring, feel free! And get creative with the sprinkles choices, too.
Recipe FAQs
Yes, refrigerating the dough for at least an hour (or overnight) is essential. I suggest dividing the dough in two, create two thick disc shapes, wrap very well in plastic wrap, and refrigerate.
If the dough isn’t refrigerated, your little snowflake cookies will melt and spread in the hot oven. This sugar cookie dough must be refrigerated prior to baking to ensure that the snowflakes retain their shape.
(I have photos of this process in my Christmas Cutout Cookies post.)
I use a snowflake cookie cutter since snowflake-shaped sugar cookies was my goal. However, yes you can absolutely use this sugar cookie dough recipe to make whatever shape of cookies you want such as trees, Santas, stars, candy canes, and more.
In order for the butter to easily be beaten with the other ingredients until creamy, you’ll need it to be softened to room temperature. I recommend leaving it out on the kitchen counter for about 1 hour before you know you’ll need it.
I use unsalted butter and then add a bit of salt to the dough. Also, there’s salt in baking powder and you don’t want to wind up with overly salty cookies. For that reason, I recommend using unsalted butter rather than salted.
Yes! Any time you’re making cutout cookies, you’ll have excess dough that you can ball up, roll it out again, and cut it out again. I don’t like to re-roll more than one time because the dough after that point can be a bit overworked and I just bake it off in whatever random shapes from any excess dough I have and don’t worry about cutting out shapes.
Because sugar cookies are a more delicate cookie, and because of the higher ratios of butter and sugar in these snowflake sugar cookies, they have a tendency to burn in the final moments of baking.
Therefore, watch them very closely in the final moments of baking and pull them out when the edges show the faintest signs of turning golden brown. They’ll continue to firm up and darken as they cool because they need to cool on the baking sheets momentarily before they can be transferred.
I always advise baking one sheet of cookies at a time, on the center oven rack, and rotating the baking sheet once midway through baking for the most optimal results.
Of course, some people will take shortcuts and bake two sheets at a time. However, in my experience, the baking sheet on the bottom tends to have cookies that aren’t as perfectly baked as its counterpart.
Serving and Gifting Suggestions
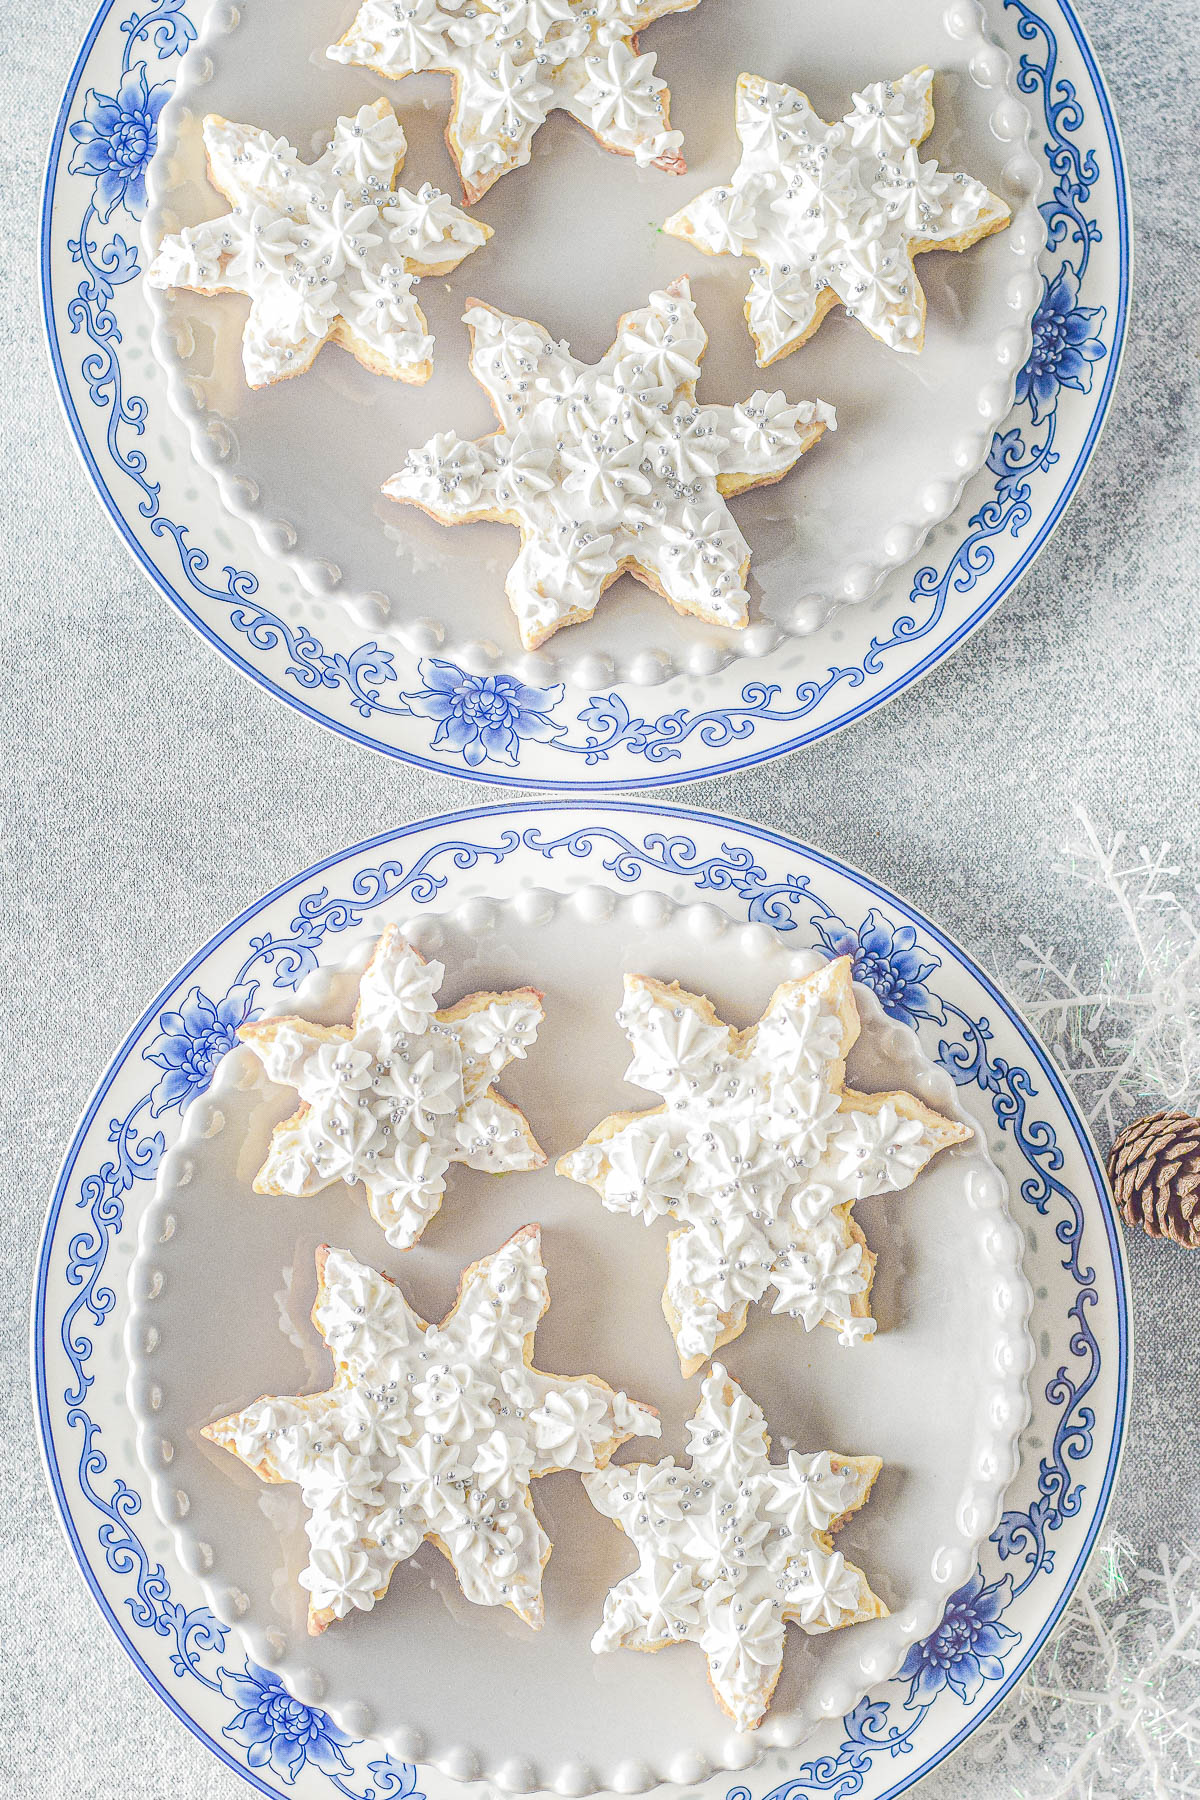
There’s no bad way to serve a platter full of these festive snowflake sugar cookies. Bring them with you to your next cookie exchange or holiday party of any kind and watch them quickly disappear.
They also are beautiful homemade gifts that you can hand them out to friends, neighbors, teachers, coaches, or anyone else who deserves a little Christmas cheer in the form of a sugar cookie.
If you do happen to present these pretty cookies at a holiday gathering, consider also serving more of my Christmas party favorites like this Christmas Cheese Ball Wreath and a pitcher of refreshing Sparkling Christmas Punch.
How To Store Decorated Snowflake Cookies
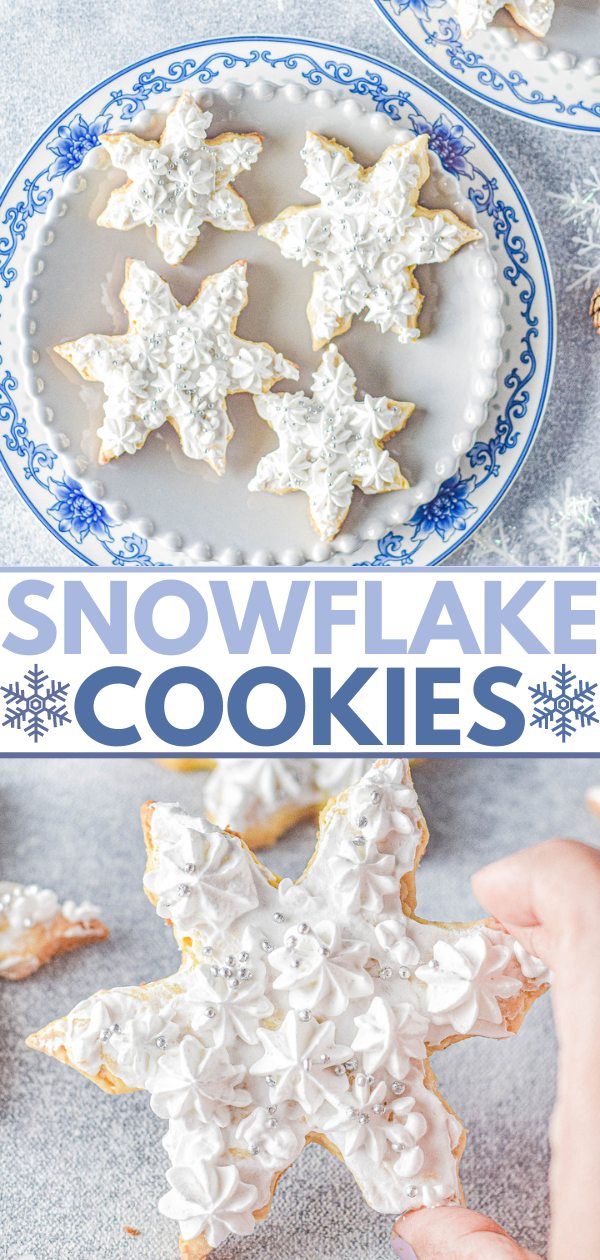
Once frosted, as I mentioned above, the vanilla whipped cream frosted cookies need to be stored airtight in the fridge where they will keep for 3 to 4 days.
If you use homemade vanilla buttercream, you can feel confident leaving them airtight at room temp for up to 5 days or in the fridge for up to 1 week.
Finally, if you use store bought frosting the cookies will keep airtight at room temp for up to 1 week.
Storage Tip
Obviously cookies are best the fresher they are, but no matter which frosting you use, be sure to keep the cookies stored in an airtight container for optimal freshness!
Tips For The Best Snowflake Sugar Cookies:
Butter: Since sugar cookie dough is a very buttery dough, I also recommend a high-quality butter like Kerrygold for this recipe, or whatever your favorite better quality butter is.
All-Purpose Flour: Always make sure you sift and spoon your flour into the measuring cup for the best results. When you dip the cup directly into the flour and scoop it, you’re tightly packing it in there. Remember, packed flour means there’s too much flour!
Vanilla Extract: This recipe has minimal ingredients, which means each one of them is pretty noticeable. For this reason, I highly recommend using pure vanilla extract and not imitation. Of course, imitation will do in a pinch if that’s what you have on hand, but pure vanilla extract will lend the best flavor.
Cooling the Cookies: Let the snowflake cookies cool for about 5 minutes on your baking sheet before you transfer them to a wire rack to fully cool.
This is because if you try to transfer them right away, they’re so hot that they’ll likely break and fall apart from the force of the spatula. Allowing them to cool for a few minutes lets them get a bit sturdy before they’re moved.
Pin This Recipe
Enjoy AverieCooks.com Without Ads! 🆕
Go Ad Free

Snowflake Sugar Cookies
Ingredients
Cookies
- 1 cup unsalted butter, softened to room temperature
- 1 ½ cups confectioners' sugar, sifted
- 1 teaspoon vanilla extract
- 3 cups all-purpose flour
- 1 teaspoon baking powder
- ¼ teaspoon salt
- 5 tablespoons whole milk, as needed
Vanilla Frosting
- 3 options - See Notes
Instructions
- Cookies - To the bowl of a stand mixer fitted with the paddle attachment (or large mixing bowl and handheld mixer), add the butter, and beat on high speed until light and fluffy. Stop and scrape down the sides of the bowl.
- Sift in the confectioners' sugar, beat on low at first so it doesn't fly everywhere, then increase the speed to high and beat until very light and fluffy, about 2 to 3 minutes.
- Add the vanilla extract and beat momentarily to incorporate. Stop and scrape down the sides of the bowl.
- Add the flour, baking powder, salt, and beat to just incorporate, don't overmix. The dough will be very thick.
- Add the milk, 1 tablespoon at t time, mixing briefly after each tablespoon, until a thick but smooth dough can come together. Notes - You may not need all of the milk, so don't add it if you don't need it. Stop adding it after your dough has come together. I doubt you will need more milk than called for, but perhaps if you have a very thick or crumbly dough (remember not to over-measure/pack in the flour when you're adding it in the previous step to prevent an overly dry dough) add a bit more milk until your dough comes together.
- Take the dough out of the mixer, divide it in half (approximately), pat the dough into large thick disc shapes, cover with plastic wrap, and refrigerate for at least one hour, or overnight, to chill. For a visual reference of this, see my Christmas Cutout Cookies post.
- After the dough has chilled at least 1 hour and you're ready to rol it out, preheat the oven to 350F.
- Remove the dough from the fridge, generously flour a clean countertop so the dough doesn't stick, and roll the dough out to approximately 1/8-inch thick. Tip - If you've been chilling the dough for longer than about 3 hours (especially if you chilled it overnight) give it about 15 minutes at room temp before you attempt to roll it out.
- Using snowflake cookie cutters (or your favorite shape of cutters), cut out snowflake shapes, wasting as little dough as possible and cutting as closely as possible to form the snowflakes. Tips - You can ball up and then reroll your scraps of dough. However, I only reroll once. Affter that the dough gets a bit overworked and isn't at its best. Make whatever shape of circular cookie(s) you'd like for the final bits of dough and call it a day is my advice..
- Place the cut snowflakes on parchment paper lined or Silpat lined baking mats on baking sheets and bake for approximately 8 to 10 minutes. Baking time will vary considerably based on the size of your snowflakes (or other shapes of cookies), oven and climate variances, etc. Pay close attention to your cookies in your oven, and pull them when the edges are just barely turning golden brown. Cookies will continue to set, firm up, and darken in color as they cool. Tips - I suggest baking one tray of cookies at one time, on the center oven rack, and rotating once midway through baking for best results.
- Allow cookies to cool on the baking sheets for about 5 to 10 minutes, or until they've firmed up enough to carefully transfer to wire racks to cool completely.
- Frosting - As mentioned, there are 3 options for frosting. Make a double batch of the vanilla whipped cream frosting used in these Christmas Tree Cupcakes, noting that cookies will keep about 3-4 days and must be stored in the fridge. Secondly, make a batch of the vanilla buttecream frosting I use in my Patriotic Cupcakes, the cookies will keep airtight at room temp for about 5 days or up to 1 week in the fridge. With either of these two frosting options, you can pipe it. Fun Tip - You can color the frosting red, green, or another color of your choice with food coloring if you'd like.
- Spread a thin layer of frosting using a butter knife or small spatula over the surface of every cookie.
- Piping - To pipe the frosting you've made, transfer it into a pastry bag, affix a 1M or star-shaped tip (or the tip of your choice) onto the bag, and begin to pipe small stars over the surface of every cookie.
- As desired, add sprinkles to the top of each cookie. Fun Tip - Feel free to use Christmas-colored sprinkles or whatever color and type of sprinkles you'd like.
- Shortcut Frosting - The third and final option for frosting is to use store bought vanilla frosting, or another favorite store bought frosting like buttercream. You cannot pipe the frosting, so just spread it on the cookies with a butter knife or small spatula, and add sprinkles as desired. Cookies frosted this way will keep airtight at room temp for up to 5 days or in the fridge for up to 1 week.
Notes
- Make a double batch of the vanilla whipped cream frosting I used in my Christmas Tree Cupcakes recipe. Note that this frosting needs to be stored in the fridge, where it'll keep for 3 to 4 days. Bottom Line - Fast and easy frosting, cookies will last 4 days max in the fridge.
- Another tasty option is to use the vanilla buttercream frosting that I use in my Patriotic Cupcakes. It turns out perfectly and pipes beautifully. Your cookies will stay fresh for about 4 to 5 days at room temperature. I store buttercream frosted items for that long at room temp but if you want to refrigerate the cookies, they'll keep for up to 1 week. Bottom Line - Cookies will last longer at room temp than in Option 1 above, which is a holiday cookie bonus. Also this frosting is heartier and the other is more airy and light, which is personal preference.
- Store bought vanilla frosting in a tub is always fast, easy, and economical. Bottom Line - Cookie will easily keep for 5 days at room temp, this is an easy smear-it-on with a butter knife frosting, but frosting cannot be piped.
Nutrition
Nutrition information is automatically calculated, so should only be used as an approximation.
©averiecooks.com. Content and photographs are copyright protected. Sharing of this recipe is both encouraged and appreciated. Copying and/or pasting full recipes to any social media is strictly prohibited.
More Easy Christmas Cookie Recipes:
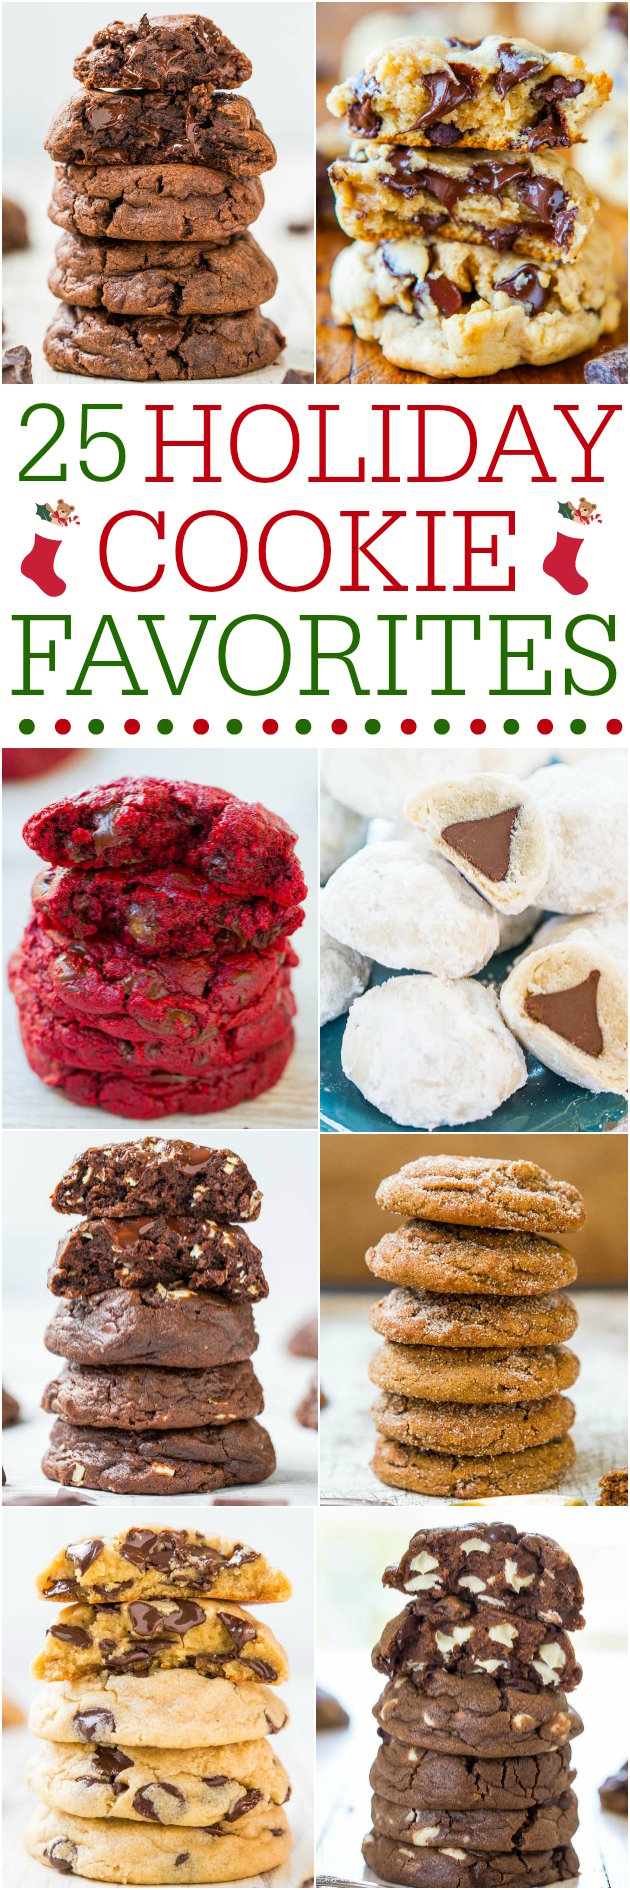
25 Holiday Cookie Favorites – The tried-and-true favorites are all here! If you need a holiday cookie recipe, this collection has you covered!!
Christmas Cut Out Sugar Cookies – These traditional sugar cookies are just like Grandma used to make!! They’re thin but still soft, topped with a simple 2-ingredient royal icing, and loaded with sprinkles! So festive and perfect for cookies exchanges or hostess gifts!!

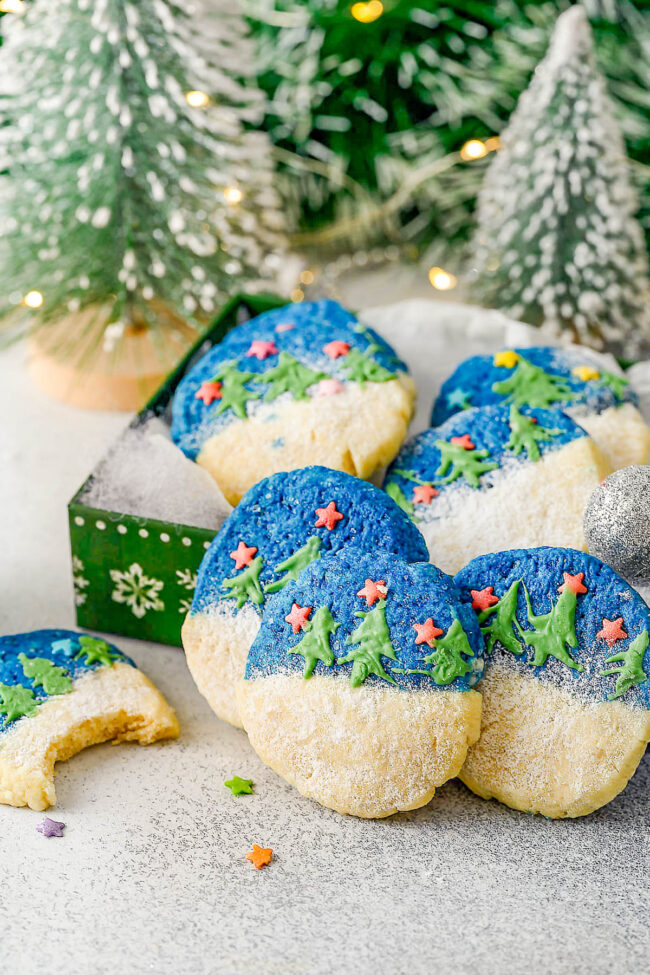
Christmas Shortbread Cookies – Jazz up typical Christmas shortbread cookies with these two-toned, soft and buttery shortbread cookies! They have fun and festive star-shaped sprinkles and are decorated with white chocolate Christmas trees making them perfect for holiday entertaining and cookie exchanges. They look impressive, but are easy enough for beginning bakers!
Cut-Out Coffee Cup Cookies – Soft, buttery sugar cookies cut out in the shape of coffee cups and decorated with red and white royal icing! These sugar cookies are PERFECT for Christmas as well as for wintertime parties and entertaining. No one will be able to resist these unique beauties!

Snowflake Linzer Cookies – Linzer cookies are the ultimate sandwich cookies! A layer of raspberry jam is tucked in between two buttery, nutty cookies and dusted with powdered sugar! Great Christmas cookies that are perfect to serve at your holiday parties or to include in cookie exchanges!
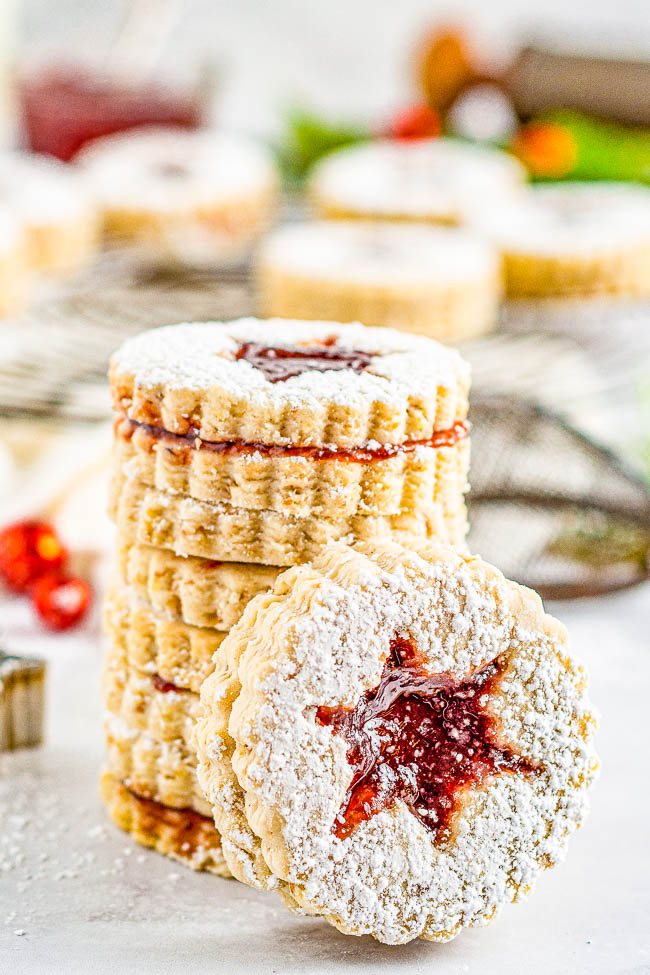
Stacked Christmas Tree Sugar Cookies – Softy, chewy, buttery sugar cookies are stacked in the shape of Christmas trees and layered with buttercream frosting! Fun and festive for the holidays and EASY to make! No need to roll out the dough nor chill it. A great holiday cookie to make with kids!

Eggnog Teacakes – Soft, buttery tea cakes topped with a creamy eggnog glaze are a Christmas treat that everyone will love!! EASY to make, not at all dry, and great for cookie exchanges or hostess gifts!!

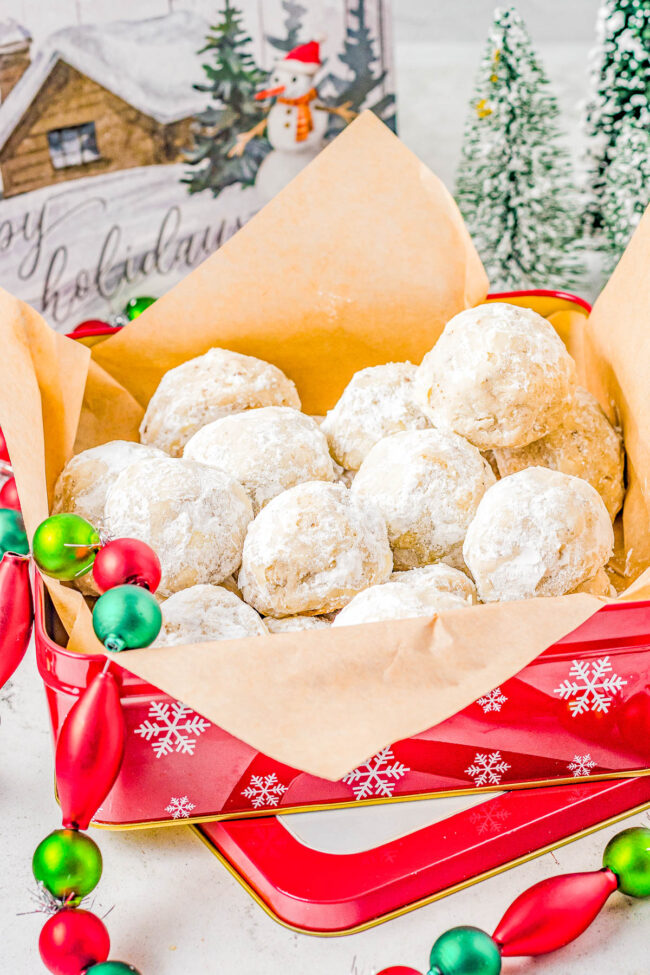
Snowball Cookies – They go by many names, but one thing for sure is that they’re a holiday FAVORITE! Super buttery with a lightly crunchy interior from chopped nuts, and dusted with confectioners’ sugar for a snowy look! These classic Christmas cookies just melt in your mouth and belong on your holiday baking list and are great for cookie exchanges!
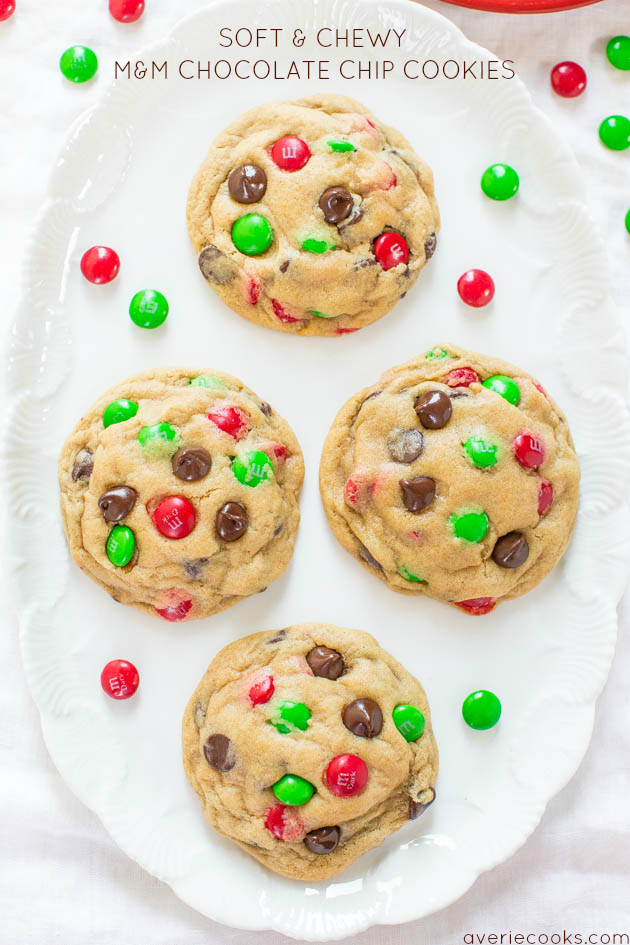
Soft and Chewy M&M’s Chocolate Chip Cookies – If you’re looking for a new M&M cookie recipe, this is THE ONE! Soft, buttery, and irresistible!!
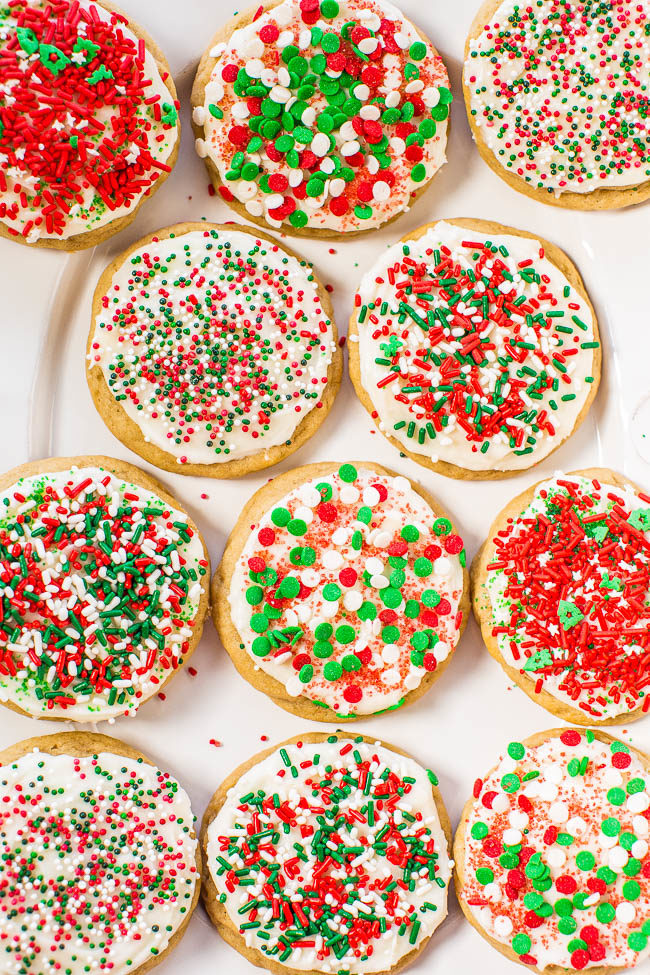
Soft Frosted Holiday Sprinkles Cookies – Tender, buttery cookies topped with cream cheese frosting and loaded with sprinkles! Easy, no-roll holiday cookies that everyone goes crazy for!
Santa’s Kitchen Sink Cookies — Santa and everyone else won’t be able to resist these AMAZING cookies loaded with everything but the kitchen sink!! EASY, festive, salty-sweet treats with a FUN ingredients list!!
