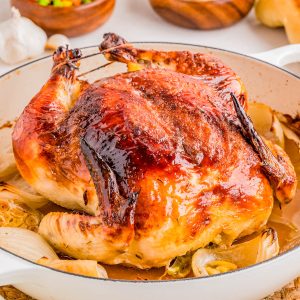
Buttermilk Whole Roasted Chicken
🍗👏🏻 Brined in seasoned buttermilk before being baked with onions and garlic for the JUICIEST, most flavor chicken with crispy skin! Easy, very hands-off, and you'll have leftover chicken to enjoy for the week for sandwiches, salads, or to use in other recipes. The perfect family-dinner roast chicken recipe!
Servings: 8
Calories: 371cal
Equipment
- braising pan OR
- kitchen twine optional
Ingredients
Brine
- 4 cups buttermilk
- 2 tablespoons kosher salt
- 2 teaspoons dried rosemary
- 1 teaspoon freshly ground black pepper
- 4-5 cloves garlic finely minced
- 4-5.5 pound whole chicken (thawed fully if it was frozen; remove and discard neck, giblets, etc.)
- 1-2 cups water if necessary
Roasting
- 2 whole yellow onions peeled and chopped into 4 wedges each (sweet Vidalia or white onions may be substituted)
- 1 whole garlic bulb sliced horizontally in half
- 3 tablespoons olive oil divided
- 2 teaspoon kosher salt divided
- ½ teaspoon freshly ground black pepper or to taste
Instructions
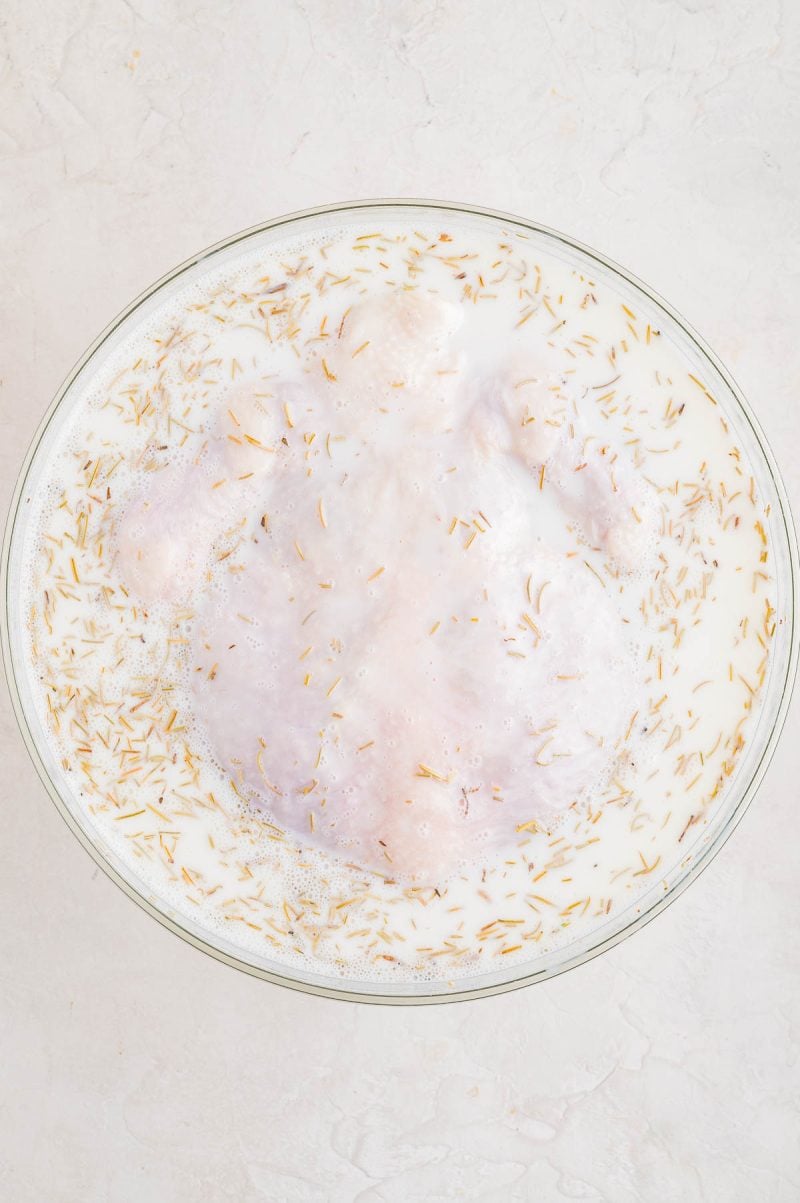
- Brine: To a large bowl, add the buttermilk, kosher salt, dried rosemary, pepper, garlic, and stir to combine.
- Gently submerge the chicken, breast-side down, in the brining liquid. If the chicken needs more coverage, add 1-2 cups water to the mix, gently swish it around to mix it. Cover the bowl with plastic wrap. Alternatively, you could add the brining liquid to a very large zip top bag, at least 5 gallons in size, add the chicken, seal the bag, place it in a large bowl as insurance (just in case it springs a leak) and place that in the refrigerator.
- Marinate/Brine: Allow the chicken to brine in the fridge for 8 to 24 hours. The sweet spot is 8 to 12 hours. Tip - Don't brine it for longer than 24 hours because the acid and the buttermilk will cause the protein in the chicken to soften, and it will turn out mushy; and less than 4 hours is not enough time for it to do much.
- Remove & Pat Dry: About 30 to 45 minutes before roasting, remove the chicken from the fridge because you do not want to bake with fridge-cold chicken. It will throw off the baking time and the overall cooking.Using paper towels, pat the surface of the chicken dry.
- Preheat: Preheat your oven to 400°F, place a rack in the middle of the oven, and eyeball things to make sure that your chicken will be able to enter the oven and clear the top. Lower the height of the oven rack if you need to do so.Tip - If your chicken is larger than 5 pounds, I recommend roasting at 350F rather than 400F because otherwise the exterior could become overly browned before the interior cooks through.
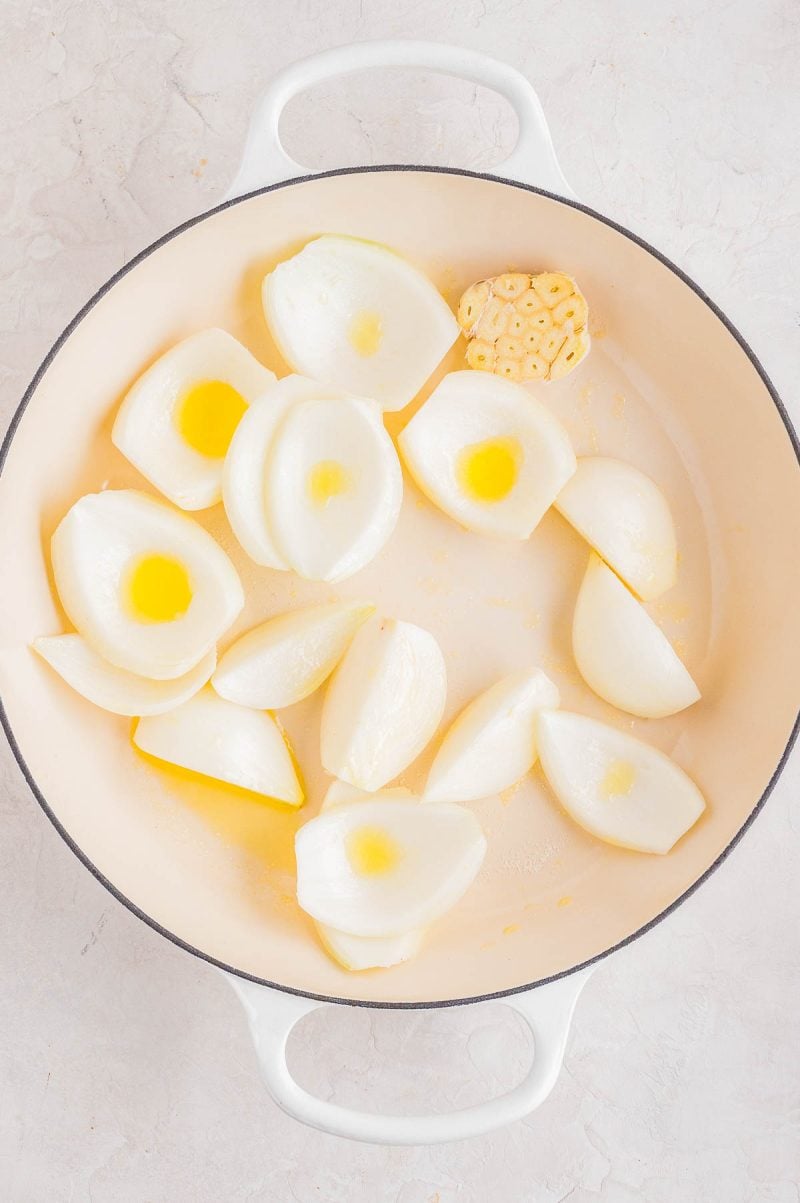
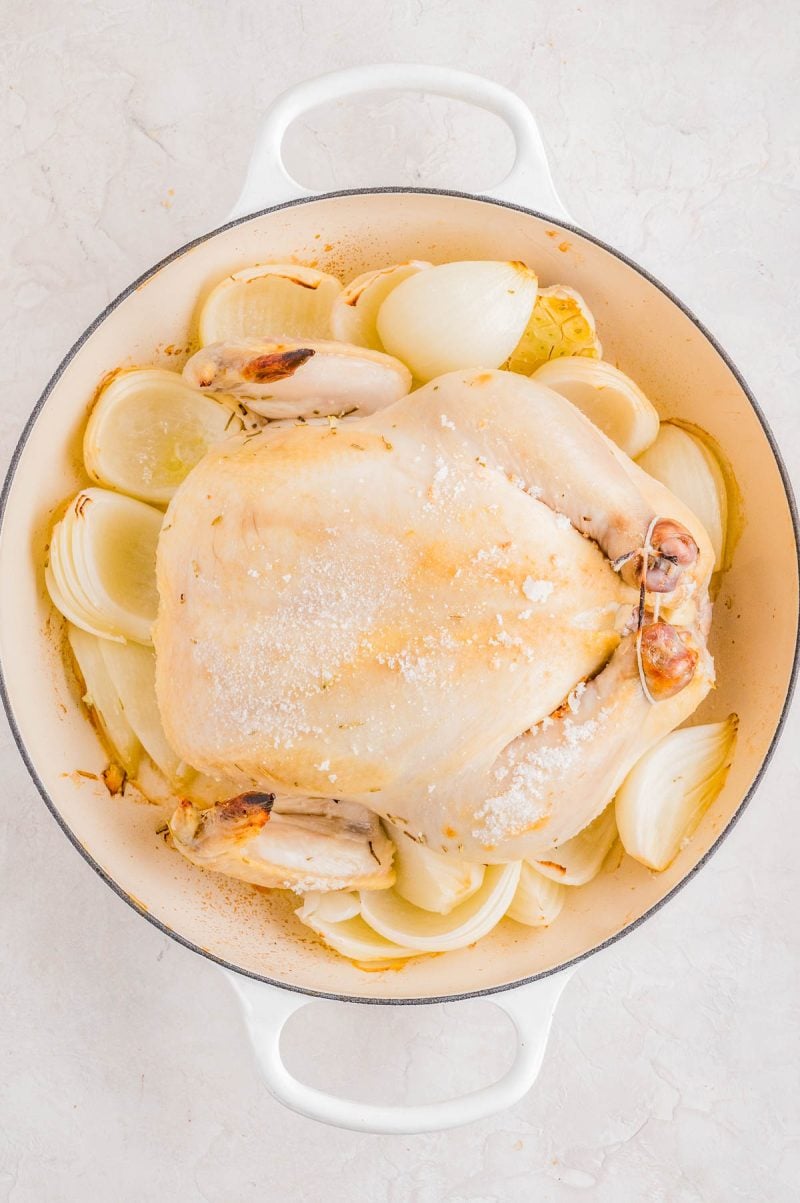
- Roasting: To the pan, add the quartered onions, halved garlic bulb, drizzle with 1 1/2 tablespoons olive oil, sprinkle 1/2 teaspoon kosher salt, and toss to coat evenly.
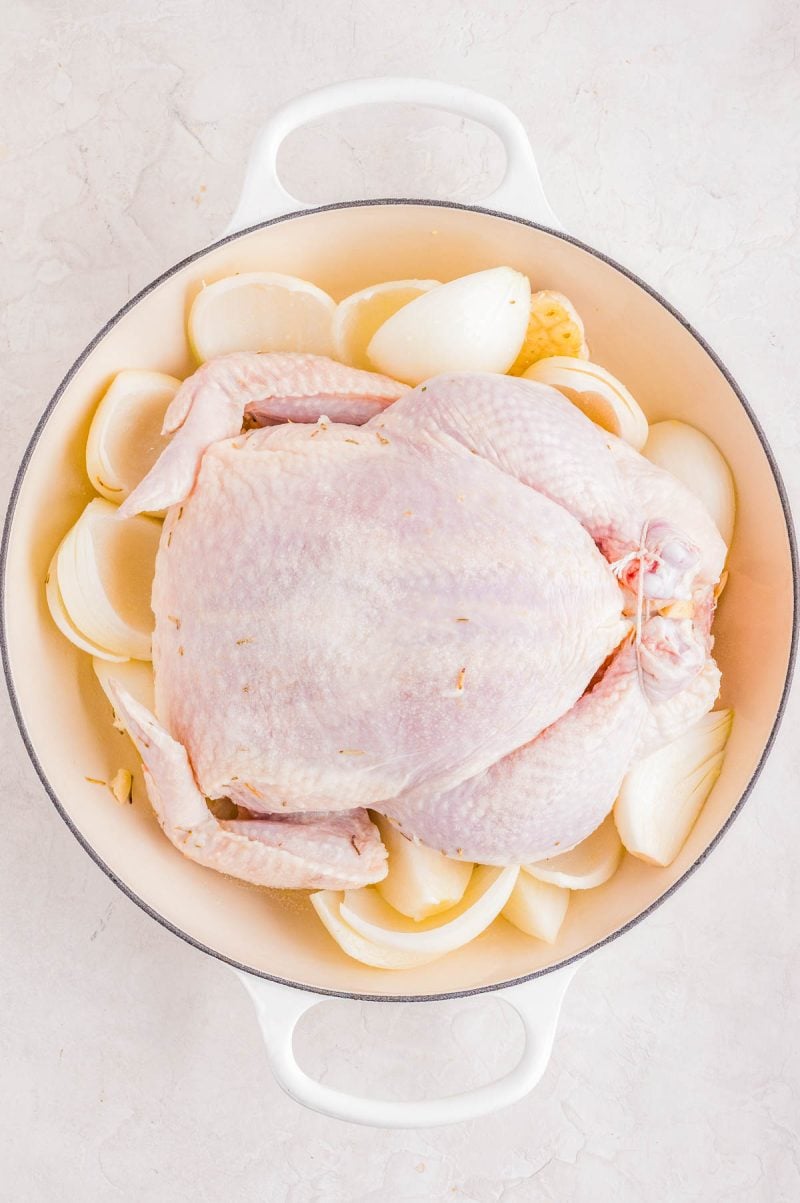
- Place the chicken on top of the onions with the breast side up, place the other halved garlic bulb in the cavity of the chicken, evenly sprinkle the top of the chicken with 1 1/2 teaspoons of kosher salt.Tuck the wings (wingtips) under the chicken, and if you have kitchen twine or kitchen string, tie the legs together; and if you don't, they can flop.
- Roast the chicken for 30 minutes. Remove it from the oven and evenly drizzle or brush with the remaining 1 1/2 tablespoons olive oil.
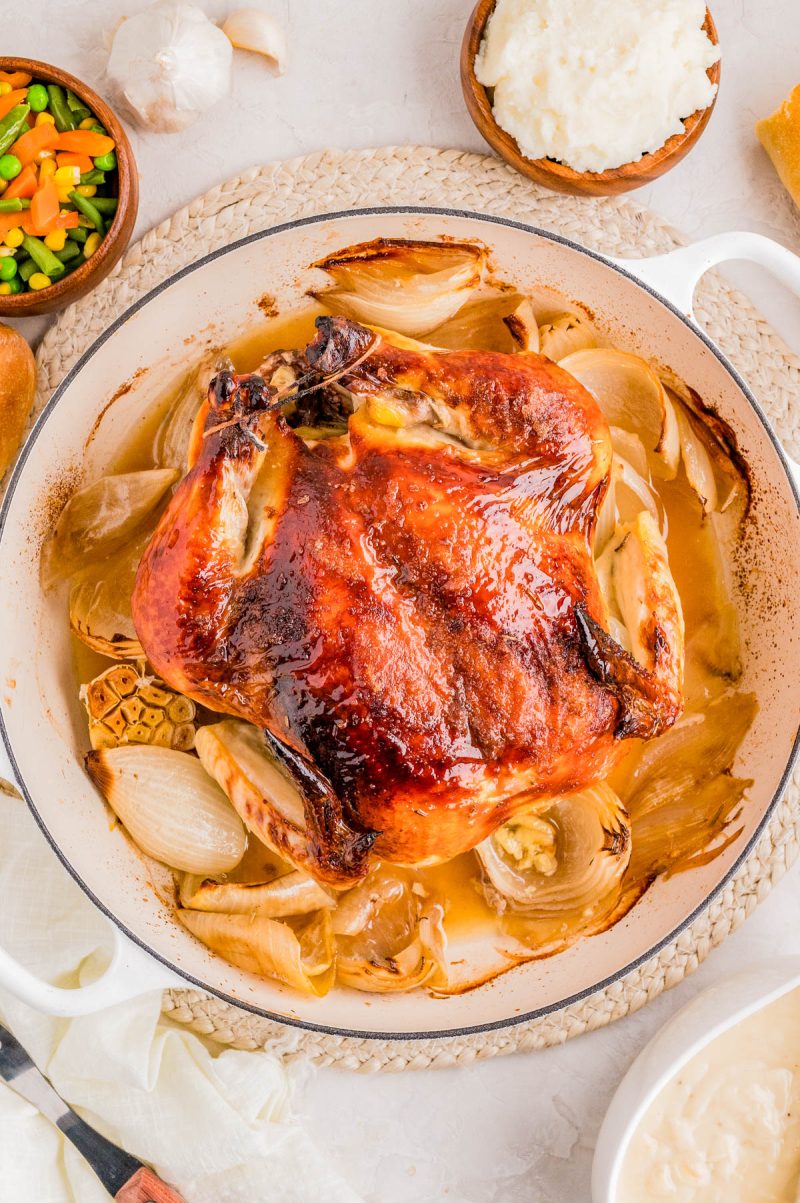
- Return the chicken to the oven and continue to roast for 30 to 45 minutes or until a digital thermometer inserted in the deepest part of the breast reads 160 to 165°F; and in the thigh it reads at least 175°F. Do not guess, use a thermometer! Tenting Tip (important) - If at any time during the roasting process, the chicken skin is looking overly dark or brown, tent it by draping a sheet of foil over the chicken to protect it from direct oven heat. Variations in buttermilk, the chicken itself and its size, oven variances and heat output, etc. will impact the browning and baking time. If you need to tent after the first 30 minutes because it's already looking quite golden browned, go for it.
- Resting: It's mandatory to rest the chicken outside of the oven (you can keep it in the pan) for 15-20 minutes so that the natural juices redistribute. It's also important because the internal temperature will continue to rise out of the oven and the breast meat needs to come up to 165°F if you pulled it out a bit early.
- Optional, Gravy: While the chicken is resting, you can optionally make gravy using the pan juices. Halve the amounts of drippings, broth, and seasonings in this 15-Minute Homemade Gravy recipe.
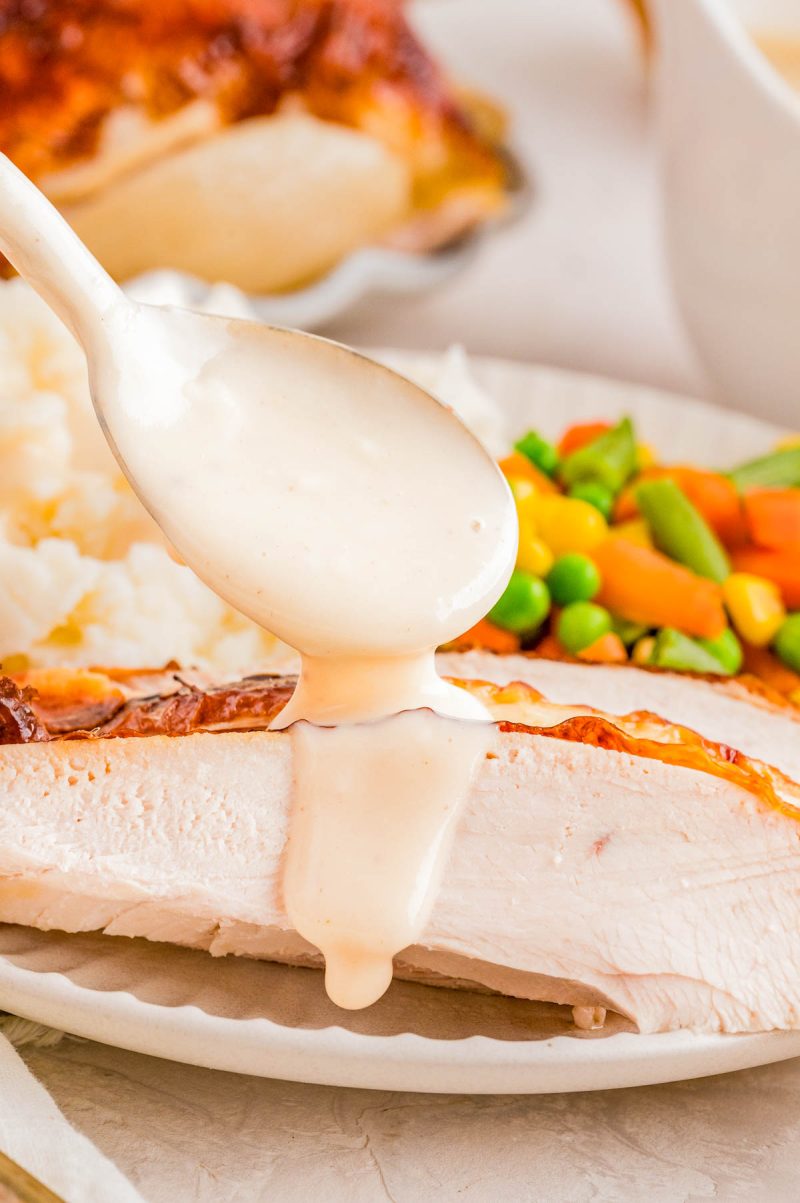
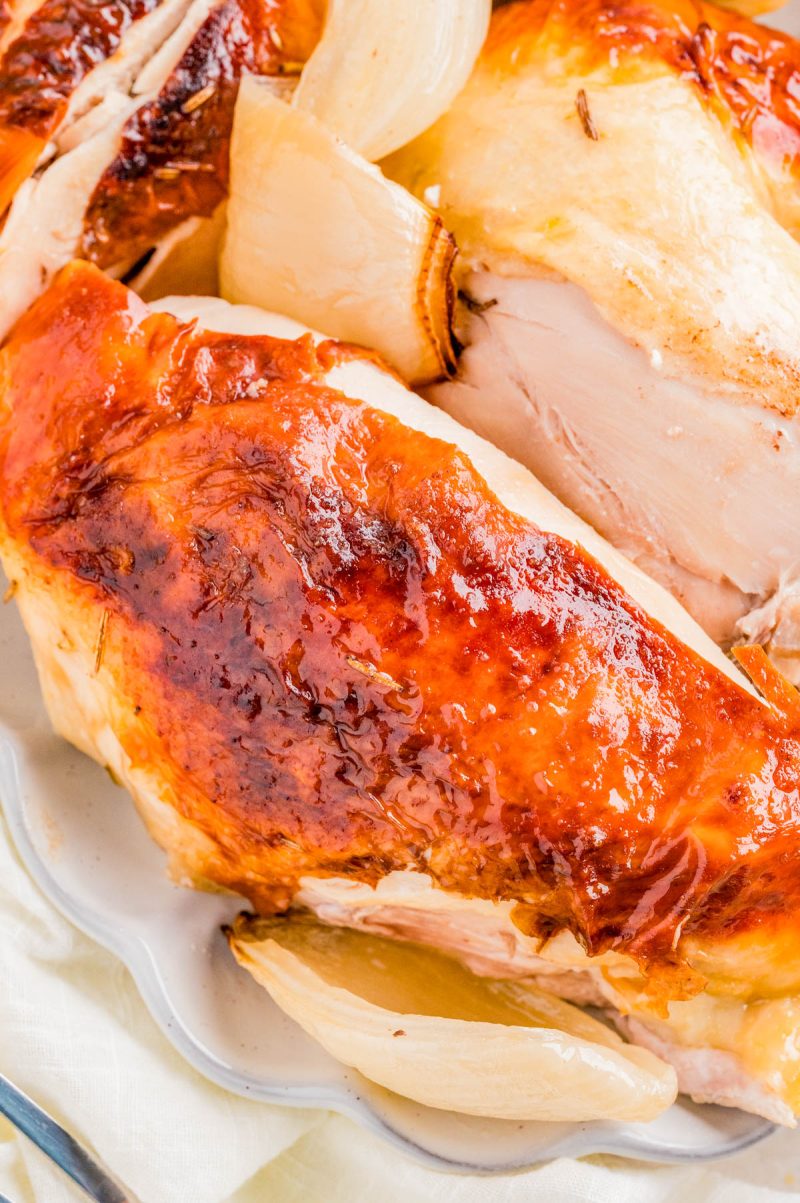
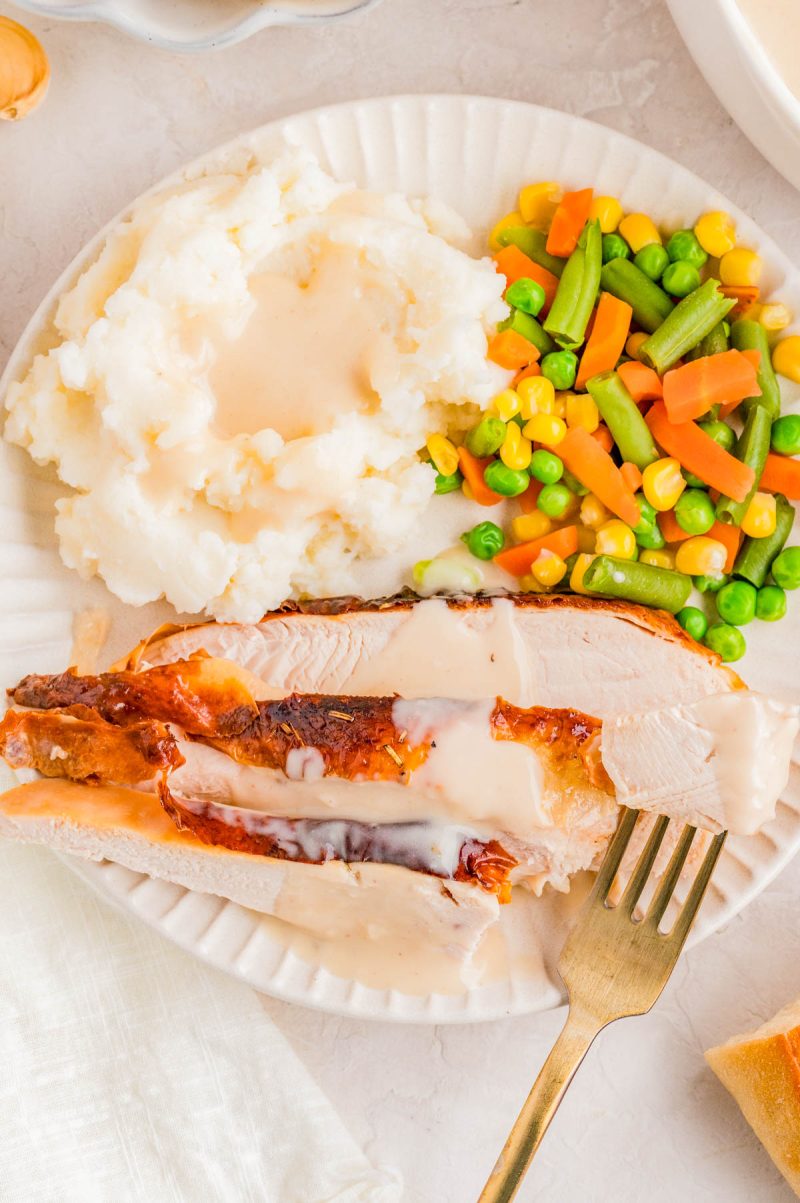
- Slicing and Serving: Slice the chicken and serve it with the roasted onions and your choice of mashed potatoes, roasted carrots, green beans, roasted broccoli, a house salad or your favorite side.
Notes
Usage: You can use this chicken in Chicken Chopped Salad, Chicken Sliders, 30-Minute Homemade Chicken Noodle Soup, Chicken Noodle Casserole or any recipe that calls for shredded chicken or rotisserie chicken.
Storage: Leftover chicken will keep airtight in the fridge for up to 5 days or in the freezer for up to 3 months. Reheat gently in the microwave if desired or serve chilled.
Nutrition
Serving: 1serving | Calories: 371cal | Carbohydrates: 10g | Protein: 25g | Fat: 26g | Saturated Fat: 8g | Polyunsaturated Fat: 4g | Monounsaturated Fat: 12g | Trans Fat: 0.1g | Cholesterol: 95mg | Sodium: 2531mg | Potassium: 427mg | Fiber: 1g | Sugar: 7g | Vitamin A: 356IU | Vitamin C: 4mg | Calcium: 166mg | Iron: 1mg
