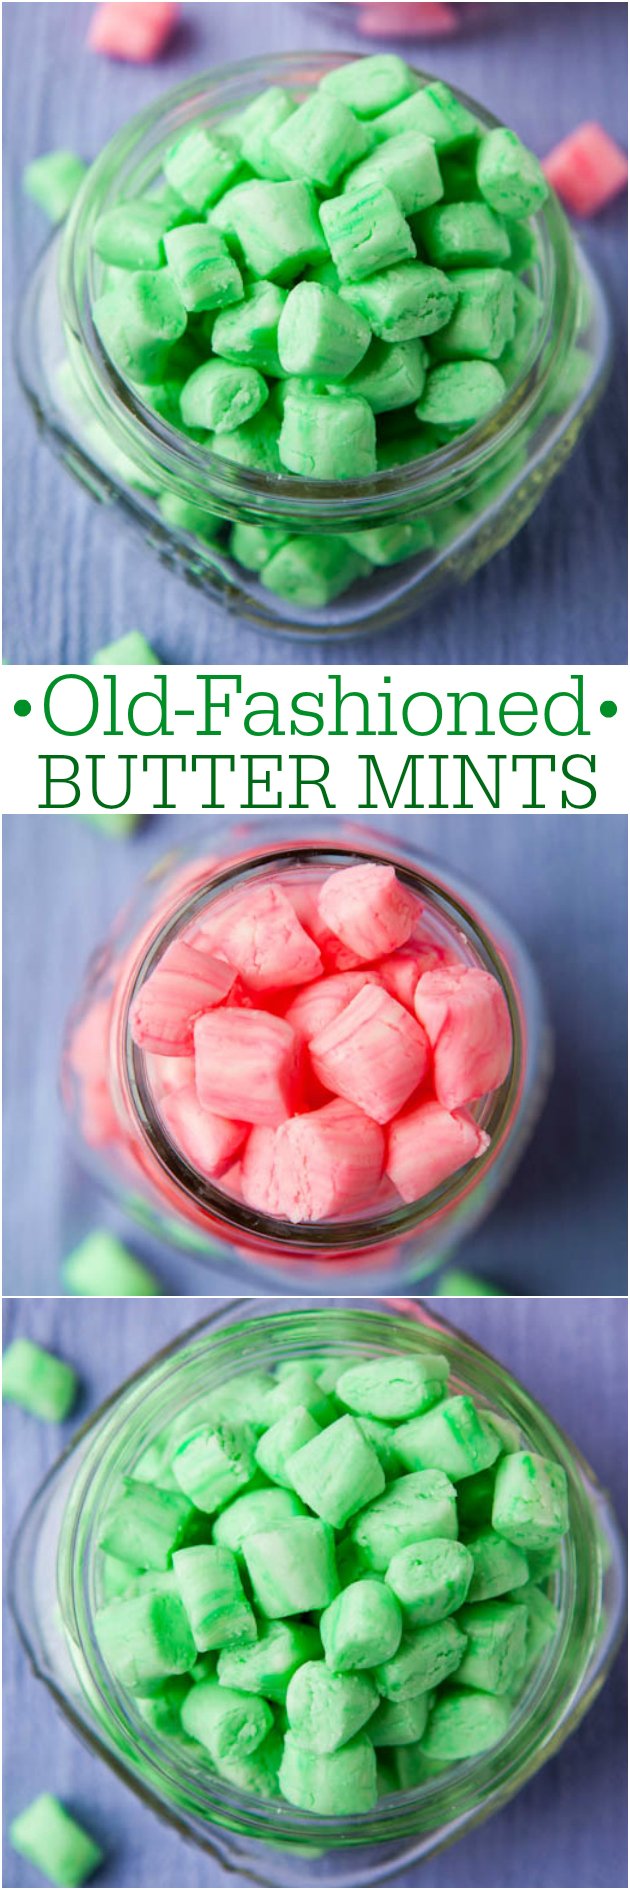
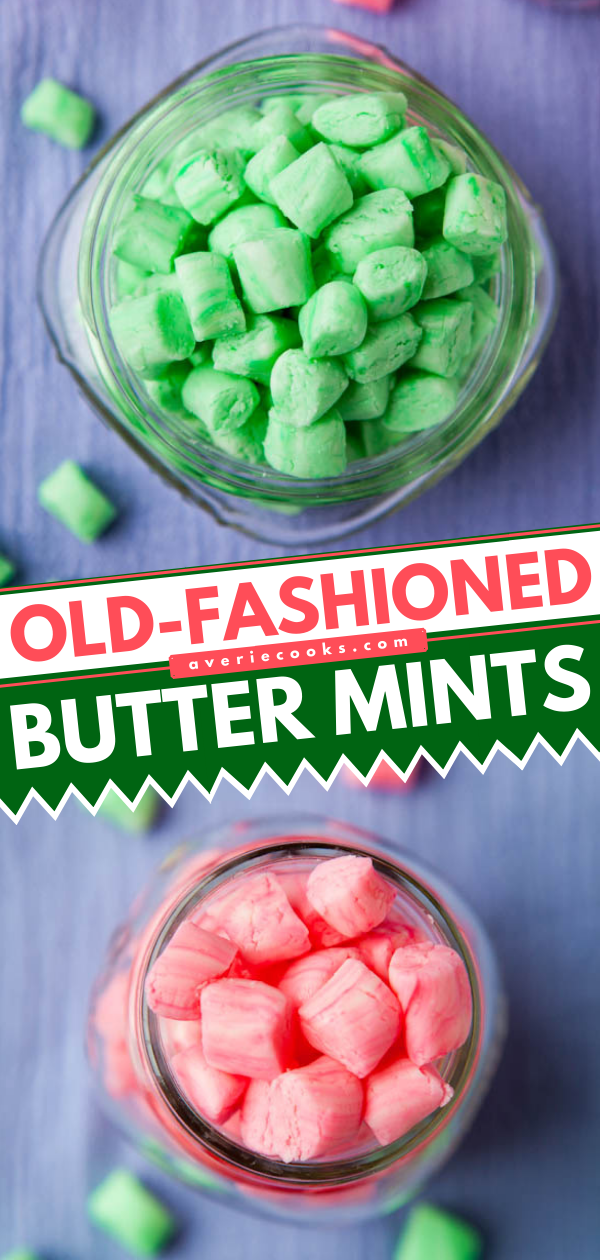
Old-Fashioned Butter Mints — These old-fashioned butter mints require just 6 ingredients to make! This recipe makes a big batch, so you’ll have lots left over for gifting.

Old-Fashioned Butter Mints Recipe
One of the highlights of going to my grandma’s house when I was growing up, in addition to playing Gin Rummy for money at age six, was raiding her candy dish. She used to have Jolly Ranchers, butterscotch candies, and after dinner mints in that little white dish with the lid. When you’re six,”after dinner” means the minute you can get your sweaty little mitts on the mints, you do.
I decided it was time to make my own meltaway mints since I have such fond memories of them. Skylar told me the pink mints taste better. But of course. In actuality, same batter but that concept wasn’t fully registering. All that was registering was pink food.
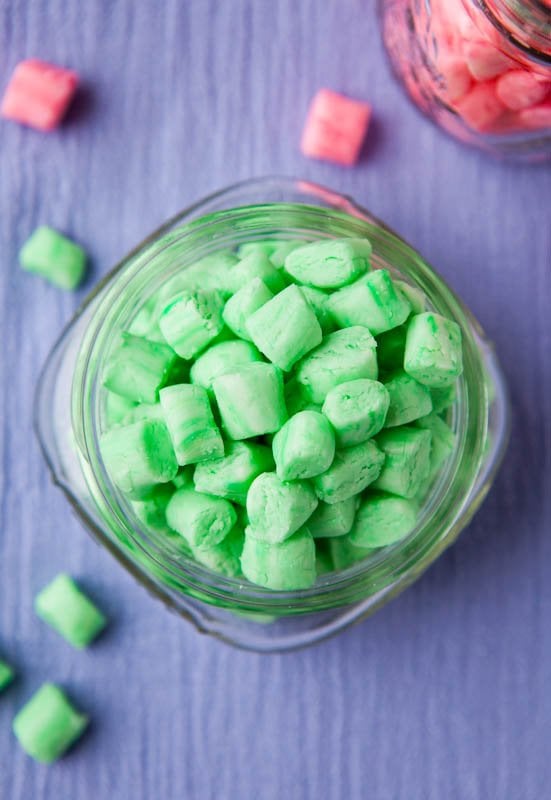
These homemade butter mints are so smooth and just melt in your mouth. Normally with mints, one is all you need. Maybe two. With these, you want at least 17 because they are cool yet sweet, firm yet melty. Plus they’re tiny.
It may not have been the brightest idea to make a recipe that needed to be sliced into 250 little pieces (just a guess) and I am not one for extra steps and monkey business and fussy recipes, but I rolled the dough into long skinny logs in between my hands and it felt like I was playing with Play-Doh.
I lined up the logs and sliced through them with a pizza cutter. Back and forth, back and forth. The whole process took about 20 minutes and wasn’t that bad. I did it after Skylar went to bed (no lighting, no pictures) because I didn’t want her eating gobs of the Play-Doh.Scooping cookies with a cookie scoop so they’re all uniform can take just as long as Project Mint Roll Out.
Now, instead of just memories of raiding my grandma’s candy dish, I can raid my own. You will never want a store-bought after dinner mints again. If you’ve never had the mints I speak of these or these are the ones, but now I can make my own.

What’s in These Butter Mints?
To make these creamy, soft mints, you’ll need the following:
- Unsalted butter
- Salt
- Confectioner’s sugar
- Sweetened condensed milk
- Peppermint extract
- Food coloring

How to Make Butter Mints
To make this soft peppermint candy, you’ll first need to cream together the salt and butter for about a minute. Then beat in the sweetened condensed milk, powdered sugar, and peppermint extract. Continue mixing until a dough forms, then remove the dough from the mixer and divide into one to four equal-sized balls.
Add one dough ball at a time back into the mixer and add your choice of food coloring to the dough. Mix until the color is uniform throughout. Wash the mixing bowl and paddle between each color change and repeat this process until each dough ball is colored.
To shape the butter mints, roll out a golf ball-sized piece of dough into a long rope and slice into bite-sized pieces. Once you’ve rolled and cut all the dough, store the homemade butter mints in an air-tight container in the fridge.

Can I Use Another Kind of Mint Extract?
Yes, you can use any variety of mint extract you prefer (i.e. mint, peppermint, spearmint, etc). These after dinner mints will be tasty no matter what type of mint extract you use.
Can I Use Peppermint Essential Oil?
I’ve only ever made this butter mints recipe using peppermint extract, so I can’t speak to whether or not peppermint essential oil will work here.
Can I Use Another Flavor of Extract?
I suspect this recipe would be nice with cinnamon extract, lemon or orange extract, or many other specialty flavored extracts from butter to rum to coconut to coffee extract. If you choose to use another specialty flavored extract, you’ll have to use your best judgement when flavoring these butter mints.

Tips for Making Butter Mints at Home
These soft peppermint candies will make a perfect holiday gift and one batch makes enough to gift to a few people.
I used red and green food coloring, but you could make these for Easter, Mother’s Day, a baby or bridal shower and use pastels. The un-dyed dough is stark white and a blank canvas.
I also thought about dipping these in melted chocolate for chocolate-covered mints but didn’t know if the dough would hold up as it took a searingly warm chocolate bath, so I skipped the dipping and that little what if.
Lastly, mint extract cannot be undone and if you plan to make these, make sure you read my mint cautionary tales in the recipe section. You want to eat mints. Not eat a bottle of Listerine.
Pin This Recipe
Enjoy AverieCooks.com Without Ads! 🆕
Go Ad Free
Old-Fashioned Butter Mints
Ingredients
- ¼ cup butter, softened (I used unsalted, but salted may be substituted based on preference)
- ¼ teaspoon salt, consider omitting if you used salted butter
- 3 ¼ cups confectioners’ sugar plus 1/4 cup+, if needed
- ⅓ cup sweetened condensed milk
- ½ teaspoon peppermint extract*
- food coloring, optional
Instructions
- To the bowl of stand mixer fitted with the paddle attachment, combine butter and salt and beat for 1 minute on medium-high speed.
- Add 3 1/4 cups confectioners’ sugar, milk, peppermint, and beat on medium-low speed until a dough forms. If the dough seems wet, add additional confectioners’ sugar until dough combines (I use 3 1/2 cups sugar). The dough will be crumbly but will come together when pinched and squeezed into a ball.
- Taste the batter. If you want a more intense mint flavor, add additional mint extract, to taste (see note below).
- Remove dough from the mixer, separate it into 1 to 4 smaller balls, and add one ball back into the mixer. Add the food coloring of your choice to the ball by squirting the droplets on top of the dough (careful when you turn on the mixer), and paddle on low speed until coloring is well-blended. Coloring will not blend completely into each and every speck of dough if examined extremely closely, but overall, mix until color is uniform. (I separated approximately two-thirds of the dough and made it green using about 15 drops green food coloring and made one-third of the dough red-pink by using about 7 drops red food coloring).
- Wash the mixing bowl and the paddle in between each color change and repeat until all the balls are colored.
- After the dough has been colored, either wrap it with plastic wrap and place it in an airtight container in the refrigerator to be rolled out later or roll it immediately.
- To shape the butter mints, place a golf-ball sized amount of dough in your hands and roll dough into long thin cylinders about 1 centimeter wide. Place cylinders on countertop and with a pizza cutter (or knife – be careful of your counter), slice cylinders into bite-sized pieces, approximately 1 centimeter long.
- Store mints in an airtight container in the refrigerator where they will keep for many weeks.
Notes
Nutrition
Nutrition information is automatically calculated, so should only be used as an approximation.
©averiecooks.com. Content and photographs are copyright protected. Sharing of this recipe is both encouraged and appreciated. Copying and/or pasting full recipes to any social media is strictly prohibited.
More Mint Desserts:
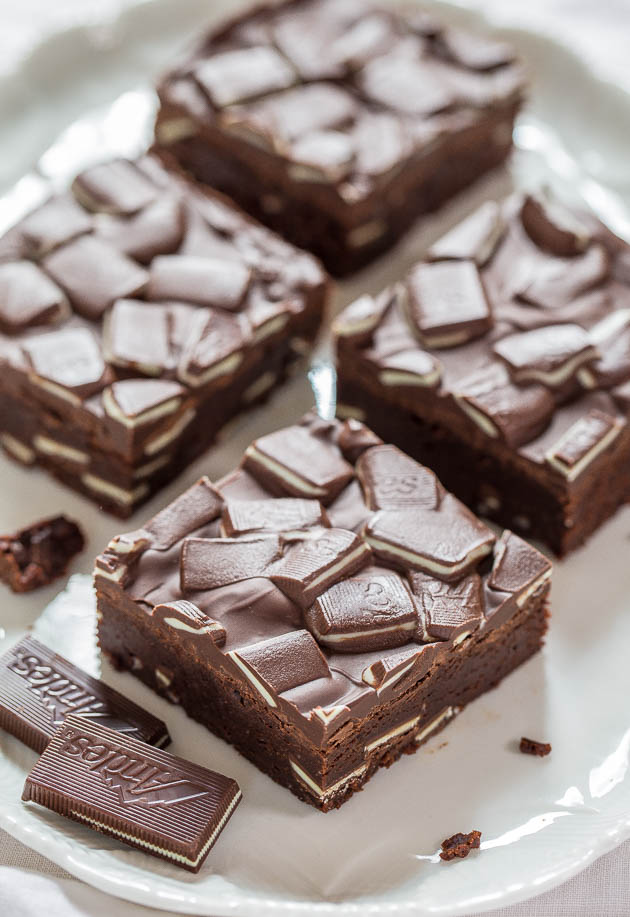
Andes Mint Brownies — Super fudgy brownies loaded with Andes! Chocolate + mint is the best! Meet your new favorite brownies and so easy!
Andes Mint Chip Soft Fudgy Chocolate Cookies – Big, thick, fudgy chocolate cookies with a hint of mint and loads of chocolate in every bite!
Fudgy Mint Chocolate Brookies {brownie + cookie} – Part fudgy brownies; part soft & chewy chocolate cookies. Minty, rich & loaded with Oreos!
Mint and Chocolate Fudge Oreo Bars – Fudge-topped mint bars with an Oreo crust! You can’t go wrong with mint & chocolate! Perfect for the holidays
Creme de Menthe Bars – The classic bar everyone loves!

Triple Layer Fudgy Mint Oreo Brownies – A reader favorite, year after year!

Homemade Thin Mints (no-bake, vegan) So easy, authentic, and too good to be true!
 So easy, authentic, and are too good to be true")
Peppermint Patty Chocolate Cookies — They’re slightly chewy around the edges with super soft with tender, pillowy centers.
The Best Peppermint Chocolate Cake — The cake is soft, moist, decadently chocolaty, and perfectly pepperminty. The ganache is fudgy, silky, smooth, and rich!


I’ve been making these for several years since I first found your recipe. Everyone loves them, including me.
INTERACTIVE FLAT PANEL
Interactive LEDs give you full mouse control of your PC or MAC from the large LED touch screen. Control any application that
is running on your computer and use our software to annotate, collaborate cast and more. Onboard Android gives you access
to 100s of Apps to install onto the LED from the TouchIT App Store. The LED comes with 10pt Multi-Touch, 3 Year On Site
Warranty (USA & Canada) and a 50 000 hour lifespan.
I made these and they are awesome! I did use essential oils to flavor them and it was fine just added a few drops at a time until I had the desired peppermint taste.
I made these and they are awesome! I did use essential oils to flavor them and it was fine just added a few drops at a time until I had the desired peppermint taste.
Thanks for the 5 star review and glad the essential oils worked fine!
These were delicious and amazing! With all the substitutions I made, I thought they would fail. Instead they were spectacular! I used homemade condensed milk and vanilla extract instead of peppermint.
These were delicious and amazing! With all the substitutions I made, I thought they would fail. Instead they were spectacular! I used homemade condensed milk and vanilla extract instead of peppermint.
Thanks for the 5 star review and glad they were delicious and amazing and I am impressed with your homemade condensed milk and I bet the vanilla tastes great, like the mints I used to eat as a kid!
I love butter mints at restaurants but I have never tried homemade ones. I am looking forward to giving this recipe a go. Thanks!
I added 1/3 cup of sweetened condensed milk to my recipe and it came out perfect the 1st try.
Thanks for the 5 star review and glad they came out great for you!
Just a quick thought…if you use a stand mixer and whip to a light fluffy consistancy and a very pale, pale color…you will get a light tasting candy…it makes a difference! 😁
My mom says she only made pink and green mints once, but I still remember them more than 40 years later!
She made hers spearmint (green) and peppermint (pink). these look delish! I’ll have to try it.
What a great memory!