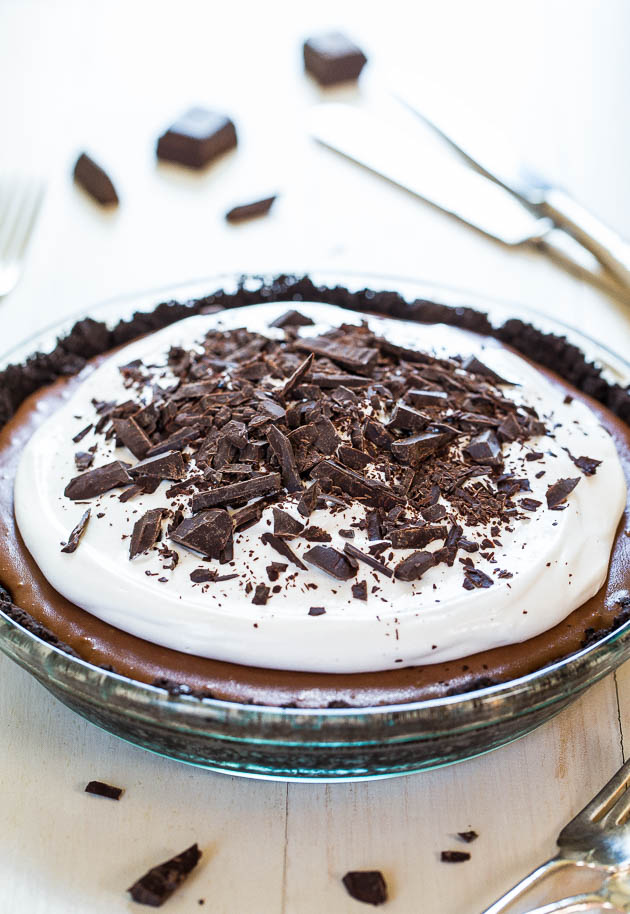
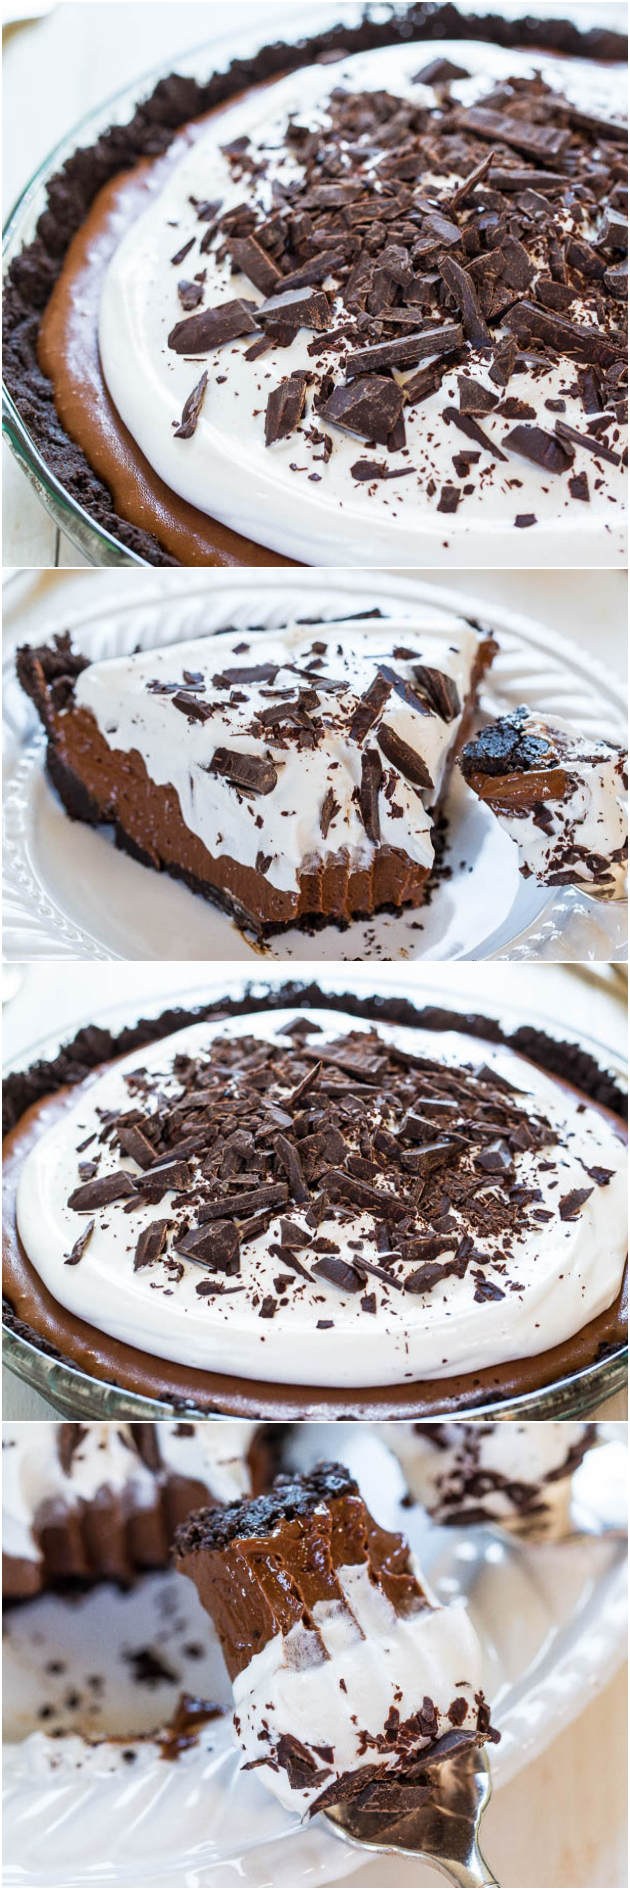
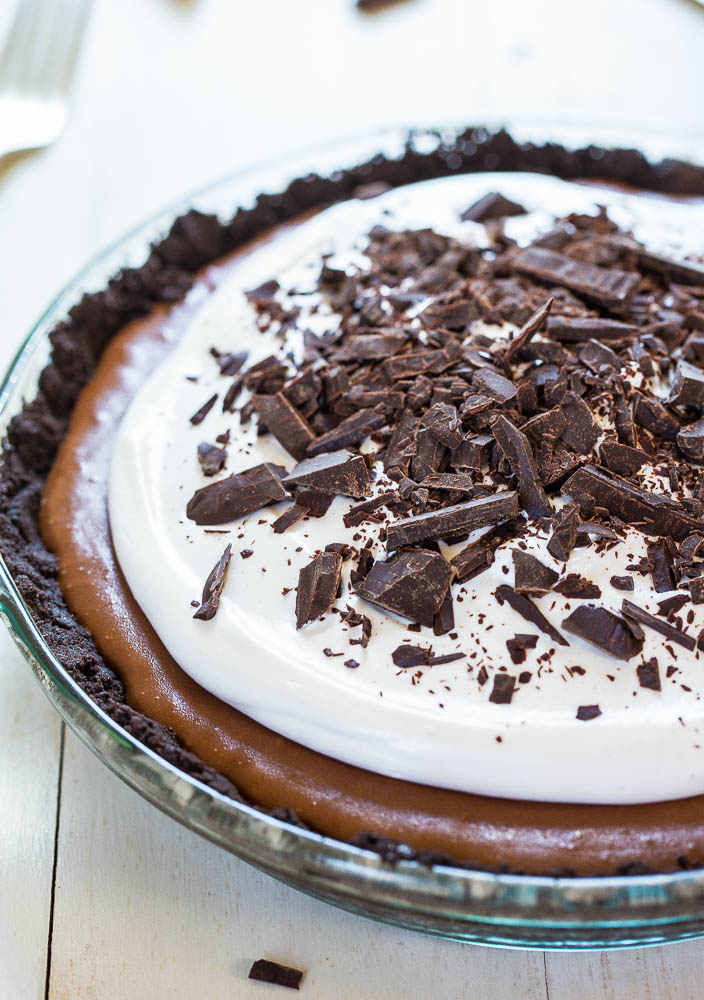
The BEST French Silk Pie — This French silk pie is made with an Oreo cookie crust. The filling is a cross between chocolate mousse and chocolate cheesecake, and it’s so addicting!

Homemade French Silk Pie Recipe
I’ve wanted to make a French Silk Pie for ages but kept putting it off. I’m glad I finally made it because it turned out to be one of the best pies I’ve ever eaten.
I’m not really even a pie girl. In 5 years of blogging mostly about desserts, I have just a few pie recipes. But I have fond memories of being in high school and college and going to Baker’s Square for study sessions.
I’d plop down in a booth for hours with a pot of coffee, and midway through my study sessions the French silk pie in the bakery cases kept looking better and better. But I’ll never be satisfied with theirs after making this. If your only experience is with store-bought French silk pie, the difference between homemade and store-bought is beyond words. It’s one of those items that the difference is so huge you’ll hardly think it’s the same thing.
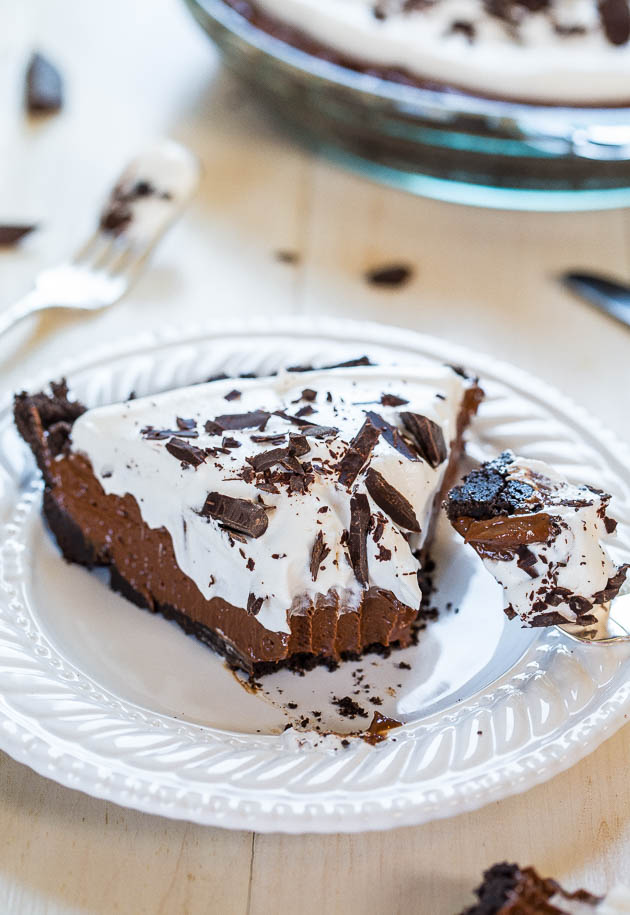
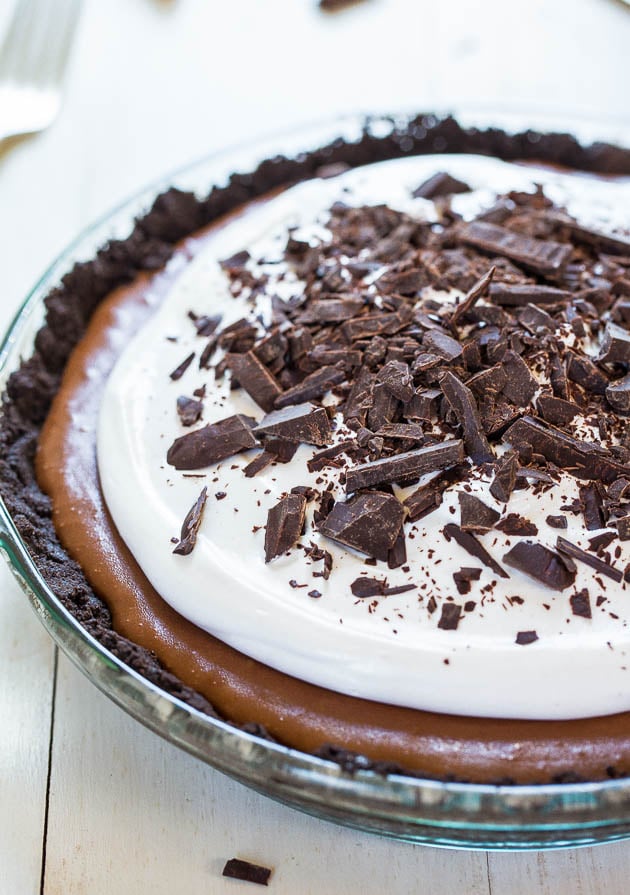
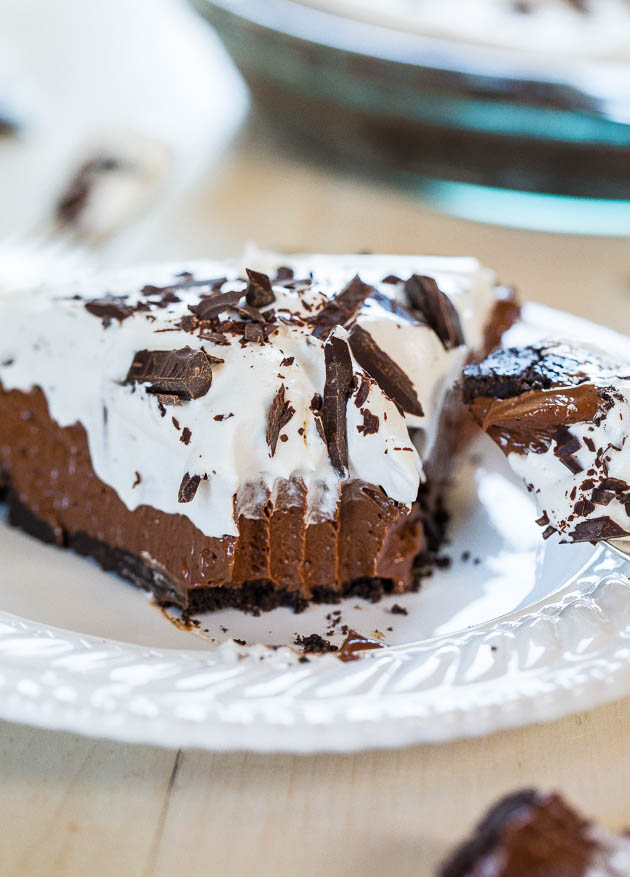
Rather than a traditional pie crust, I made an Oreo cookie crust. It adds to the overall chocolate intensity of the pie. The crunchy firmness of the crust is a perfect counterbalance to the silky, creamy, luscious filling.
The filling takes about 20 minutes to make because you add 4 eggs, one at a time, spaced 5 minutes apart. While the mixture was whipping, I organized some messy kitchen drawers that I otherwise would have kept putting off. I knew there was a reason I made this chocolate silk pie.
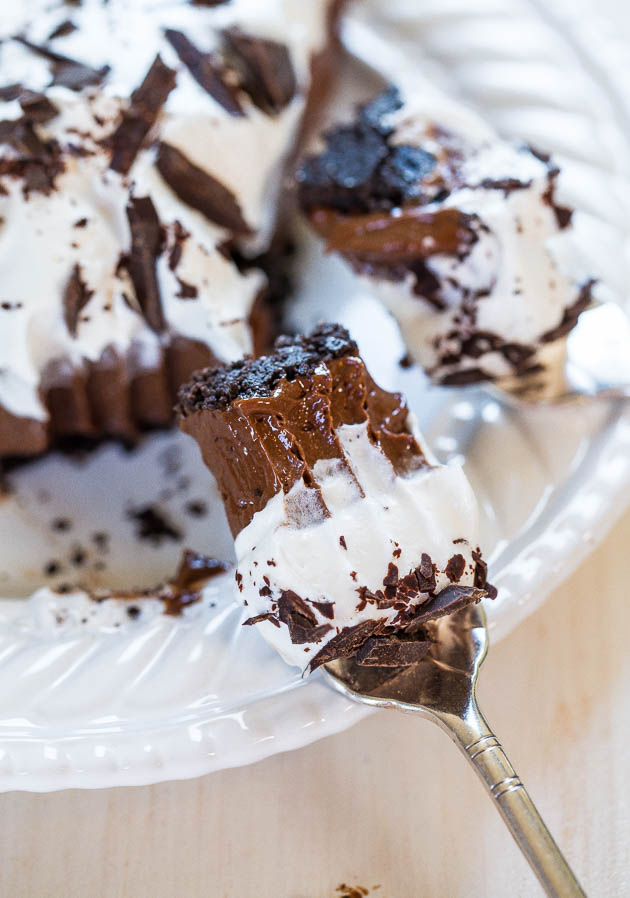
The filling is some of the best stuff I’ve ever tasted in my life. Not exaggerating. It’s not as light and airy as chocolate mousse but nowhere near as dense or heavy as chocolate cheesecake. It’s why the pie is called French silk. It’s silky smooth, rich, decadent, and truly incredible. Definitely worth 20 minutes of whipping.
The contrast of the silky filling, the crunchy cookie crust, fluffy and creamy whipped cream, and firm chopped chocolate create a wonderful array of textures and complementary flavors in each bite.
I shared this French silk chocolate pie with family, friends, and neighbors, and everyone who tried it said it was the best chocolate pie or French silk pie they’ve ever had. Family members told me that it’s in the top 5 desserts I’ve ever made, and I have 500+ recipes on my blog and 200 spanning two cookbooks.
If I could only choose one pie for the rest of my life, this is the one. I loved it that much.
French Silk Pie Ingredients
For this French silk chocolate pie, you’ll need:
- Oreo cookies
- Butter
- Dark chocolate
- Ultrafine sugar
- Vanilla extract
- Instant espresso granules (NOT ground coffee)
- Salt
- Eggs
- Whipped topping
How to Make French Silk Pie
Before you can start on the filling for this chocolate silk pie, you’ll need to make the Oreo cookie crust. To do so, pulse the Oreos in a food processor until they’re the texture of coarse sand. Then pour in the melted butter and continue pulsing until the mixture starts sticking together. Press the mixture into a pie plate and bake to set.
Next, you’ll need to make the filling. Beat the butter and sugar until light and fluffy (it’ll take about 5 minutes). Add the vanilla, espresso granules, salt, and melted chocolate and continue mixing to combine. Then, add in the eggs one at a time and beat for roughly 5 minutes after each addition. It’s crucial that you take the time to whip the pie filling, otherwise it won’t become silky and smooth.
Turn the mixture into the cooled Oreo cookie crust and refrigerate, covered, for 4 hours to set. Once the pie is fully set, top with whipped topping and garnish with chocolate shavings. Then find some neighbors to share this pie with, otherwise you’ll eat it all at once!
Can I Use Powdered Sugar Instead of Ultrafine?
No, powdered sugar (aka confectioner’s sugar) isn’t the right texture and will make your pie far too sweet.
What Type of Chocolate Should I Use?
You want to use a chocolate bar and not chocolate chips since they’re more resistant to melting. Use a bar that contains at least 72% cacao. If you use anything sweeter in this recipe, your French silk pie will wind up being way too sweet.
Tips for Making French Silk Pie
For the filling and for the chopped chocolate on top, I used Trader Joe’s 72% Pound Plus bar. Use a high quality dark chocolate to ensure the pie has enough depth of rich, chocolate flavor. A pinch of instant espresso granules brings out the chocolate intensity and doesn’t make the pie taste like coffee.
I highly recommend using ultrafine sugar, also called baker’s sugar and it’s sold near other sugars. It’s the sugar used on top of Creme Brulee. Using ultrafine sugar ensures it’ll fully integrate into the butter and chocolate. There’s a chance that granulated sugar won’t incorporate fully and the filling could be gritty.
The pie filling isn’t baked and the eggs are raw, which is what classic French silk pie is. If this isn’t a good choice for you or someone who may eat the pie, use pasteurized eggs, which are safe to eat raw. As a lifetime orange Julius drinker and cookie dough eater, I don’t have any issues.
And if a little bit of crust crumbles when you’re slicing the pie, just sprinkle it on top like you meant to do it. Being the world’s worst pancake-flipper and pie-slicer, this may have come in handy for me.
Pin This Recipe
Enjoy AverieCooks.com Without Ads! 🆕
Go Ad Free
The Best French Silk Pie
Ingredients
Crust
- 20 Oreo cookies, finely crushed (I use chocolate-filled Oreos rather than white-filled, and regular rather than Double-Stuffed)
- 3 tablespoons unsalted butter, melted
Filling
- 6 ounces dark chocolate, at least 72%, melted (unsweetened baker’s chocolate may be substituted)
- 1 cup unsalted butter, softened
- 1 ½ cups ultrafine sugar, also called ultrafine or baker’s sugar (using granulated sugar could result in graininess; use at your discretion)
- 1 teaspoon vanilla extract
- ½ teaspoon instant espresso granules, optional but recommended
- pinch salt, optional and to taste
- 4 large eggs, at room temperature
Topping
- 8 ounces whipped topping, thawed and stirred well, lite okay or 2 cups freshly whipped cream
- 3 to 4 ounces dark chocolate, 72% or higher roughly chopped, for sprinkling
Instructions
- Make the Crust
- Preheat oven to 350F and spray a 9-inch pie dish wish cooking spray; set aside.
- Add Oreos to the canister of a food processor and process until finely ground, 1 to 2 minutes on high power; set aside.
- In a small microwave-safe bowl, melt the butter, about 1 minute on high power.
- Add melted butter to canister of food processor and process until incorporated, about 30 seconds.
- Turn crumbs out into prepared pie dish and using your fingers, hard-pack the mixture to create a crust, making sure to cover sides of pie dish.
- Bake for 10 minutes, or until just set. Place on a wire rack to cool.
- Make the Filling
- In a medium microwave-safe bowl, melt the chocolate, about 1 to 2 minutes on high power. Stop after 1 minute to check and stir. Heat in 15 second increments until chocolate can be stirred smooth; set aside to cool.
- To the bowl of a stand mixer fitted with the paddle attachment, add the butter, sugar, and beat on high power until very light and fluffy, about 5 minutes, stopping as necessary to scrape down the sides of the bowl. Mixture should be very pale, almost white; the lighter and fluffier the better to ensure sugar is well on it’s way to being dissolved and incorporated fully.
- Add the vanilla, espresso granules, optional salt, cooled chocolate, and beat on high power until incorporated and mixture is fluffy, about 3 to 4 minutes.
- Stop, scrape down the sides of the bowl, remove paddle attachment, switch to whisk attachment, add 1 egg, and beat for 5 minutes on high power.
- Stop, scrape down the sides of the bowl, add the second egg, beat for 5 minutes on high power. Repeat process with remaining eggs. Eggs are added 1 at a time, spaced 5 minutes apart, for a total of 20 minutes active whipping time.
- After 20 minutes, make sure your mixture is smooth, silky, fluffy, with zero traces of graininess. Continue beating until you’re satisfied with the smoothness because this is what your pie will taste like.
- Turn mixture out into crust, smoothing the top lightly with a spatula. Cover with plasticwrap and place in fridge for at least 4 hours (overnight is better) for pie to set up fully.
- Add the ToppingAdd the whipped topping/cream, smoothing it lightly with a spatula. I left a bare margin of 1-inch for visual appeal so you can see the chocolate; cover surface fully if preferred.
- Sprinkle evenly with chopped chocolate before slicing and serving.
Notes
Nutrition
Nutrition information is automatically calculated, so should only be used as an approximation.
©averiecooks.com. Content and photographs are copyright protected. Sharing of this recipe is both encouraged and appreciated. Copying and/or pasting full recipes to any social media is strictly prohibited.
More Easy Pie Recipes:
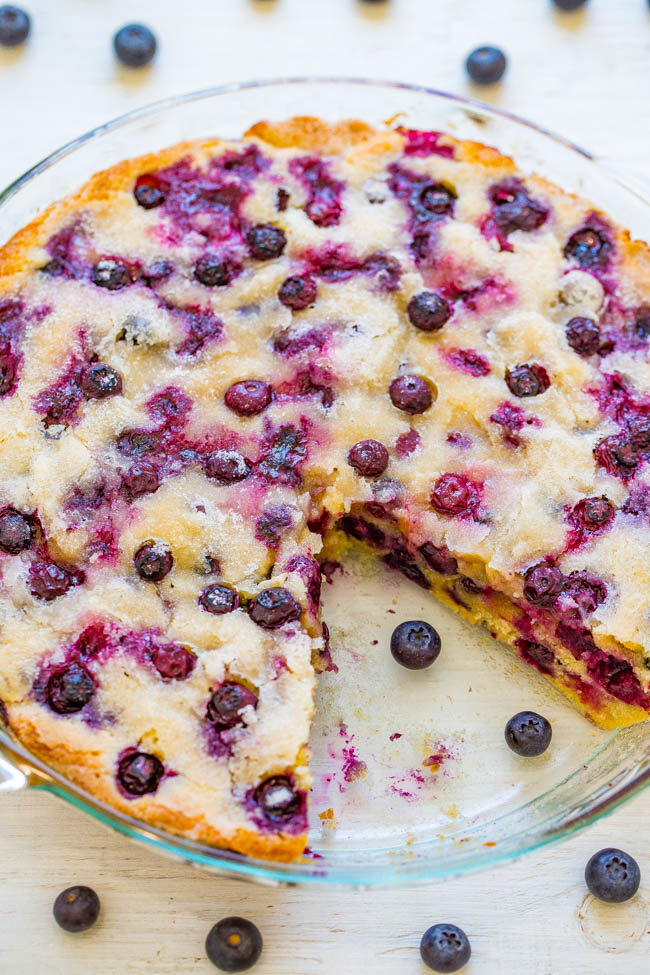
Crustless Blueberry Pie — Somewhere in between pie, cake, and blondies is what you get with this FABULOUS blueberry dessert recipe!
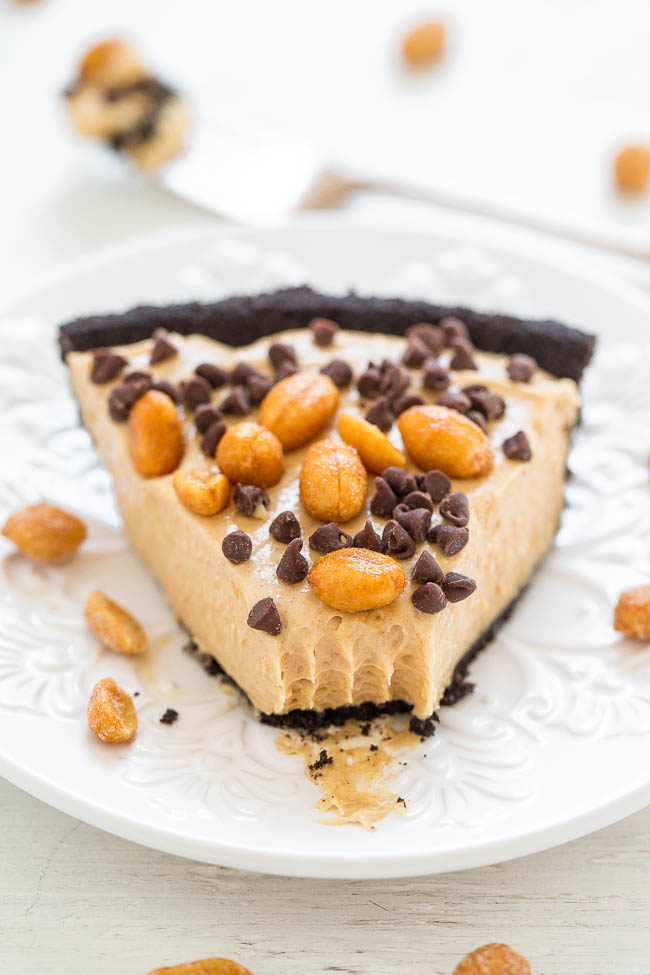
No-Bake Peanut Butter Silk Oreo Pie — The pie is easy, no-bake, and uses a storebought Oreo cookie crust. It’s full of rich peanut butter flavor and perfectly sweet and creamy from whipped topping.
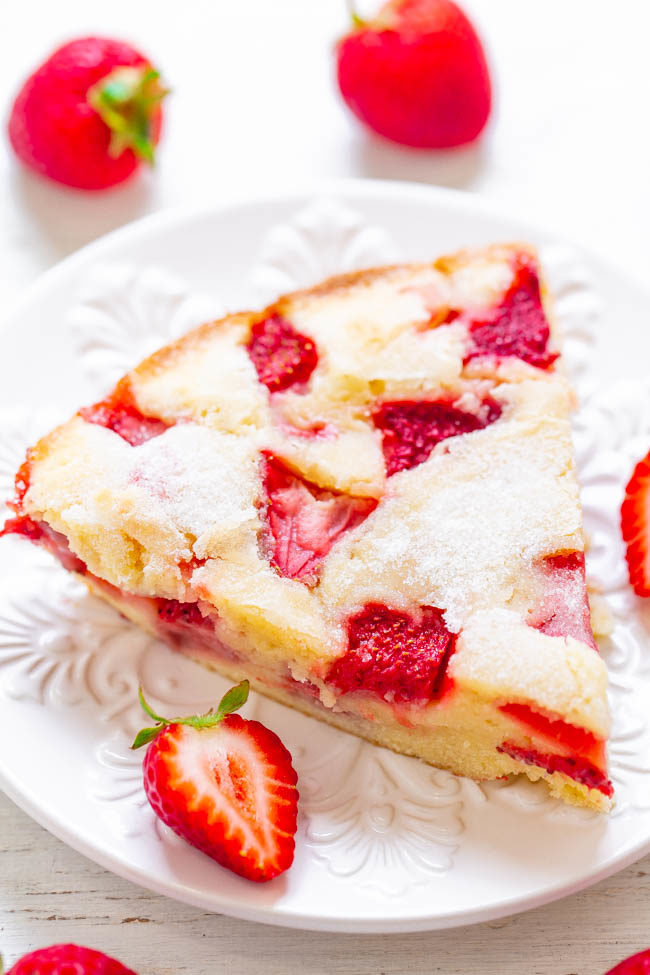
Crustless Fresh Strawberry Pie — FAST, super EASY, no-mixer dessert that’s perfect for summer entertaining, picnics, or potlucks!
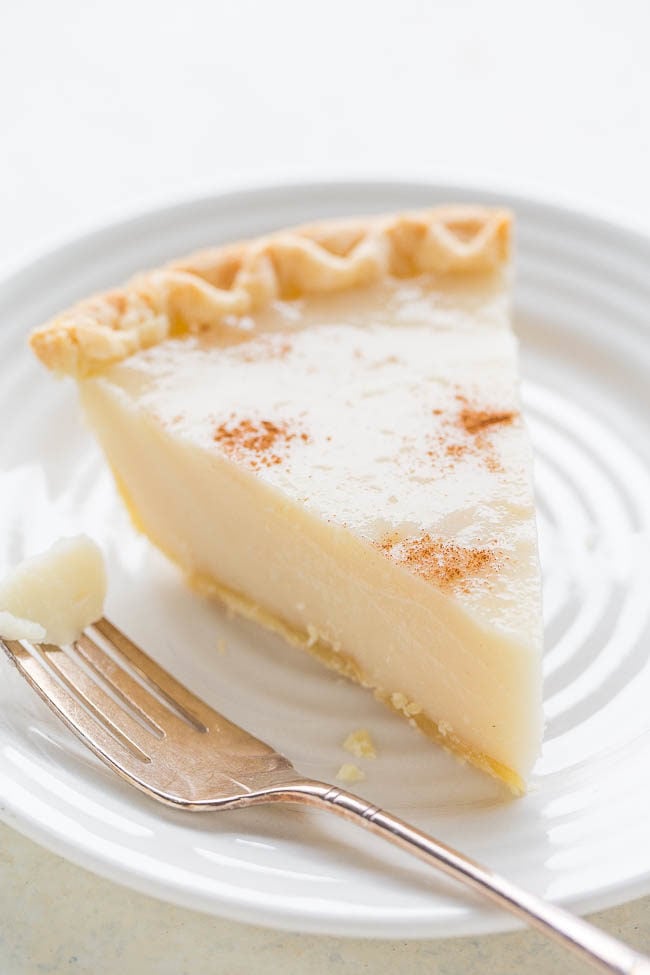
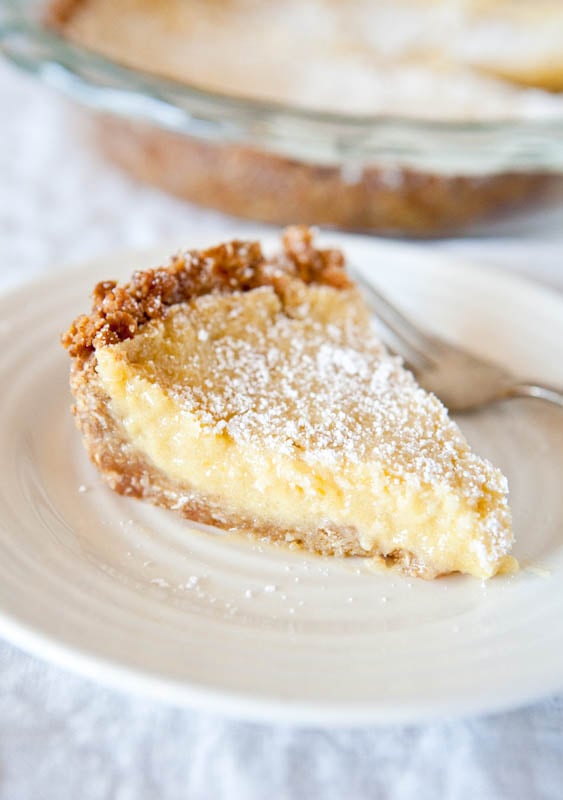
Sugar Cream Pie — The pie is sweet, creamy, the texture is custard-like, and it reminds me of crème brûlée. It’s incredibly easy and you don’t need a mixer.
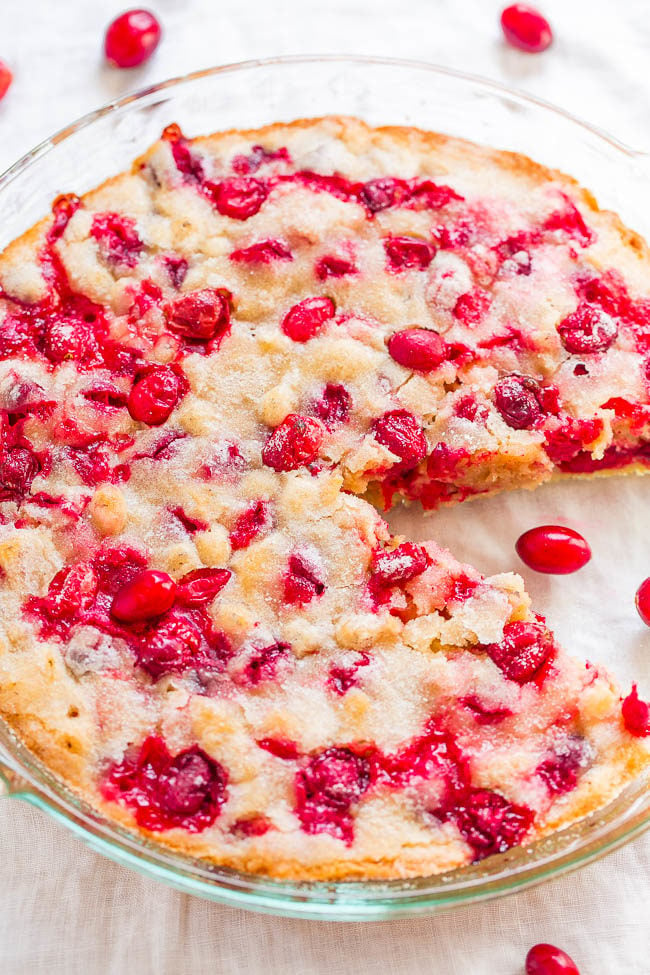
Crustless Cranberry Pie – FAST, super EASY, no-mixer dessert that’s perfect for holiday entertaining!! Somewhere in between pie, cake, and blondies is what you get with this FESTIVE recipe!
Pumpkin Cream Cheese Pie — This isn’t your ordinary (i.e. boring) pumpkin pie. Everything is better with cream cheese and pumpkin pie is no exception!

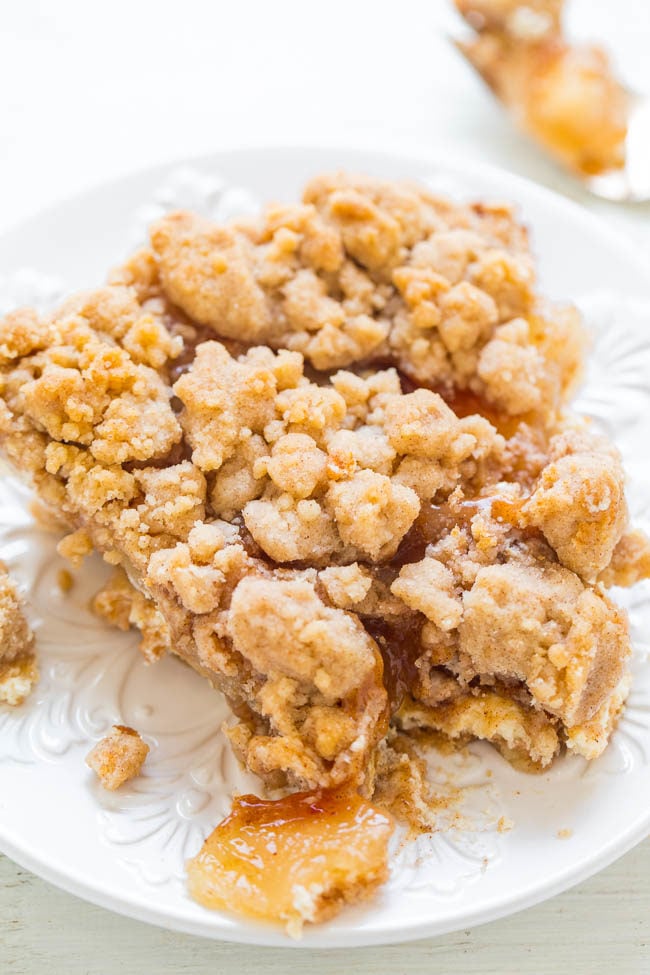
Crack Pie — The recipe lives up to its name and everyone should try this pie at least once!
Sugar Cookie Apple Crumble Cheesecake Pie – A buttery sugar cookie crust, tangy cream cheese filling, tender juicy apples, and a crumble topping make this pie a total SHOWSTOPPER!


MUST use superfine sugar. I could not find superfine sugar in town, so I put regular sugar in blender for long time as directed by Google search. I followed all directions exactly, but still so grainy. Ended up putting the mixture in microwave and monitored progress. Took about 3 minutes. Did the trick.