
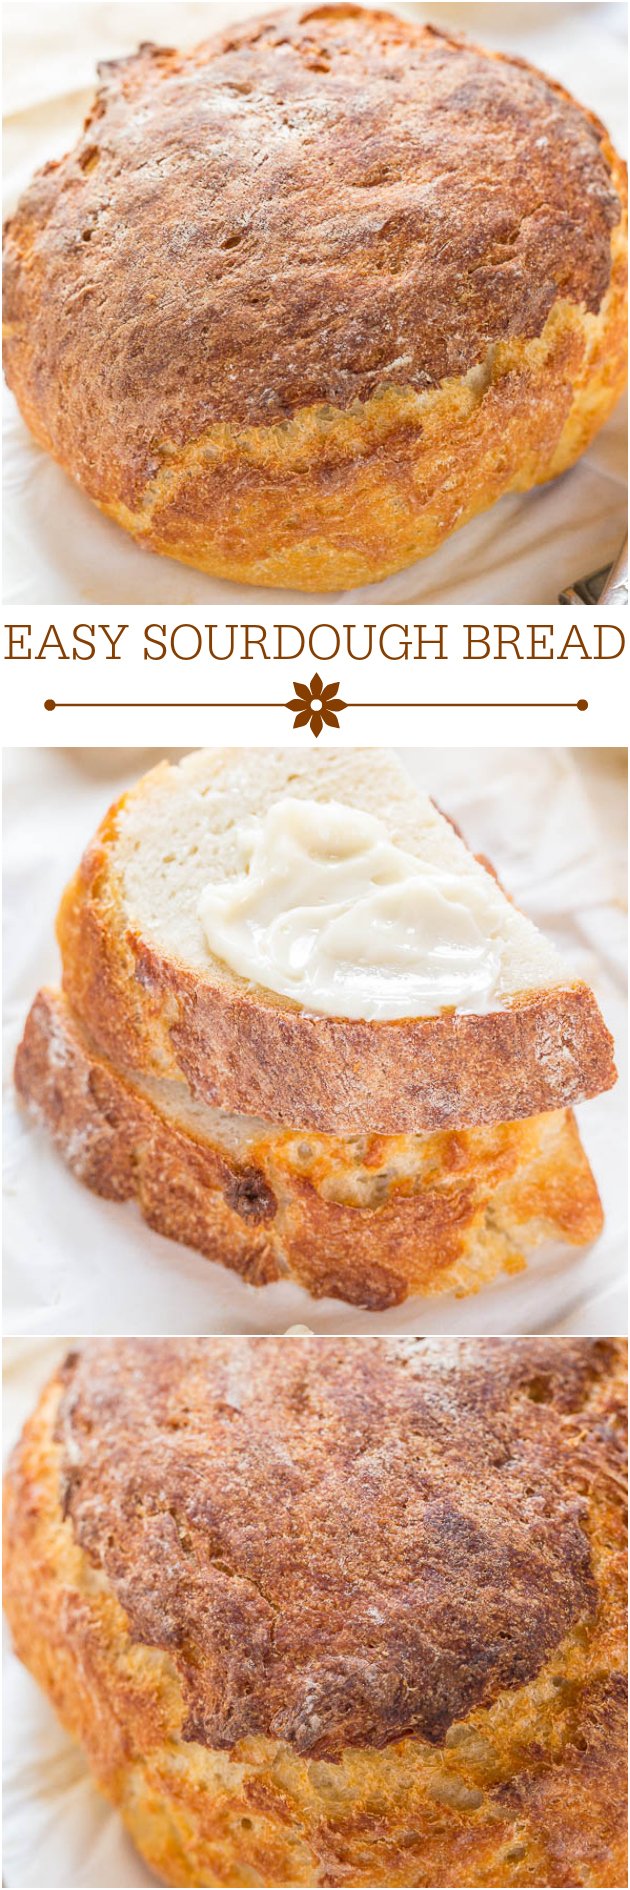
How to Make Sourdough Bread — This easy sourdough bread recipe uses yogurt and sour cream in place of a traditional sourdough starter, which makes it possible to prep a loaf in less than a day!
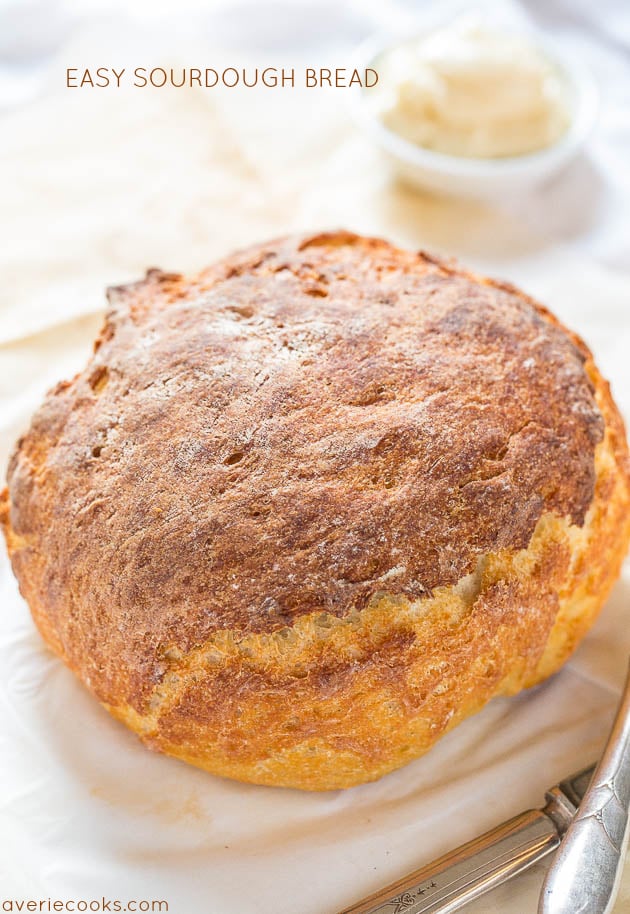
Table of Contents
- Easy Homemade Sourdough Bread Recipe
- Homemade Sourdough Bread Ingredients
- How to Make Sourdough Bread
- Do I Have to Use a Dutch Oven?
- Can I Freeze Sourdough Bread?
- Can I Make This Gluten Free?
- Tips for Making Sourdough Bread
- Easy Sourdough Bread Recipe
- Easy Sourdough Bread Recipe
- More Homemade Bread Recipes:
Easy Homemade Sourdough Bread Recipe
I’ve always wanted to make sourdough bread and can finally check it off my culinary bucket list. And rather than doing it in week(s), I did it in hours.
Traditional sourdough starters take 5-7+ days to develop and making the bread can take a full day, whereas I made this bread in 9 hours. Do it as an overnight recipe or think of it like a slow cooker recipe. Set it and forget it because it really is that easy.
Rather than using a traditional sourdough starter, Greek yogurt and sour cream are mixed with bread flour, yeast, and a pinch of salt. The active cultures in the Greek yogurt and sour cream ferment the dough and give the bread traditional sourdough flavor. The longer you let the bread rise and ferment, up to about 18 hours, the more sourdough-ey it’ll taste.
I’ve made the homemade sourdough bread twice because my family kept raving about this loaf. For this bread, I did a 6 1/2 hour rise/ferment (first rise) and for the next loaf I did 10 hours. The 10-hour version was more sourdough-ey and also had a more more ‘holey’ and open crumb, but I wouldn’t necessarily say the 10-hour was ‘better’. Both are fabulous.
If you’ve ever made bread, this recipe will be a total snap. Much easier than cinnamon rolls, sweet rolls, or dinner rolls, by a long shot.
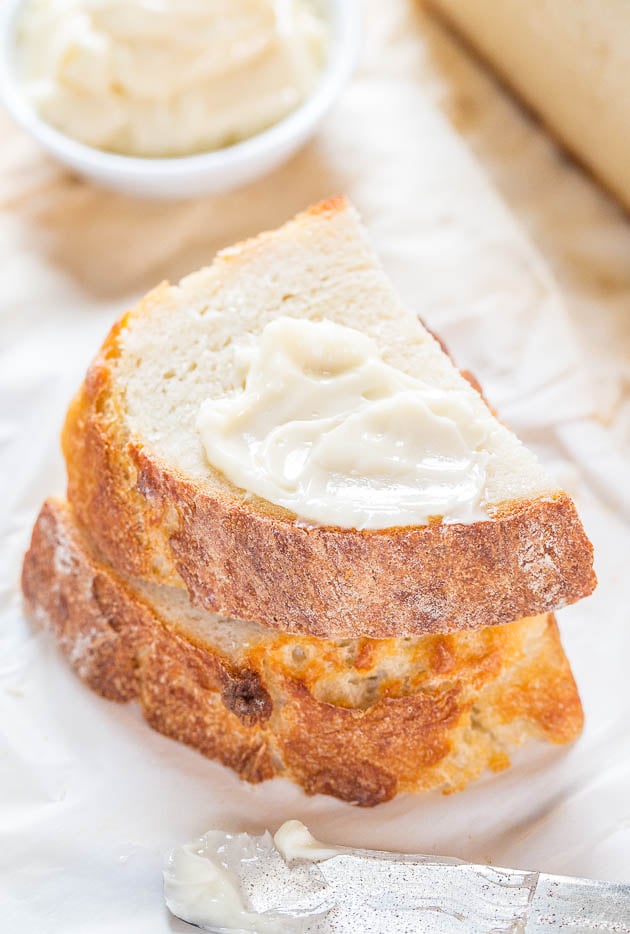
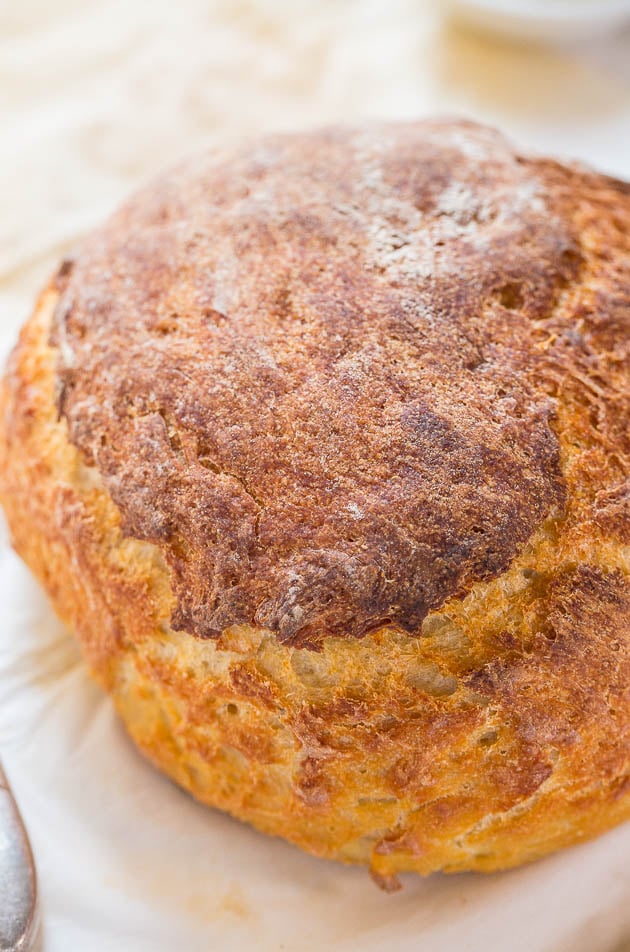
The bread is hearty, satisfying, and has a firm crust that gives was to a super moist, soft interior. My daughter loves crust (she didn’t get that from me) and my family devoured the loaf in one sitting.
I got the bug to try this because of Mandy’s post and without knowing I was making homemade sourdough bread or the flavor goal, my family said it tastes like a piece of San Francisco sourdough bread from a fancy bakery.
It’s so rewarding knowing I made bread that looks and tastes like something from a bakery. You’re going to love that feeling. And you’re going to love the bread.
Homemade Sourdough Bread Ingredients
When making sourdough bread, you’ll need:
- Bread flour
- Plain Greek yogurt with live active cultures
- Sour cream
- Salt
- Instant dry yeast
How to Make Sourdough Bread
Add all the sourdough bread ingredients to the bowl of a stand mixer and knead the dough for 5 to 7 minutes using a dough hook attachment. The dough will be seem like it’s almost too wet and it’s very heavy, but this is what you want.
Place the dough in an oiled bowl, cover with plastic wrap, and let rise for 6 to 8 hours. Once risen, remove the dough from the bowl and gently knead for a couple minutes. Shape the dough into a round mound and put back into oiled bowl to rise for another 1 to 2 hours.
Preheat your oven and place an empty Dutch oven inside to preheat as well. Once the oven is preheated, carefully remove the Dutch oven, place parchment paper on the bottom, and place dough inside. Cover with a lid and bake, then uncover during the last 10 minutes of baking.

Do I Have to Use a Dutch Oven?
While it’s not imperative to bake the bread in Dutch oven, it really helps develop sourdough’s signature crusty crust because a covered Dutch oven traps in the steam the bread releases while baking, aiding in crust development. This is the exact Le Creuset Dutch oven I used.
If you don’t have a Dutch oven, a cast iron skillet or heavy-bottomed skillet will work, although some of the crustiness will be sacrificed.
Can I Freeze Sourdough Bread?
Yes, homemade sourdough bread freezes well. Let the baked bread cool completely before freezing (you can freeze the entire loaf or slice and freeze).
Can I Make This Gluten Free?
That is a question I am not sure about since I have not tried this recipe with gluten-free flours of any kind.
However, my gut tells me that I definitely don’t think almond flour or spelt flour will work. A baking flour that is a cup-or-cup style replacement of traditional all-purpose flour is the only flour I think has a flying chance, but I do not know if it will work.
I have only made the recipe exactly as written. If you make the recipe with gluten-free flour, please comment how it went for you.
Tips for Making Sourdough Bread
I highly recommend using King Arthur bread flour for this sourdough bread recipe. I think it’s the best quality bread flour and it delivers consistently good results.
The sourdough bread recipe looks long but that’s because I write yeast recipes with as much detail and give as many tips as I possibly can to set you up for success. Read the recipe at least twice before starting. All you’re really doing is making dough, letting it rise for 6+ hours, letting it rise again for 1+ hour, and baking.
I like it served simply with honey butter or butter. Or try jam, jelly, or hummus. The bread is great toasted, perfect for sandwiches, for crostini, or with your favorite dip. I wouldn’t complain if you put a hunk of cheese and bread in one hand and a glass of wine in the other.


Easy Sourdough Bread
Ingredients
- 3 cups bread flour, I use King Arthur
- one-17.6 ounce tub plain unsweetened Greek yogurt with active cultures, 500 grams
- about 1/2 to 1 cup sour cream, or Greek yogurt, lite versions are okay
- 1 teaspoon salt, or to taste
- scant 1 teaspoon, just slightly less than 1 teaspoon instant dry yeast (I use Red Star Platinum)
Instructions
- To the bowl of a stand mixer fitted with the dough hook (or use a large mixing bowl and wooden spoon and your hands), add the flour, Greek yogurt, 1/2 cup sour cream, salt, and yeast.
- Turn mixer on low speed and allow it to knead dough for about 5 to 7 minutes (about 7 to 10 minutes by hand using a wooden spoon and then switching to your hands). Add sour cream as needed to form a very moist and wet dough. If it’s at all dry or crumbly, add more sour cream (or Greek yogurt) until it comes together. I used one-17.6 ounce tub of Greek yogurt and almost 1 cup lite sour cream. Dough will be seem like it’s almost too wet and it’s very heavy, but this is what you want. Err on the side of wetter than drier because flour and yeast love moisture when rising.
- Remove dough from the mixing bowl, spray a large bowl with cooking spray, pat dough into a round ball, place it in the bowl, and flip it over once so it’s lightly oiled on both top and bottom. It will look like a dimply head of cauliflower.
- Cover bowl with plasticwrap (spray it with cooking spray in case dough rises high enough to touch it) and place bowl in a warm, draft-free place to rise for about 6 to 8 hours (I did 6 1/2 hours), or doubled in size. If you want to start this before work or before bed and made as an overnight dough and it’ll go 8-10 hours, that’s fine. There’s really no harm in letting it rise for up to 18 hours and the longer you let it go, the more of a classic sourdough/fermented flavor that will develop. If you suspect you’re going to allow it to rise on the longer side (12-18 hours), reduce yeast to about 1/2 teaspoon so dough doesn’t get too puffy and overflow the bowl.
- After 6+ hours of rising, turn dough out onto a floured surface (without punching it down to preserve the air pockets and bubbles that have been created) and knead lightly for about 2 to 3 minutes.
Pat dough into a round mound, and place it back into large mixing bowl, seam side down. Cover with plastic wrap, and allow to rise for 60 to 120 minutes, or until doubled in size (I did 60 minutes; I suspect the longer you let the second rise go, the more ‘holey’ the bread will be). Placing the bowl on the stovetop is a nice spot for this rise because you’re going to turn on the oven and the residual heat emitted helps with rising. - Shortly after dough begins the 60-120 minute rising, turn oven on to 450F and place a covered 7 to 10-quart or sufficiently large Dutch oven (empty) or heavy-bottomed skillet into the oven and allow it to heat for about 45 minutes. Dutch ovens are so heavy and take so long to get truly hot, and when you’re ready to bake the bread, you want the Dutch oven screaming hot.
- After about 60-90 minutes or dough has doubled in size, remove Dutch oven from oven (careful, it’s screaming hot, use two pairs of hot mitts) and carefully place a piece of parchment paper on the bottom of Dutch oven to prevent bread from sticking.
Carefully transfer dough from rising bowl to Dutch oven, cover it, and bake covered for 30 minutes. Don’t open the oven door or the Dutch oven lid to peek; you want to seal in the steam. - After 30 minutes, uncover the Dutch oven, and allow bread to bake uncovered for 5 to 10 minutes (I did 8 minutes) or until it’s as browned as desired. Traditional sourdough has a darker crust than most bread (sometimes almost burnt-looking, but I prefer mine on the lighter side).
- Remove Dutch oven from oven, and remove bread from Dutch oven. Place it on a wire rack to cool completely before slicing. As tempting as it is, don’t slice too early because the cooling process is important and should be considered an important extension of the baking process. Slice or break off hunks, and serve with honey butter, butter, jam, hummus, etc.
- Bread is best fresh, but will keep airtight at room temp for up to 3 days. Older bread may be better toasted.
Notes
- Note that the yogurt you use must say ‘active cultures’, I used 0% Non-Fat Fage.
- Use closer to 1/2 teaspoon yeast if you plan to allow dough to rise for 12-18 hours; see step 4 above.
Nutrition
Nutrition information is automatically calculated, so should only be used as an approximation.
©averiecooks.com. Content and photographs are copyright protected. Sharing of this recipe is both encouraged and appreciated. Copying and/or pasting full recipes to any social media is strictly prohibited.
More Homemade Bread Recipes:
Easy Cheddar Sourdough Bread — The bread is hearty, satisfying, and has a firm crust that gives was to a super moist, soft interior with ample hunks of cheddar.

No-Knead Make-Ahead Dinner Rolls with Honey Butter — The easiest dinner rolls ever! No kneading, no fuss & you can make the dough ahead of time! Perfect for holiday meals and parties!

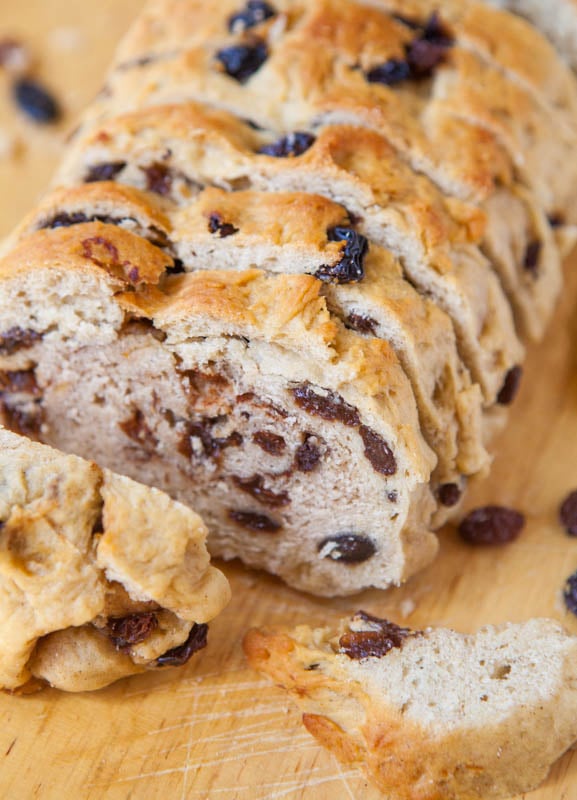
Raisin Bread for Raisin Lovers — There’s nothing worse than raisin bread with like five raisins in the whole slice, which isn’t a problem here. Calling all raisin lovers, this bread is for you!
Honey Dinner Rolls — Soft, fluffy rolls brushed with sweet honey butter! Truly the best dinner rolls ever. They disappear so fast at holiday meals & parties!

One-Hour Sun-Dried Tomato, Basil, and Mozzarella Focaccia Bread — The bread is soft and chewy, loaded with tangy sun-dried tomatoes, and the basil is the perfect complement to the tomatoes.

100% Whole Wheat No-Knead Make Ahead Dinner Rolls with Honey Butter – Working with wheat flour and yeast is usually the kiss of death but these rolls are light, fluffy, soft and you’d never guess made exclusively with whole wheat flour!

Soft and Fluffy Sandwich Bread (vegan) — The bread is versatile for anything from sandwiches to grilled cheese to French toast. It’s an easy recipe, even for bread-making novices.

Originally posted November 20, 2014 and reposted with updated text February 25, 2022.

I enjoyed the possibility of sourdough-like bread, but I’m afraid this didn’t work for me. Like others have reported my final product came out more like a thick flat-bread, uncooked in the middle. I used all the ingredients and brands as suggested in the recipe. Yeast was fresh. I had a good overnight rise, and a modest second rise before baking. But the results were pretty disappointing. I know it’s a wet dough, but mine was almost too wet to work with–“knead lightly for two or three minutes” was wishful thinking!. I’m not giving up, though. I think it’s interesting enough to warrant a few more tries. Probably not a fair comparison, as my first attempt didn’t work, but I don’t think what I tasted resembled good old sourdough. But, I’ll give it another go, and report back.
Bread is always challenging and no two environments, ingredients, skills of the cook, etc. are ever the same so it’s hard for me to troubleshoot from afar. However, if the dough was so wet that it wasn’t possible to work with it, that’s a sign you probably could have added more flour. Wet dough is one thing but it sounds like yours was beyond that and needed more flour. Keep me posted if you try again. Thanks for trying the recipe.
Hey! What size should the dutch oven be for this recipe? Thanks :)
Approximately 12 to 14 quarts or sufficiently large.
Can I use a Cuisinart to mix the dough? Also, my kitchen runs on the cooler side, should I put my oven on low and stick the dough in it with the door open to allow it to rise? I love sourdough, my favorite bread, and I really would like to try making this. Thanks for sharing the recipe..
You wouldn’t want to use a food processor to mix this dough if that’s what your Cuisinart is (they make many different appliances).
I have a feeling that even with a low oven and the door open, the bread could start to cook, rather than just rise. I would use your judgment on that one. Or just wait until it’s summer or warms up a bit and pick a hot-snap to make it. Bread will still rise in a cooler kitchen; it just takes longer.
I’ve heard/and used the oven trick but don’t turn it on! Just turn on the light :)
Just a thought…we keep our house quite cool and I find if I stick the bowl in the microwave it is protected from the chill and any drafts.
I love sourdough and this recipe idea changes my world! However I have tried baking it now about 8 times and I can’t get it right. I’m not a novice to bread making and have tried some of the trouble shooting things like new yeast and a really hot oven, I even purchased a new dutch oven but my dough still struggles to rise and when it bakes it is dense, hard on the outside and spongy in the middle. I have increased rise times to 16 hours, any other ideas? I really want to make this recipe work for me! Thanks!
Wow, thank you for trying this recipe so many times and being determined to get it right. It sounds like you’ve tried everything that’s obvious, and not that obvious, on your quest.
The fact that your dough struggles to rise…okay I would double the amount of yeast you’re using. (To anyone else reading this, don’t!) In this situation though, it’s warranted given a dense dough that doesn’t rise well and is spongy in the middle. I would also try to use the Red Star Platinum as well as the Fage brand yogurt. That way those variables are accounted for. And also King Arthur brand AP flour.
Also, a warm kitchen is always better than a chilly one, and in the winter, it’s chilly. If you know you’re going to be having a warm snap coming up, try it then!
Please keep me posted if you have the courage to try again and LMK how it goes!
Great, thanks for the tips. I’m planning on trying again this weekend and will LYK!
I did not see an answer to the bread machine question – that is what I am interested in. How to adjust this recipe for a bread machine.
I haven’t made the recipe in a bread machine and don’t have any advice on doing so.
The bread came out delicious!
My Dutch oven turned out to only be 3.5qts. I covered it in tin foil and I put a pan of water to create steam. I had to bake it for about 59 min total.
While it came out great, the inside is still a little moist. I think next time I’ll use less yogurt/sour cream.
Great to hear it turned out delicious!
I just made the dough and it’s going through its first rise. But… I just realized I used col yougurt. Should it have been at room temperature?
Room temp is probably better but eventually it will warm up. I’ve made it both ways. I think you’ll be fine. Enjoy!
Thank you again! The dough trippled in size overnight and it’s just about to go in the oven. I only have a 5.5 quart Dutch oven, but I’m thinking to cover the top with tin foil instead, making a dome higher than the Dutch oven lid would allow.
Also, when I bake french bread, I get it crusty by placing a tray of water in the oven for tge first 15 minutes of baking, to create steam. I might try it with this as well. Will let you know how it turns out!
Glad it rose great overnight and hope it baked up beautifully!
I made this recipe today! It is on the cooling rack. Somehow it came out pretty flat. Any idea what I did wrong? I’m excited to taste it!
It’s hard to say with yeast and bread and exactly where things went wrong but if it’s flat two things…not hot enough during baking to get a solid rise that will hold upon cooling. And/or yeast that wasn’t fresh or didn’t activate properly. I’d bake longer as necessary and replace the yeast with brand new or another brand and see what happens. Thanks for trying the recipe.
I followed the instructions to the tee, but the dough didn’t rise that much and when I baked it, it sank and was not done. What could have happened?
So many things can happen with bread that it’s impossible to troubleshoot from afar, but if it didn’t rise much and sank it sounds like the yeast wasn’t active or as alive as it should have been. Trying again with brand new and totally fresh yeast would be my first suggestion.
Making the sourdough today but don’t see the capacity for the Dutch oven. Can this bread be made in a corning ware tall casserole dish with cover. I have one that’s a 5qt.LMK
Thanks
More along the lines of a 10-quart is what you want.
A 5-quart is going to be too small unless you’d want to maybe halve the recipe, but I haven’t tried doing that so can’t speak for sure about results, baking times, etc.
Can I try this in a slow cooker? I love this recipe!!
I haven’t tried it that way and just from what I know about bread-making and this recipe, I don’t think you’d have a ton of success. LMK if you try.
some people say this dough is very wet and add more flour to it to make it more dough like. If you have ever made no kneed bread it is also a wet dough. The easiest way to handle it is before you turn the dough out to for a loaf is put a generous sized sheet of parchment paper into a 10 inch frying pan and press it down. After you form your loaf set it on the parchment paper inside the frying pan to do the second rise. Then after your Dutch oven has been heated to the proper temperature use the four corners of the parchment paper to move it into the oven with out disturbing the loaf too badly. you can also remove the loaf from the very hot Dutch oven by grabbing the four corners and lifting it out. I learned to do it this way from America’s Test Kitchen No Kneed Bread video.
Do you need a Dutch oven or can you bake it on a cookie tray?
I think the steam from the Dutch oven really helps with the crust development. You could try on a cookie tray and see what happens but I’ve never done it that way.
I use my crockpot! Just place it in. The oven with the lid!
Has this recipe been tried out in a bread machine yet? I can’t wait to give this sourdough a try! ^_^
I absolutely love sourdough bread, but it’s so much more expensive! I’ve never thought I’d be using sour cream or yogurt in a bread recipe, but it makes sense considering it has such a specific flavor I want to recreate. I’ll be giving this a try, thank you :)
Last night, my dogs ate the bread I bought for guests the following day. I live in the heat of Phoenix, AZ, USA and while I regularly make my own peasant bread, it was 115F yesterday; didn’t feel like turning on the oven to try this recipe as I had intended. Until I discovered my dogs’ crime. I had Greek yogurt and sour cream, although not in the quantities listed. And I had pastry rather than bread flour. But I decided to go for it. Worst case, I’d have to make an unplanned trip out in the heat for more bread. Best case, delicious bread for fondue. I don’t yet have a stand mixer so I combined with my own ten digits. I think hand mixing tells you if you have enough dry to wet ingredients. Plus, kneading is therapeutic! The first thing I noticed is, the dough is absolutely beautiful! I had to make myself to NOT overwork it. I have an enamel-over-cast-iron-Dutch oven (Tramontina for those not on a Le Cruset budget) with which I make rustic bread a lot. It’s stained with use but still works beautifully. I precut a piece of parchment to make it easier to gently put the dough in the screaming hot oven. My inaugural loaf is not 100% perfect but it’ll do for fondue. I love this recipe and plan to keep trying different thing until I perfect it. Thanks so much for this recipe!
Wow, love this story, love your creativity, ingenuity (where there’s a will there’s a way with regard to using on-hand ingredients to not have to go out in the heat….I live in San Diego, bought a house in Phoenix b/c it was so much cheaper than CA, couldn’t handle AZ, and was back in San Diego after 8 months! So I applaud you for dealing with that heat!), and the fact that you hand-kneaded it. Wow, such a great, great story! Thank you for trying this recipe and if you play around with it anymore at all, LMK what you do! I also have a cheese-stuffed version :) https://www.averiecooks.com/easy-cheddar-sourdough-bread/
I made this today and the taste is wonderful and the crust is beautiful…but the inside was still doughy. Any suggestions? Thank you!!
Thanks for trying the recipe and I would say bake a bit longer is the simple answer. But if you’re concerned that the outside would get overly done then perhaps make your mound of dough a bit flatter so it cooks through faster in the center. Also tweaking oven temp/time can also work but you’ll have to play around with it given your oven, pan, etc. Bread is one of those things sometimes you have to experiment a bit and sounds like you’re so close to nailing it!