When Scott and I first started dating and were newly married, I loved going to Outback Steakhouse on date nights.
Not for the steak because I haven’t had steak in over twenty years, but because I love their bread.
I could pound down one of the loaves they’d set on the table while waiting for my entree and by the time my food came out, I actually wasn’t hungry for it. I washed the bread down with Wallaby Darneds, frosty and slushy-style peach bellinis made with peaches, champagne, vodka, and peach schnapps, with extra floater shots on top, too. Good thing I was carbing up to soak up all those healthy liquid peaches. Because of those fond memories, I wanted to create Outback bread at home.
I’ve made this bread at least ten times prior to publishing this recipe. I have tested, trialed and tweaked it; playing with the amount of molasses and oil used, to including brown sugar or not, adding a bit of cocoa powder or not and in what quantity, how to shape the loaves, what type of flour and how much to use. Although I saw recipes online that call for a smorgasbord of different types of flour, I figure the average person doesn’t have rye, whole wheat, white-whole wheat, bread, and all-purpose flour all laying around and wanted to keep the recipe as streamlined as possible, while still retaining authenticity.
I also experimented with the brand and type of yeast used, first trying both Trader Joe’s and Fleishman’s active dry yeast. When I used both of them, I tried dissolving the yeast in warm water, and used it right away. I also tried proofing those yeasts by dissolving them in warm water, adding one teaspoon sugar, and let them stand ten minutes before using them. Proofing them lent better results than using them right away, but none of the bread results were as good as with Red Star Platinum yeast, which doesn’t need to be dissolved prior to using. It’s a new yeast on the market, intended to provide professional results at home, giving greater finished volume, especially to wheat breads. Hands down, it’s the best yeast for creating a lighter Outback-style loaf that rose better.
To make the bread, first add the wet ingredients to a glass measuring cup, including water, molasses, and oil, and heat them in the microwave for about one minute on high power, until the temperature of the mixture reaches 125F. That’s a warmer temperature, comparatively, to the temperature of most liquids used when working with and dissolving yeast, which are normally in the 105 to 115F range. However, the Platinum yeast necessitates this, but if you’re using other brands of yeast, follow the temperature guidelines indicated on the packing.
Pour the warmed water-molasses-oil mixture over a dry mixture that’s waiting in a bowl, comprised of 1 1/2 cups white whole-wheat flour, brown and granulated sugars, and cocoa powder. Stir everything together and the dough will be wet, sloppy, and gloppy. Turn it out onto a Silpat Non-Stick Baking Mat or floured work surface and knead in the remaining one cup flour. Using a Silpat is nice because you don’t have to flour it.
You may need to add additional flour depending on the wetness of your dough, but in general in bread-making, excess flour creates denser, heavier, weightier doughs, and produces heavier bread. Use as little flour as necessary to get a soft, pillowy ball of dough that’s not sticky. In my trials, 2 1/2 cups seems to be the magic number, but your mileage may vary. The times that I’ve used additional flour, the bread is noticeably denser, and wheat bread is already on the dense side.
Knead the dough for 5 to 8 minutes, or until it’s smooth and not sticky. Or until you’re tired. Yes, you can put the wad into a stand mixer and let the dough hook do the work for you, but this is not a big batch of bread and it’s simple to do by hand. Kneading the warm, soft, fragrant dough and inhaling the robust scents of molasses and cocoa powder, and feeling the warmth on my fingers is enjoyable for me. If it’s not for you, toss it into your stand mixer and put your workhorse to work.
Place the kneaded dough into a lightly greased bowl and flip it over so the top sides becomes lightly greased and allow the dough to rise for at least 1 hour, or until doubled in size. I find that my dough needs about 90 minutes but all yeast, dough, and conditions are different. After its doubled in size, punch it down to release the air and knead it again briefly, about three minutes. You really can’t over-knead when doing so by hand, you’ll tire out before the bread does. So when in doubt, kneading an extra minute or two by hand (machines are different) isn’t going to cause anything ‘bad’ to happen. In my mind, I have cookie-making rules engrained, which is once the flour is added, mix only to combine, and no more; bread-making takes some mental getting used to in that I can manhandle the dough, and must.
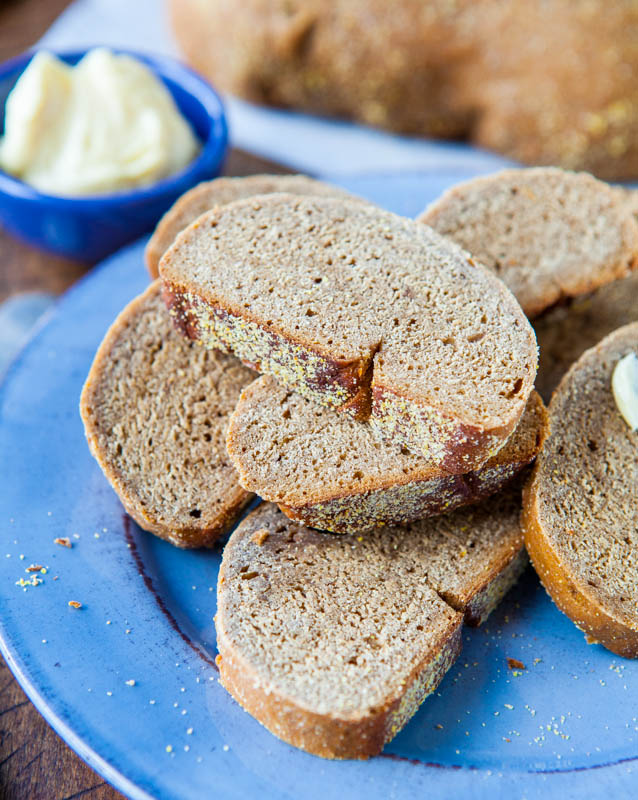
Divide the dough into two equal portions and form two log-like shapes, called batards. You may simply roll the dough into two cylinders but creating surface tension when forming the loaves is advantageous because the bread will rise better while it bakes. Place your little bundle of joy seam-side down on a prepared baking tray that’s been dusted with two tablespoons of corn meal.The corn meal adds authenticity to the finished loaf, with tiny flecks of texture interspersed in each bite, and it more importantly, it prevents the bottom of the bread from laying directly on the baking tray, thus preventing the base from getting too browned before the center cooks through. Using your fingers, lightly pat some corn meal from the baking tray on the top and sides of the loaf. Repeat this process with the other half of dough.
Cover the two batards with plasticwrap and allow them to rise for about 30 minutes. They won’t double in size, but they will swell. While they rise, preheat the oven and I keep the baking tray on top of the stovetop since it’s a nice toasty place for the dough to rise. Then, bake your bread and get ready for incredible scents to waft through the air. The rich fragrance of molasses, cocoa powder, wheat, and the scent of bread baking is simply intoxicating, no Wallaby Darneds needed.
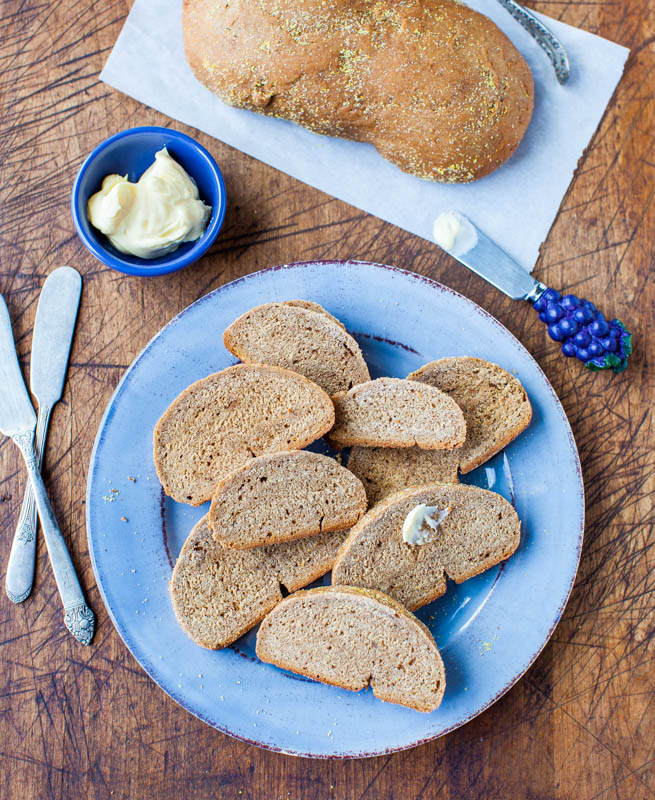
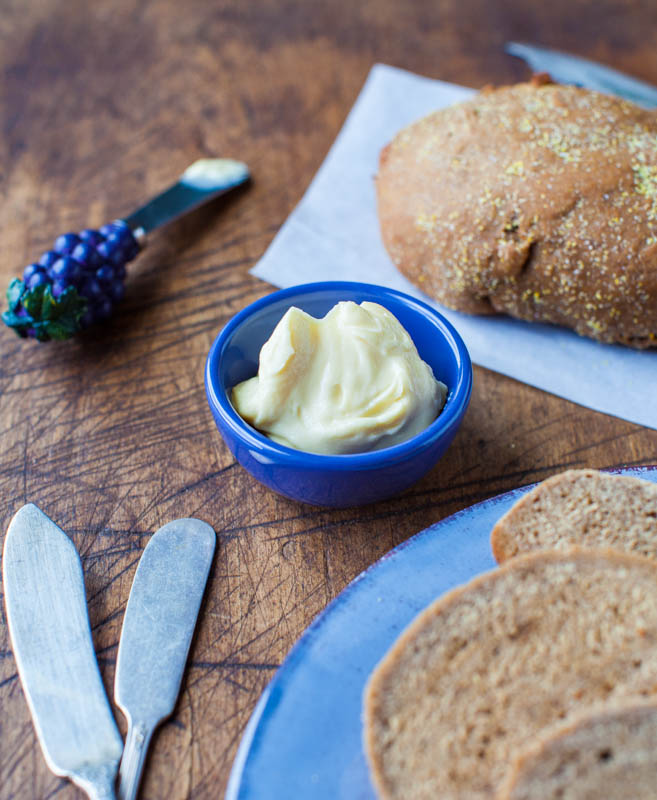
While the bread bakes, make honey butter by combining softened butter with a little honey, or use margarine with agave to keep this vegan, and whip it vigorously with a spoon until it’s soft and fluffy. The bread is great without honey butter but let’s face it, everything’s better with sweetened creamy butter.
Overall, I am incredibly pleased with this bread. I kept it vegan and used brown sugar instead of honey, which caramelizes while baking, creating a subtle honey-like flavor that’s just sweet enough to take the edge off the molasses. Molasses is a pungent flavor and everyone’s threshold is different. I use unsulphered molasses, which is far less pungent, bitter, and intense than blackstrap. Unsulphered lends flavor tones that I believe are a closer approximation of Outback bread but let your tastebuds be your guide.
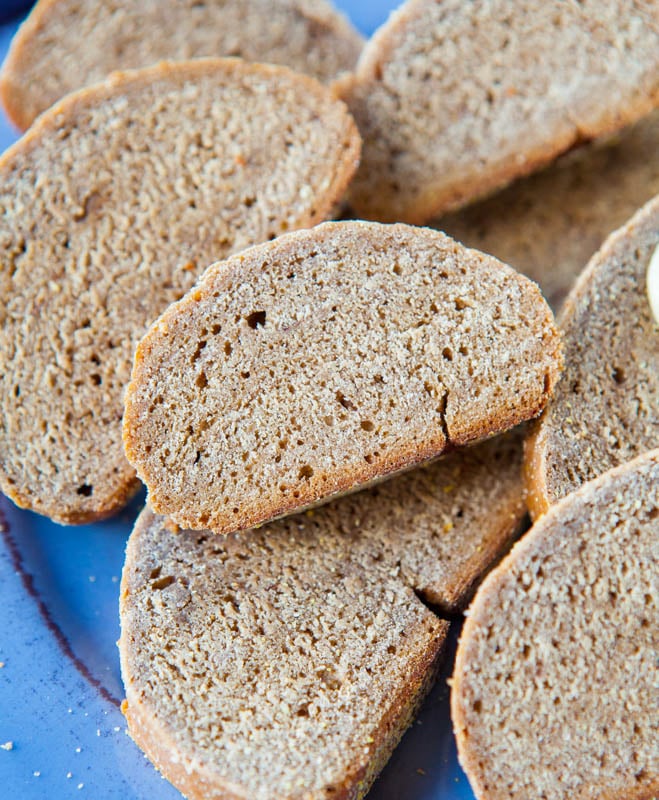
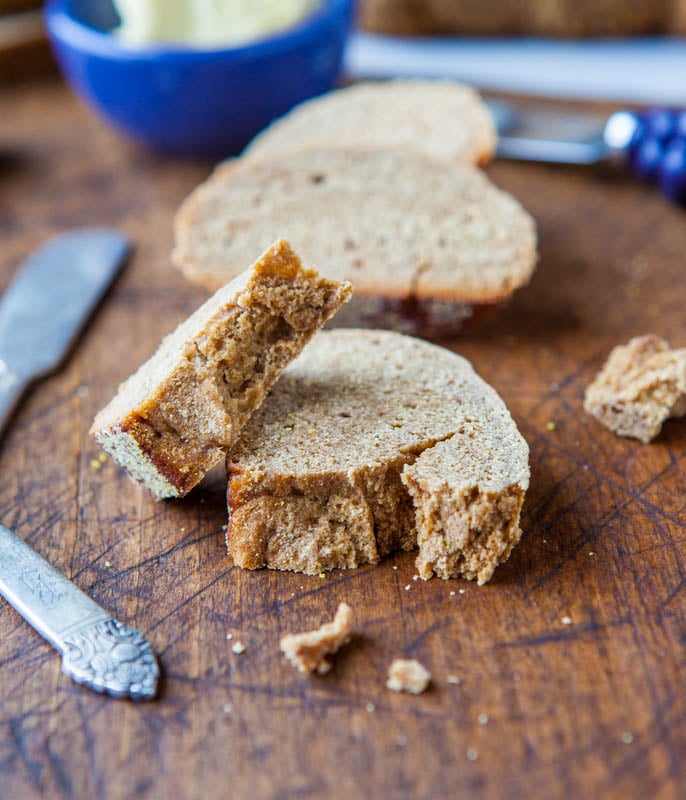
The most notable difference between this bread and Outback’s is that this is denser and heavier. Through the magic known as restaurant-quality ingredients, mass-produced dough, commercial ovens, and no doubt years of research, their bread is lighter. At home, adding vital wheat gluten to the dough or replacing some of the wheat flour with either all-purpose or bread flour are ways in which you could lighten the loaf, but some of the nuttier, wheaty tones will diminish if switching to white. Plus, I don’t mind a denser loaf. This is bread, not angel food cake, and I relish some density, heartiness, and chewiness.
I have been making a couple batches of this bread each week for the last few weeks. The loaves are small and it goes fast. Either we eat it fresh from the oven, and technically bread should be cooled fully before it’s sliced into or torn apart in our case; and what we don’t eat fresh, I wrap and make sandwiches with, or toast it and smear it with honey butter. Bread also freezes very well and can be made in advance and thawed as needed.
I’ve been doing an excellent job of inhaling these loaves. Just like old times at Outback.
Pin This Recipe
Enjoy AverieCooks.com Without Ads! 🆕
Go Ad Free
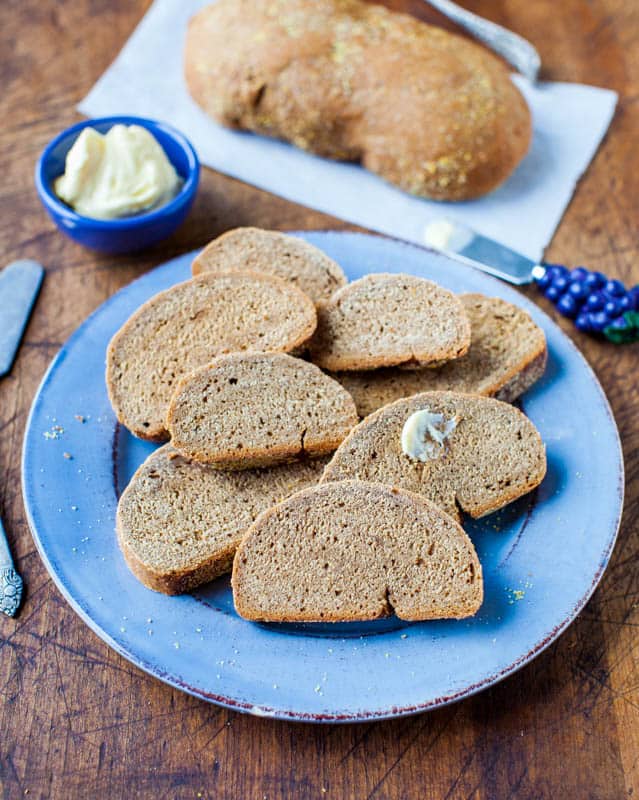
Outback Steakhouse Wheat Bread
Ingredients
- For the Bread
- ½ cup warm water, heated to ~120-130F if using Platinum Red Star yeast, or about 100-110F for other yeast
- ¼ cup unsulphered molasses, not Blackstrap, see below; I used Grandma's Original Molasses
- 2 tablespoons canola or vegetable oil, plus more for greasing the bowl
- 2 cups white whole wheat flour
- ¼ cup vital wheat gluten, optional but highly recommended for better rising (I use Bob's Red Mill Vital Wheat and Gluten Flour )
- 2 ¼ teaspoons one 1/4-ounce packet Red Star Platinum Yeast or use another instant dry yeast)
- ¼ cup granulated sugar
- 1 ½ tablespoons brown sugar, packed (either light or dark may be used)
- 1 ½ tablespoons unsweetened natural cocoa powder
- ½ teaspoon salt, or to taste
- about 1/4 cup bread flour, all-purpose flour may be substituted
- 1 to 2 tablespoons cornmeal, optional but recommended for dusting baking sheets and dough
- For the Honey Butter
- ¼ cup unsalted butter, or margarine, softened
- 2 tablespoons honey, or agave, to taste
Instructions
- For the Bread - In a glass measuring cup or microwave-safe bowl, heat water, unsulphered molasses, and oil for about 1 minute on high power to warm it to temperature. Testing with a thermometer is preferred, but if testing with your finger, mixture should feel warm but not hot; set aside.
- Note regarding molasses - Blackstrap molasses may be used at your own risk; it's much more bitter and pungent than unsulphered molasses and the recipe will theoretically 'work', but bread will be more bitter and I suspect will not taste like Outback bread.
- In a large mixing bowl, add 2 cups white whole wheat flour, vital wheat gluten, yeast, sugars, cocoa powder, salt, and stir to combine. Add the wet mixture to the dry and stir. Dough will be wet, sloppy, and gloppy. Turn it out onto Silpat baking mat or floured work surface. Slowly add and knead in the remaining 1/4 cup bread flour, adding flour just until dough is soft, smooth, and pillowy; knead for about 5 to 8 minutes.
- Form a softball-sized mound of dough and place it in a large greased bowl. Flip the dough over to grease the other side and lightly rub some of the oil from the sides of the bowl over the surface of the dough with your fingertips. Cover with plasticwrap, set in a warm place, and allow dough to rise for at least 1 hour, or until doubled in size. This rise takes about 90 minutes for me, but your mileage may vary.
- Prepare a baking sheet by lining it with a Silpat liner or by greasing it. Sprinkle cornmeal over the surface of the baking sheet (optional, but the cornmeal creates an authentic look and taste to the bread and also prevents the base of the bread from browning too rapidly); set aside.
- Punch the dough down, and lightly knead it for about 3 minutes. Divide dough in half and with half the dough, form an elongated batard, creating surface tension, pinching the ends and place the shaped mound of dough on the baking sheet, seam side down. Run fingers through cornmeal and pat it onto the dough. Repeat with other half of dough. Cover with greased plasticwrap and allow to dough to rise for about 30 minutes. They will not double in size, but they will expand. During the second rise, preheat oven to 350F. Setting baking tray on top of preheating oven creates a warm environment for rising.
- Bake for about 30 minutes, or until bread is set and sounds a bit hollow when tapped on, and upon close examination, you will be able to discern browned and golden bread from the inherently dark color of the dough. Removed baked loaves from baking sheet immediately and place on a wire rack to cool. Slice bread only after it's fulled cooled. Store bread in an airtight container or ziptop food storage bag at room temperature for up to 5 days. Bread freezes well and can be baked, cooled completely, and frozen for up to 3 months. Thaw, and eat it toasted or warm it for a couple minutes in a hot oven.
- For the Honey Butter - Combine butter and honey in a small mixing bowl and whip vigorously with a spoon until fluffy, altering the ratio of honey to taste. Serve with bread.
Notes
Nutrition
Nutrition information is automatically calculated, so should only be used as an approximation.
©averiecooks.com. Content and photographs are copyright protected. Sharing of this recipe is both encouraged and appreciated. Copying and/or pasting full recipes to any social media is strictly prohibited.
Related Recipes:
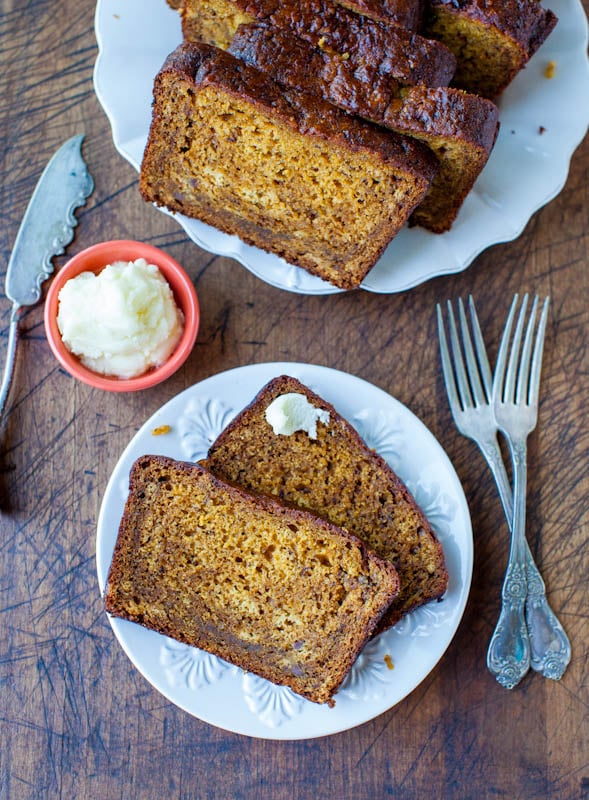
Pumpkin Banana Bread with Browned Butter Cream Cheese Frosting – A touch of molasses in this bread lends a richness of flavor and pairs perfectly with the pumpkin
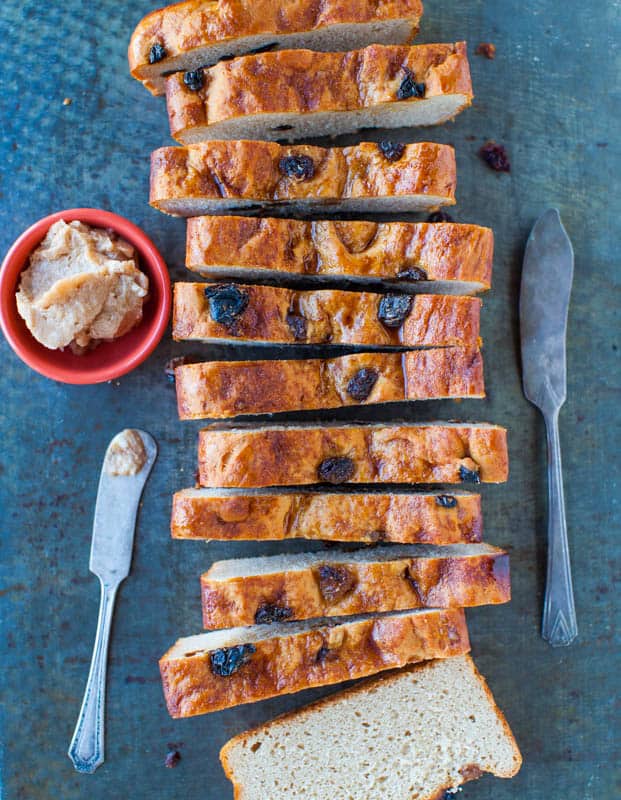
Cinnamon Raisin English Muffin Bread with Cinnamon-Sugar Butter – A no-knead yeast bread that’s as easy as they come. If you’ve never made bread before, this is the ideal starter loaf. You won’t have need or desire to purchase English muffins ever again when you can make your own at home so easily
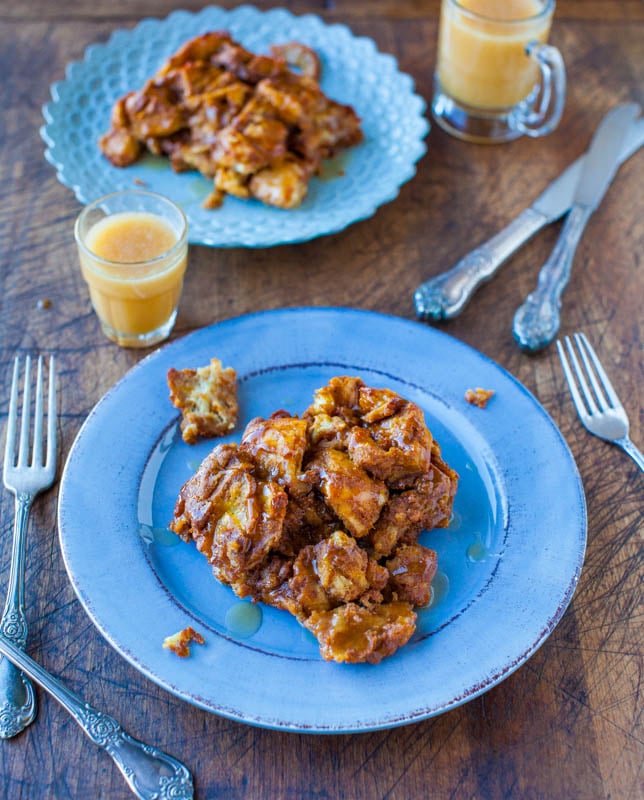
Pumpkin Cinnamon Overnight Pull-Apart French Toast with Vanilla Maple Butter – If you have an abundance of bread on hand, make this monkey bread-meets-French toast-meets overnight casserole-style bread bake. Molasses, cinnamon, sugar, fall warming spices, maple syrup, and pumpkin puree create an overnight marinade for bread cubes and in the morning, just bake it off
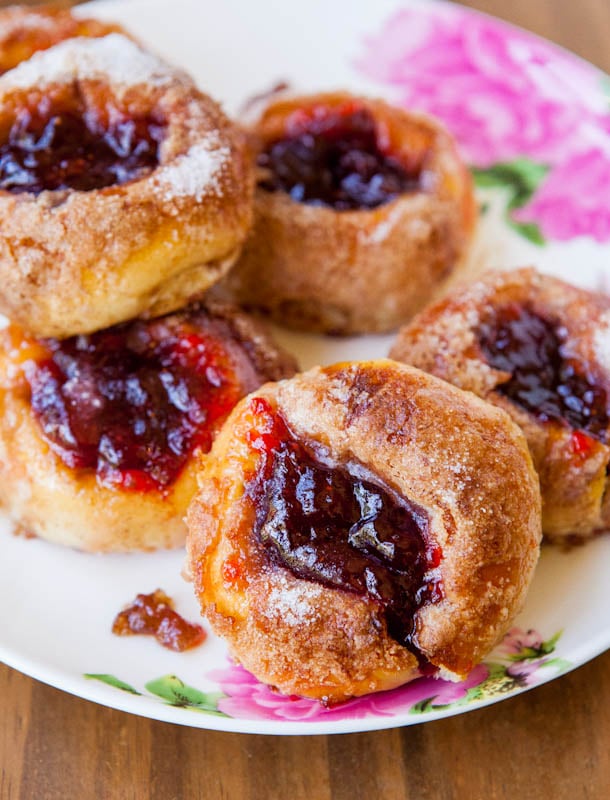
Strawberry Jelly Rolls – These start out as white dinner rolls that I doctored up and baked, and in less than 15 minutes I was eating a warm jelly roll
Cinnamon Bun Pie – Best cinnamon rolls I’ve ever made (to date) and they’re ready from start to finish in less than 30 minutes. I’m working on yeast-based cinnamon rolls next
Have you ever had Outback’s wheat bread?
I believe they call it Bushman’s honey wheat, but it was hard to find a name for it, other than simply titled ‘Outback bread’. It’s a little ironic that my copycat bread, which hails from a steakhouse chain, is vegan and uses no honey.
In my searches, I saw many recipes and versions for a copycat version of this bread, some with poor reviews and others with five different kinds of flour for one loaf, as well as specialty ingredients like caramel flavoring. My goal was to keep it as simple as possible, while preserving the taste, and I’m really happy with the results.
Have you ever made bread with yeast?
If you have any tips, tricks, thoughts, favorite recipes, or anything at all to add about bread-making, please feel free to chime in and link up your favorite recipes.
Thanks for the entries in the South Beach Bars Sampler Pack Giveaway and in the Cuisinart for Keurig Single Cup Coffee Maker Giveaway
Great