
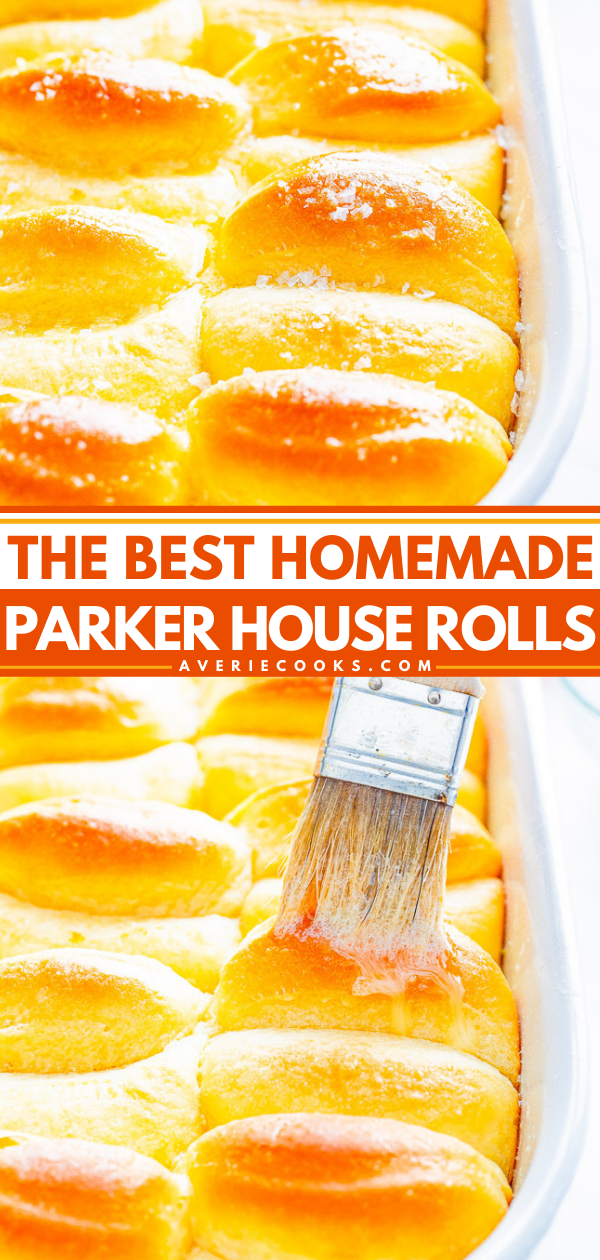
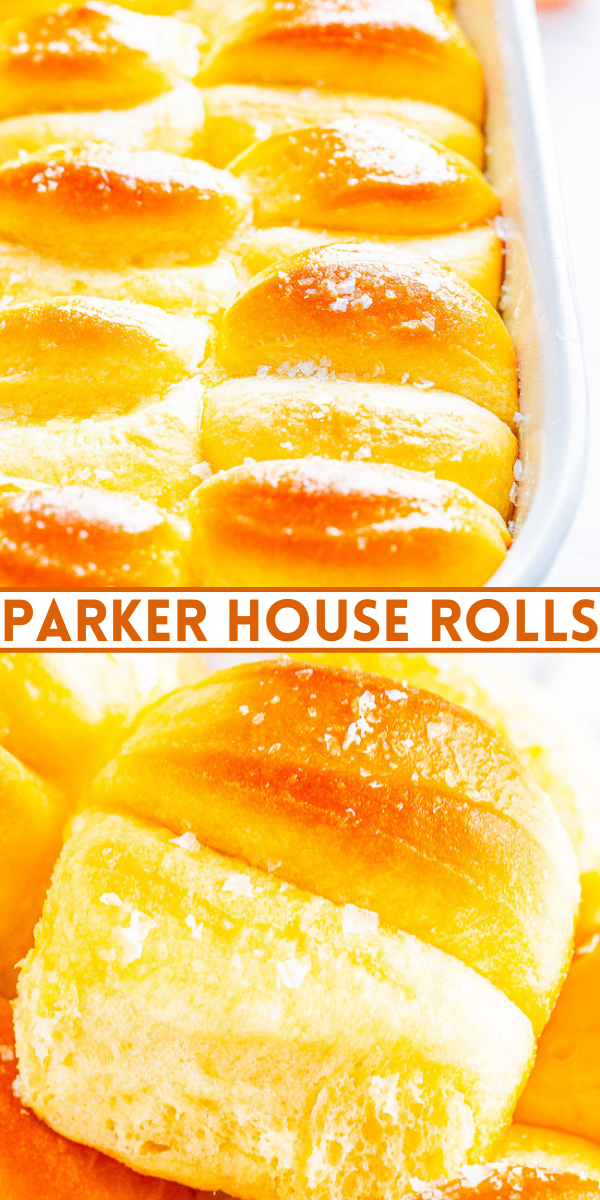
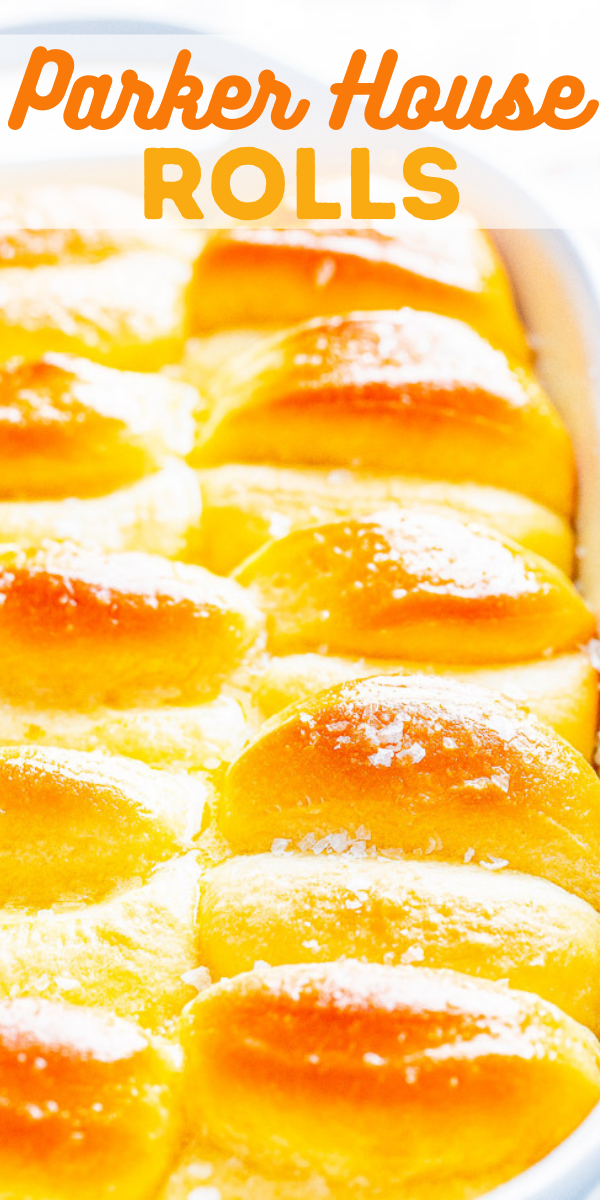
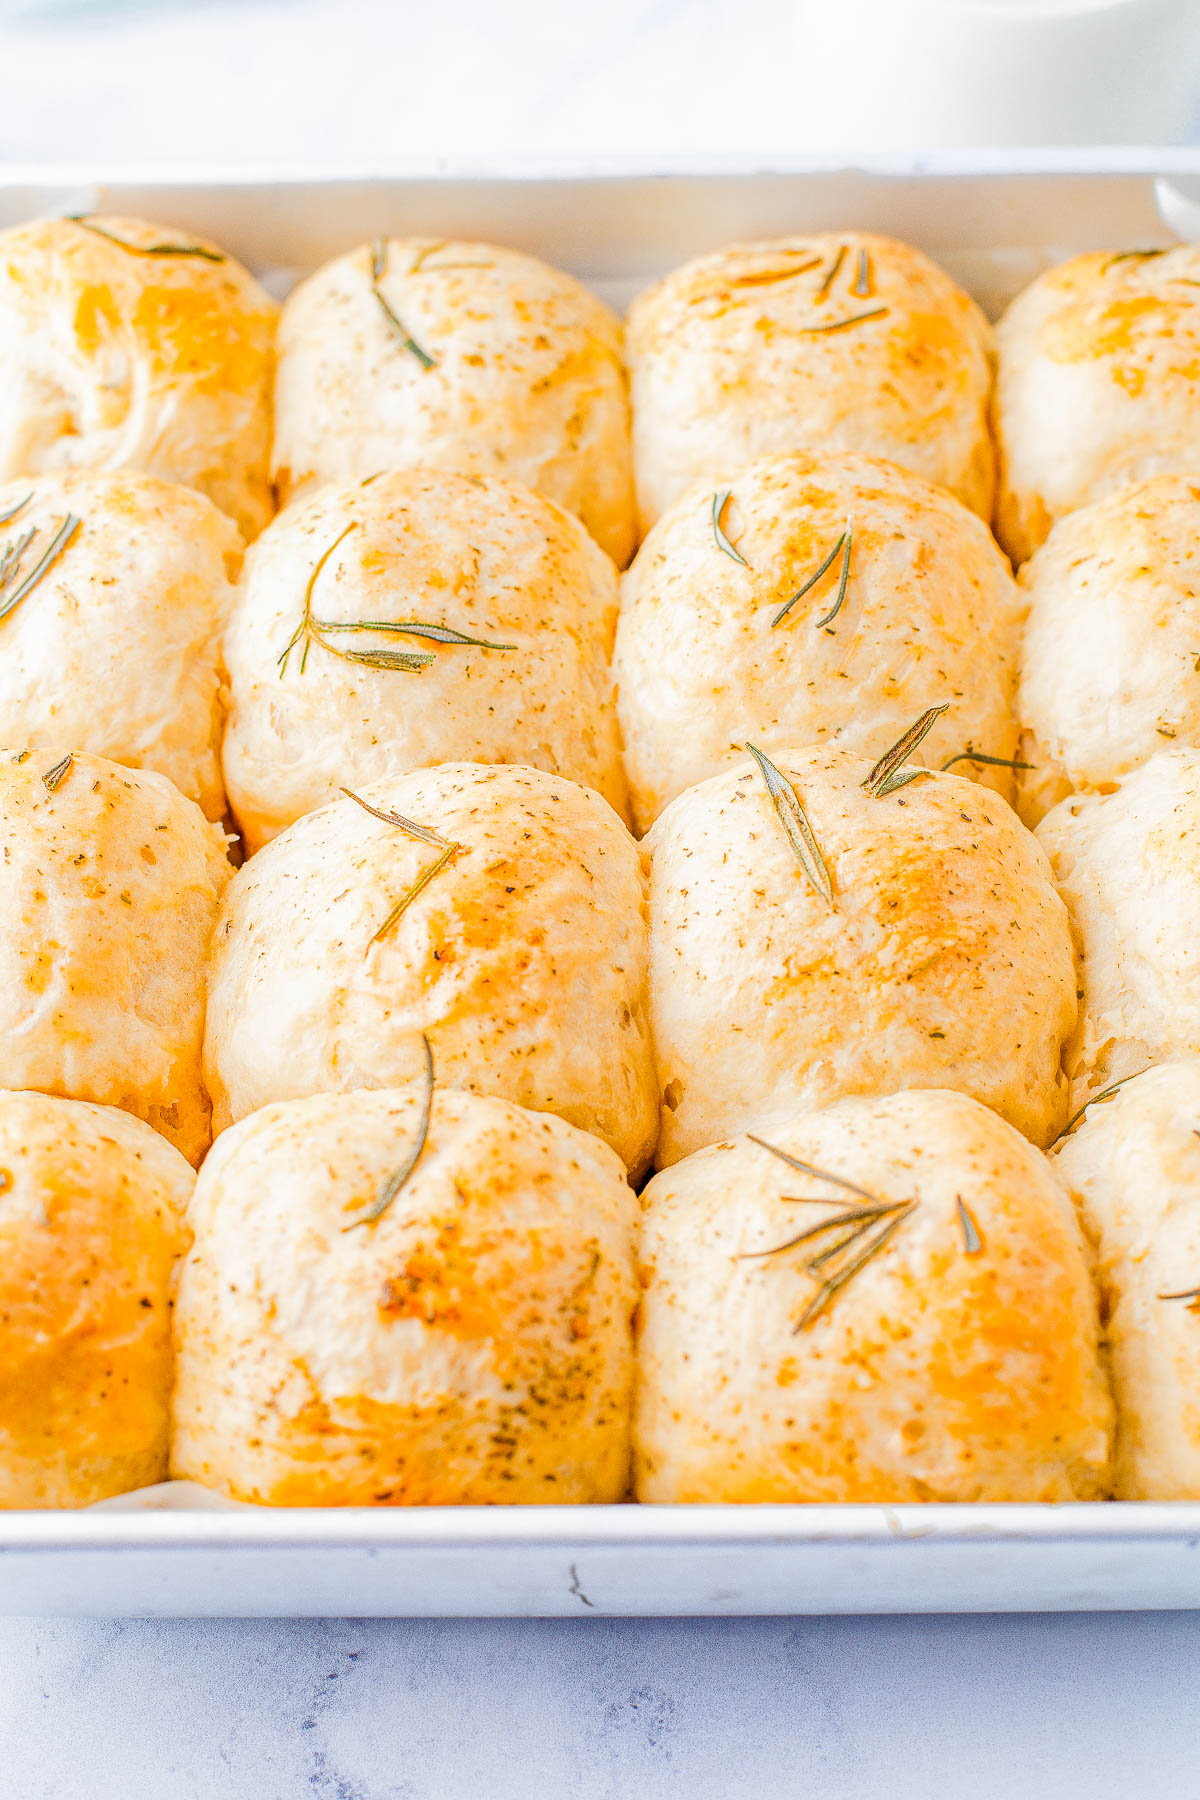
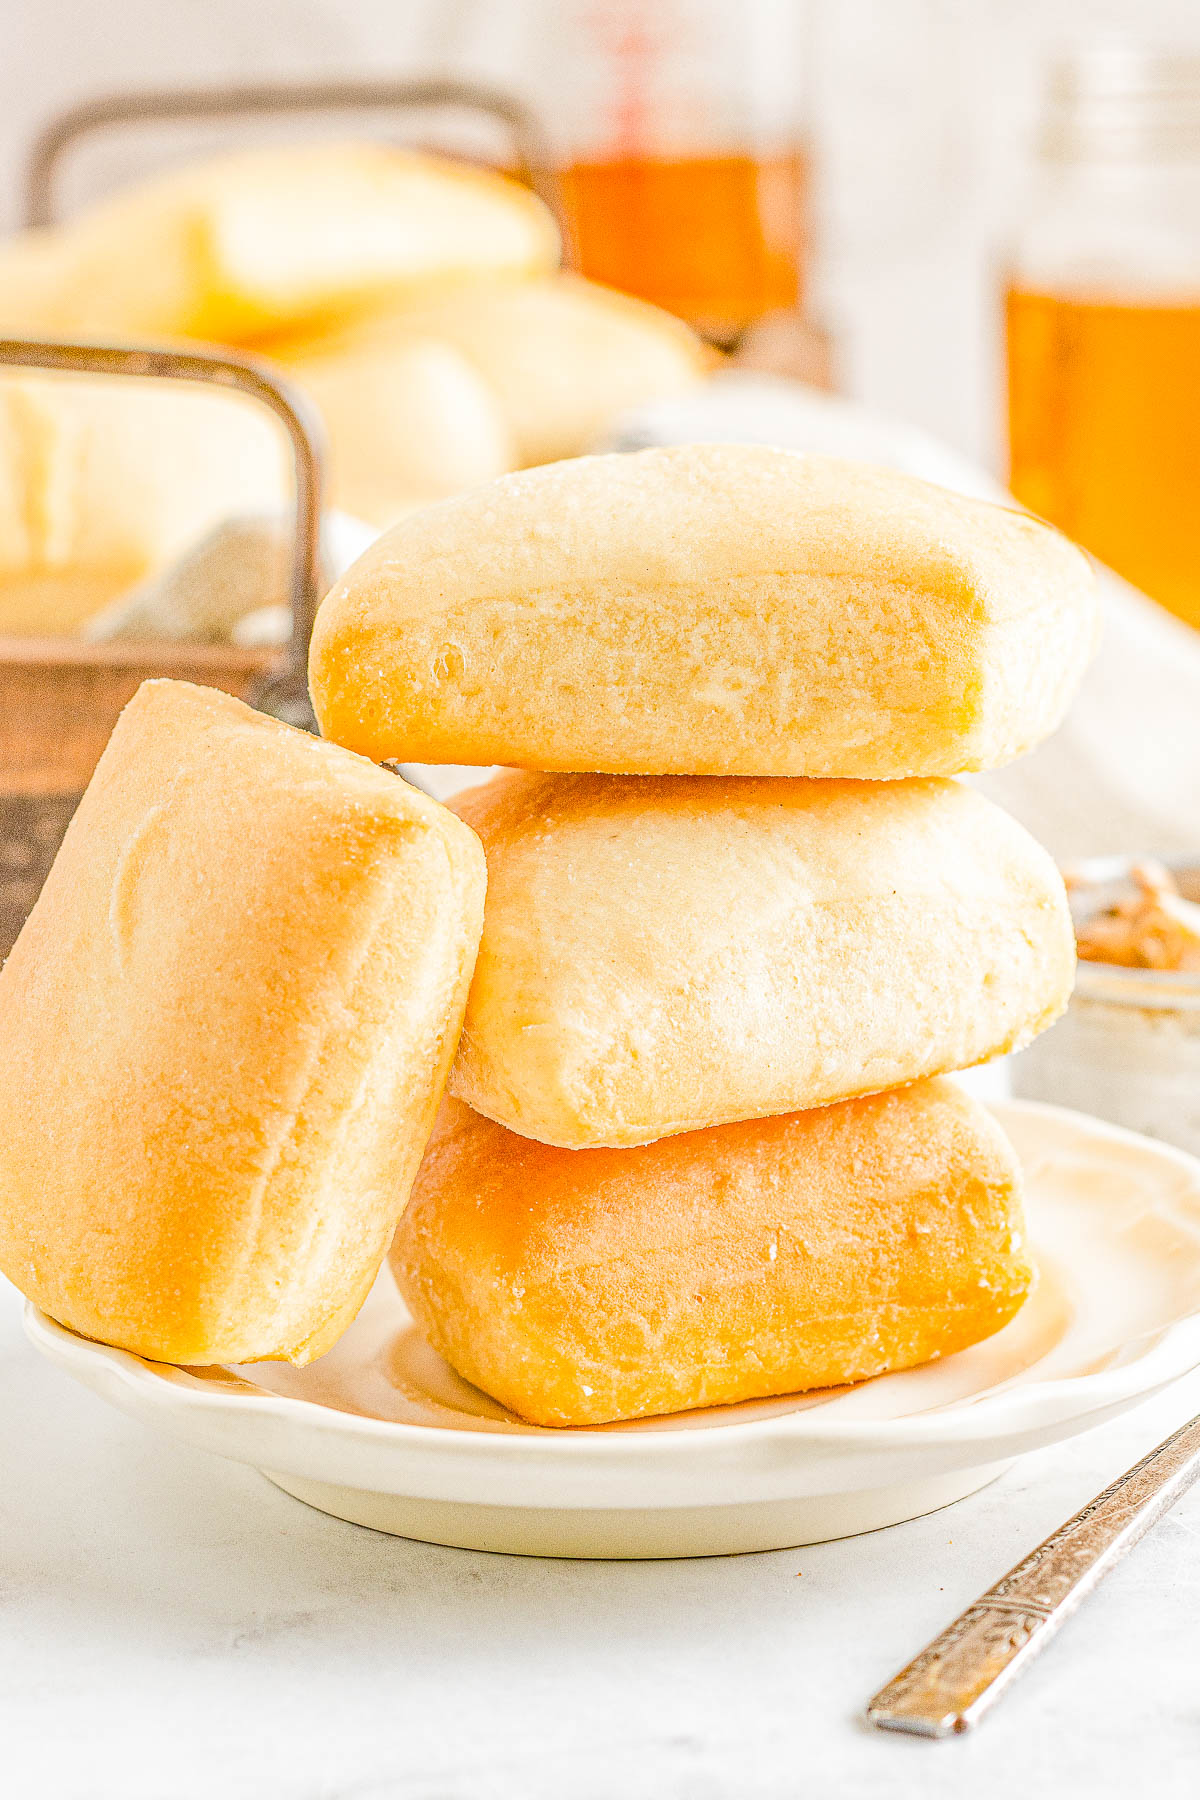
Parker House Rolls — 🍞 The BEST homemade dinner rolls because they’re so light, airy, fluffy and practically melt in your mouth! They have a wonderful buttery flavor that will make them an instant family favorite at your next holiday gathering or make them for a special meal!
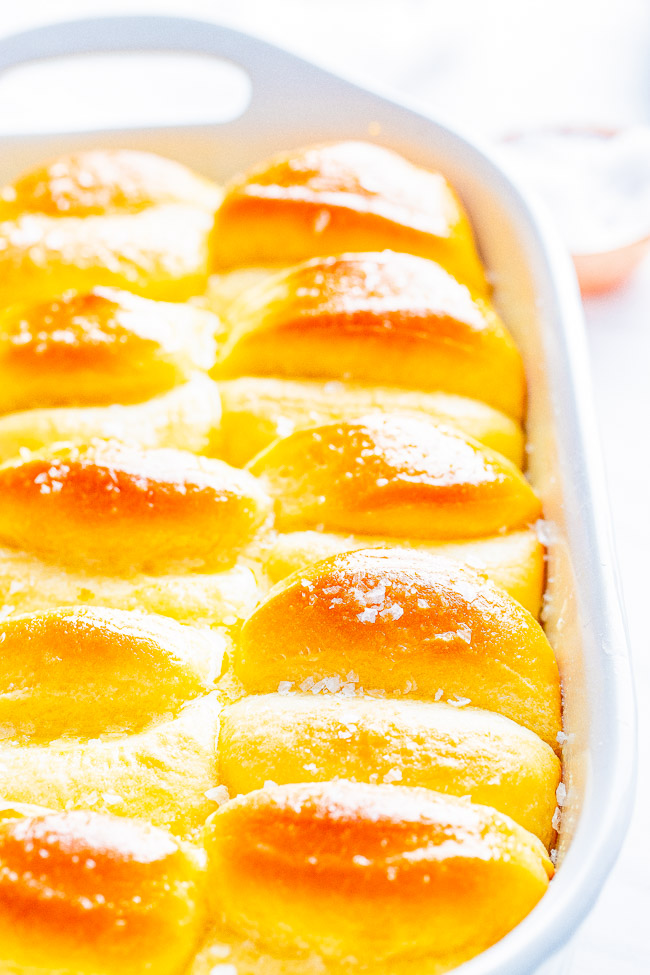
Table of Contents
These homemade Parker house rolls are the end all, be all of dinner rolls! The texture of the rolls is extremely light and airy. These big and fluffy rolls practically melt in your mouth.
I based my recipe on a Bon Appetit recipe but rather than using shortening, I used butter and it was a great choice because you can really taste the butter not only on top but throughout the roll itself.
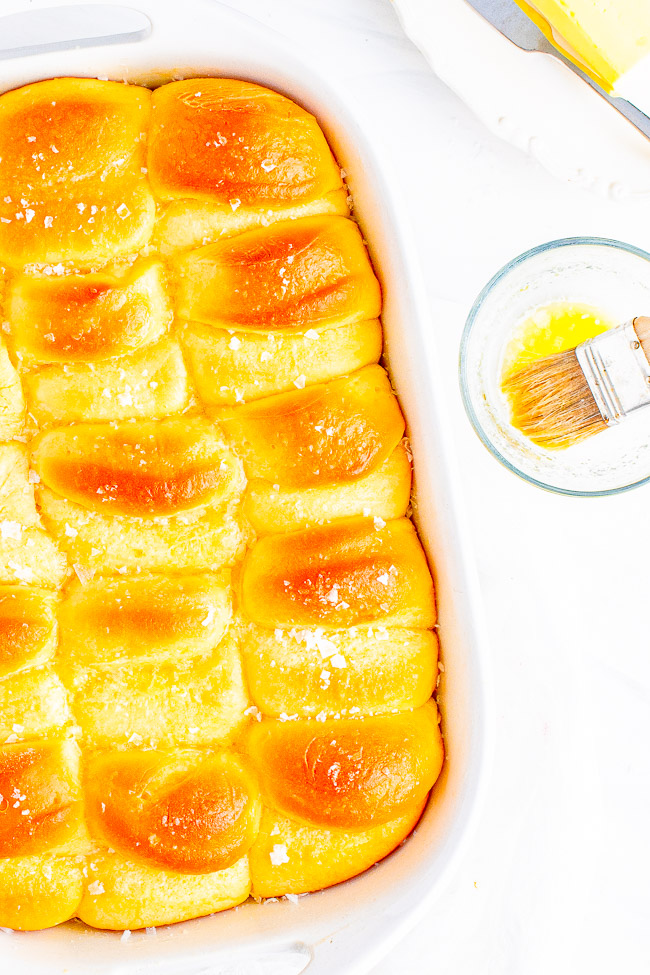
I garnished the rolls with a sprinkle of Maldon sea salt I highly recommend topping them with some kind of coarse salt like kosher.
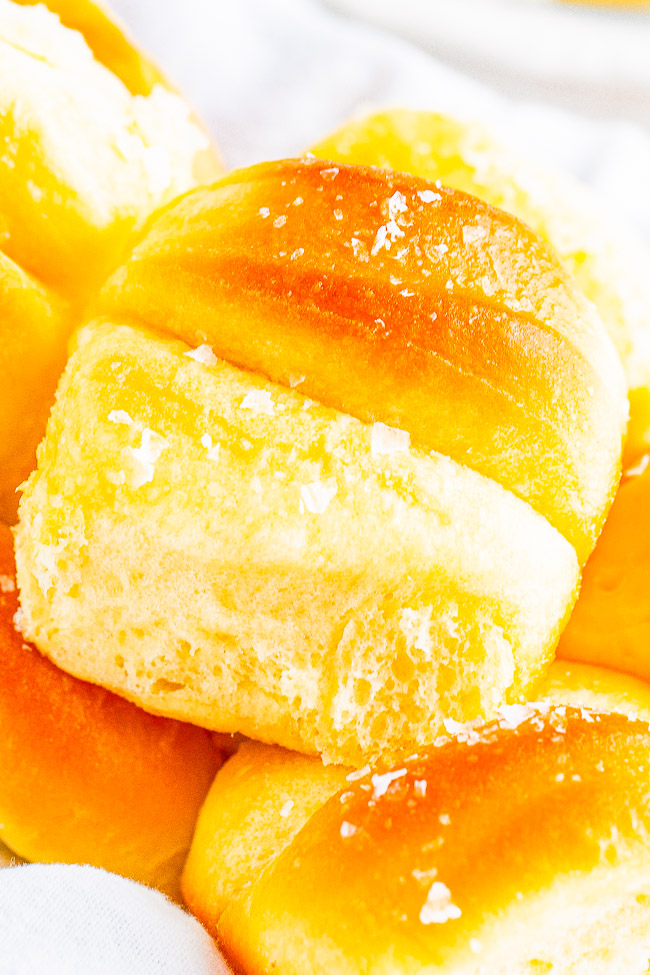
That salty crunch just adds a little extra pop to the rolls that we loved.
Parker house rolls are the perfect addition to your table, whether it’s a holiday like Easter, Thanksgiving, Christmas, or New Year’s.
Or simply make them for a time when you’re craving homemade dinner rolls.
You will be surprised just how easy these rolls are to make! It’s a simple yeast dough with two rises, similar to what you’d find in most dinner rolls or yeast doughs.
Recipe Ingredients
To make this recipe for Parker house rolls, you will need to have the following on hand:
- Active dry yeast
- Water
- Whole milk
- Unsalted butter, divided
- Granulated sugar
- Kosher salt
- Large egg, room temp, lightly beaten
- All-purpose flour
- Vegetable or canola oil
- Maldon sea salt, for garnishing
Note: Scroll down to the recipe card section of the post for the ingredients with amounts included and for more complete directions.
How to Make Parker House Rolls
- Add the yeast to a bowl of warm water. Wait 5 to 10 minutes for foam to appear on top.
- In another bowl, combine the warm milk, butter, sugar, and Kosher salt.
- Pour the yeast mixture into the milk mixture, add the egg, and whisk before adding the flour.
- Turn the dough out onto a floured countertop and knead it until you have a smooth ball.
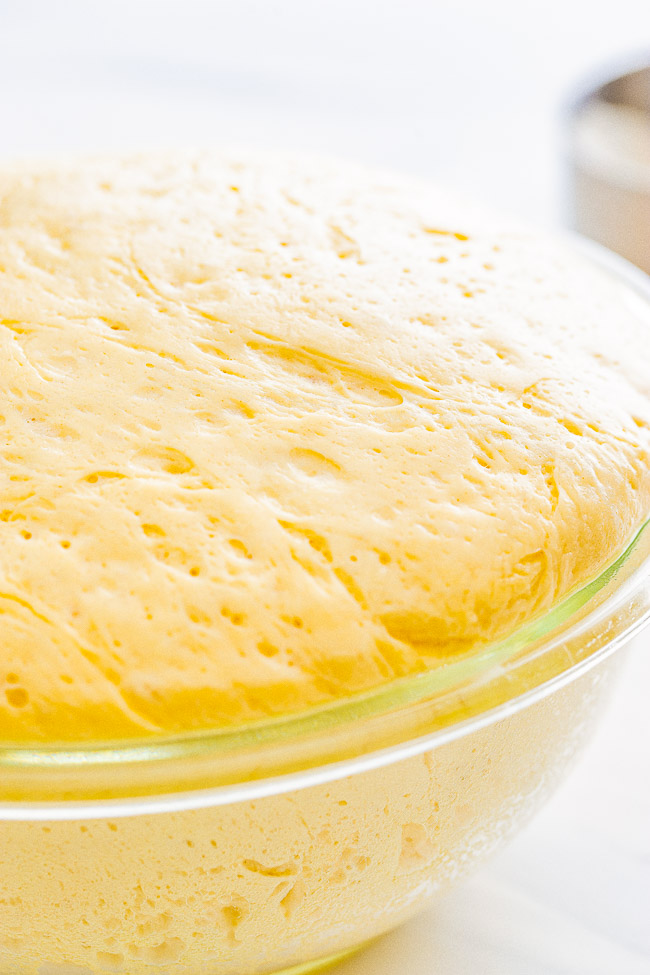
- Transfer your dough ball into an oiled bowl, cover with plastic wrap, and wait for it to rise until doubled in size.
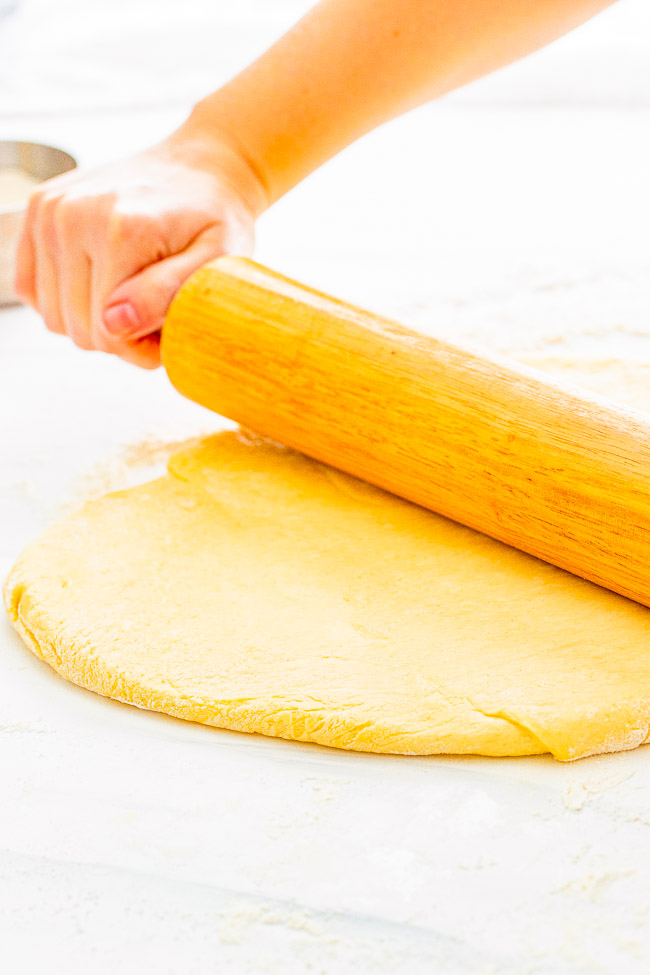
- Once risen, punch down the dough and then roll it out to about 1/2-inch thick.
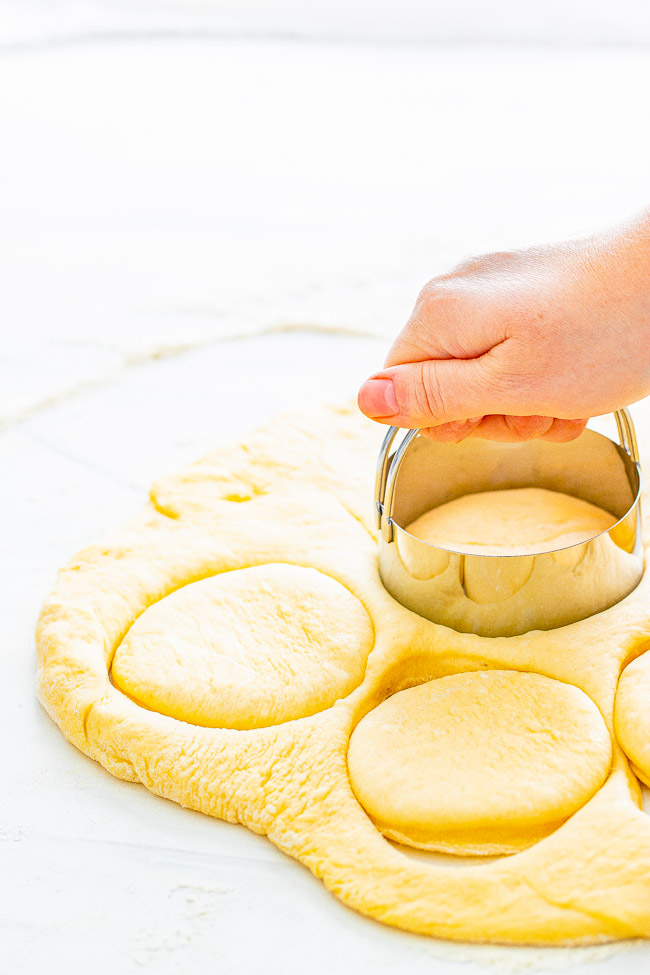
- Using a biscuit cutter, cut out 15 circles of dough.
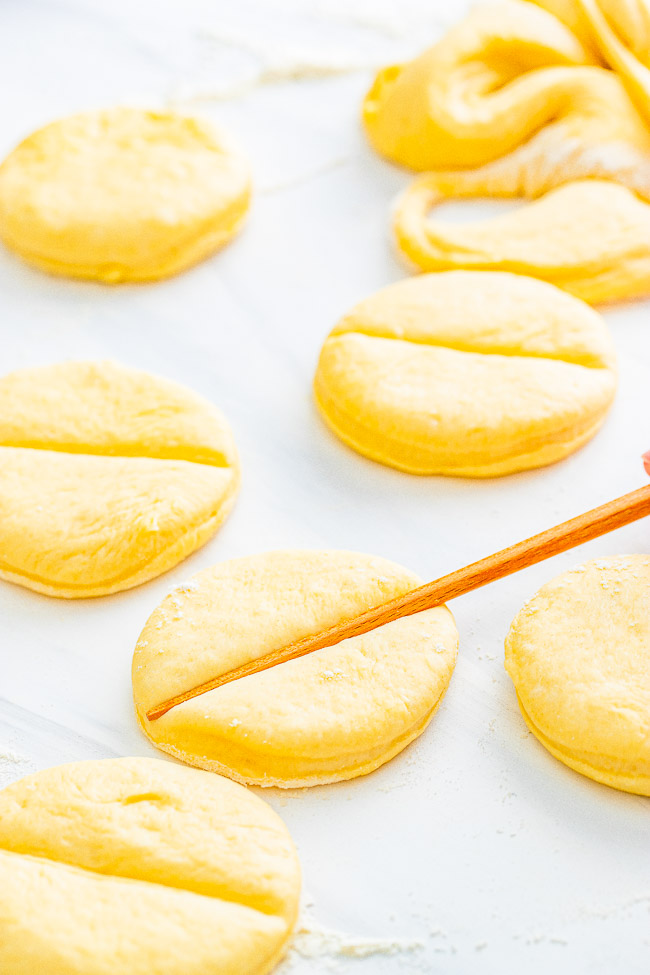
- Make a small indent in the top of each circle of dough using a skewer or chopstick.
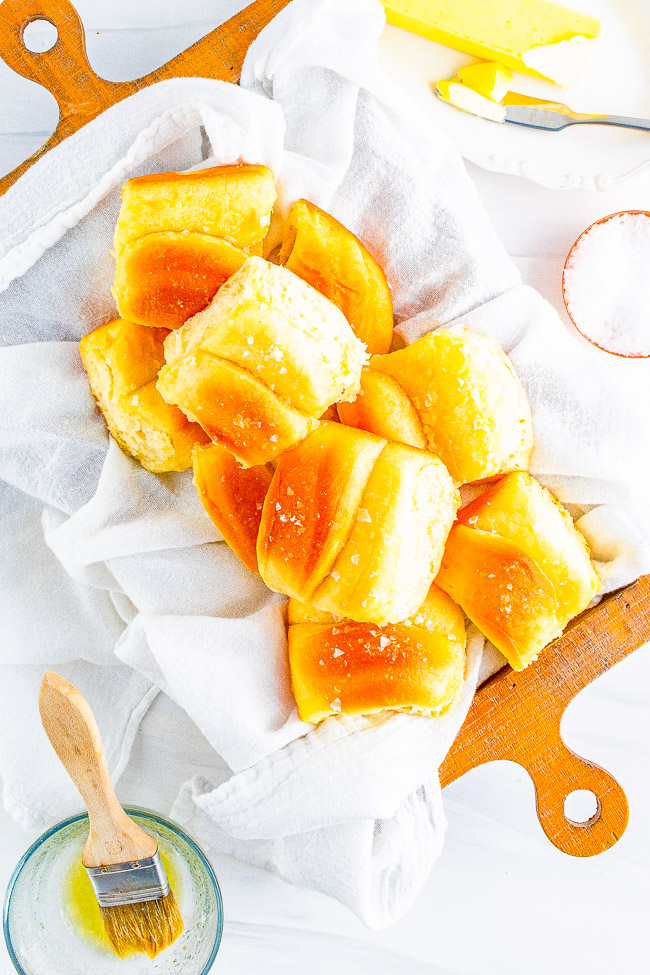
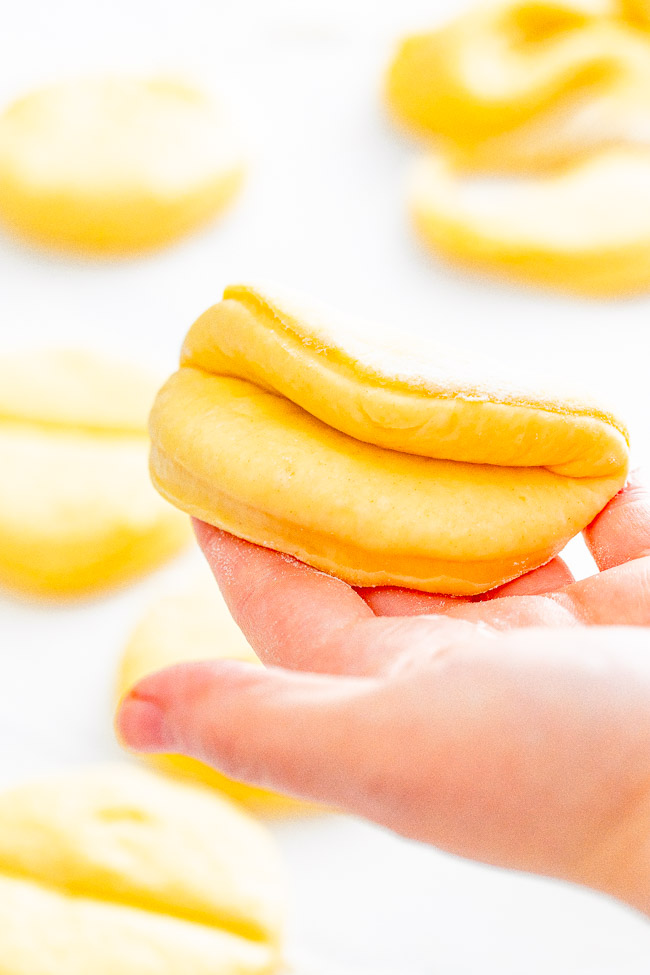
- Brush each dough circle with melted butter, fold the dough over using the indentation you made as a guide, place the dough into the prepared pan.
- Cover the pan, and allow the dough to rise again until doubled.
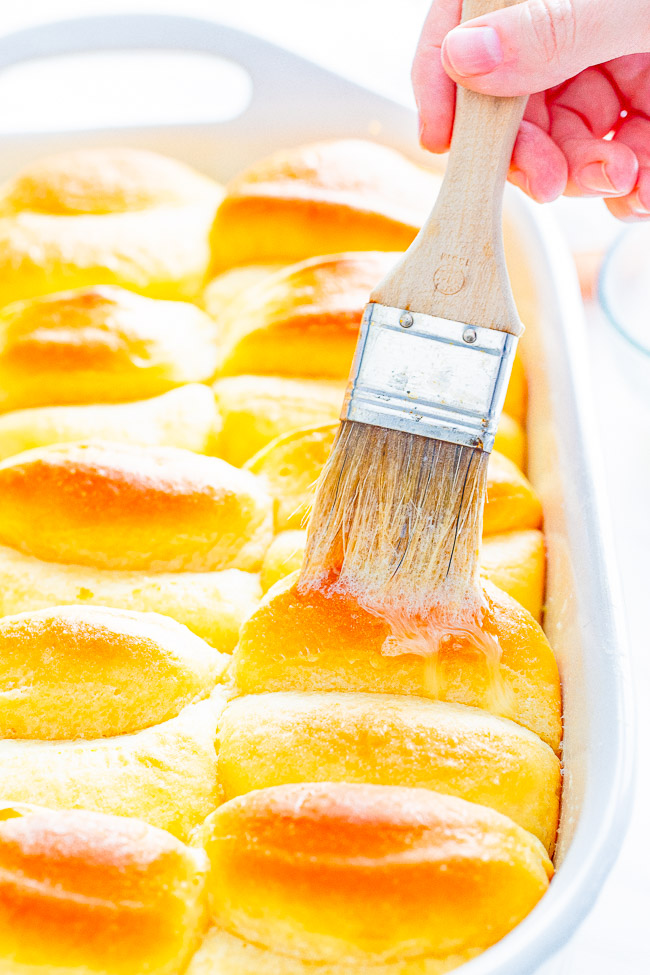
- Bake the rolls, immediately brush with additional melted butter, and sprinkle with Maldon before serving your beauties.
Make-Ahead Instructions
I have never tried prepping this dough in advance. The only possible thing that may work — and I don’t know since I haven’t personally tried — is to make the dough and get it kneaded and into the greased bowl, cover with plastic wrap, and place it in the fridge.
This would be through Step 13 as written in the recipe card below.
Overnight is the absolute longest I would stretch it. As in, make the dough before bed, and plan to bake these off for a midday meal, at the latest, the next day.
Recipe Tips
The dough when putting them together is EXTREMELY sticky. At first, I thought it was a mistake but after kneading the dough it came together so beautifully and was awesome to work with. You know a great dough when you see one and this one is something special.
I suggest really resisting the temptation to add more flour because you will lose the wonderful light and airy texture the Parker house rolls have.
However, that being said, all climates, brands of flour, yeast, and so forth vary and if you’re having an absolutely impossible time with sticky dough that just will not come together, go ahead and add another 1/4-cup or so of flour and take it from there.
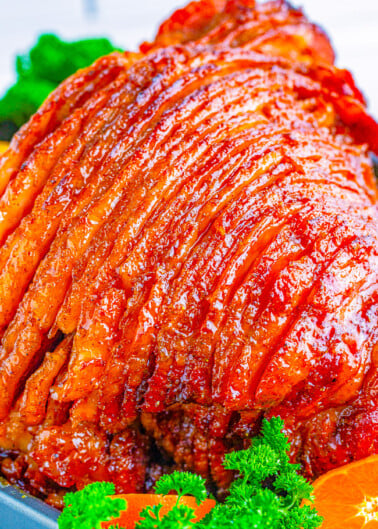
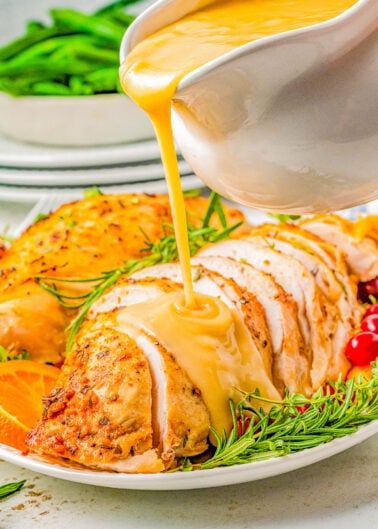
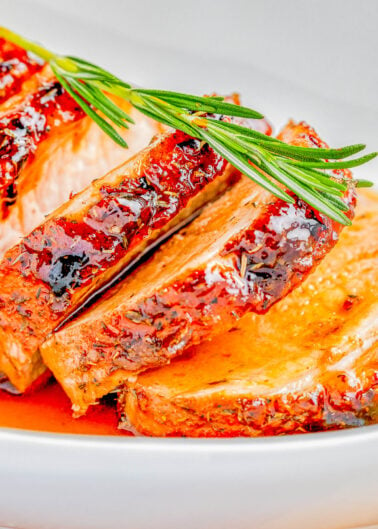
What to Serve with Parker Dinner Rolls
Parker House Rolls
Ingredients
- 2¼ teaspoons active dry yeast, or one standard packet
- ¼ cup warm water, water temp 105-110°F
- 1 cup warm whole milk, milk temp 120°F
- ½ cup unsalted butter, divided
- 3 tablespoons granulated sugar
- ½ teaspoon kosher salt
- 1 large egg, room temp, lightly beaten
- 3½ cups all-purpose flour, plus more for dusting
- 2 teaspoons vegetable or canola oil
- Maldon sea salt, for garnishing
Instructions
- Place the yeast into a small bowl. Warm the water in a small saucepot or in the microwave in a microwave-safe bowl until it reaches 105-110°F. Take the temperature with a food thermometer. Tip – Don't guess because too cool and the yeast won't bloom and too hot and you'll kill it.
- Pour the water on top of the yeast and stir it a couple of times with a fork to combine. Let sit on the countertop for about 5-10 minutes until the yeast blooms, meaning a foamy film will appear on the top of the water.
- While waiting, in a separate small saucepot or microwave-safe bowl, and heat it to 120°F.
- While the milk is warming place ¼ cup of the butter (dice it into 6-8 pieces to allow it to melt easier) into a large heatproof bowl.
- Add the sugar and kosher salt on top of the butter.
- Pour the warm milk into the bowl with the butter, sugar, and salt. Whisk to combine. Note that the butter will
mostly melt but if there are a few small pieces floating around that is okay. - Pour the yeast mixture into the milk and butter mixture. Whisk to combine.
- Add the beaten egg and whisk well to combine.
- Add the flour to the bowl and using a large spoon, stir vigorously until a very sticky dough forms and there are no dry or wet patches left.
- On a clean work surface (likely this will be your kitchen countertop), dust it generously with flour.
- Turn the dough out onto the work surface and dust the top with flour.
- Knead the dough by hand for 5-7 minutes or until the dough turns into a smooth dough ball. You may need to dust the top and bottom of your work surface a few more times with flour* (See Notes Below).
- Drizzle the oil into a large bowl and make sure the oil coats the sides. Place the dough ball into the bowl and turn it around in the oil to make sure it is lightly coated. Place plastic wrap on top of the bowl.
- Allow the dough to rise until it has doubled its size about 1 hour 15 minutes to 1 hour 45 minutes (generally the warmer your kitchen is, the less time it takes to double). Tip – I suggest not cleaning up your work surface because you will need to use it again to assemble the rolls.
- Melt the remaining ¼ cup of the butter in a small bowl, and using a pastry brush, brush a 9×13 baking dish or pan with just enough of the butter to coat the dish; set aside.
- Once the dough has doubled, take the plastic wrap off of the bowl. Punch down the dough so it deflatess.
- Turn it out onto your floured work surface. Dust the top of the dough with flour. Dust a rolling pin with flour and roll it out to about ½-inch thick, or slightly less.
- Taking a 2 3/4-inch round biscuit cutter, cut out circles from the dough. You may need to press the remaining dough scraps together and roll it out again until you get 15 circles.
- Next, make an indentation down the center of the dough circle. You can use a skewer for this or you can use a chopstick as I did. I simply laid it flat in the center and pressed lightly. You don’t need to press down very firmly or go very deep.
- Taking the rolls one by one, brush the top of each with a little bit of the melted butter.
- Fold the roll over itself using the indention you made as a guide. Place the folded roll into the greased baking dish.
- Continue with the remaining rolls, noting you will have 5 rows of 3 rolls in the baking dish when you are done. Make sure the rows are not touching; rather they should be evenly placed and spaced throughout the baking dish.
- Cover the baking dish again with plastic wrap and let rise until doubled again, about 60 to 90 minutes for this second rise.
- While the rolls are nearing the end of the second rise, preheat the oven to 350°F.
- Before baking, take the plastic wrap off the baking dish and then bake for 20 to 25 minutes, or until the tops are golden brown. Keep a close eye on them; these are best not overbaked in the least!
- After baking, immediately baste the rolls with the remaining melted butter and sprinkle with Maldon flake sea salt. Serve immediately.
Notes
Nutrition
Nutrition information is automatically calculated, so should only be used as an approximation.
©averiecooks.com. Content and photographs are copyright protected. Sharing of this recipe is both encouraged and appreciated. Copying and/or pasting full recipes to any social media is strictly prohibited.
More Easy Yeast Roll Recipes:
ALL OF MY YEAST BREAD RECIPES!
Herby Garlic Rolls – Made with plenty of garlic, fresh rosemary and herbs, these soft dinner rolls are a must-have for family dinners or celebration meals like Thanksgiving and Christmas.
Texas Roadhouse Rolls — Soft, buttery, fluffy, and light this easy COPYCAT recipe for Texas Roadhouse rolls with cinnamon honey butter is INCREDIBLE!
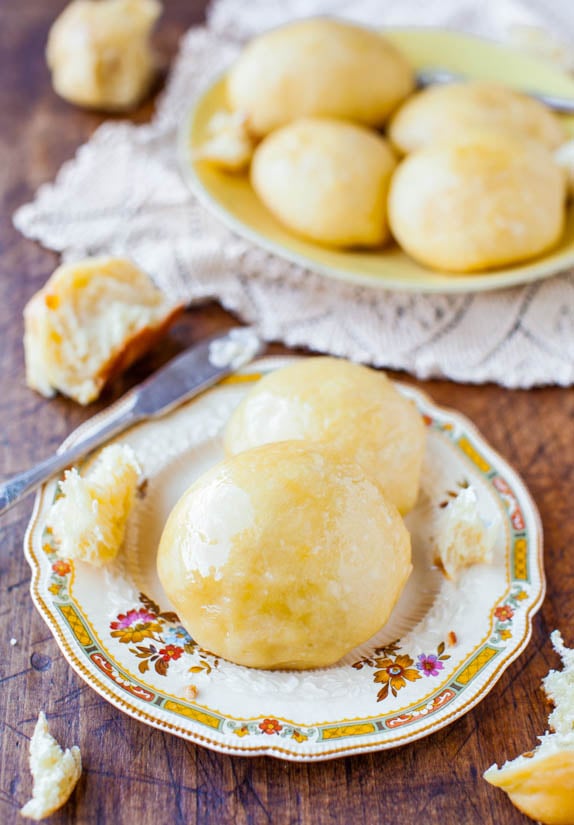
No-Knead Rolls with Honey Butter — These soft, light, fluffy yeast dinner rolls are so easy to make! They’re practically work-free because there’s no-kneading involved.
Soft & Fluffy Sweet Dinner Rolls — Lightly sweetened from the honey in the dough and brushed with honey-butter prior to baking!! These dinner rolls are made from scratch and are baked to golden brown perfection!

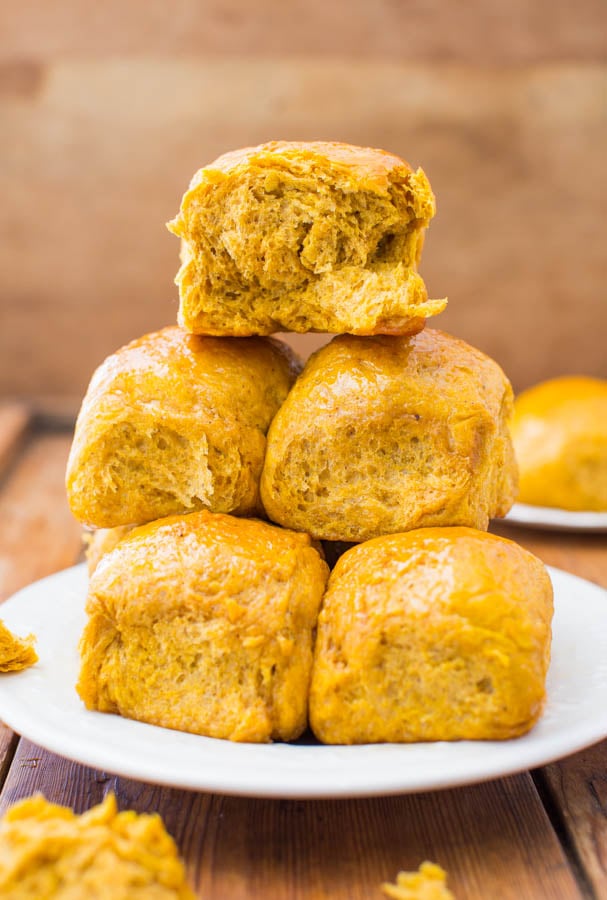
Pumpkin Dinner Rolls — These rolls are soft, slightly chewy, and the pumpkin puree keeps them moist and adds just enough tooth-sinking density.
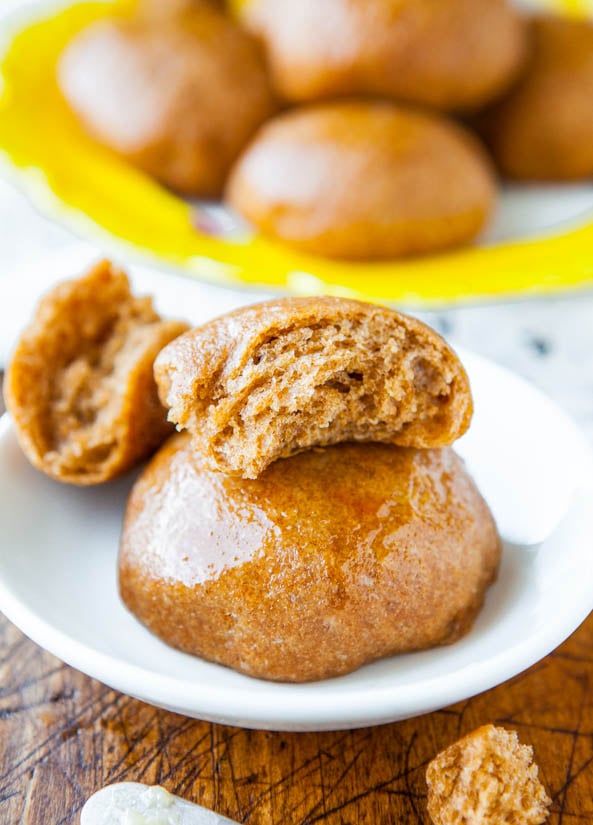
No-Knead Whole Wheat Dinner Rolls — These 100% whole wheat dinner rolls are soft, light, fluffy, and so easy. They’re practically work-free because there’s no kneading.
Originally published March 31, 2021 and republished March 29, 2024 with updated text.

You say to maked 15 circles but then say there should be 4 rows of 3. Am I missing something or should there be 5 rows of three? Thanks
It was a typo that should have read 5 rows of 3, not 4 rows of 3. In 4+ years on my site, and many who have made these, you’re the first to notice this. Fixed and thank you! Enjoy the rolls, they’re amazing.
Thank you. B I am making them tomorrow. I love cooking but hasn’t done any baking. Looking forward to trying these
I am a seasoned cook, but have never made homemade rolls before. This recipe was so easy and INCREDIBLY DELICIOUS. I will be doing this again and again. Adding to my favorites on my phone. Thank you for making my first attempt a huge success.
Sister Schubert’s used to be my go to, but never again. Averie, I love your recipes. Thank you for sharing!!!
Thanks for the 5 star review, Jan, and I am so glad that these rolls were easy AND incredibly delicious and that they’ll be added to your favorites! I love hearing that your first attempt at homemade rolls was a huge success, too!
great
Hi Averie, I’m wondering if I could use other milk like regular or nut instead of whole milk. Please let me know. Thanks!
I would not use nut milk, at all.
Regular as in skim? No.
2% maybe.
But I don’t know if the rolls will still have the same wonderful texture or not.
I personally would make as written with whole and don’t change a thing because these are just so perfectly light and airy with the best texture.
great
Hi Averie,
I have made so many of your recipes. Especially the dessert ones!
I want to make these rolls next but I have 2 questions.
After you told the Parker Roll do you pinch it shut?
When you place it in the pan, do you put it in with the fold facing up?
I’m looking forward to trying these!
You don’t need to actually “pinch” it shut, just folding the dough over is all that’s necessary, it will stick to itself well enough.
Fold up, yes.
great
Can I use my kitchen aid to knead the dough
I have only kneaded the dough by hand, it’s a very sticky dough so I don’t know if a Kitchen Aid would be and aide here or not.