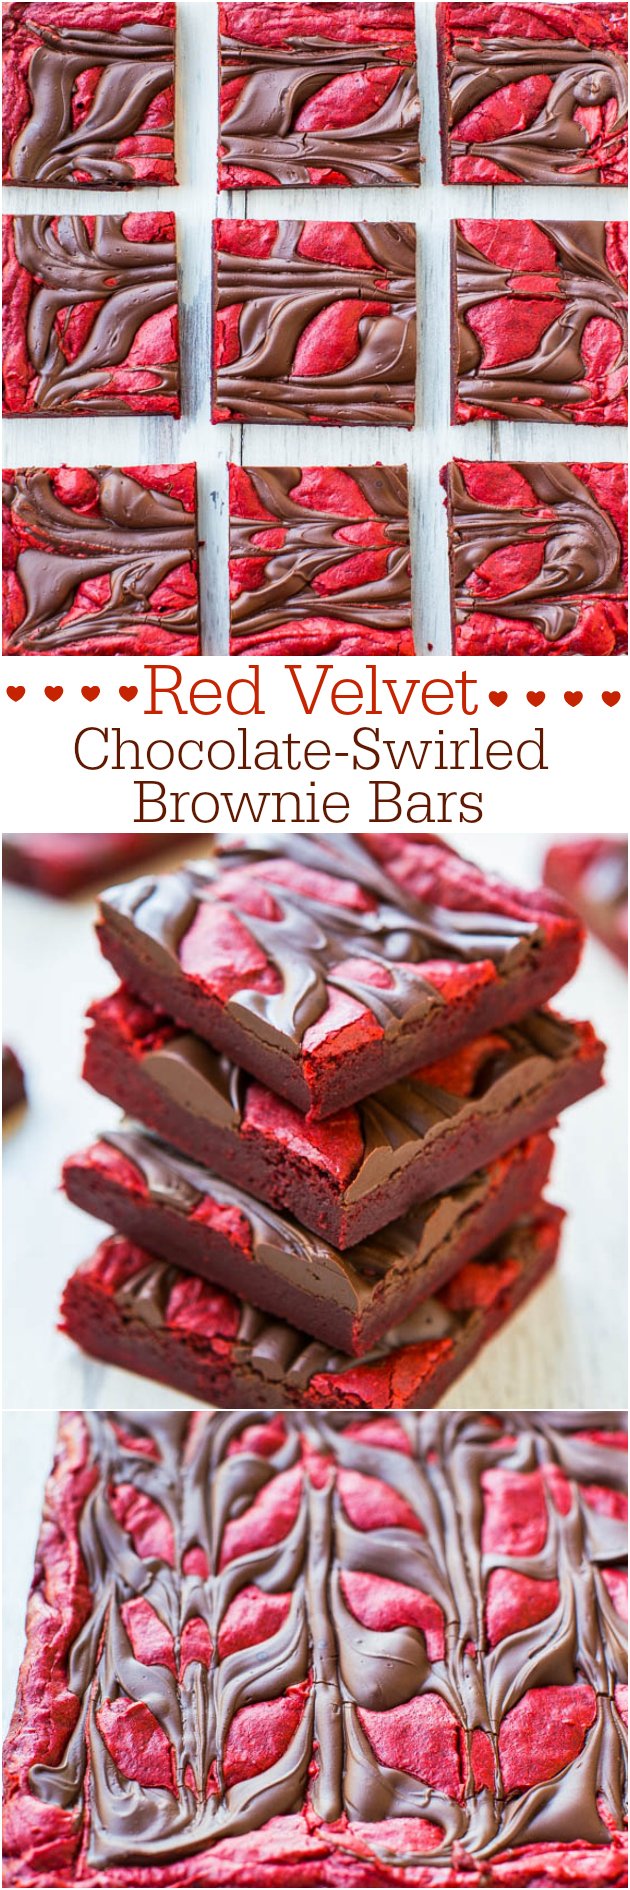
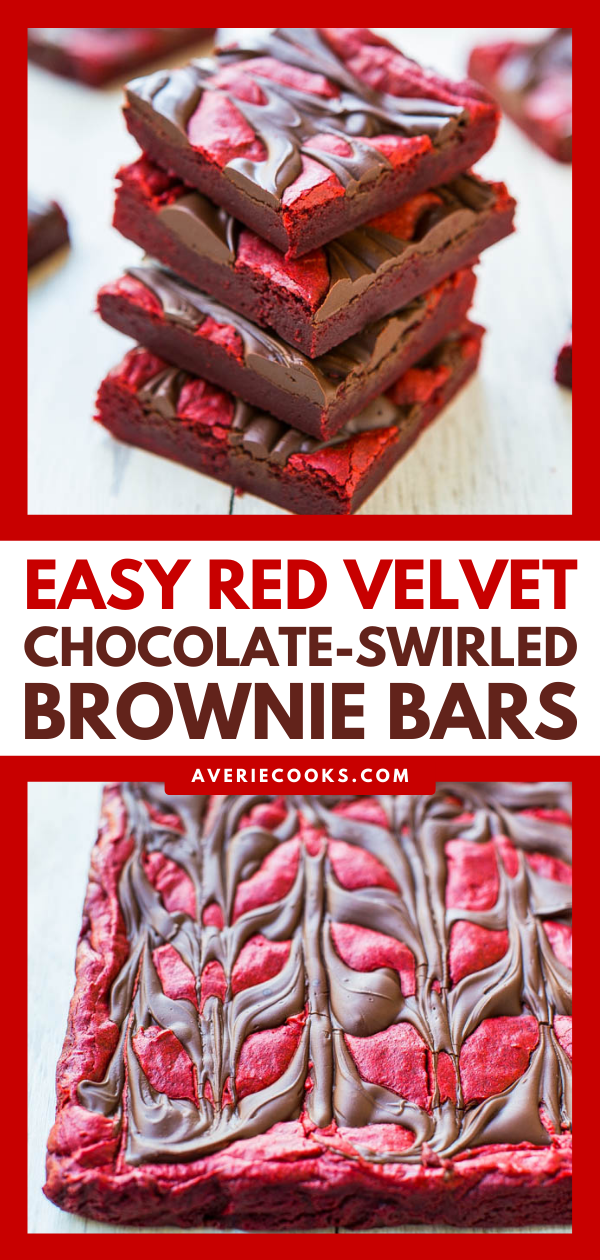
Chocolate-Swirled Red Velvet Brownies — These easy red velvet brownies are topped with an abundance of chocolate and are velvety soft and smooth! They don’t call it red velvet for nothing!

Chocolate-Swirled Red Velvet Brownies
Red velvet fever has begun in advance of Valentine’s Day. It’s everywhere. Here’s my contribution.
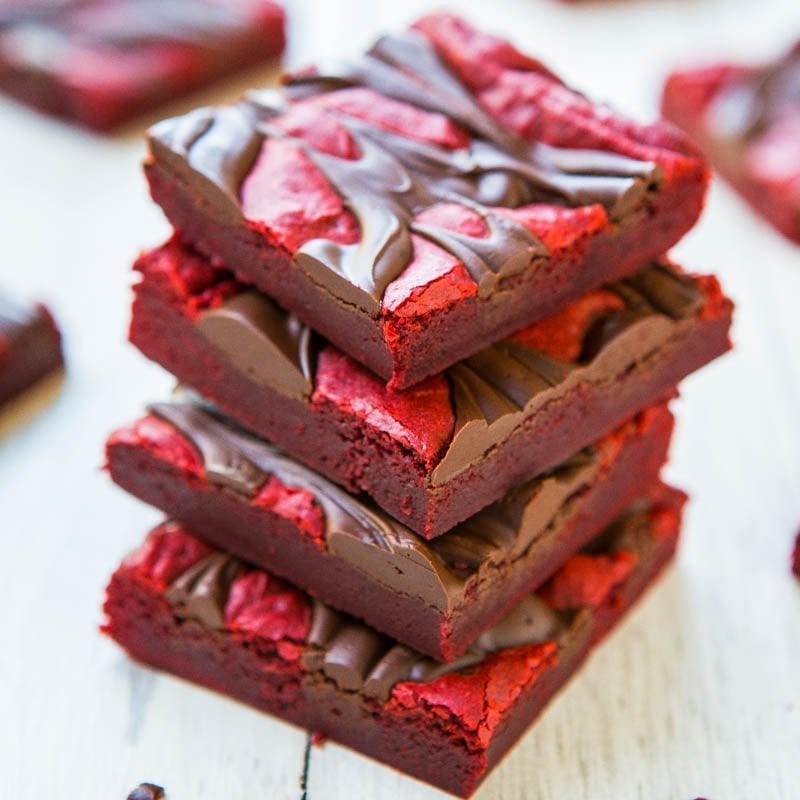
This recipe tasted like a cross between red velvet brownies and red velvet bars. Not over-the-top chocolaty to give them true brownie status, but much fudgier, denser, and richer than your typical bar.
Classic red velvet is known to have chocolate undertones, but isn’t overly chocolaty, and these easy cocoa powder brownies hit that mark.
And they’re as far away from red velvet cake that you can get. Nothing light, fluffy, or cakey about them. They’re smooth, rich, dense, and supremely moist.

They’re an easy, no-mixer, scratch recipe that comes together in minutes. Just as easy as opening a box of red velvet cake mix, but so much better and more unique tasting.
The chocolate swirls on top help to accentuate the cocoa that’s stirred into the batter. The overall chocolate level is present, but not too dark or too intense.
They’re buttery, rich, and velvety soft and smooth. They don’t call it red velvet for nothing.

What’s in the Red Velvet Brownies?
To make these red velvet brownie bars, you’ll need:
- Unsalted butter
- Egg
- Light brown sugar
- Vanilla extract
- Unsweetened cocoa powder
- Red food coloring
- All-purpose flour
- Salt
- Semi-sweet chocolate chips

How to Make Red Velvet Brownies
I made them by adapting my trusty blondies base recipe. Melt 1 stick of butter, stir in an egg, brown sugar, vanilla, and then whisk in cocoa powder.
Then I added the red food coloring, and lots of it. I bought two sets of Betty Crocker gel food coloring (with red, blue, yellow, and green) in order to get two red vials needed. And lucky me, I have enough green on hand that I’m already ready for Saint Paddy’s Day projects, now and through the year 2030.
My grocery stores stopped carrying the old fashioned drops and gel is being sold, and in package sets. Get your hands on as much red food coloring as you can, gel or old-fashioned drops, because turning chocolate batter red is a big task.
After you get the batter as red as you like, stir in flour, turn it out into the pan, and drizzle with melted chocolate chips to create the swirling. I gave detailed instructions on how to make the easy swirled pattern in the recipe card below.
It’s challenging to determine when any kind of dark-colored food is done, and red and brown food is some of the hardest. I baked for 28 minutes. I recommend 28 to 30 minutes, or until the top is set and isn’t glossy. The chocolate swirls will be glossy, but not the batter.

Can I Double This Recipe?
You likely can, although I haven’t made a double batch of these red velvet brownies before. I imagine you’d simply need to double all the ingredients and bake the brownies in a 9×13-inch pan.
Can I Omit the Food Coloring?
Yes, although your red velvet brownies won’t have the same color as mine. But you’d still wind up with a batch of amazing chocolate-swirled fudge brownies!

Can I Make These Gluten-Free?
I’ve only made these red velvet brownies as instructed in the recipe card below, so I can’t say for certain if / how to make this a gluten-free recipe. If you give it a go, please let me know how the brownies turn out!
Can I Swirl a Different Type of Chocolate on Top?
I don’t see why not! I used semi-sweet chocolate because I prefer richer brownies, but you could also use white chocolate or milk chocolate.

Can I Add a Cheesecake Swirl Instead?
If you’re craving cream cheese-swirled red velvet brownies, I recommend making my Red Velvet Cheesecake Brownies instead. I’ve tested that recipe multiple times and know that the cheesecake swirl works.
How to Store Red Velvet Brownies
These chocolate-swirled red velvet brownies will keep airtight at room temperature for up to 1 week, or in the freezer for up to 6 months.
Note that the brownies need to cool completely before being stored in a container. If you put the brownies in Tupperware before they’ve cooled completely, condensation will form in the container and will affect the texture of the brownies.

Tips for the Best Red Velvet Brownies
A few things to note when making these easy cocoa powder brownies:
- First, be sure to wait a minute or two before adding the egg to the melted butter. If you add the egg to hot melted butter, you’ll wind up with scrambled egg.
- Second, once you add the dry ingredients to the wet, you want to mix the batter just until everything is incorporated. If you over mix the brownie batter, you’ll wind up with dense, cakey brownies.
- Lastly, these red velvet brownies remind me of the Gingerbread Molasses Chocolate Chip Bars I made before Christmas and a longer cooling period is preferred. I urge you to allow them to cool in the pan for at least a few hours, or overnight. It’ll give the chocolate a chance to set up fully and for the bars to just rest so slicing is a neater job.
You’ll be rewarded with bars that are soft in the interior, with slightly firmer and chewier edges, and you’ll just want to sink your teeth into them.
Pin This Recipe
Enjoy AverieCooks.com Without Ads! 🆕
Go Ad Free
Chocolate-Swirled Red Velvet Brownie Bars
Ingredients
- ½ cup unsalted butter, 1 stick, melted
- 1 large egg
- 1 cup light brown sugar, packed
- 1 tablespoon vanilla extract
- ¼ cup unsweetened natural cocoa powder
- 2 vials red food coloring, or as needed (I used 2 red Betty Crocker gel food coloring vials)
- ¾ cup all-purpose flour
- pinch salt, optional and to taste
- ½ cup semi-sweet chocolate chips, melted
Instructions
- Preheat oven to 350F. Line an 8-inch square baking pan with aluminum foil, spray with cooking spray; set aside.
- In a large, microwave-safe bowl melt the butter, about 1 minute on high power.
- Wait momentarily before adding the egg so you don’t scramble it. Add the egg, brown sugar, vanilla, and whisk until smooth.
- Add the cocoa and whisk until smooth.
- Add the red food coloring and whisk to incorporate. Keep adding until desired shade is obtained.
- Add the flour, optional salt, and stir until just combined; don’t overmix.
- Turn batter out into prepared pan, smoothing the top lightly with a spatula; set aside.
- In a small, microwave-safe bowl melt the chocolate chips, about 1 minute on high power. Stop to check and stir. Heat in 10-second bursts until chocolate can be stirred smooth.
- Drizzle the chocolate over the pan and swirl lightly with the tip of a table knife or a toothpick. To create the pattern shown, drizzle chocolate over batter in 5 wide, evenly spaced, parallel lines, each spanning the length of the pan. Like 5 rows of long train tracks. Rotate pan 90-degrees. With a toothpick, starting at the top of the pan, “draw” 5 evenly spaced lines through the chocolate. You’re dragging the toothpick perpendicularly through the first set of lines to create the swirling.
- Bake for about 28 to 30 minutes, or until a toothpick inserted in the center comes out mostly clean, or with a few moist crumbs, but no batter.
- Allow bars to cool in pan for at least 30 minutes before slicing and serving; however, for optimal results, cool overnight so the chocolate has a chance to fully set up fully.
Notes
- I used 2 vials of red food coloring. I had to buy two sets of gel food coloring (red, blue, green, yellow) for the two reds I needed. Use any type of food coloring you like; you’ll need a lot of it because it takes a lot to turn a chocolaty batter red.
- Bars will keep airtight at room temperature for up to 1 week, or in the freezer for up to 6 months.
Nutrition
Nutrition information is automatically calculated, so should only be used as an approximation.
©averiecooks.com. Content and photographs are copyright protected. Sharing of this recipe is both encouraged and appreciated. Copying and/or pasting full recipes to any social media is strictly prohibited.
More Valentine’s Day Dessert Recipes:
Red Velvet Cupcakes with Cream Cheese Frosting — Extremely popular with readers and so many positive comments about these easy, no-mixer cupcakes.

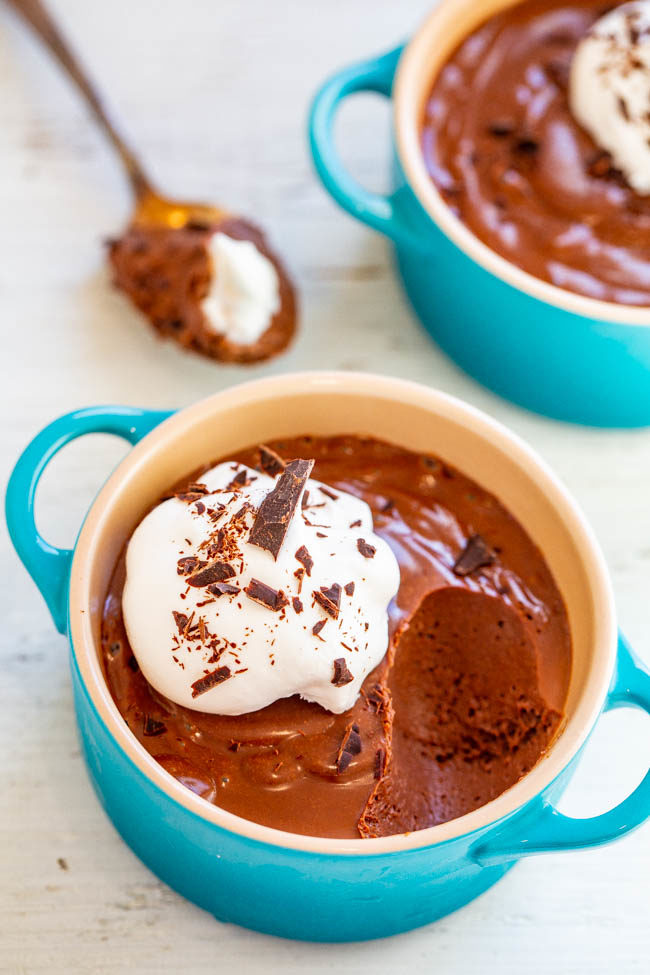
Easy Chocolate Pots de Creme – No-bake, no-cook, and made in a blender in 5 minutes!! The PERFECT dessert! Rich, decadent, a chocolate lover’s dream, perfect for special occasions, and guaranteed to impress!!
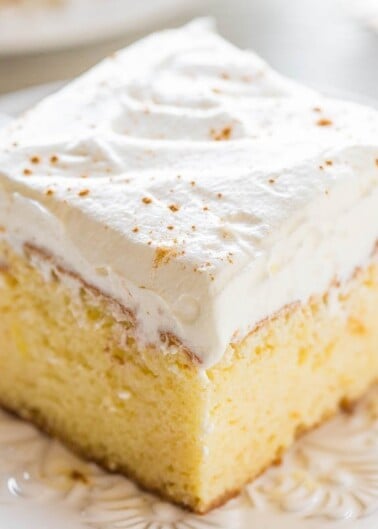
Red Velvet Poke Cake with Cream Cheese Frosting — The cake is fast, easy, and it’s a poke cake so it’s automatically super soft and moist.
Soft Frosted Valentine’s Heart Cookies — These easy cookies are soft, chewy, dense, made in one bowl, and you don’t have to roll them out.
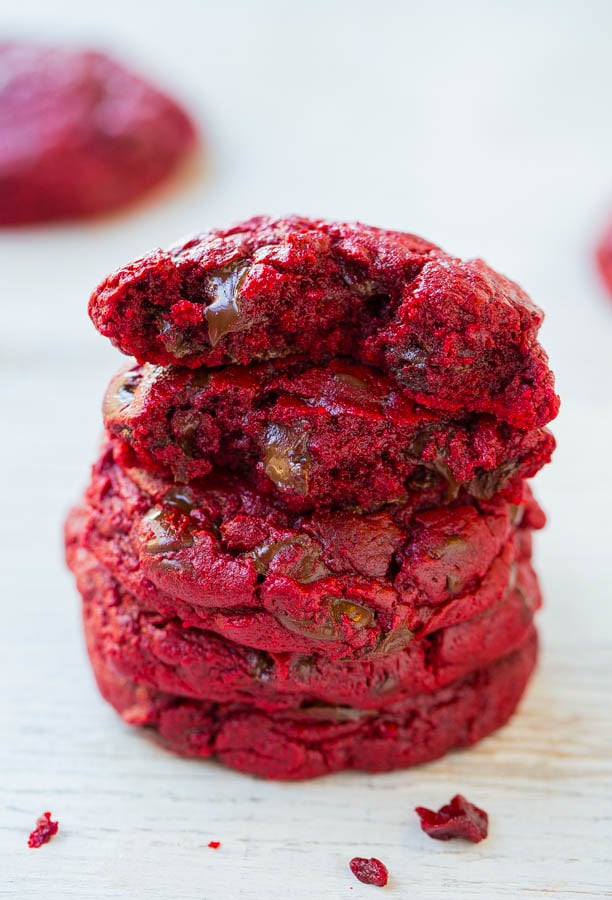
Red Velvet Cake Mix Cookies — These chocolate chip red velvet cookies have a secret ingredient — cake mix! These cookies are super ooey gooey and ultra rich!
Valentine’s Day Vanilla Pudding Sugar Cookie Bars – A sugar cookie crust topped with creamy vanilla pudding, whipped topping, and sprinkles!! A luscious and EASY Valentine’s Day dessert that will put everyone in festive spirits!!
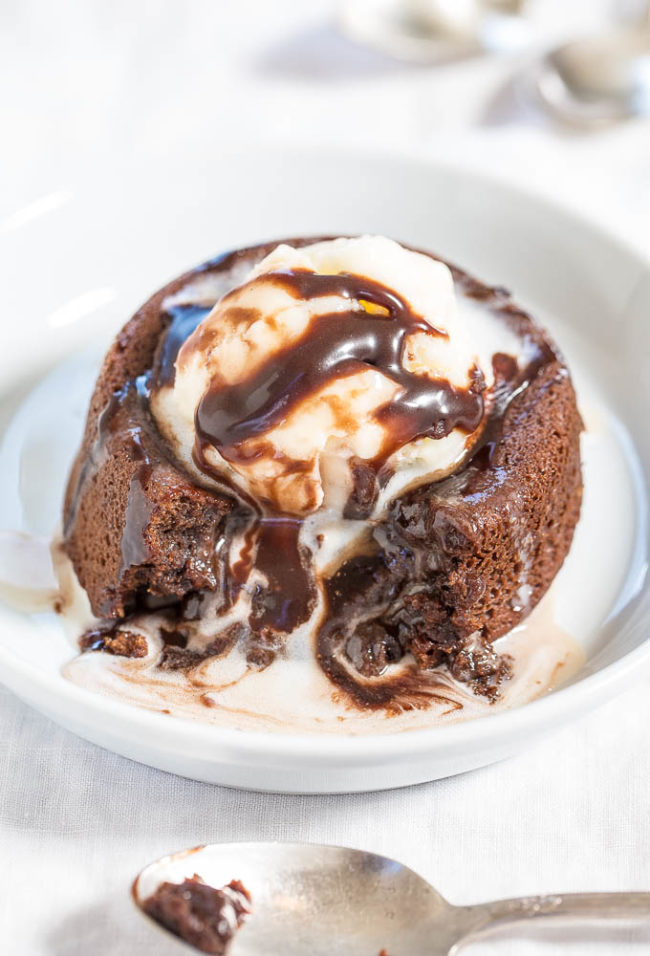
The Best and Easiest Molten Chocolate Lava Cakes — One bowl, no mixer, so easy! The warm, gooey, fudgy chocolate lava cake center is heavenly! Better than any restaurant versions! Best chocolate cake EVER!!
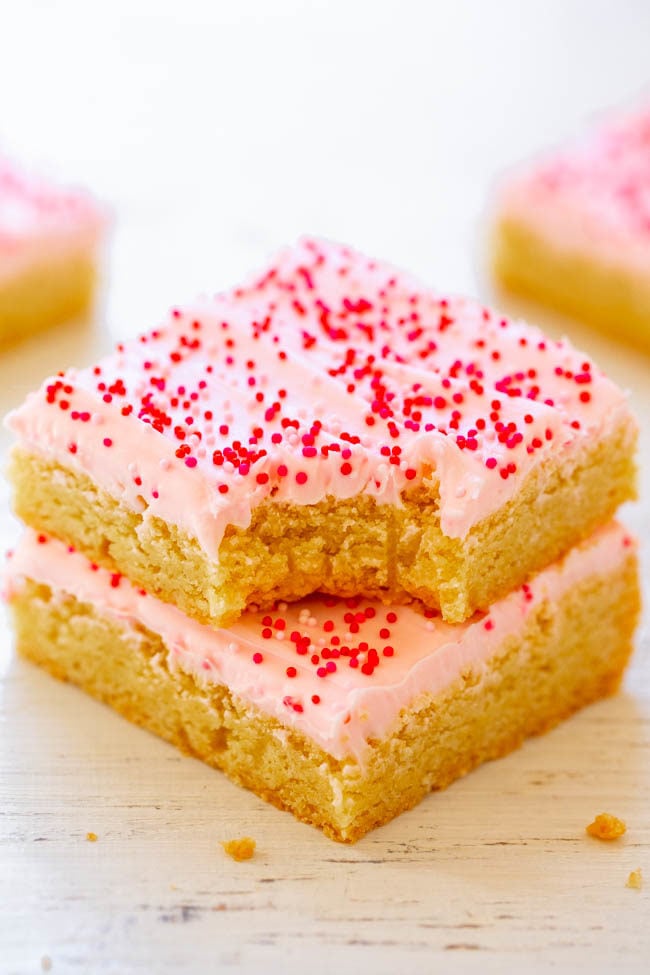
Valentine’s Frosted Sugar Cookie Bars – Sugar cookie bars are so much FASTER AND EASIER than making sugar cookies!! The sprinkles and tangy cream cheese frosting help to make the bars a PERFECT Valentine’s Day treat!!

Um. can we say yum?? I made these bars, not as red velvet but as plain brownies. Or more like incredibly rich, dense, chocolate-swirled heaven brownies. Their flavor and texture reminded me of the amazing rich brownies from a bakery that used to be around when I was a child, which my mother would buy as special treats for us! Thanks for the recipe!
Thanks for trying the recipe & glad you loved it!
So….I decided to try this today and it didn’t really work. After adding three whole bottles of red food colouring to the batter it still wasn’t enough to turn the dark brown batter red, which is a shame. Presumably there are types of food colouring that work better than others, but once you add the cocoa powder the whole mix turns incredibly dark. Was this the case when you did it, or can you get cocoa powder which is of a lighter shade of brown?
I used gel food coloring which is more intense then other types. You need a lot as I indicated in the recipe. All cocoa powder varies in color. I used the lightest one I have which is from Trader Joe’s. I find that other brands, Hershey, Ghirardelli, etc are all darker.
Try red velvet emulsion. Works wonders for achieving red color without the taste of food coloring.
If you use food colour paste instead of gel you get that deep red colour without having to use as much colouring, using the end of a tea spoon as a spatula you only need two small blobs and the mixture will be wonderfully red with paste.
I used gel for these and used 2 tubes. It does take A LOT to get a really vibrant bright red shade like these, but you could probably use much less if you didn’t want it to be bright red. I agree though, gel vs other types, night and day in terms of intensity of the pigmentation.
These are so perfect for Valentine’s Day! I will definitely try this recipe out. Just wondering, how would i modify this recipe to fit a 9×11 pan? Any tips would be greatly appreciated :)
*9X13 whoops
I’ve never really baked anything before but I saw these and am going to give them a go. For the butter, approximately how many grams is a stick? (Butter in the UK doesn’t come in sticks). And what is the volume of the cups you are using?
Thanks!
1 stick of butter is 1/2 cup. There are lots of online baking conversion site (just type that in) and it will all pop right up with google.
This may be a silly question but if I don’t have a 8 inch square pan but have an 8×14 inch retangular pan, about how much more of each ingredient would I use so I don’t lose out on anything! I’m so excited to make these! Thanks so much for your help!
I’ve never tried baking the recipe in that size but it sounds like nearly doubled of my pan size. You may just want to try doubling the recipe but I have not tested it this way, nor have I tested doubling the recipe and how that effects baking time, etc.
These will be perfect for my husband and his battle buddies!
I want to bake my favorite soldier something nice for saint Valentine’s Day.
These brownies look absolutely amazing. However, when I look at the pix, I wonder about how they set up. Does all the red dye move to the top during the baking? Please let me know. I’d like to bake these up for a special V-Day treat. Thank you.
No the red food coloring doesn’t shift. Once it’s in the batter, as long as you’ve stirred it evenly, it stays even during baking. Now some areas right next to the chocolate may appear or change color slightly since it’s right next to huge rivers of melted chocolate!
My husband just loves red velvet :) these look seriously divine! Thanks for the recipe :)
Thank you for ALL The comments today, Brandy!! You’re amazing. Thank you :)
These look perfect, right up my alley! Making these this weekend!!!!!!
LMK how it goes!
Longtime reader-first time commenter, I’ve made a ton of your desserts and absolutely loved them all. What I want to know is- how in the heck did you get that entire thing out of the pan without crumbling or breaking it? :0
I line my pans with aluminum foil ALWAYS which I instruct in the recipe. So I just lift it out by the foil, slide the foil out from the bottom, voila. Plus your pan is totally clean too! Thanks for being a longtime supporter & trying the recipes!
Mmmm, these are perfect. They look so dense and enticing! Beautiful. And so easy. Winning combination. Love these, Averie. Have a great weekend!
These puppies look so heavenly! What a perfect Valentine’s day treat.
they’re looking so yummy and red and delicious :P
These are so perfectly red and fudge-y looking! And I love the chocolate drizzle over the top! Pinned for sure!
Thanks, Jocelyn!
So fun! Love how you swirled them. Perfect for Valentine’s.