After I posted my Hot Pepper Jelly and adventures-in-canning post a couple weeks ago, I made and canned another batch of hot pepper jelly. I love the stuff but canning isn’t one of those spur-of-the-moment little events. It does take some planning and there’s lots of boiling liquid.
When longtime reader and blogger, J of SemplicementeJ, wrote to tell me she makes Venezuelan Red Pepper Jelly but doesn’t bother with canning, I got very excited.
I asked her permission to share her recipe because it’s not on her site. She combines 1 red pepper, 1/2 cup of vinegar, and 1 cup of sugar on the stovetop and lets it simmer until it’s reduced by half.
Jelly, without canning? I was sold and tried the stovetop method and I’m so glad I did.
The resulting jelly was delicious. Sweet with some heat, and very thick. I was initially worried it wouldn’t get thick enough without using pectin or by processing it and actually canning it. However, I underestimated the power of simmering and time. The reduction in overall liquid volume thickened the jelly tremendously. It got almost too thick and next time I will not boil it quite as long, which is simply a fabulous excuse to try my hand at making more.
[print_this]
Stovetop Hot Pepper Jelly (Vegan, Gluten-Free, Soy-Free, Nut-Free)
Makes about 1 1/2 cups jelly, depending on cooking time and how much volume you choose to reduce
1 red pepper, diced
1 green pepper, diced
2 small jalepeno peppers, diced
1 cup apple cider vinegar
2 cups sugar
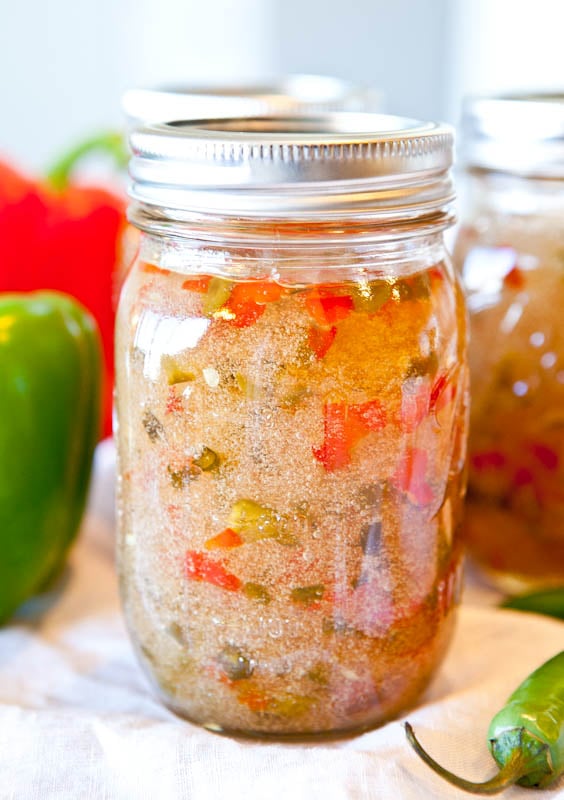
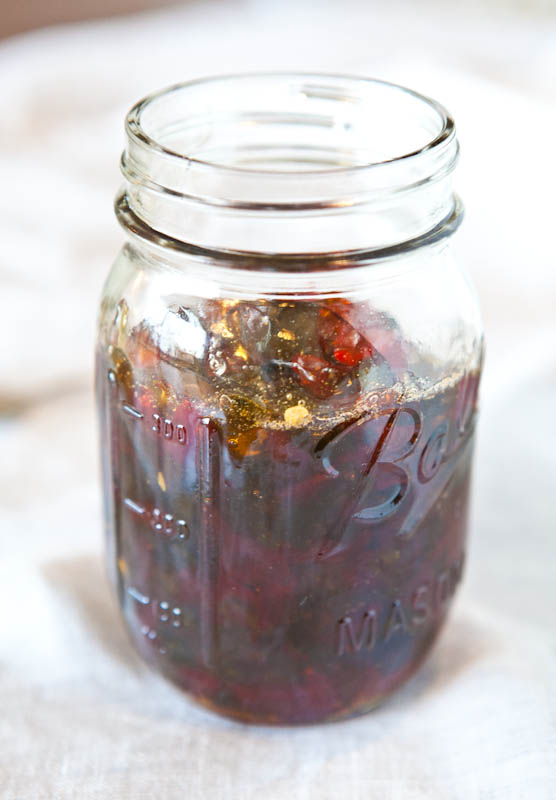
Combine all ingredients in a large saucepan and cook mixture over medium-low heat until the mixture has reduced by half. (This took about 25 minutes for me, but in the future, I will stop cooking after about 20 minutes, since the jelly is quite thick. It’s hard to tell when it’s boiling and bubbling how thick it will be after it has been jarred and has cooled). Carefully pour the mixture into a glass jar or suitable container with a lid. I store my jelly in the refrigerator and surmise it will last for many weeks; use common sense.
Notes: J’s recipe Venezuelan Red Pepper Jelly calls for 1 red pepper, 1/2 cup vinegar, 1 cup sugar. Cut peppers as desired (julienne, small cubes, diced). Cook until reduced by half. Since I doubled the quantity of peppers, I doubled the vinegar and sugar amounts. I also used red, green, and jalepeno and her recipe calls just for red peppers.
[/print_this]
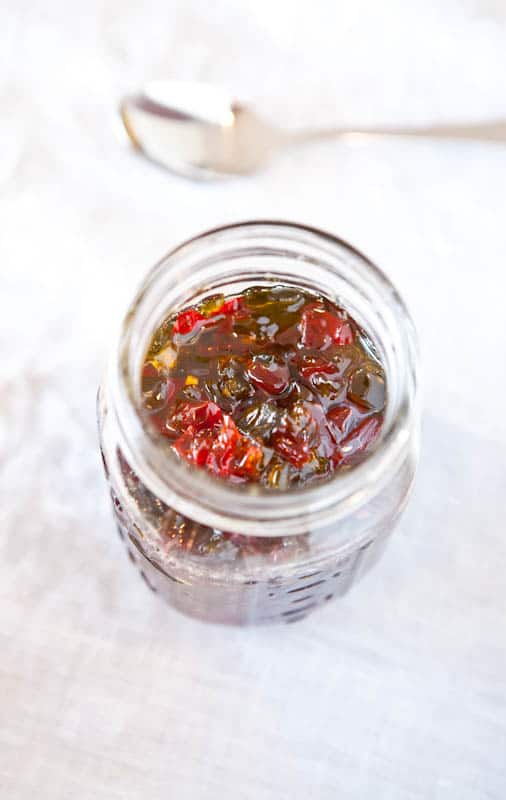
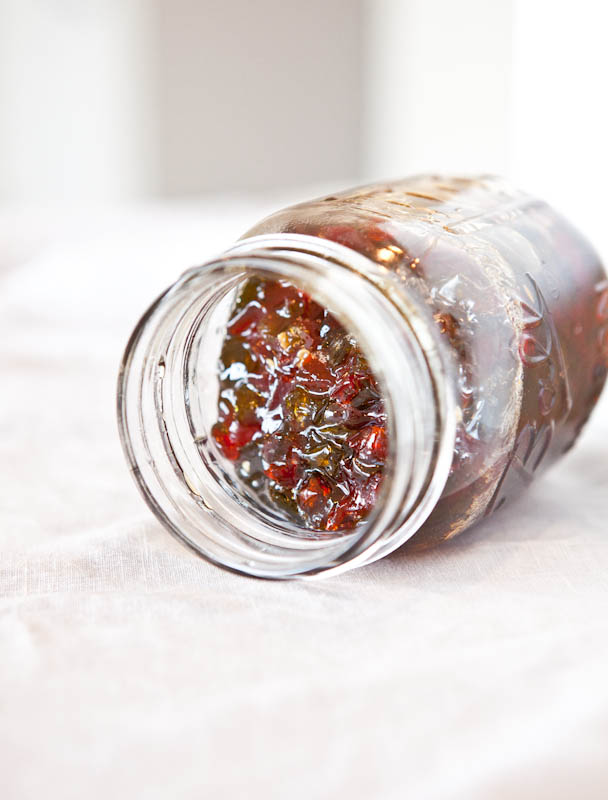
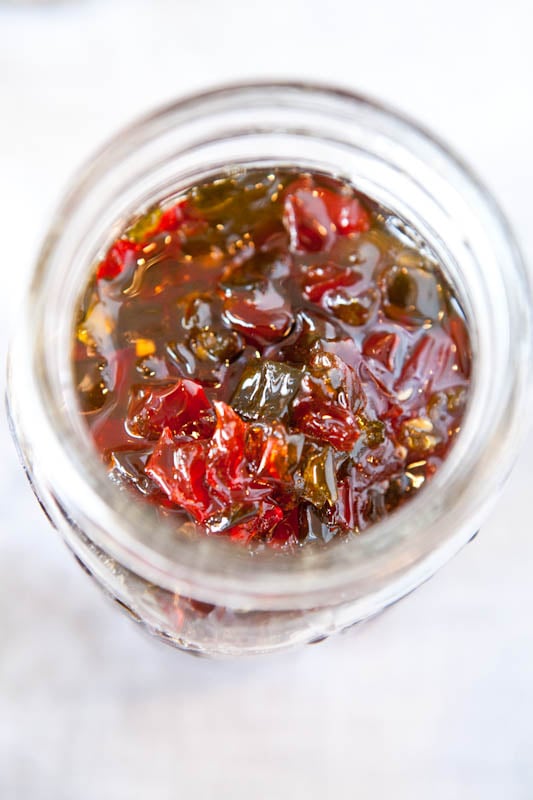
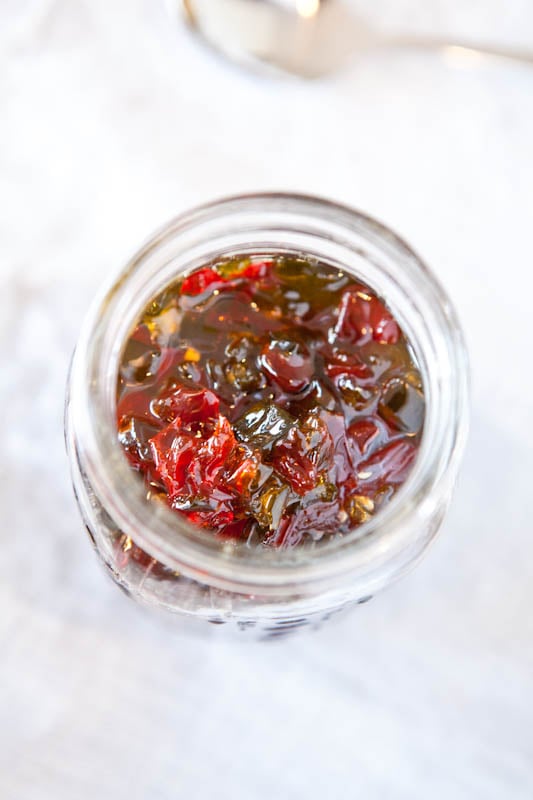
This is a fast recipe that came together in under a half hour and it’s also small batch recipe, and made just this one jar of jelly, which I’ve been savoring. The peppers are really chewy, the sugar-vinegar mixture reduced and became an almost honey-like substance, complete with a tartness from the vinegar and a kick from the peppers.
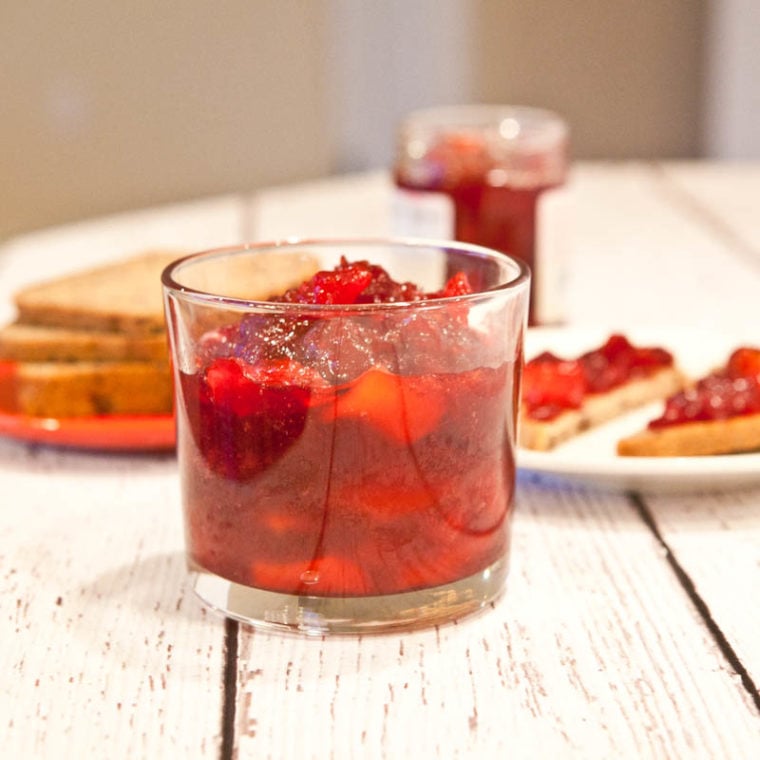
In many ways, the principle at play with this jelly is similar to the Cranberry & Orange Ginger Mango Chutney. If you boil fruit and sugar long enough on the stovetop, and it will reduce and you’ll make jelly or chutney.
I’m excited to play around with the pepper jelly recipe and test out different varieties of peppers and maybe include some fruit like mango, pineapple, or oranges. There are so many ways to go with it and I love that I don’t actually have to can, not that I’m trying to discourage you from canning.
Check out this post; canning isn’t as hard as you think.
But no lies, the stovetop method is easier and yielded a very similar-tasting result with less time and much less effort involved, which is a win-win.
It’s been very spicy and peppery and hot around here. Where’s the water?
Have you ever made jam, jelly, preserves or something similar?
If you’re intimidated by canning, you could try “freezer jam” which is made by simply cooking the fruit or berries with sugar, adding pectin, placing into freezer-safe containers or baggies, and un-thaw as needed. It’s easy and will make quick use of strawberries, blueberries, or other seasonal fruit. It’s a good “gateway” jam-making process if you don’t want to try full-out canning.
And the method I used for the stovetop hot pepper jelly was incredibly easy, and no pectin required, similar to the Cranberry & Orange Ginger Mango Chutney method.
What’s your favorite kind of jam or jelly?
I love strawberry jam that’s really thick and chunky with big pieces and bits of fruit. I also love the smoothness of a good grape or apple jelly. The flavor of peach jam or jelly, or a mango chutney, they’re all favorites of mine. When it comes to jam, jelly, preserves, I’m not picky other than to say that homemade is always better than storebought.
Thanks for the Marshmallow Madness Cookbook Giveaway entries


I tried this recipe and LOVED it!!! You rock!!! I even blogged about it…https://myrecipejourney-lillian.blogspot.com/2012/07/stovetop-hot-pepper-jelly.html
Thanks for posting this recipe!!!
I am so excited it was a hit – thank you so much for trying it out and blogging about it, too!
You’re very welcome! Keep posting these cool recipes! =)
I just LOVE hot pepper jelly and always wanted to try it, but I know nothing about canning! Thanks for showing us this method…I will definitely be trying it….and I’ll probably blog about it also! =)
Please keep me posted! I worked really hard to make the process as user-friendly as possible and would love to know if you end up trying it, how things go for you!
Yes, I will definitely let you know…and I will link my blog to this recipe!
Hi Averie! Just wanted to make sure- you cook it uncovered, correct? Thanks.,
yes
Averie, hello and love your site…so many great recipes. Ok, when I saw this, I was so excited that I went out right then and there to get the peppers. I doubled your recipe to make a total of 3 cups worth. Now, it took about an hour to start to thicken and slightly start to reduce, as well as the peppers to start to soften. It took a total of 1.25 hours to look like yours did and then I poured it in the little cute jars and let it cool over night in my fairly cool pantry. The next day it was as hard as a rock and I had to microwave it to get any out of the jar. Then, it was sooooooo sticky, gooey and stringy that it was nearly impossible to remove it from anything it came into contact with. The taste was awesome but very annoying to try to smear on anything. Do you have any suggestions or comments as to what I may have done wrong…I want to make this again and have it more like a thick jam/jelly that is not sticky and easy to spread and eat.
1.25 hours was about 3x as long as you probably should have boiled it…I would say to wayyyyy reduce your cooking time. Like maybe a half hour, total. It’s really going to depend on the size of your pepper dices, what you consider a medium boil and what I consider a medium boil, the moisture content in the peppers, how much stirring you do or don’t do…all these little nuances are going to effect it but yes, my jar was borderline what you describe (thick, honey-like, and hard-ish to work with…) and I felt I was over-time at about 25 minutes so definitely you pretty much cooked the daylife outta yours and took all the water out and made it turn into…glue :) So just stop cooking much sooner than you did and realize that it will also harden & thicken upon cooling, too. This is all part art, part science. Keep me posted on the next batch!
Averie,
Thank you for all of the suggestions…I’m going to make a very small batch this weekend and follow the exact times and see what happens. Even though it won’t be reduced by half at the 20 minute mark, I will take it off then and see if it thickens to the correct consistency after it cools.
Thanks again and keep up the great work with all of the awesome and healthy recipes.
I mean, you could probably go 25 or 30 mins, but it’s dependent on batch size, pepper’s water content, how vigorous or not the mixture is really boiling and reducing…20-30 mins is a guideline but just watch it and use your judgment…but definitely not 90 mins!! :)
We’ve seen hot pepper jelly all over Pikes Place Market in Seattle and have always wondered how they make it !
ratedkb.blogspot.com
i love this jelly and no canning! i am in!:) i can imagine this over some fresh whole grain bread every morning with some sweet tea!
This looks amazing! Is it really hot though? I tried to make pickled jal once and my heat loving husband couldn’t even eat them!
You can control the heat level by using as many jalepeno or hot/hotter peppers as you desire. I don’t consider red peppers or green peppers “hot” which is why I added jalepeno but you don’t have to…
This hot pepper jelly sounds amazing, awesome job. I love the idea of hot jelly with a slight sweetness, so this sounds perfect. I’ve never canned, but want to.
This is wayyyy easier than canning, vegan, easy, can’t beat it :)
oh my gosh girl!
can it be any easier?
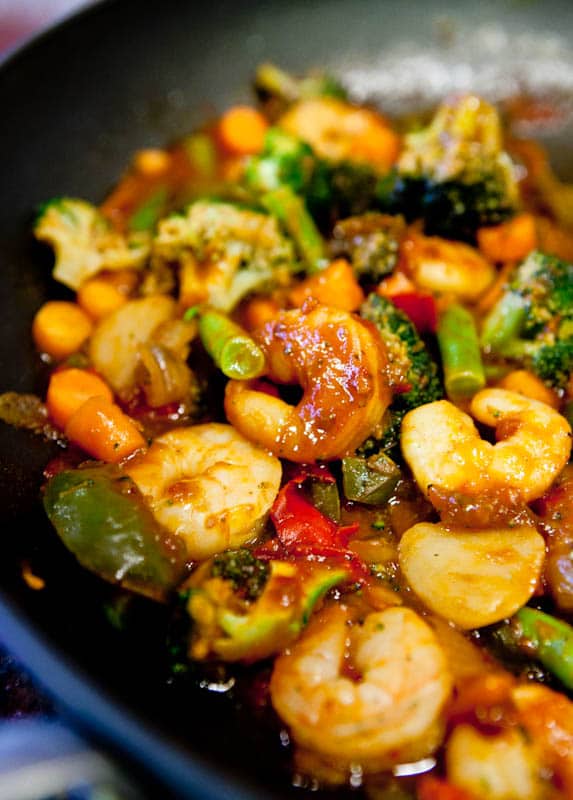
i love this stuff. and yep, i use it on stir fry too.
just like you.
do you like corn relish?
Corn relish…gosh, I don’t think I’ve ever had it?! It sounds wonderful… My grandma used to make something with corn in it that was sort of like a dip but it’s just a vague memory…I think I could really get into what you’re talking about. If you have any recipes you love, send ’em over! :) Or better yet, we need to live closer so we can cook and bake and recipe trial together!
This sounds awesome!!
Thanks for all your comments this morning…and for pinning so many things of mine. YOU are a doll! And your pinboards are like a walking drool-fest. Every.single.thing on every single board…looks…amazing. You have done a wonderful job with truly finding some gems on Pinterest! And I’m going to try harder to repay the favor with pinning your things because they deserve love and attention :)