
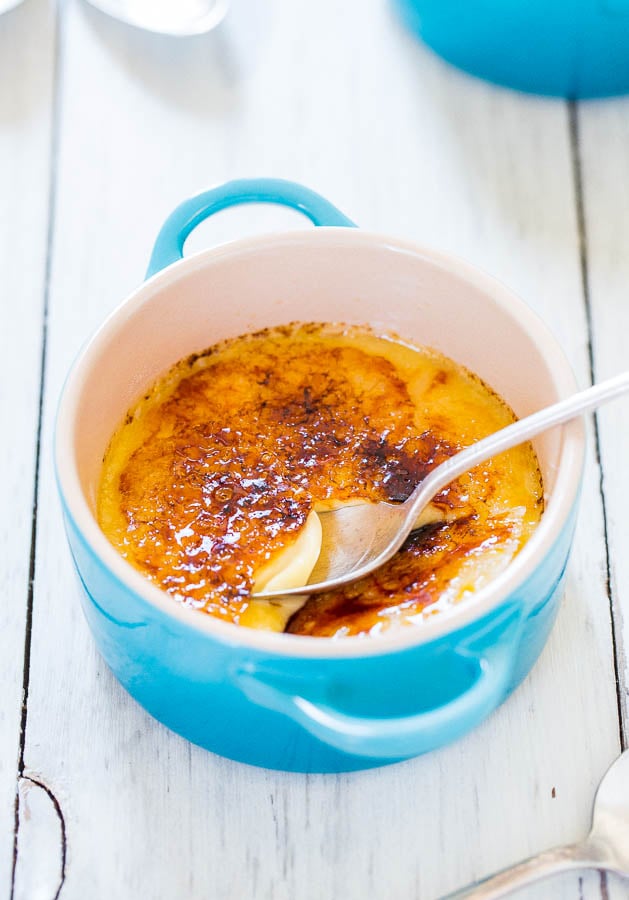
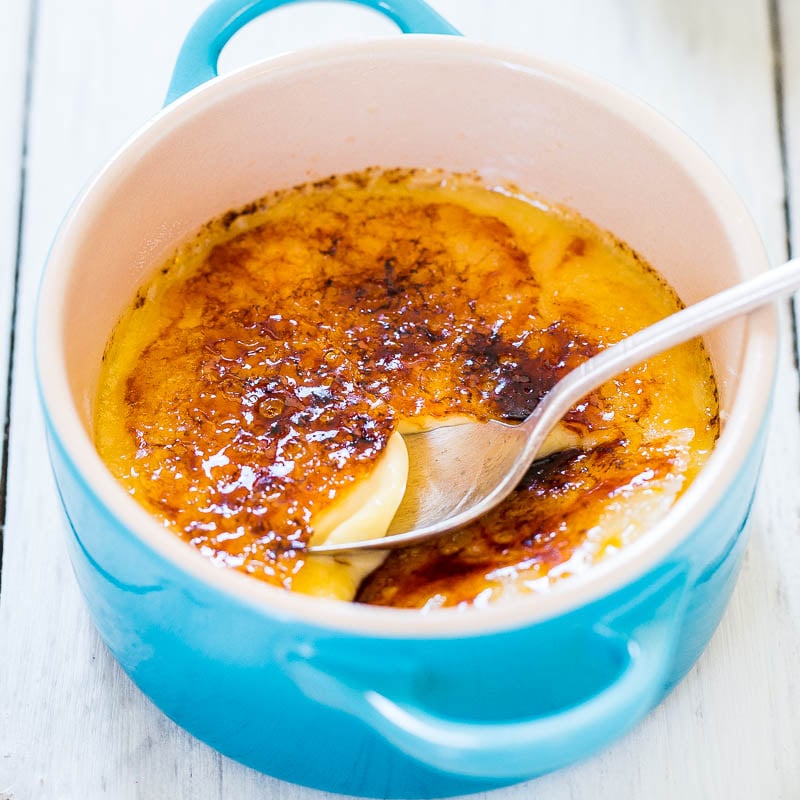
🍮 This Classic Crème Brûlée Recipe is an easy take on the popular dessert that doesn’t require a candy thermometer or stand mixer and isn’t doctored up with specialty flavorings. It’s simple, delicious, and always a crowd favorite!

Easy Crème Brûlée Recipe
After years of blogging and writing cookbooks, I thought we’d tried every dessert. So when I asked my family what they wanted most, I expected vague answers, not crème brûlée.
Custardy desserts, like caramel flan and New York cheesecake, have never been a favorite of his, but after ordering it at business dinners, it quickly became a new obsession. That meant I had to recreate a classic crème brûlée at home.
Most recipes I found were overly fussy, requiring special tools and tedious steps. This version keeps things simple while delivering the rich, creamy texture and crisp caramelized sugar topping that makes crème brûlée so irresistible. Unlike other crème brûlée recipes, my version:
- Is made with no thermometer or stand mixer needed
- Offers classic vanilla flavor without any unnecessary add-ins
- Features a smooth, creamy custard with a crisp brûléed top
- Is perfect for dinner parties or make-ahead desserts
My family says it rivals restaurant versions and keeps asking when I’m making it again!
Ingredients You’ll Need
To make the best crème brûlée recipe, you’ll need:
- Heavy whipping cream
- Egg yolks: Discard the egg whites, or use them for a different recipe
- Granulated sugar and superfine sugar
- Vanilla extract
- Salt
Note: Scroll down to the recipe card section of the post for the ingredients with amounts included and for more complete directions.
How to Make the Best Creme Brulee Recipe
This classic creme brulee recipe couldn’t be easier to make!
- First, place 6 small ramekins (I use Le Creuset 8-Ounce Round Covered Ramekins. You can also use a larger but shallow baking dish, adjusting baking time as necessary, and although you won’t have individual portions, it’ll work.) inside a 9×13-inch baking dish (you’ll fill this later with water to make a water bath).
- Next, heat the cream until it just starts to bubble — don’t let it come to a boil! Meanwhile, whisk together the egg yolks and sugar until fluffy and pale in color.
- Slowly pour the hot cream over the egg yolk mixture, whisking constantly the entire time. Stir in the vanilla and salt, then divide the mixture between the ramekins.
- Fill the 9×13-inch baking dish with hot water until it almost reaches the top of the ramekins. Then, bake the crème brûlée until you achieve a thick custard with a slight jiggle to it. Once they come out of the oven, they’ll need to cool on your counter for an hour before being transferred to the fridge.
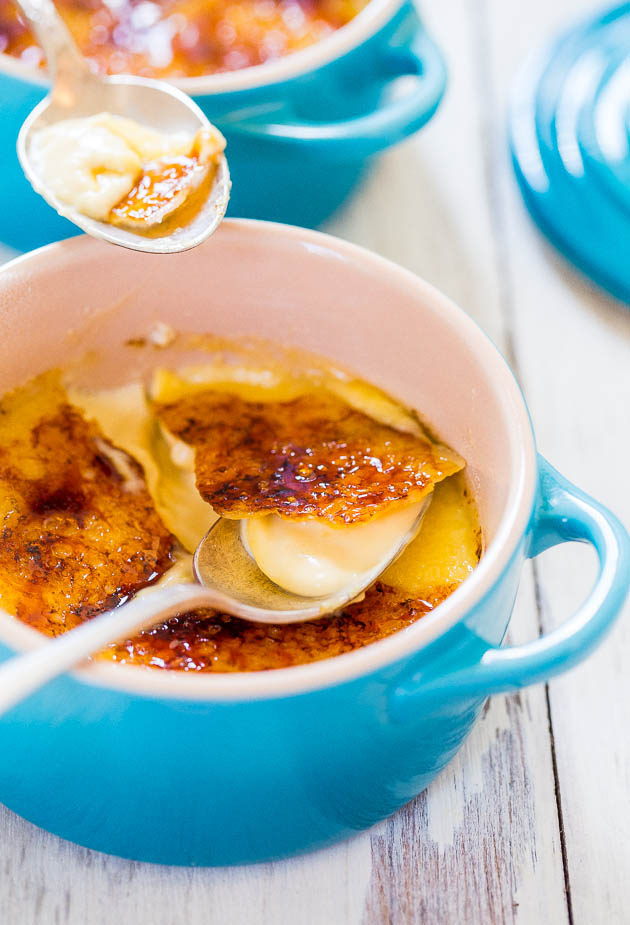
- Top each ramekin with a thin layer of superfine sugar, and use a kitchen blowtorch to gently caramelize the top. You could try to caramelize the top sugar layer under the broiler, but it’s unreliable, and you can easily burn all your precious work in seconds. I recommend a torch.
Can I Prep This in Advance?
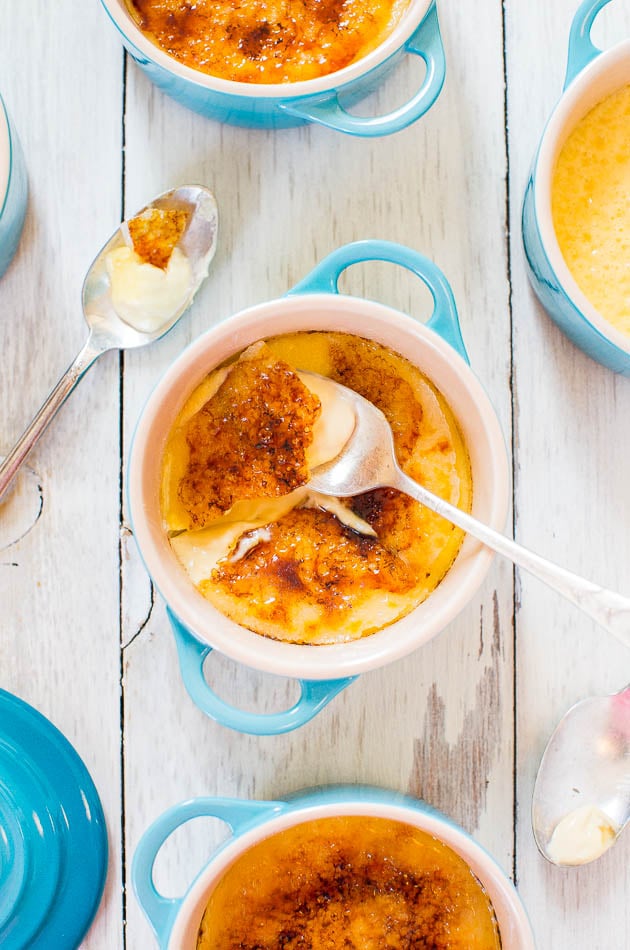
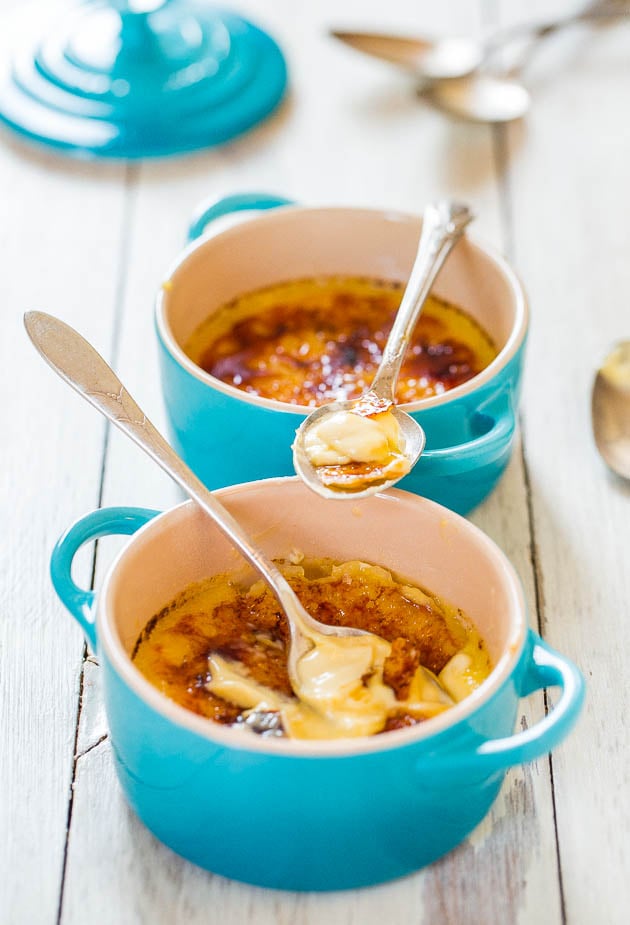
Yes! Crème brûlée is a great party dessert because you can make it up to three days in advance, keep it chilled in the fridge, and sprinkle it with sugar right before serving and torch it in front of your guests. Super impressive and memorable for them, but easy for you.
The Best and The Easiest Classic Crème Brûlée
Equipment
- 6 Ramekins
- 1 Microwave-Safe Bowl
- 1 Small Bowl
- 1 Glass Measuring Cup
Ingredients
- 1 pint whipping or heavy cream, 2 cups
- 4 egg yolks from large eggs
- ¼ cup granulated sugar
- 1 tablespoon vanilla extract
- pinch salt, optional and to taste
- about 3 to 4 cups water, for water bath
- 1 to 2 teaspoons superfine sugar per each ramekin, for caramelizing (granulated may be substituted but superfine melts more smoothly and evenly)
Instructions
- Preheat oven to 300 degrees F. Place 6 ramekins in a 9×13 pan or large baking pan that will be used for a water bath. Spray ramekins with non-stick cooking spray; set aside.
- Add the cream to a 2-cup glass measuring cup or microwave-safe bowl. Heat on high power until cream begins to bubble just a bit, but don’t let it come to a full boil; it took 3 1/2 minutes in my micro (or heat cream over medium heat on the stove, about 10 minutes). Remove cream from micro; set aside to cool.
- Crack the eggs into a small bowl and with clean hands, pick out the yolks and put them in a large bowl. I find picking out the yolks very carefully with my fingers is the easiest way to separate whites/yolks, but separate them as you prefer. Use the whites for another recipe or discard.
- To the large bowl with the yolks, add 1/4 cup granulated sugar, and whisk vigorously for 3 to 4 minutes until the mixture is lighter and paler in color, and has fluffed in volume. Your shoulder should be burning; use an electric mixer if you wish, or burn some calories, save dishes, and whisk by hand; set aside.
- With a spoon, remove any skin that’s formed on the cream. It will be quite warm, but not scalding; it should read 165F max on a thermometer.
- Very slowly pour about 1/4 cup of cream into the eggs, whisking the whole time. This is tempering the eggs (getting them used to the warm cream) so you don’t scramble them.
- Continue pouring the cream into the eggs very slowly, whisking the whole time.
- Add the vanilla, optional salt, and whisk to combine. Some recipes call for straining the mixture through a fine sieve now, but I find there’s no difference so I skip straining.
- Evenly pour mixture into prepared ramekins; set aside.
- Add 2 cups water to 2-cup glass measuring cup and microwave on high power until boiling, about 4 minutes.
- Slowly and carefully pour the hot water into the 9×13 pan. The water creates a water bath so the crème brûlée bakes more evenly. Make sure the water isn’t being poured onto or splashing into the ramekins. Top off with more very hot tap water until the water level in the pan is about as high as the level of crème brûlée inside the cups.
- Bake for 40 to 45 minutes, or until set with some jiggle. Baking time will vary widely based on pan size, if you’re baking 4 to 6, level of water in water batch, type of ceramic the ramekins are made of, climate and oven variances, and personal preference. Use your judgment and bake until done, noting that crème brûlée will set up more as it cools. If you open the oven and gently move the baking pan and the crème brûlée makes a wave-like motion, more than just slight jiggling, they’re not done. They should not be browned, won’t rise, and if testing with a thermometer it should read 150F to 155F for food safety; however I bake until about 170F because at 155F, there’s still too much jiggle for my liking.
- Remove pan from the oven and very carefully with a hot mitt, remove ramekins from water bath and place them on a wire rack to cool completely, about 1 hour.
- Cover them with lids or plastic wrap, and transfer to fridge to chill for at least 3 hours, or up to 3 days in advance.
- Prior to serving, evenly sprinkle each ramekin with 1 to 2 teaspoons superfine sugar. I prefer 2 teaspoons each to achieve an appropriately thick caramelized top layer.
- Using a torch held about 6 inches away from the surface, heat the sugar, making sure to keep the torch moving evenly to prevent burning. When sugar is sufficiently caramelized to your liking, serve immediately.
Notes
- Crème brûlée that has not been sugared/torched will keep in the fridge for up to 3 days.
Nutrition
Nutrition information is automatically calculated, so should only be used as an approximation.
©averiecooks.com. Content and photographs are copyright protected. Sharing of this recipe is both encouraged and appreciated. Copying and/or pasting full recipes to any social media is strictly prohibited.

More Special Occasion Desserts:
Crack Pie — There’s a reason this pie has the name it has and it definitely lives up to the hype!
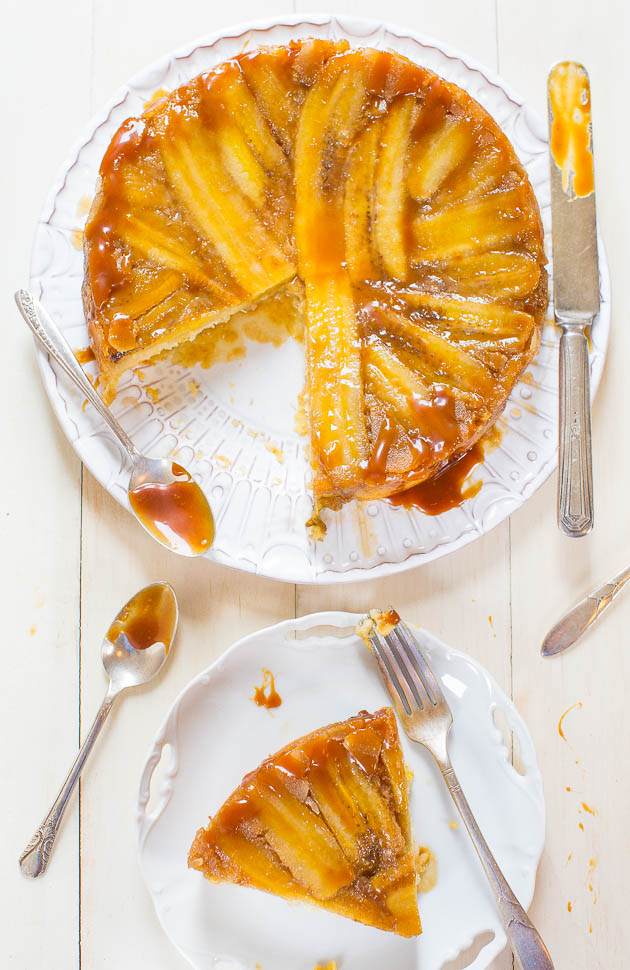
Caramelized Banana Upside Down Cake — This upside down cake is super moist thanks to the combination of sour cream, buttermilk, and vegetable oil. It’s so easy to make, and the caramelized banana flavor is impossible to resist!
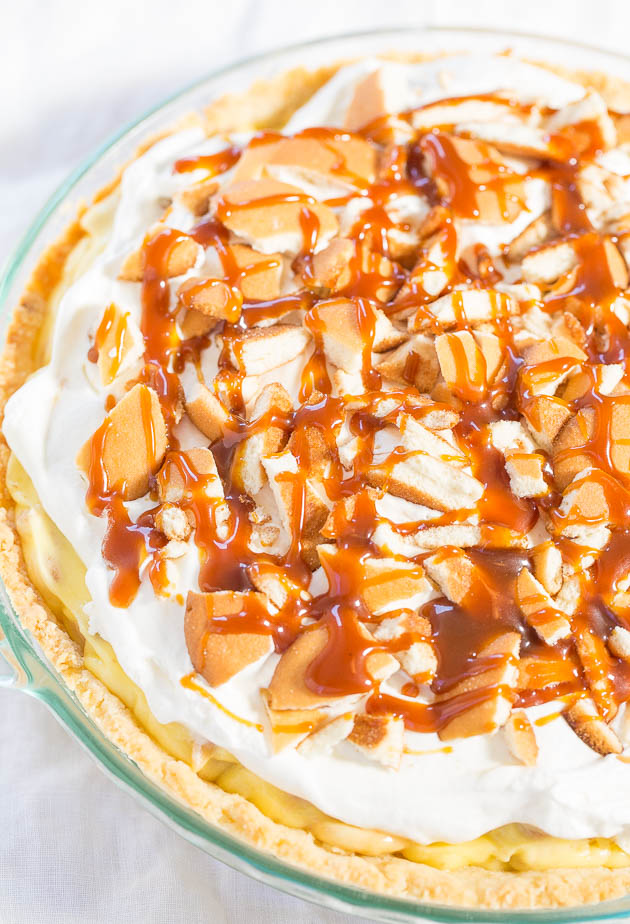
Banana Cream Pudding Pie with Cream Cheese Crust — You’re going to love this quintessential comfort food dessert. It tastes like you slaved over it but it’s one of the easiest pies ever.
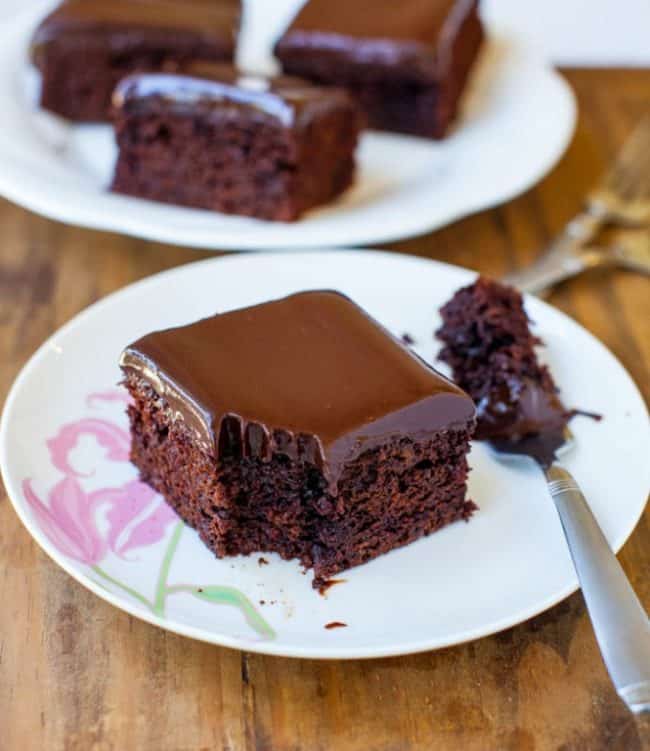
The Best Chocolate Cake with Chocolate Ganache — This truly is the best chocolate cake EVER. It’s topped with a silky smooth chocolate ganache frosting, and it takes just 10 minutes of hands-on prep!
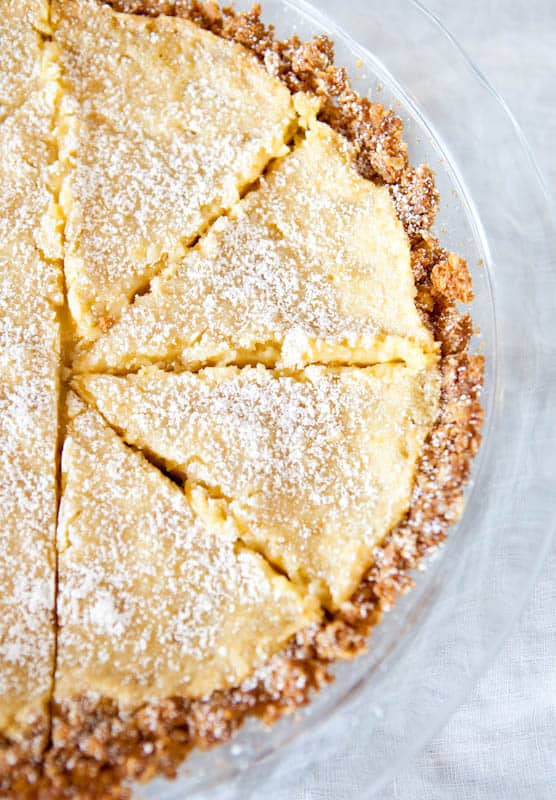
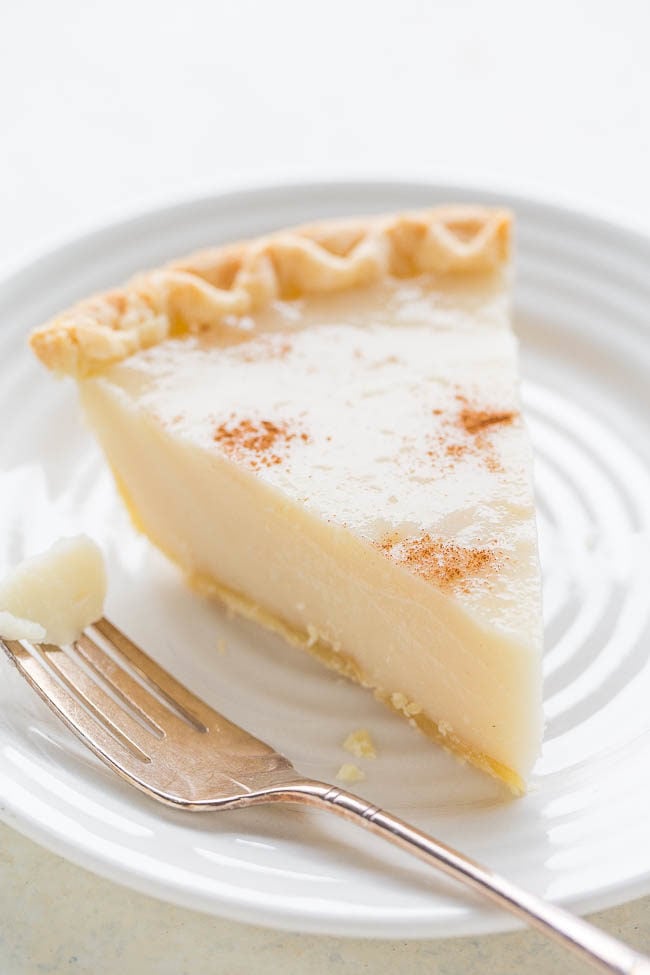
Sugar Cream Pie — This sugar cream pie reminds me a bit of crème brûlée. The filling is custard-like, and when topped with a sprinkle of cinnamon it’s irresistable!
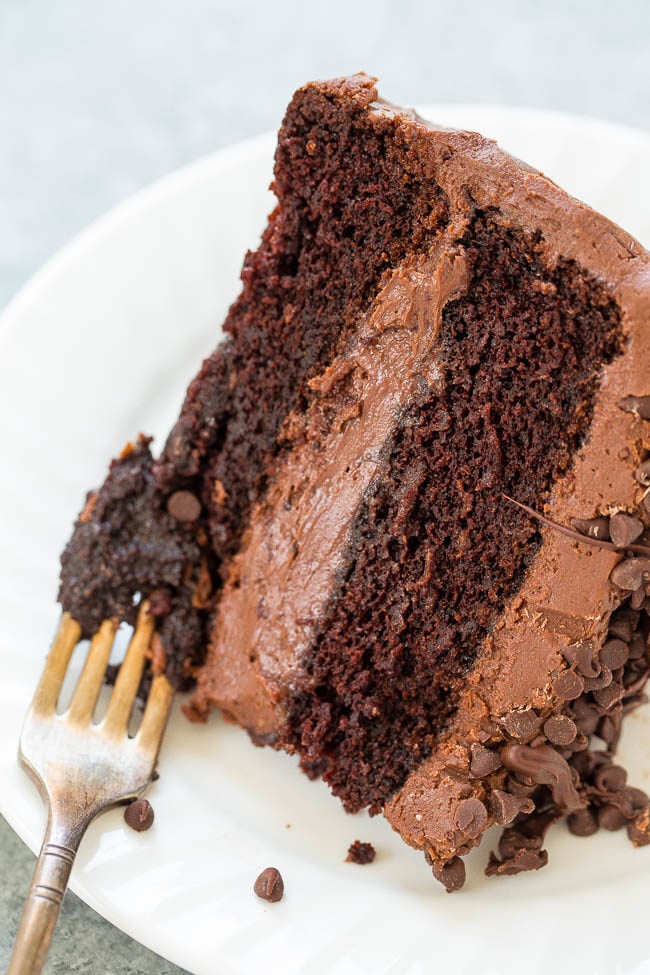
The Best Triple Chocolate Layer Cake — This is the chocolate layer cake to beat out all others. It’s rich, decadent, and everything you want in a triple chocolate cake!

I have made this recipe so many times now. It never fails to impress my guests and family. Love it!!
Sometimes I do an extra layer of caramelized sugar on top … totally decadent and not necessary but lol sometimes more is more!
Thanks for the 5 star review and I am so glad you’ve made this many times and that it always impresses your guests and family! The extra layer of sugar sounds amazing too :)
great
Hi I just made this tonight. I filled up to the top and they were halfway down in size by the time I took out of oven. Was there too much air in my mixture?
That is hard to say what happened but yes that sounds like a possible explanation. I would say you could whip/whisk the mixture a bit less next time and see what kind of results you get.
Thanks for the recipe. My family loves it! Excellent and easy.
Thanks for the 5 star review and I’m glad your family loves it!
Have made this recipe many times although I heat the cream on the stove. This creme brule is so easy, so delicious. As good as any I have tried.
Thanks for the 5 star review and I’m glad it’s your favorite creme brulee!
Quite good. But do you have to use the torch?
For classic creme brulee, yes you need to torch it. But if you’re not concerned about it being classic, then I guess not. It really is so much better though if you do.
Hi I was wondering if anyone has tried cutting the recipe in half. I am the only creme brulee fan in my home and 6 in three days is A little to much even for me!
I think halving it will be fine. Honestly, it will also keep longer than 3 days in the fridge. It may not be worthy to serve to guests like that but if it’s just you, no biggie. I have kept it for a week in the fridge.