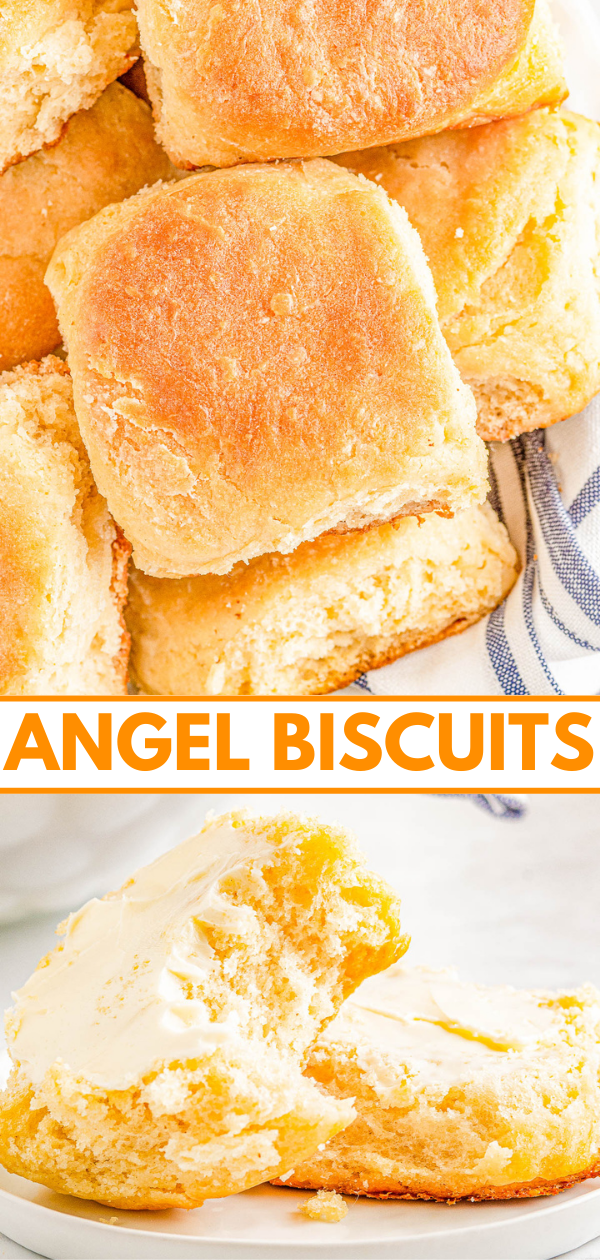
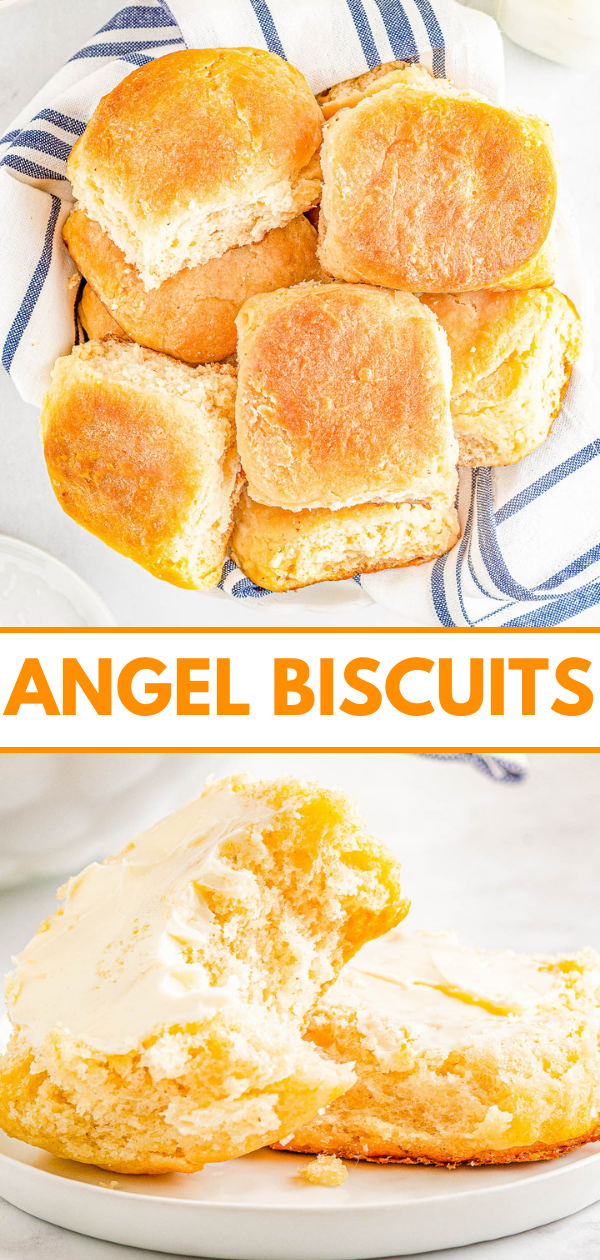
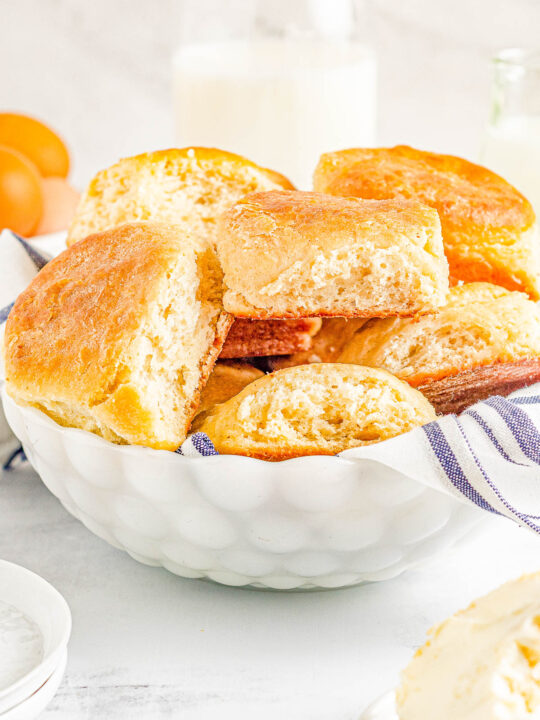
Angel Biscuits — The lightest, fluffiest, flakiest, melt-in-your-mouth biscuits you’ll ever eat! Thanks to a trio of leavening agents, plenty of butter, and buttermilk, these EASY biscuits will become a family FAVORITE in no time! Serve them in place of regular biscuits or dinner rolls, or make them for a special brunch or holiday meal, and I promise no one will eat just one!
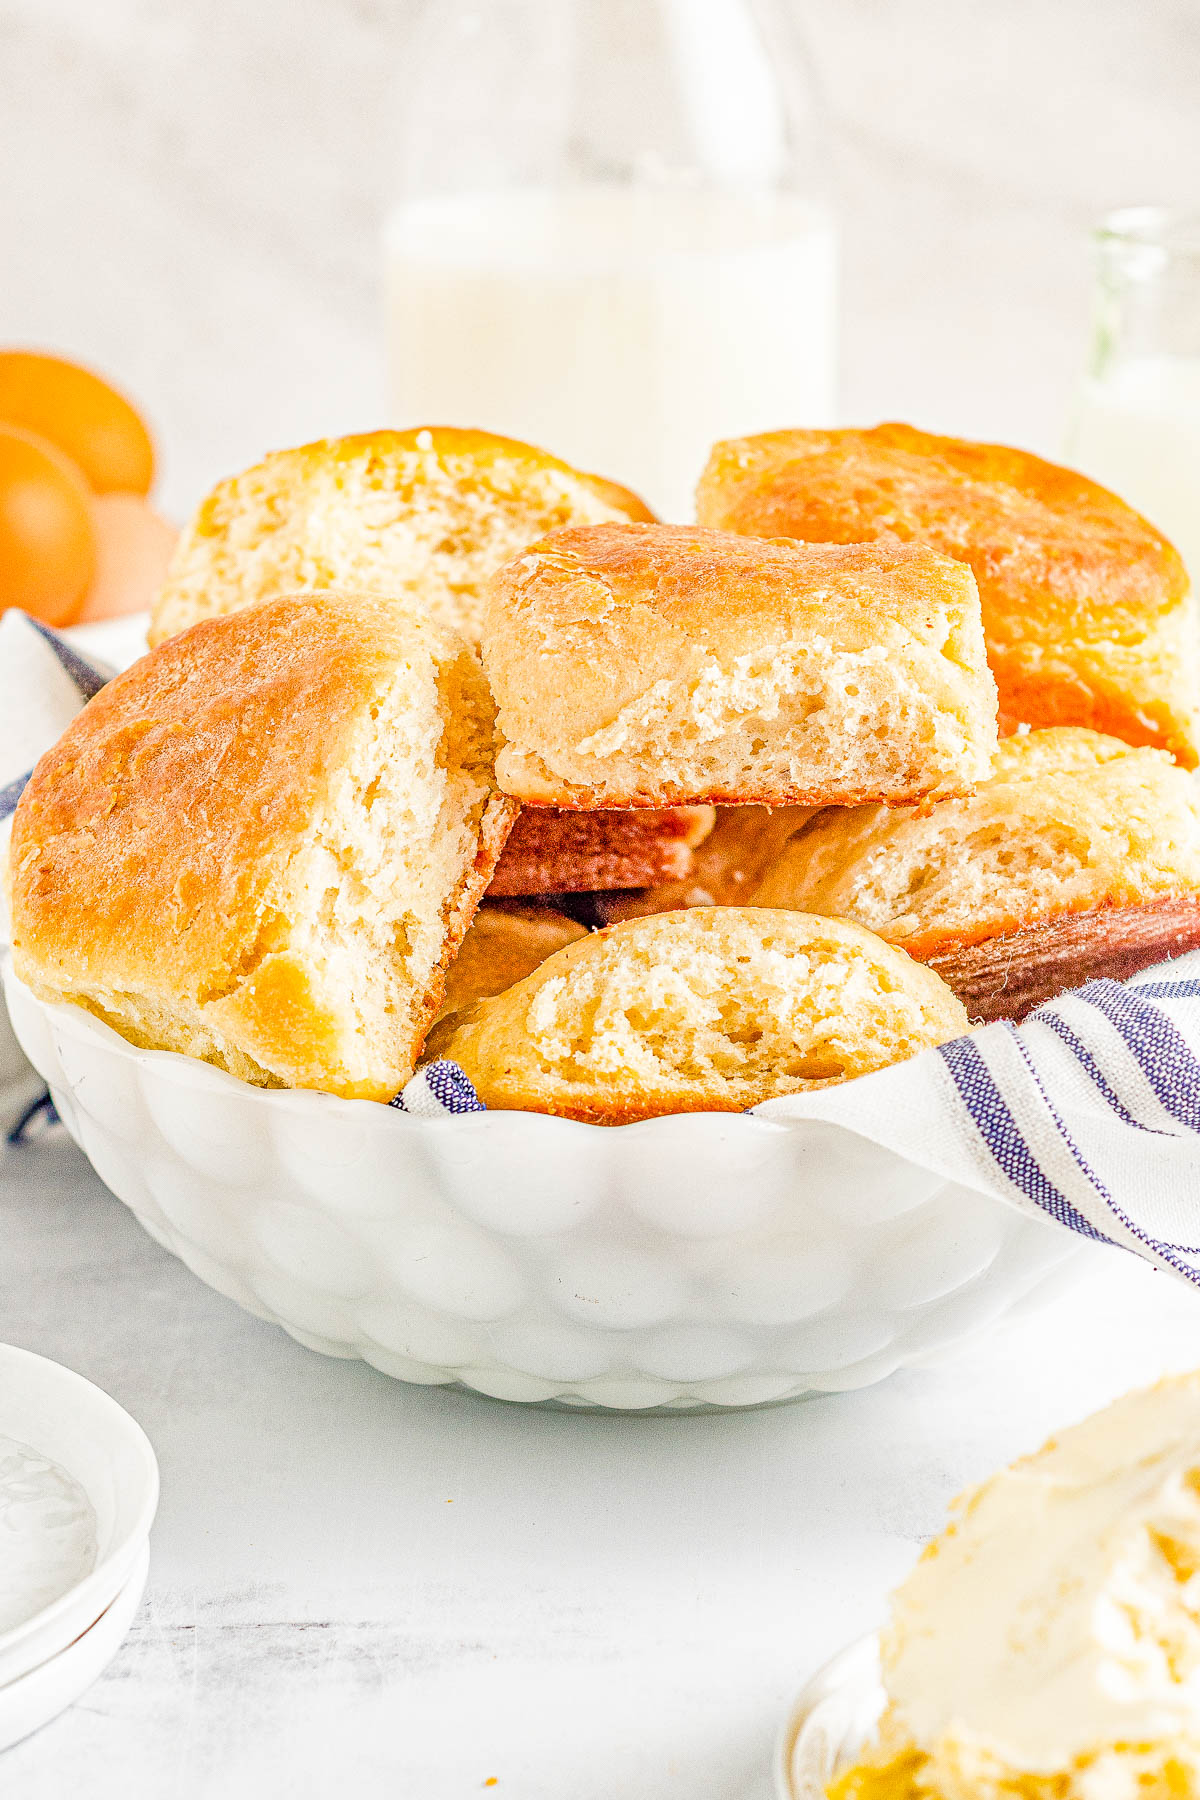
Table of Contents
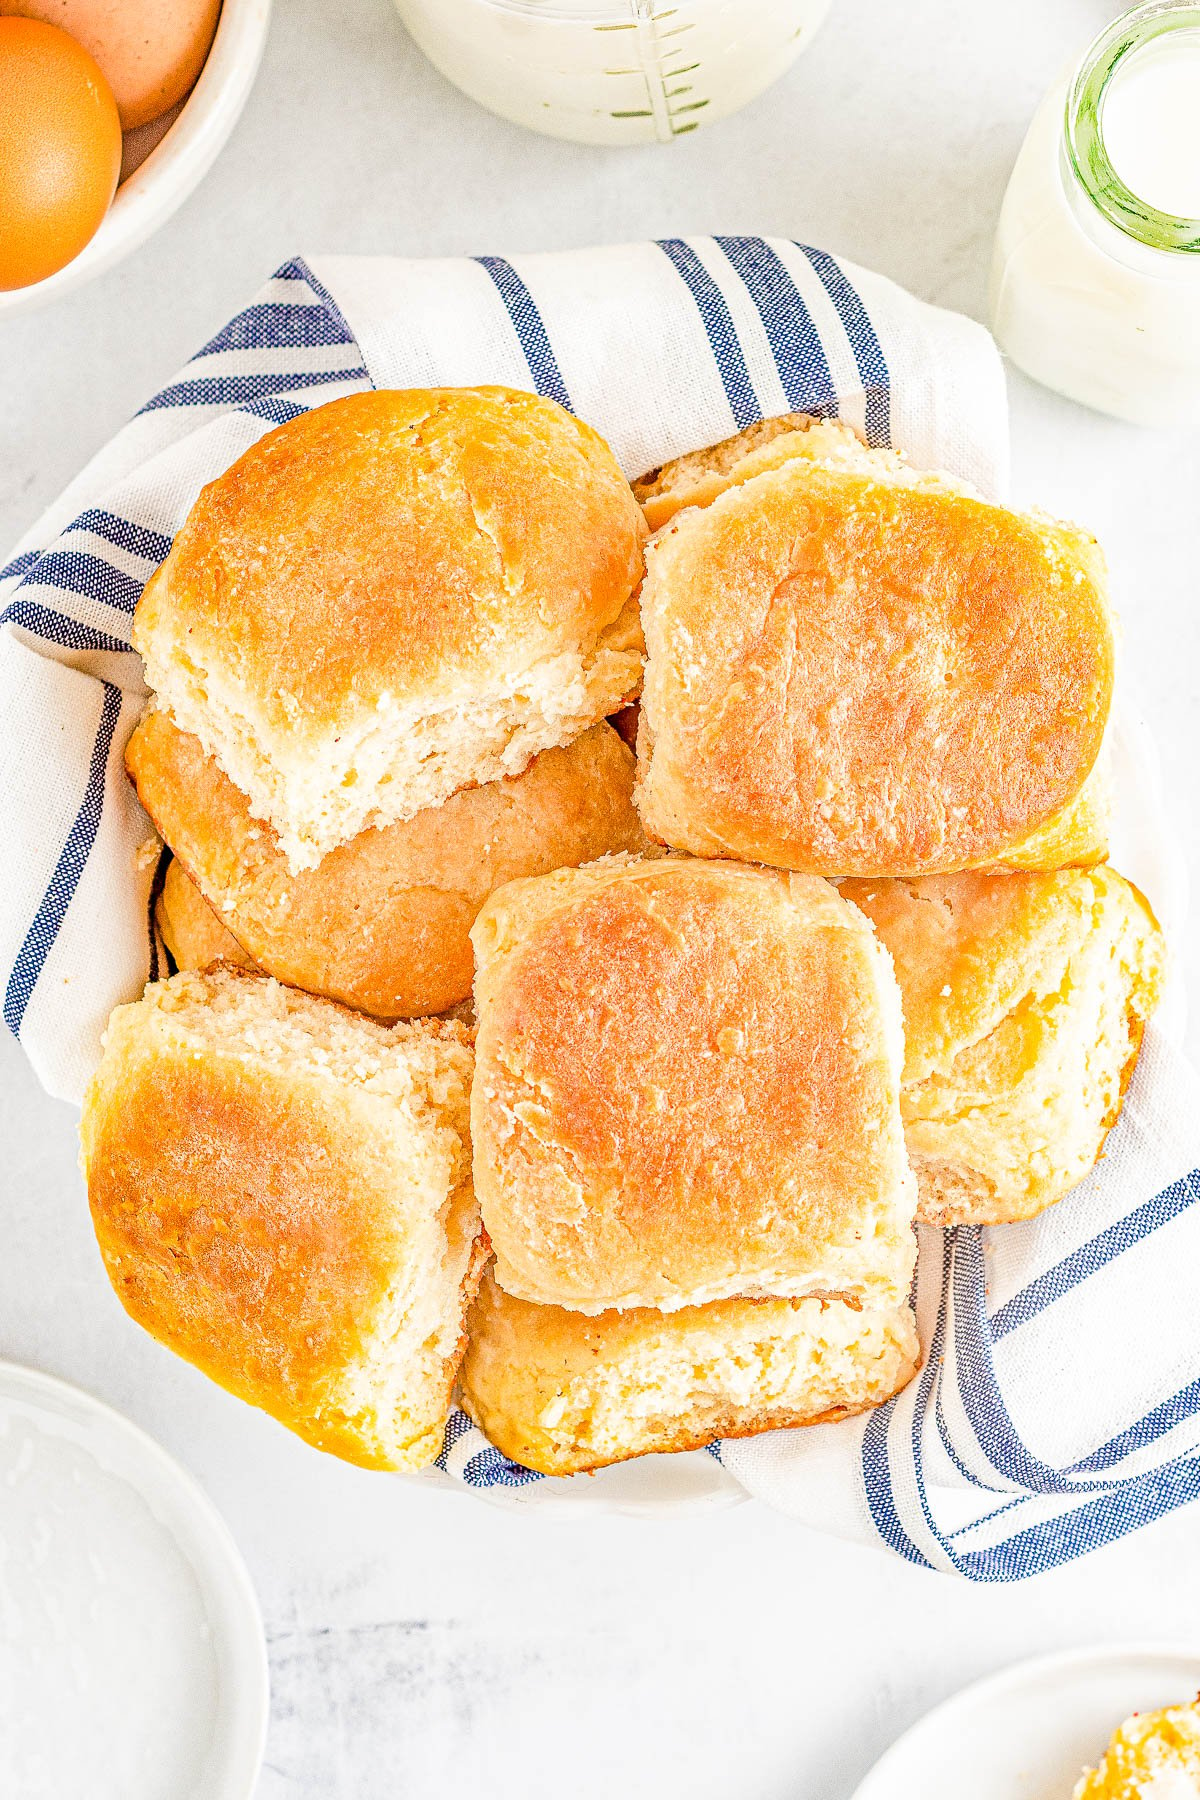
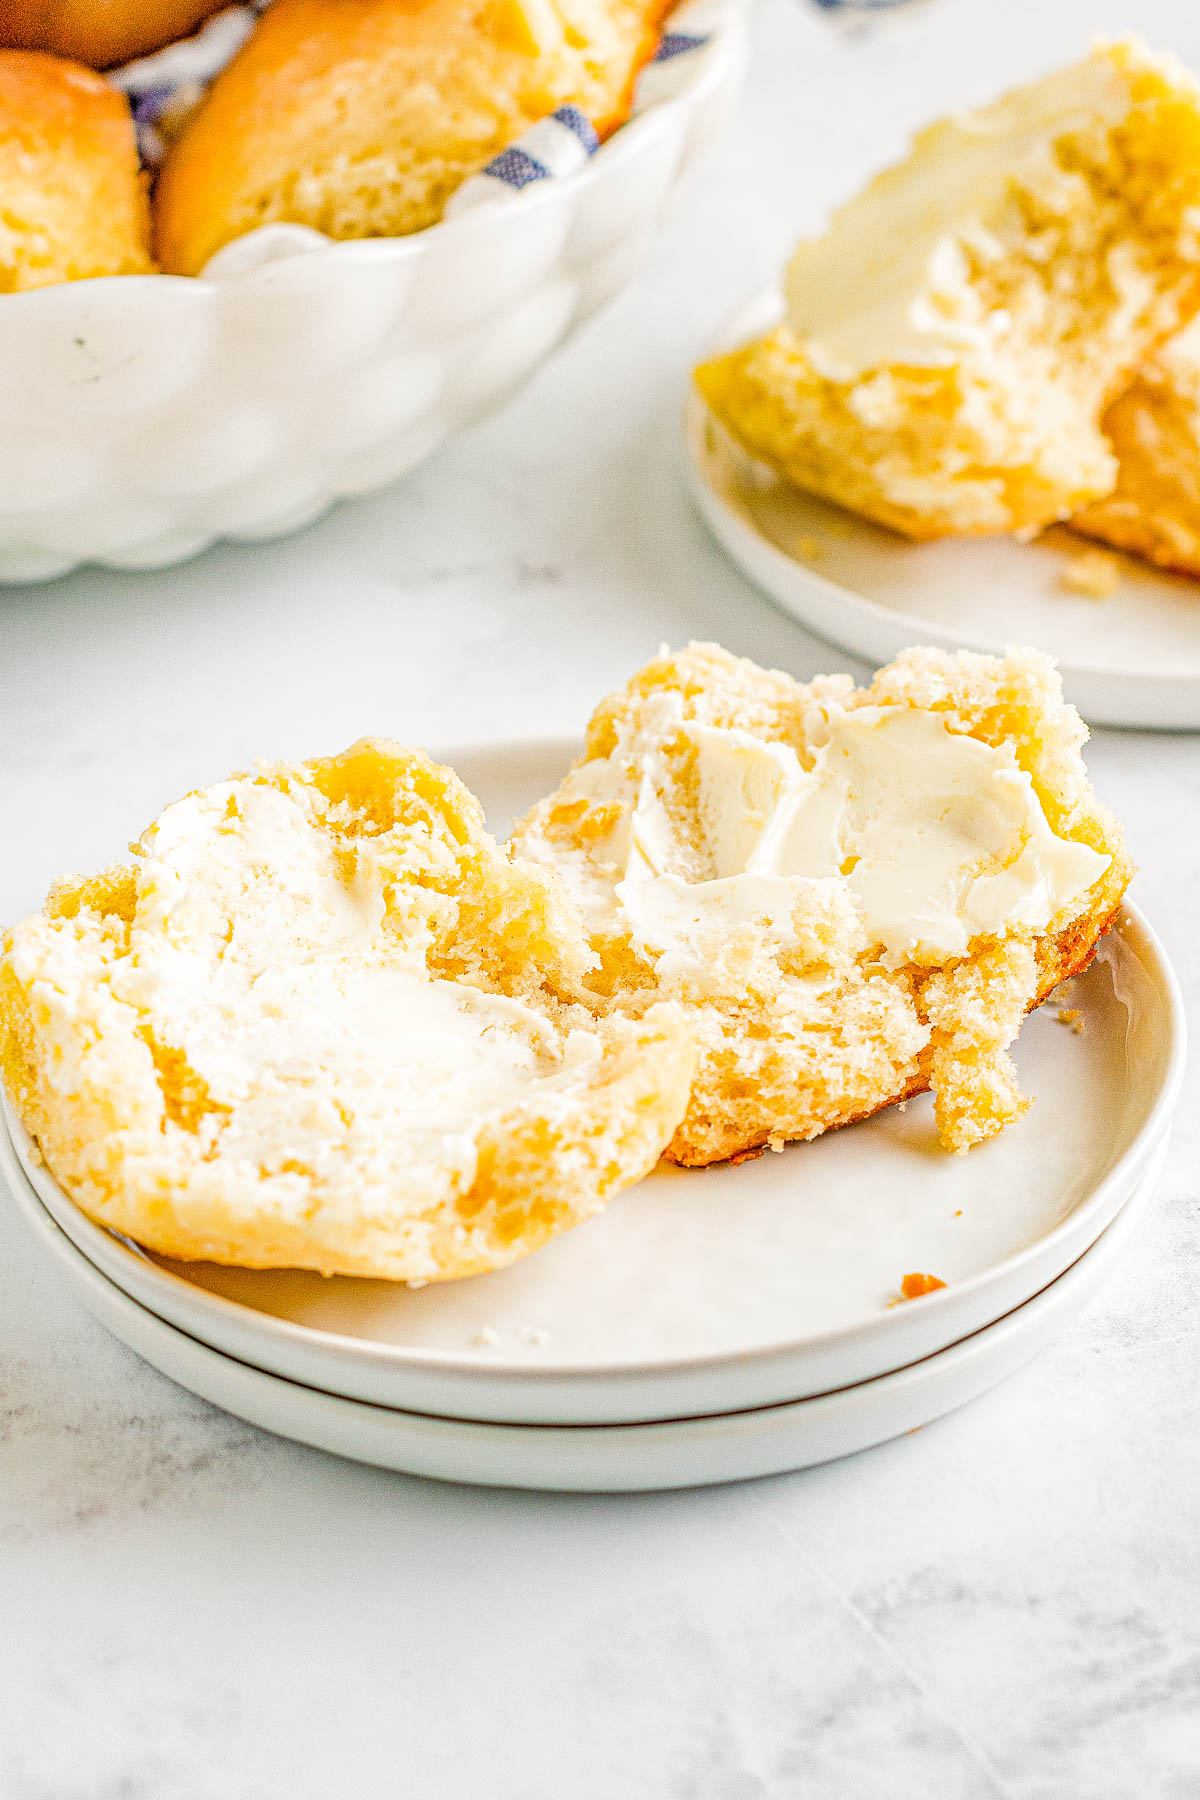
Angel biscuits are some of the lightest, fluffiest, melt-in-your-mouth biscuits that you’ll ever have the privilege of tasting! Flakey, buttery goodness coming at you in full force.
Thanks to a trio of leavening ingredients including two tablespoons of yeast, plus baking powder and baking soda, these biscuits are light as an angel flying about.
If that wasn’t enough, this angel biscuit recipe calls for mixing lemon juice into regular milk which creates homemade buttermilk. Buttermilk always helps any kind of baked good stay moist, tender, soft, and light.
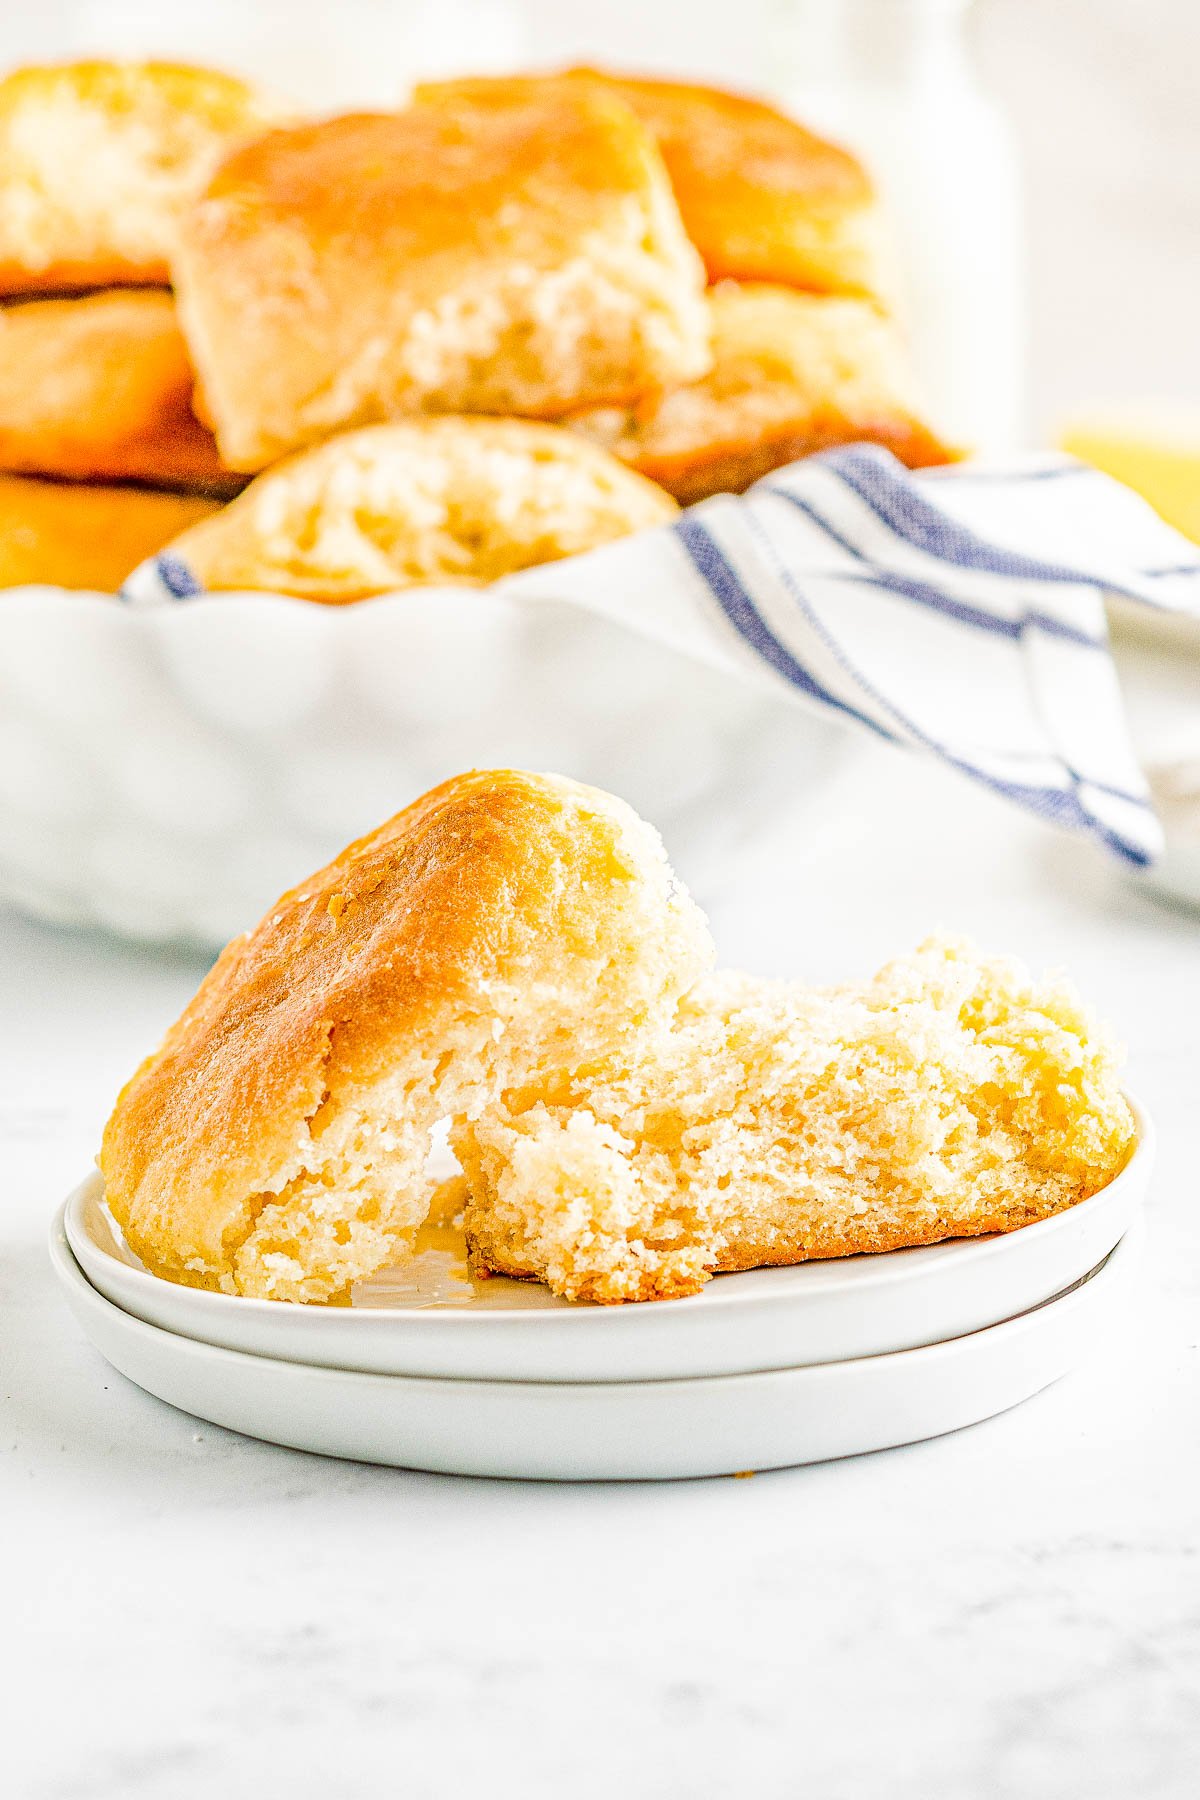
Angel biscuits are a cross between a dinner roll and a traditional Southern-style biscuit. They’re easy to make and ready from start to finish under 2 hours.
They’re a family favorite comfort food recipe. No one can eat just one! They’re a perfect addition to a holiday brunch such as for Easter or Mother’s Day, for a big Sunday family dinner, or even as a weekday or weeknight treat.
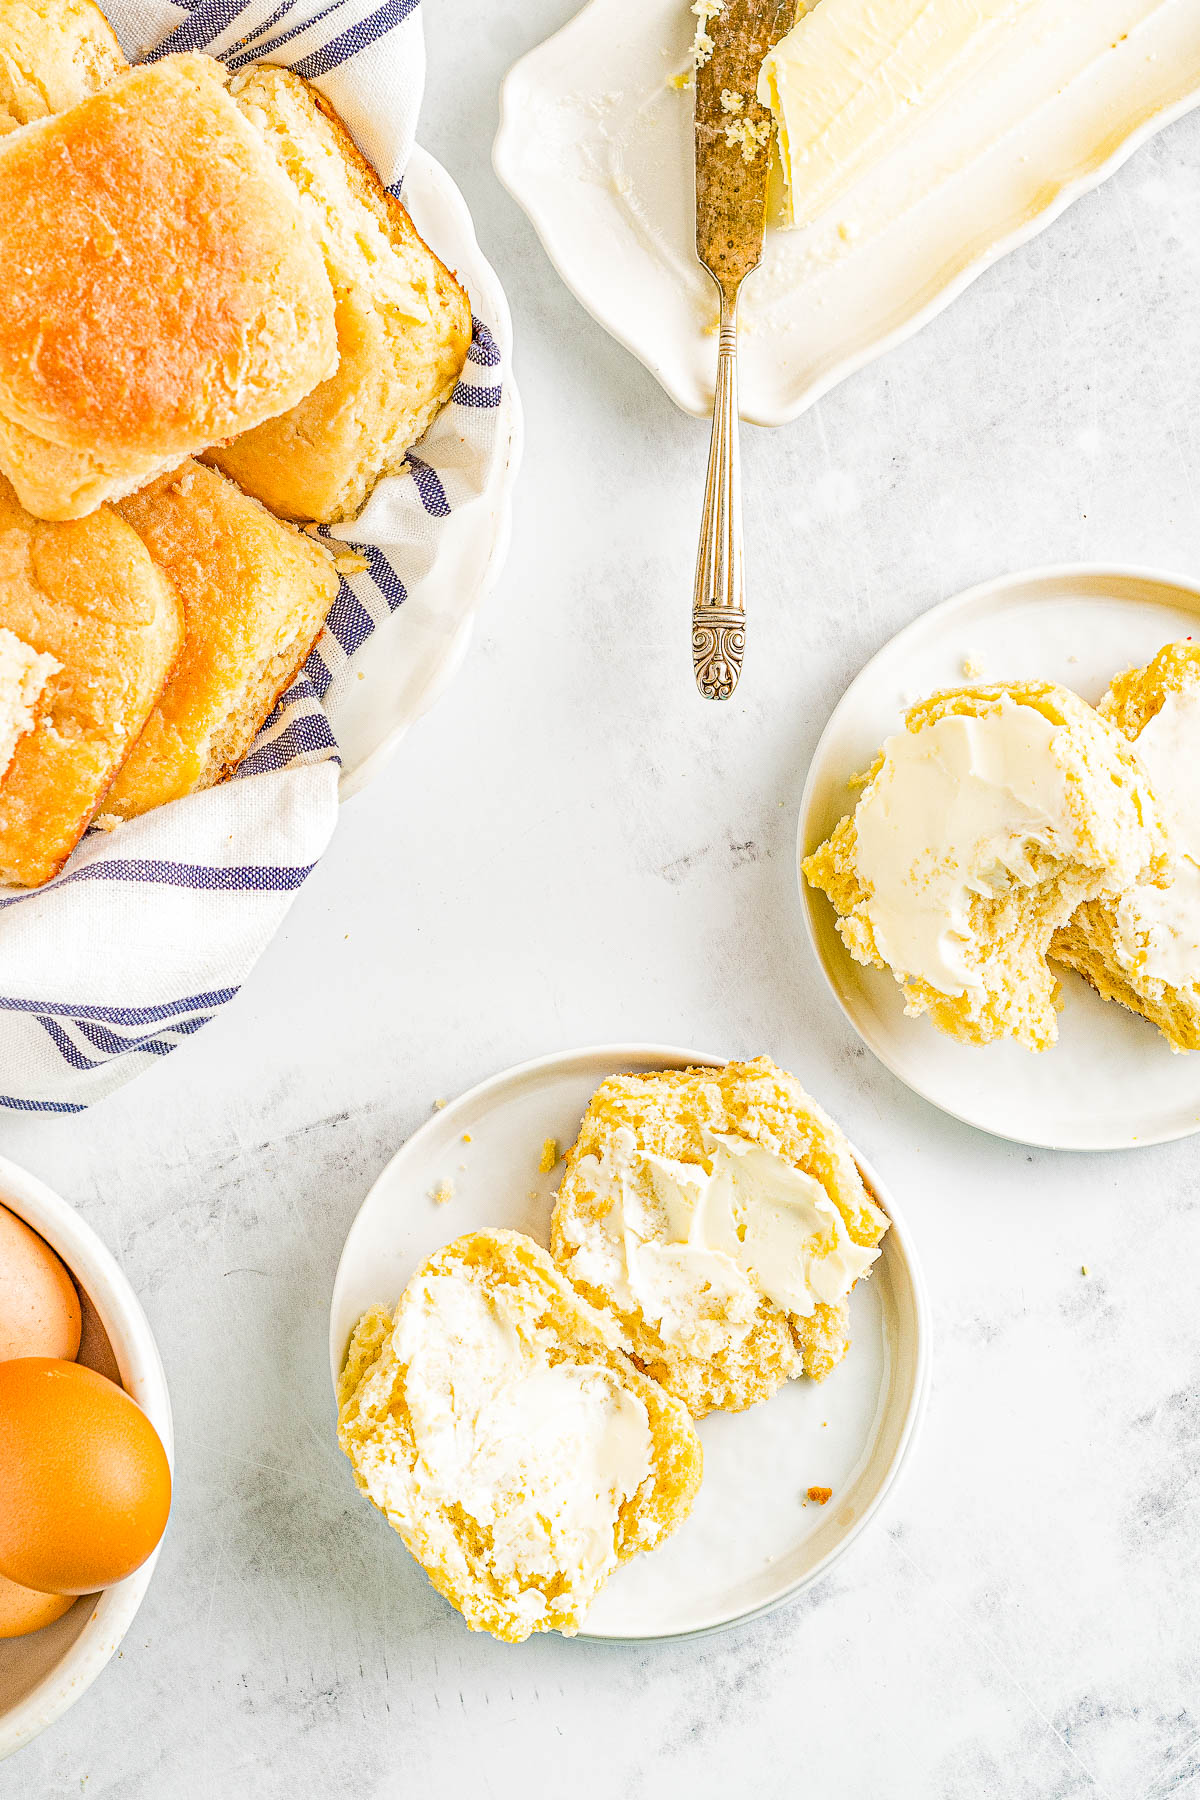
Whether you want to serve them on the sweeter side with butter and honey or jam.
Or serve these angel biscuits alongside a savory dish to mop up extra gravy or sauce, with a hearty bowl of chili, or alongside bacon and eggs, you can’t go wrong! More serving suggestions and ideas are below.
Ingredients Needed
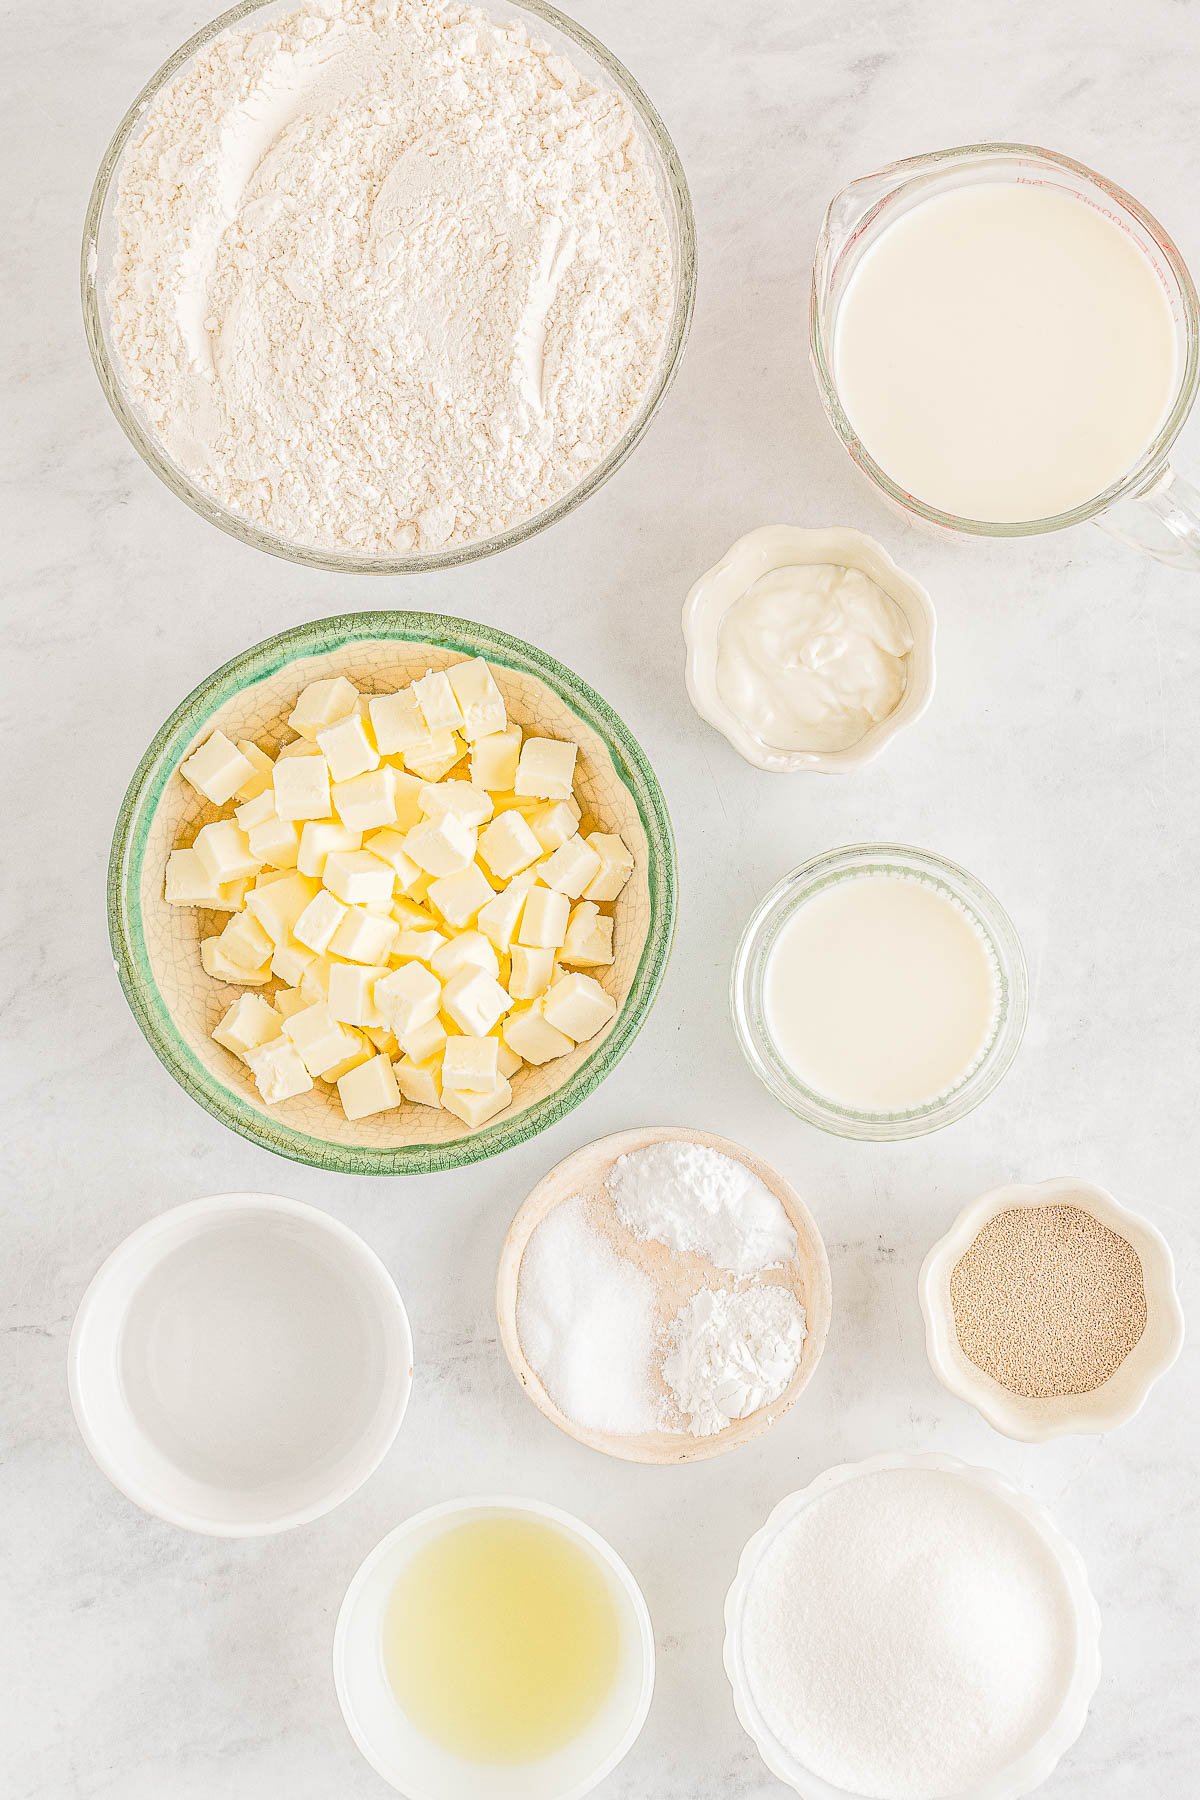
The ingredients in angel biscuits are easy-to-find and very common fridge and pantry ingredients including the following:
- Warm milk
- Granulated sugar
- Warm water
- Active dry yeast
- Lemon juice
- All-purpose flour
- Salt
- Baking powder
- Baking soda
- Unsalted butter
- Shortening
- Sour cream
- Heavy cream
Note: All ingredients amounts are listed in the recipe card section when you keep scrolling down.
How to Make Angel Biscuits
Follow my straightforward steps and even if you’re new to making biscuits or yeast breads and rolls, that’s okay because this is a very approachable recipe. Let’s get started.
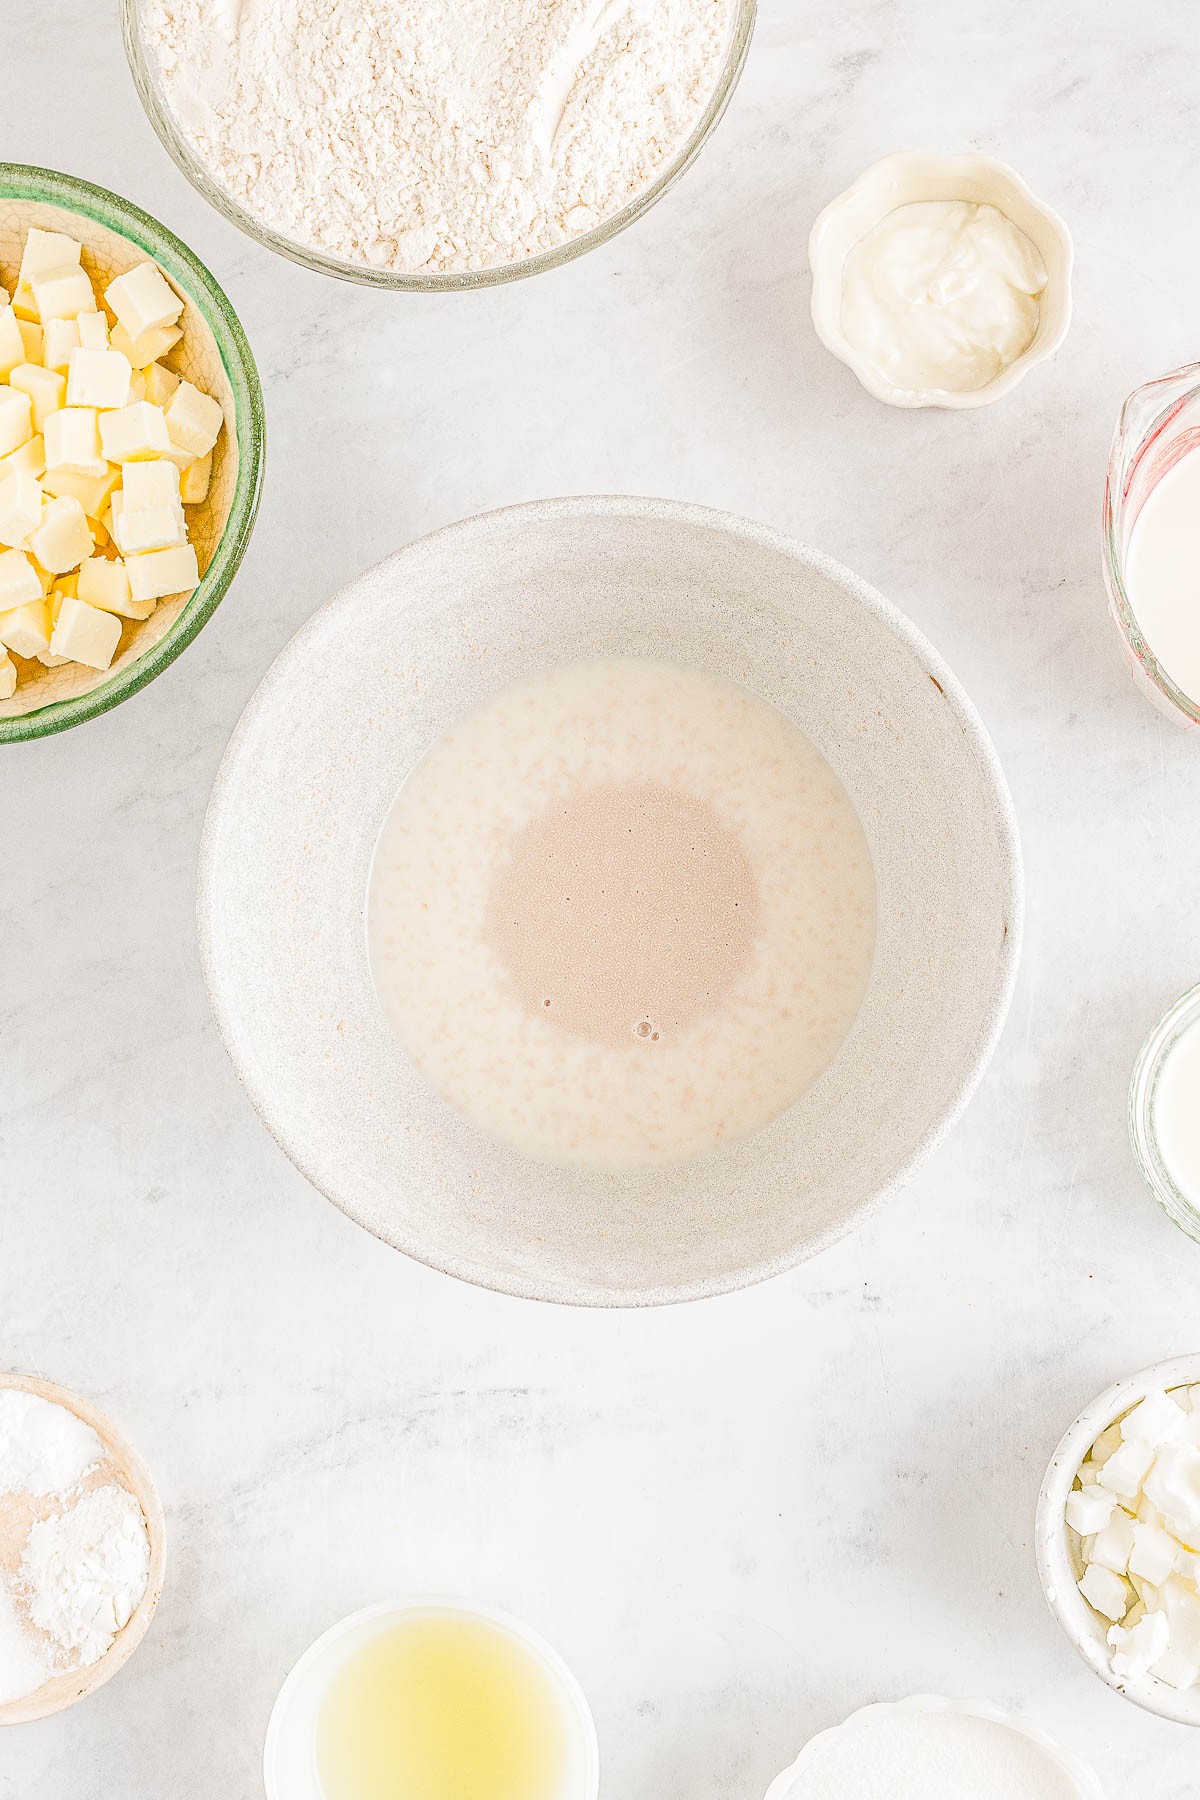
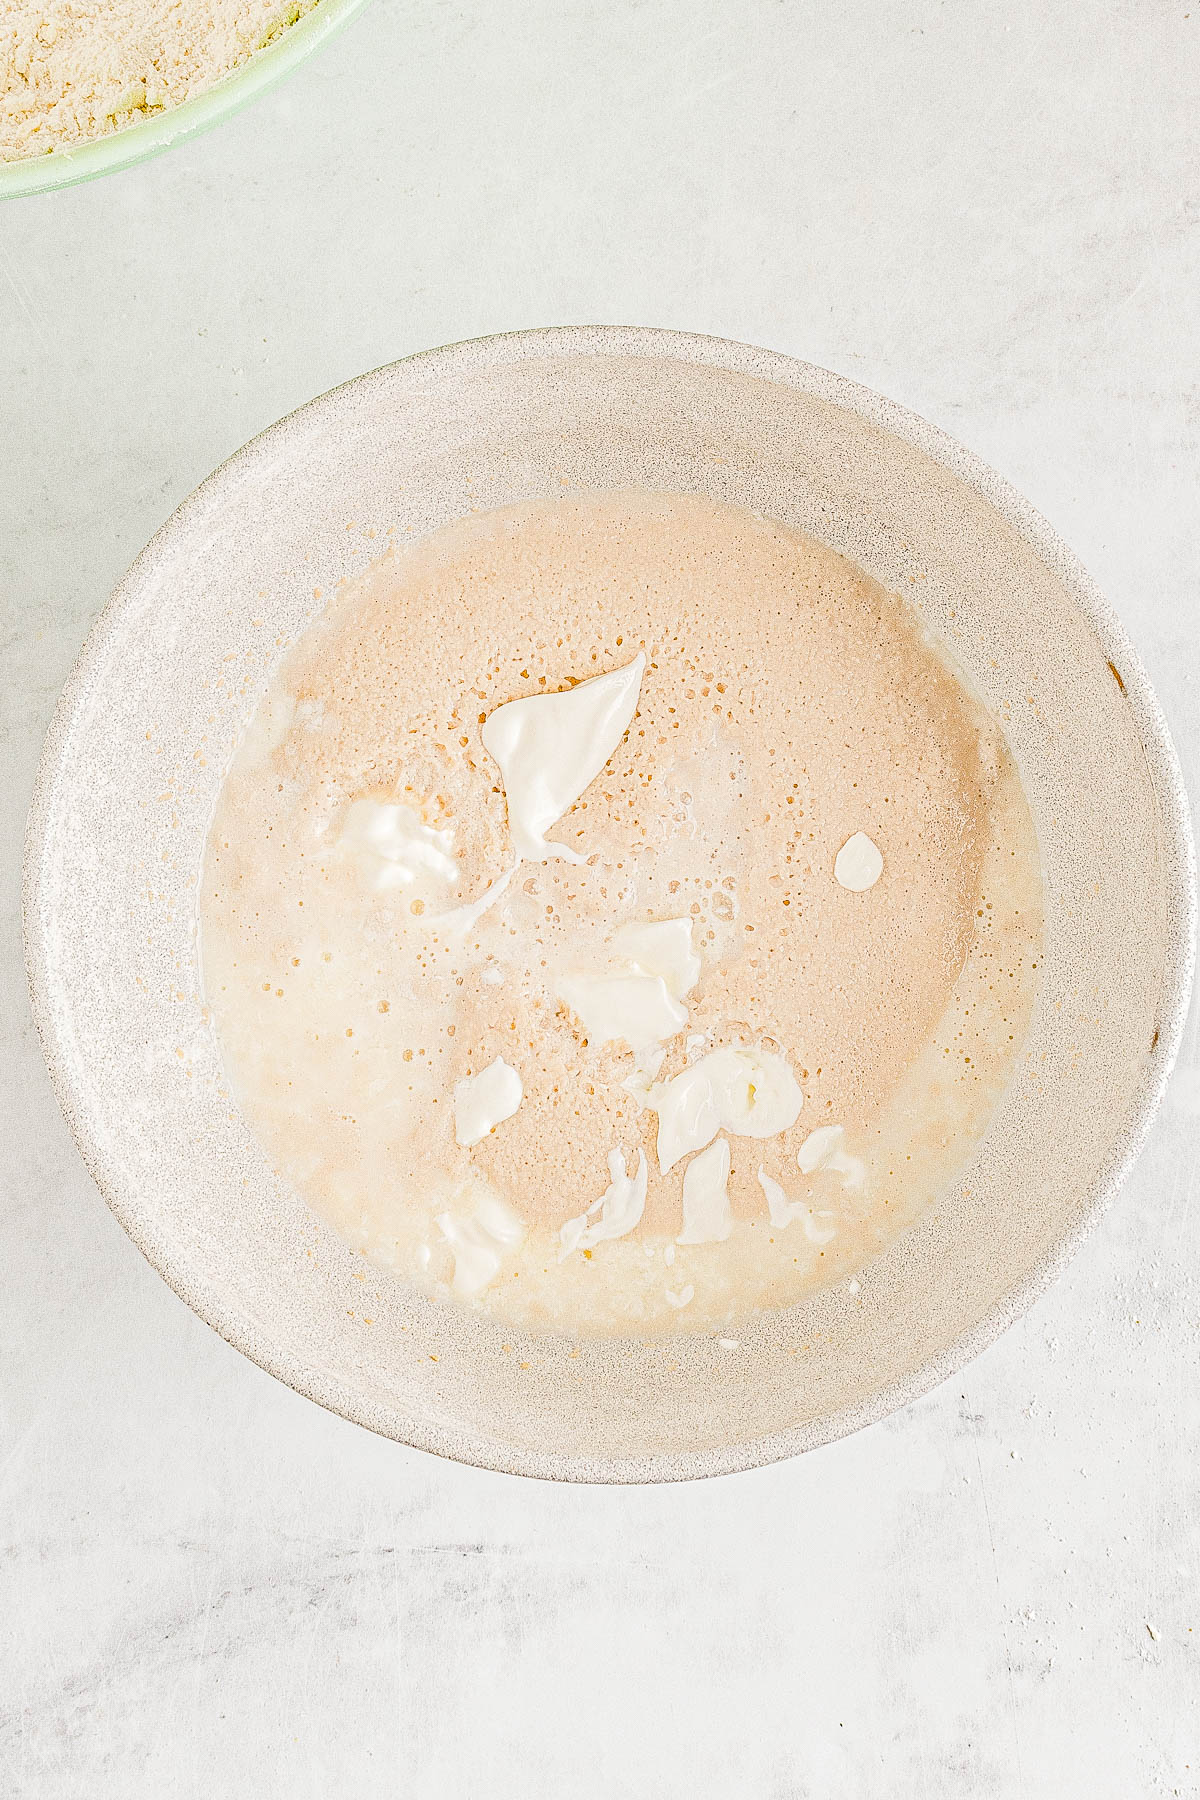
- To a large bowl, add 1/4 cup milk, 2 teaspoons sugar, yeast, and whisk to combine.
- Proof for 5 minutes. This means check for proof that the yeast is alive and well, meaning the yeast mixture is bubbly and foamy looking.
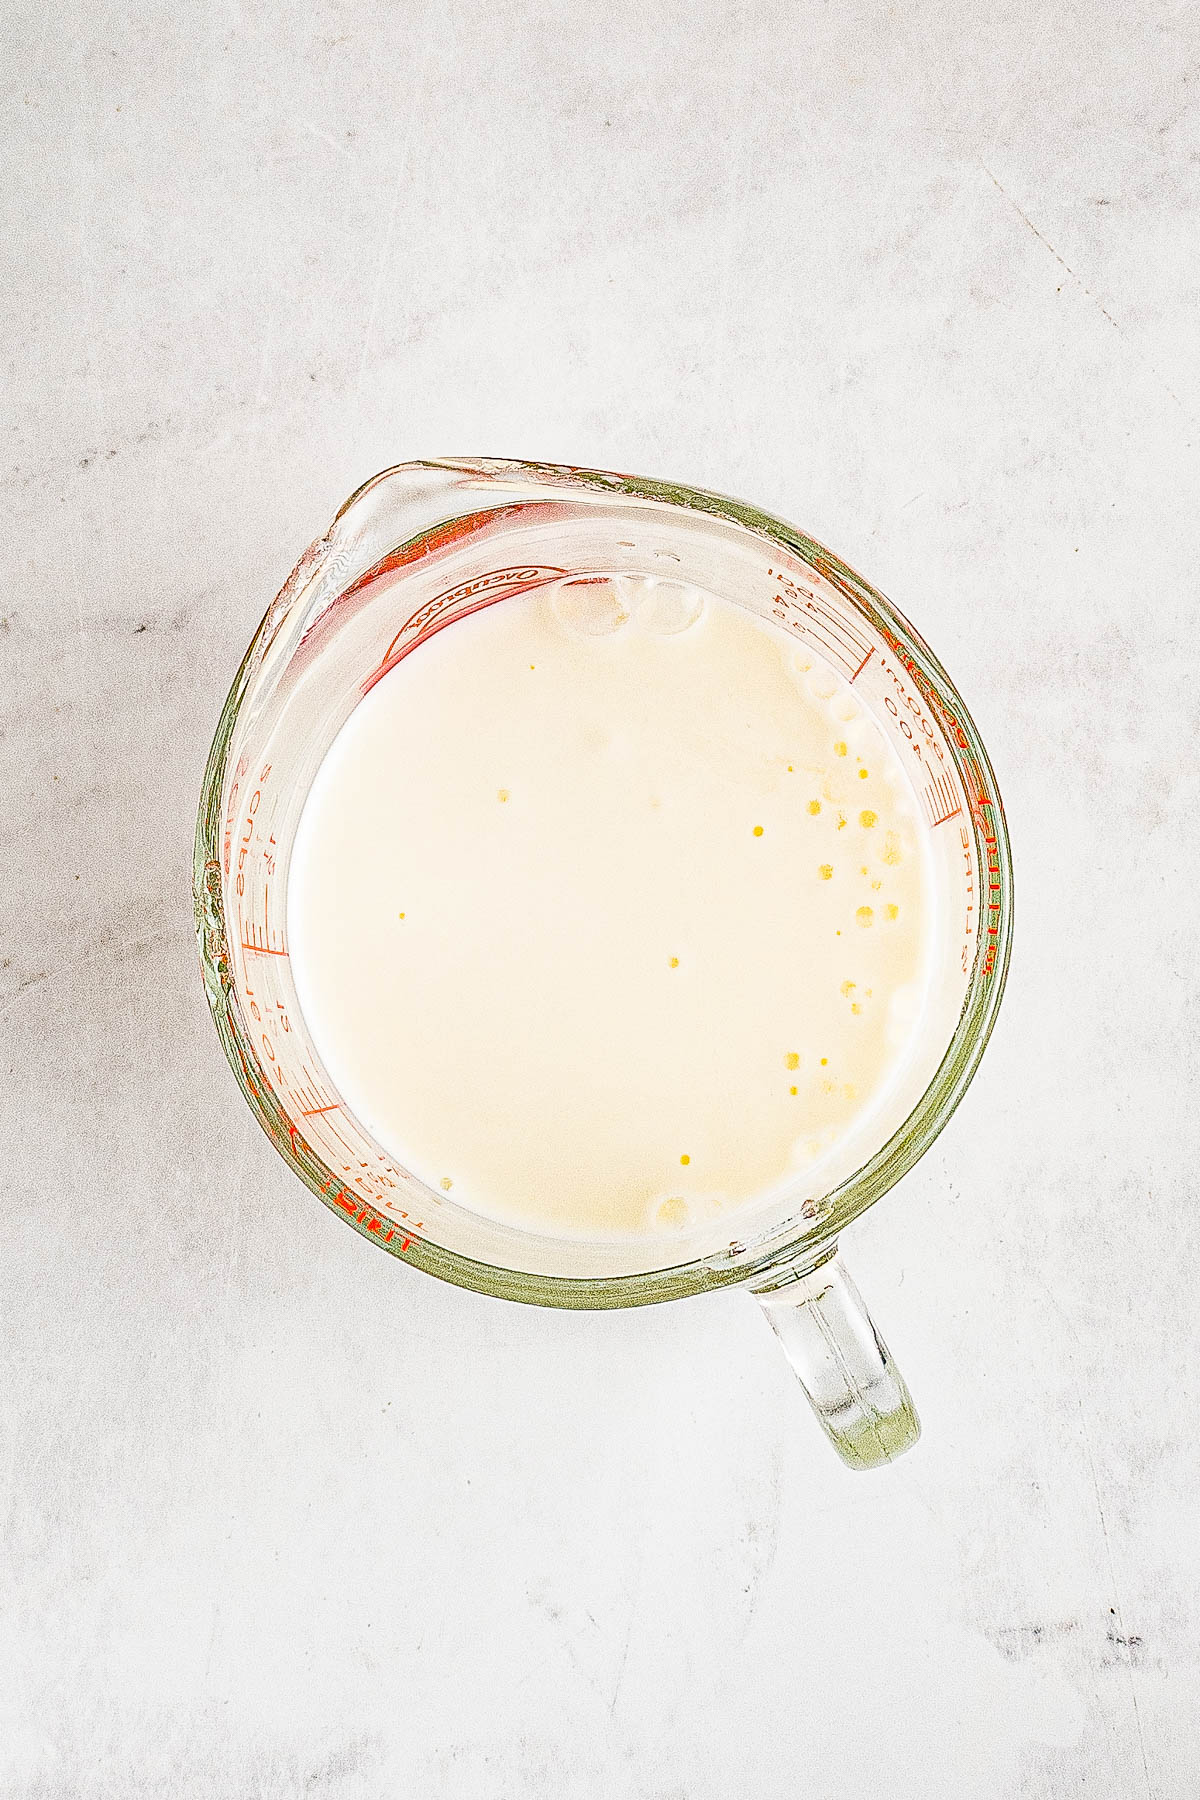
- While proofing and waiting, in a separate bowl combine the remaining milk and lemon juice and set it aside to curdle. Tip – You’re making buttermilk right now so don’t skip this step!
No Stand Mixer? No Problem!
I actually find it easier to make these biscuits by hand, using a variety of bowls, rather in my stand mixer.
- To another large mixing bowl add the remaining dry ingredients and whisk to combine.
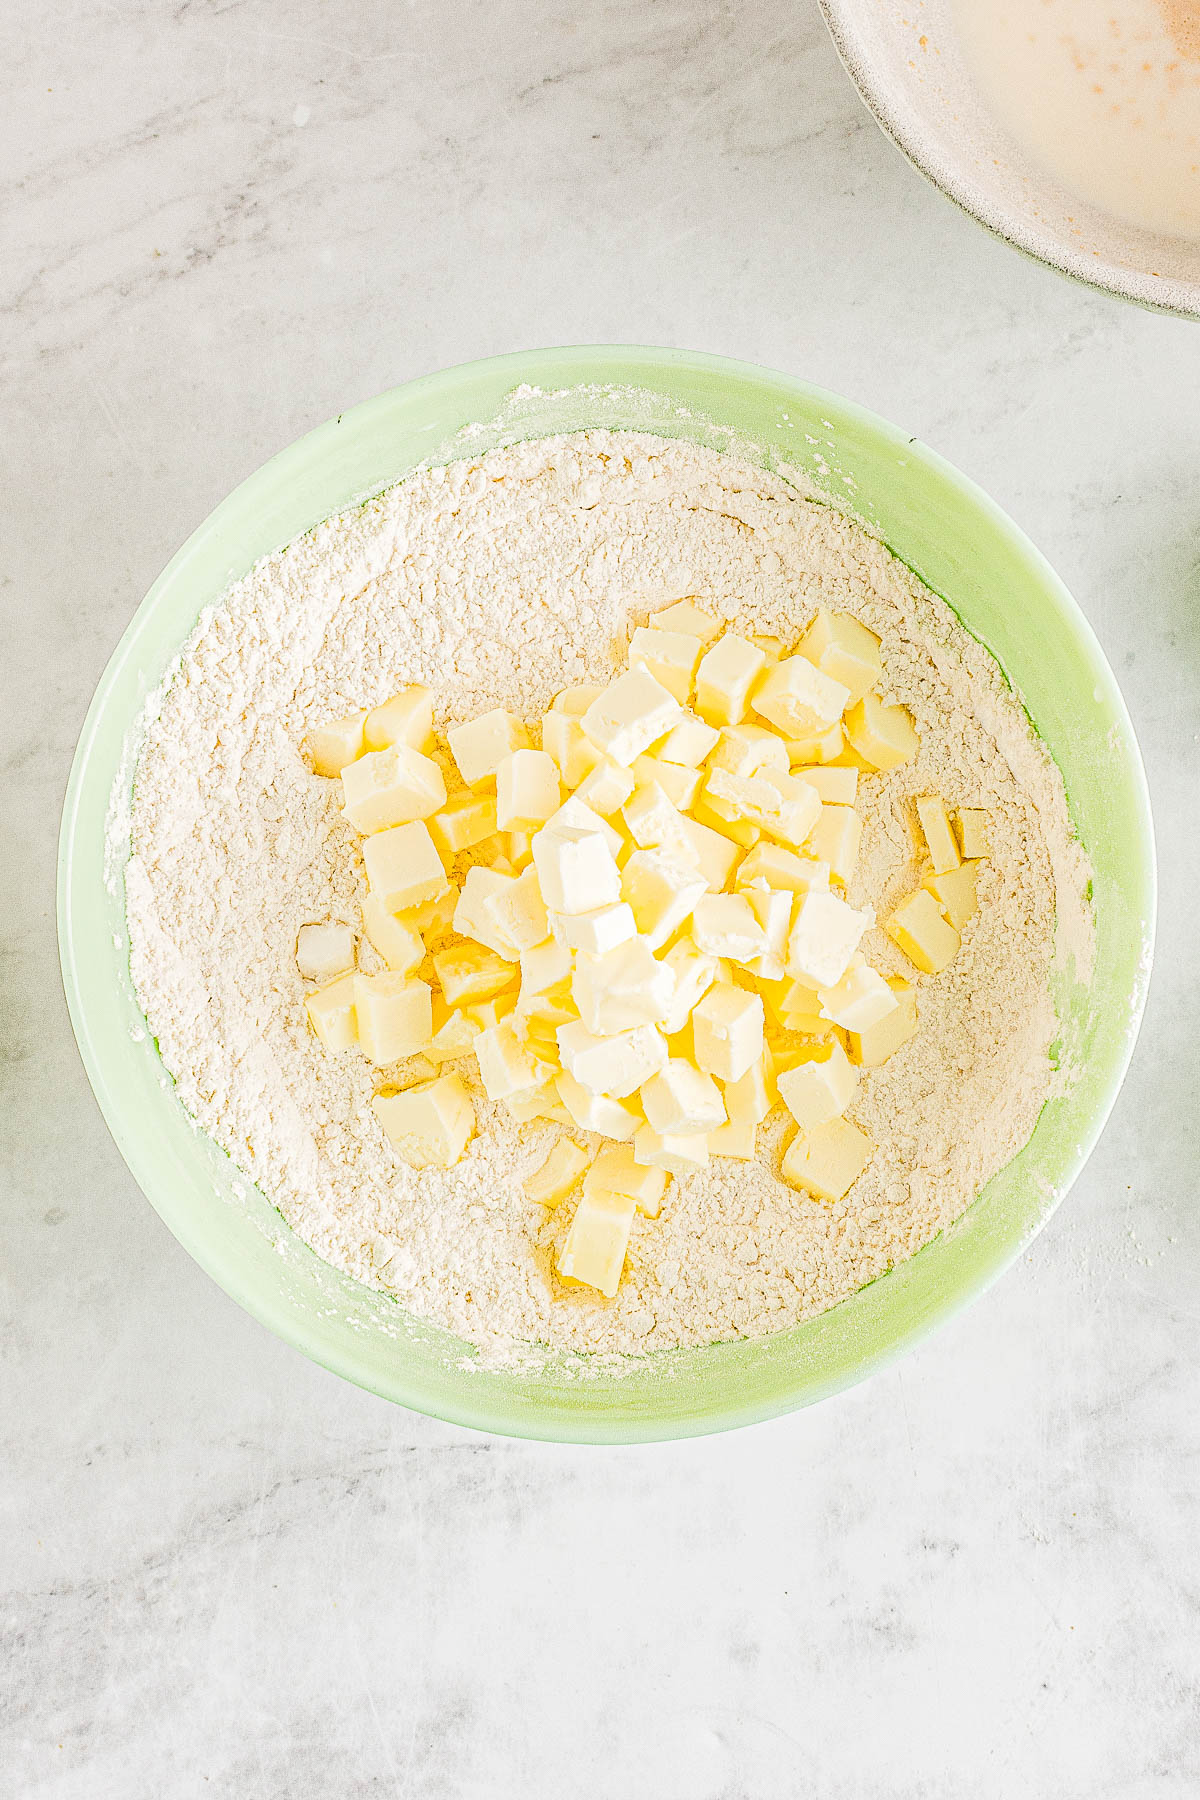
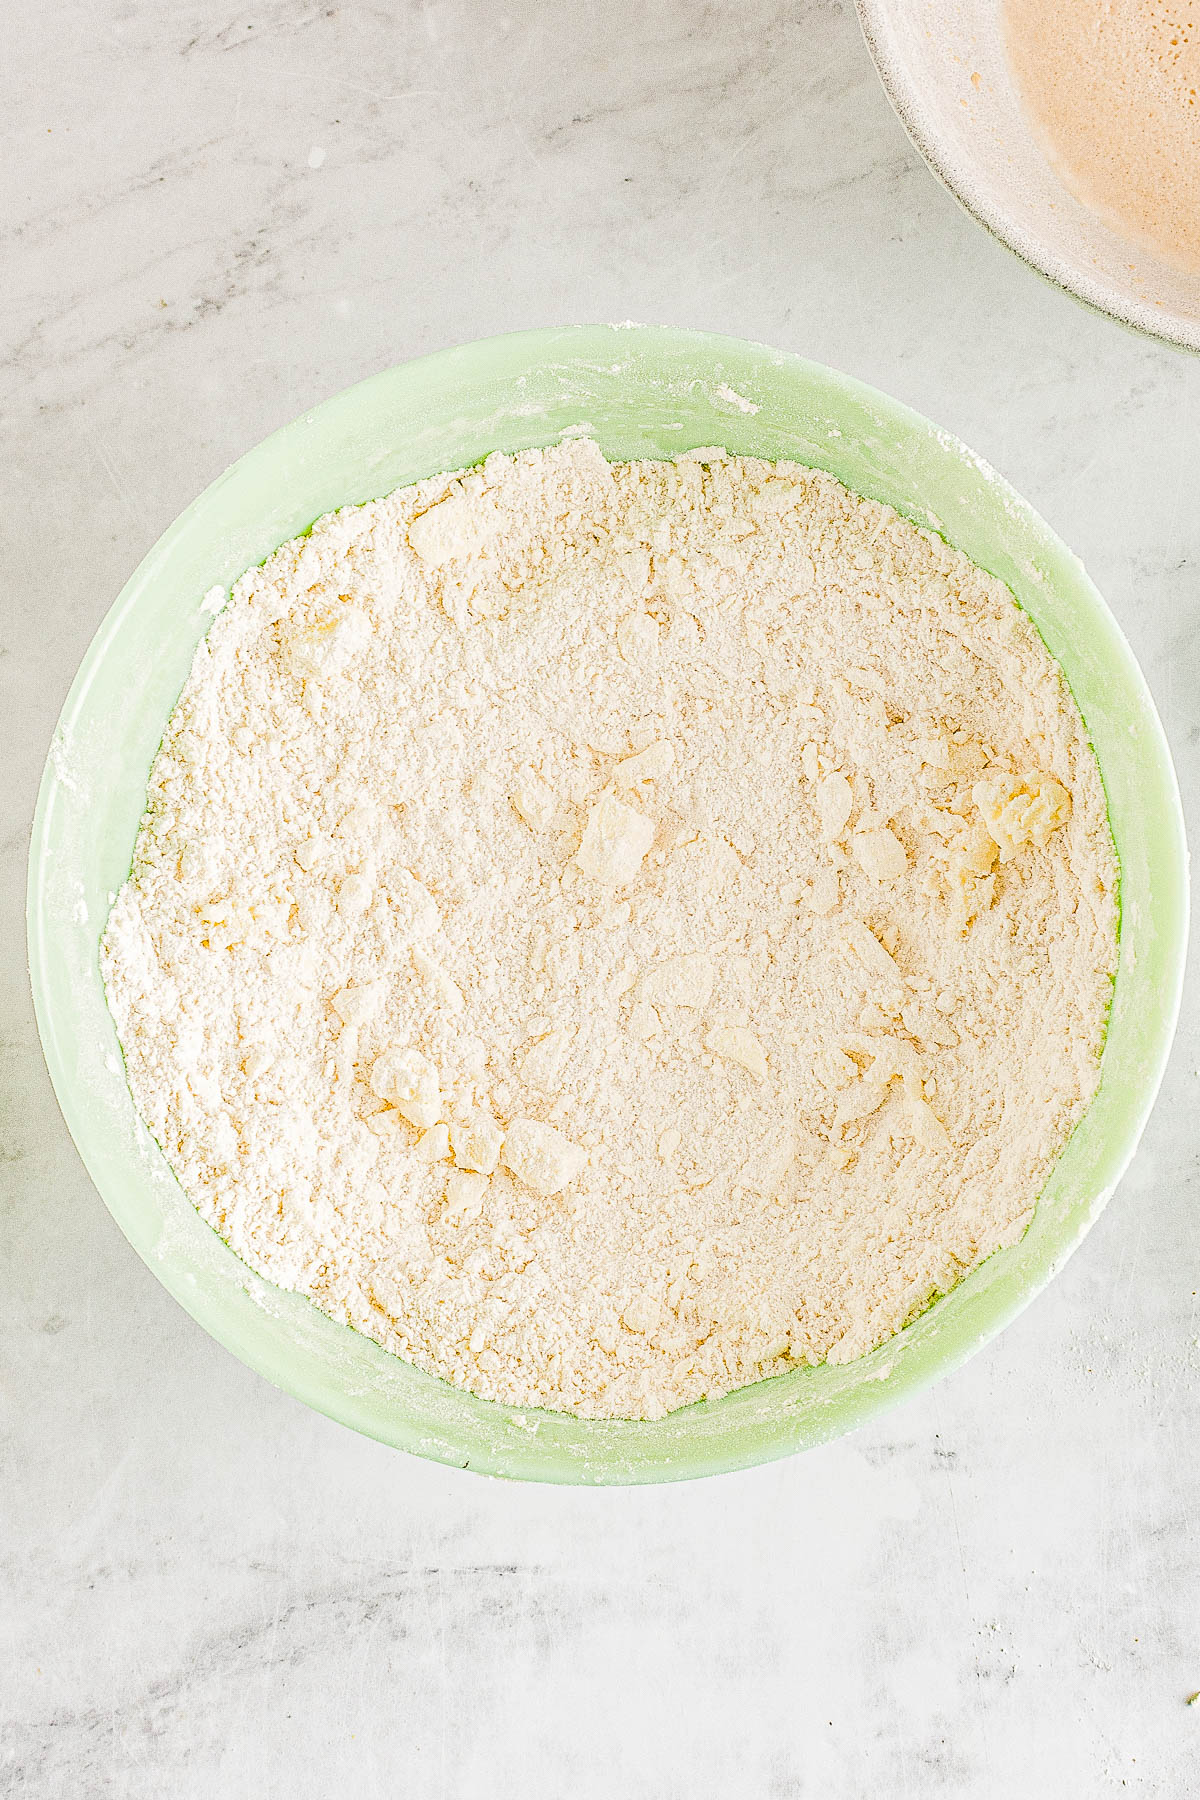
- Add the cold butter, shortening, and cut them in with a pastry cutter, pastry blender, or two forks.
- Once the yeast has proofed, add the milk/lemon juice mixture, and the sour cream to the yeast mixture, and mix to combine.
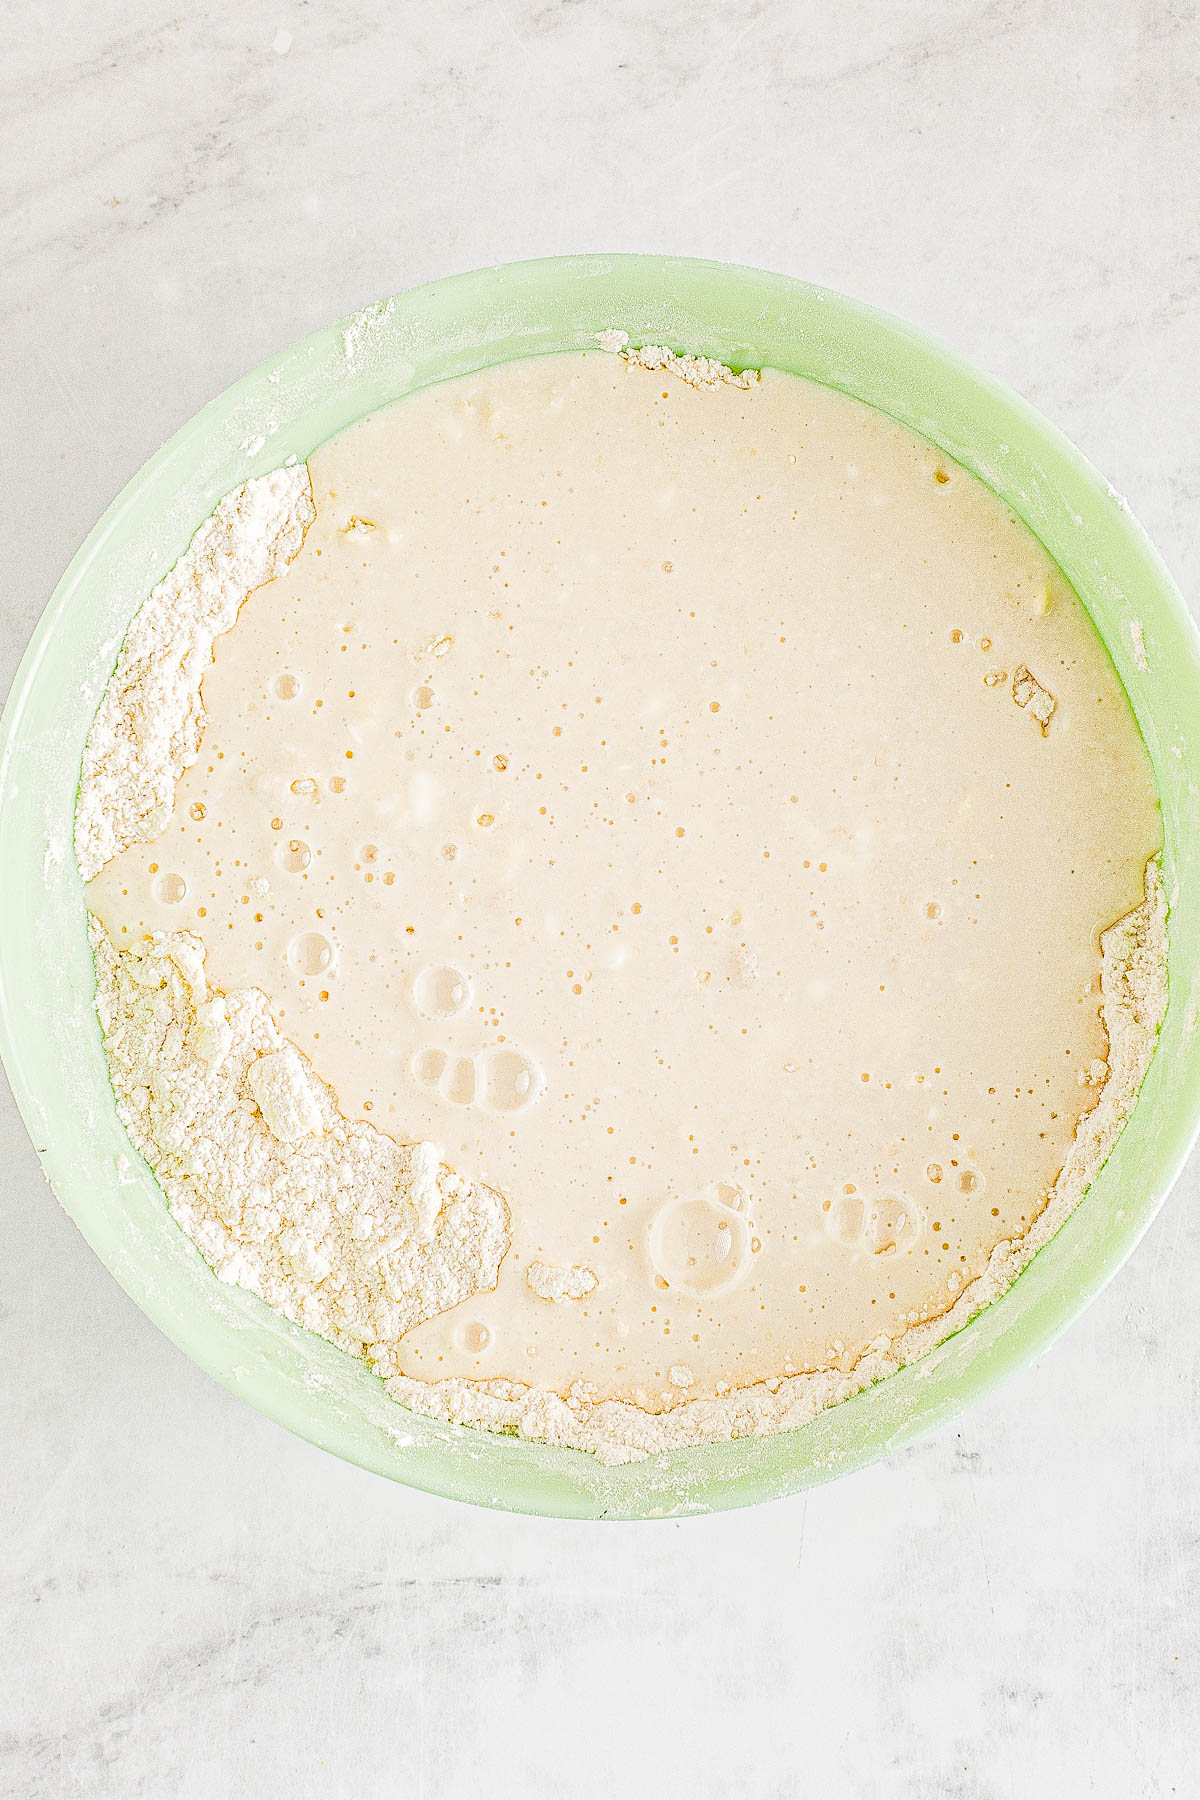
- Pour this wet mixture over the dry flour mixture, and stir with a wooden spoon to combine.
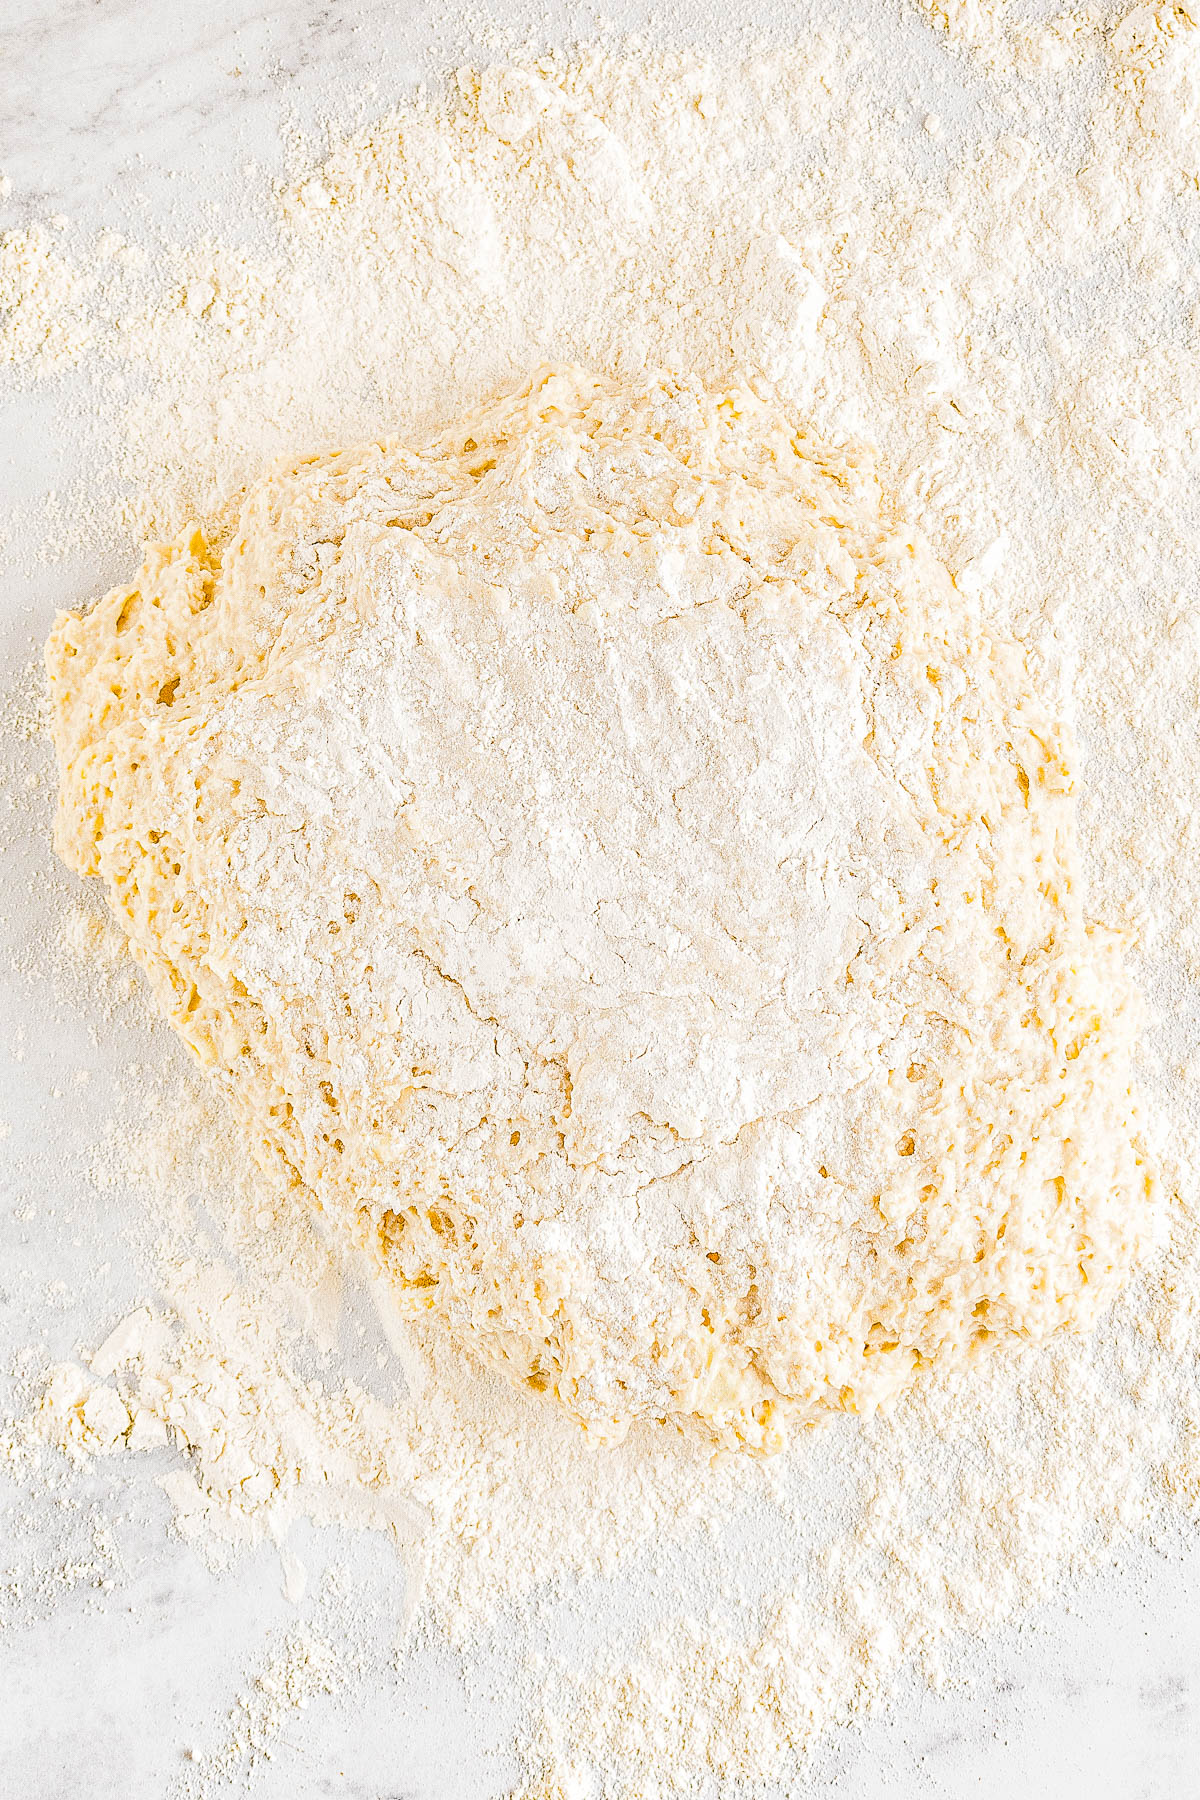
- Turn the dough out onto a clean, well-floured surface, and fold the dough together with your hands until it’s no longer sticky, but still soft.
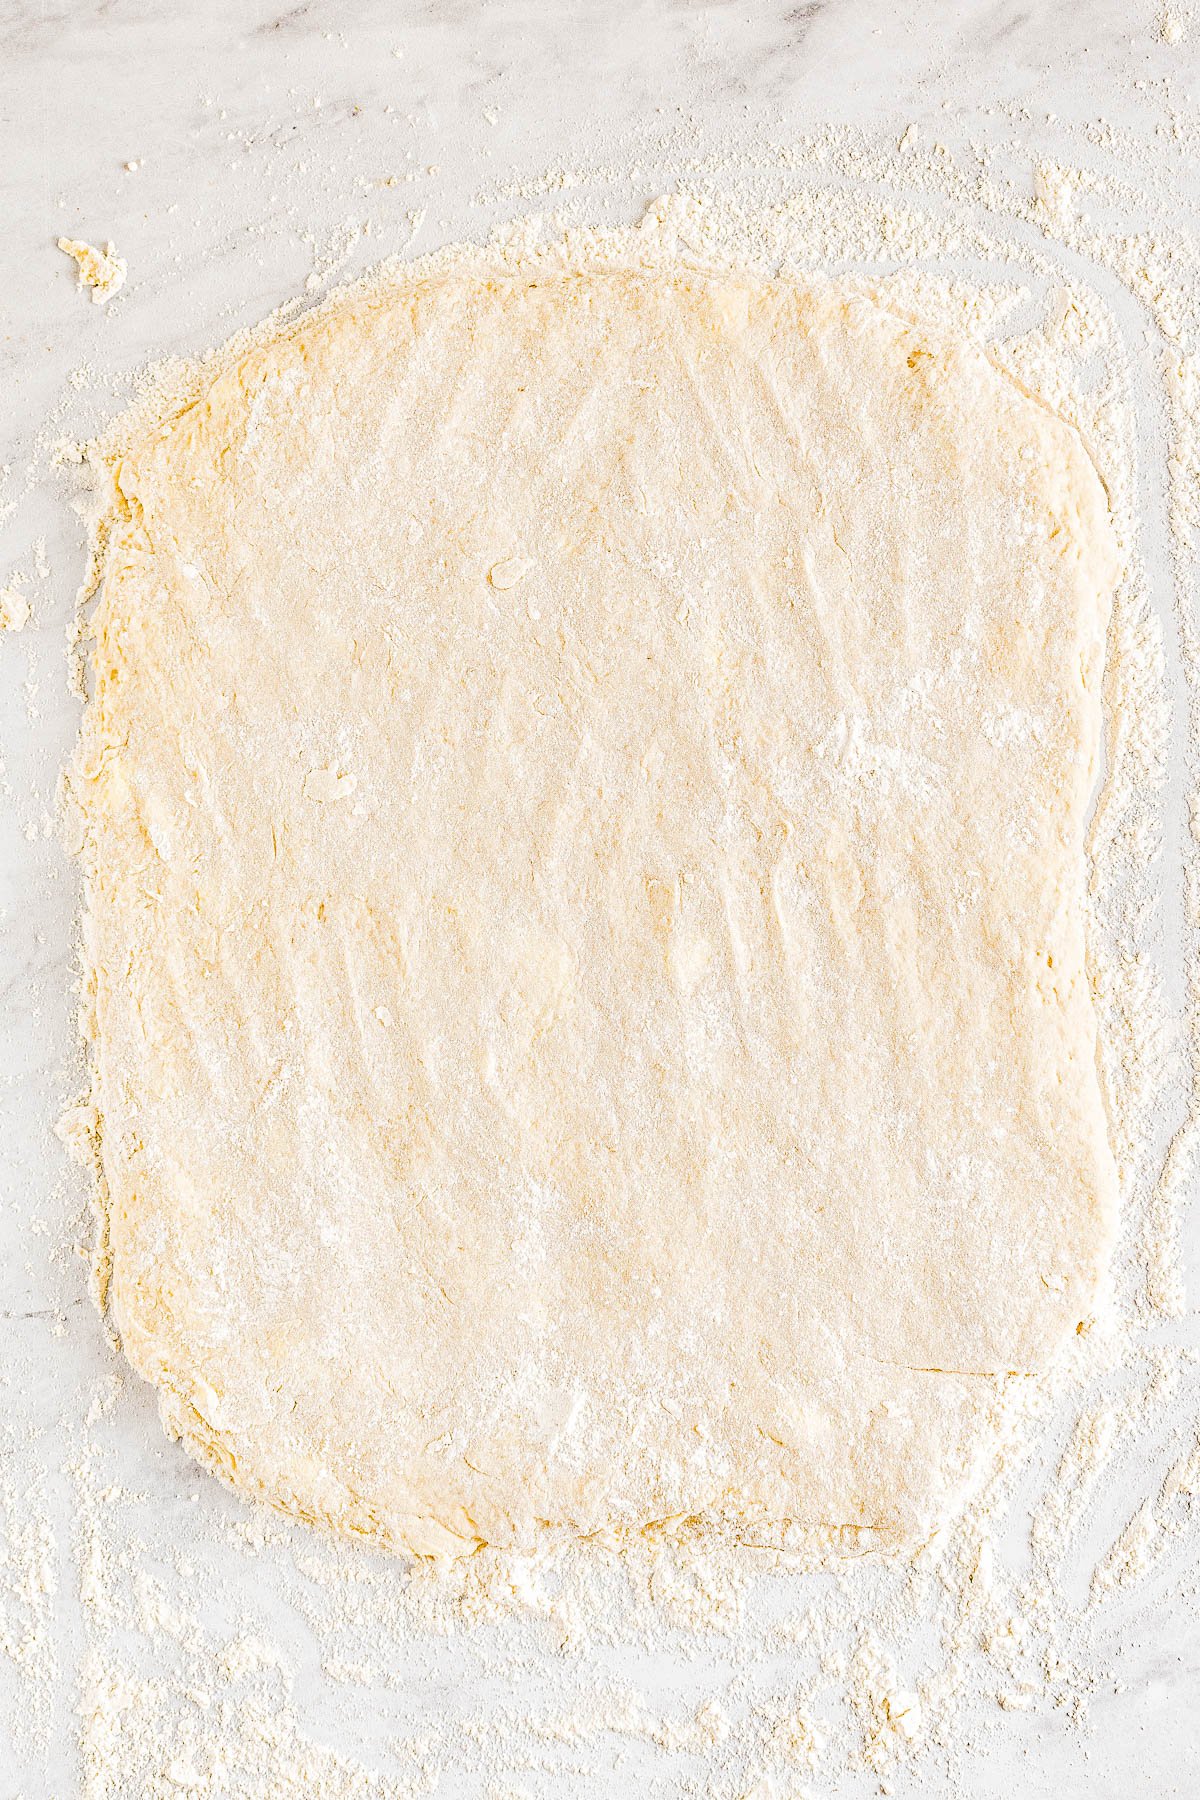
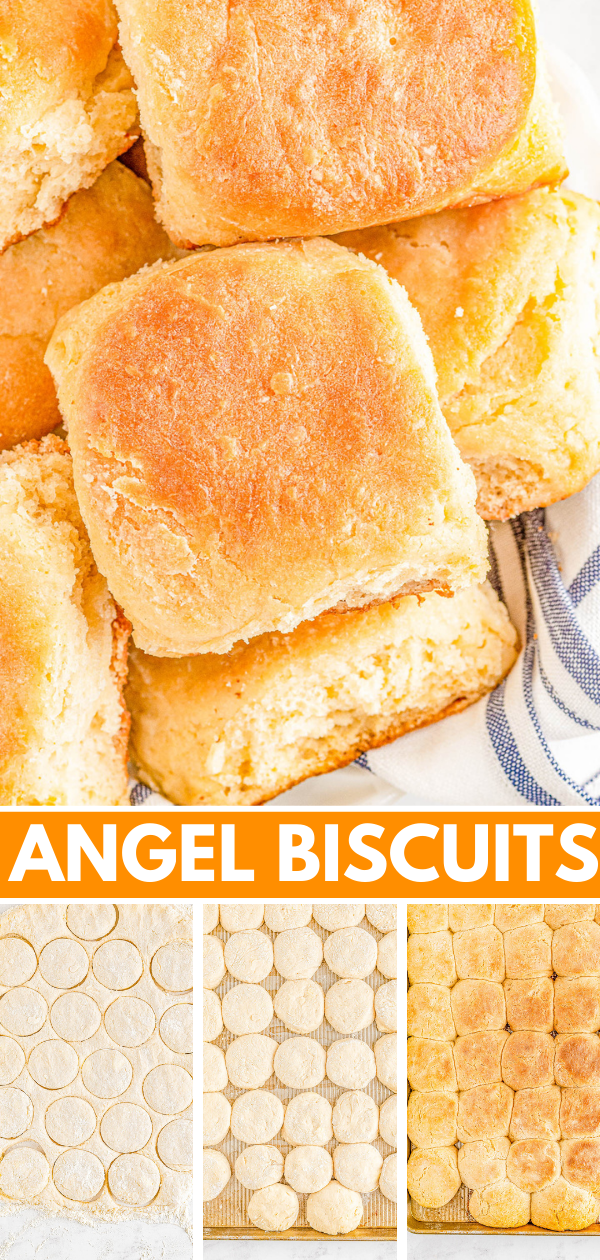
- Press the angel biscuit dough out into 1⁄2-inch thick rectangle.
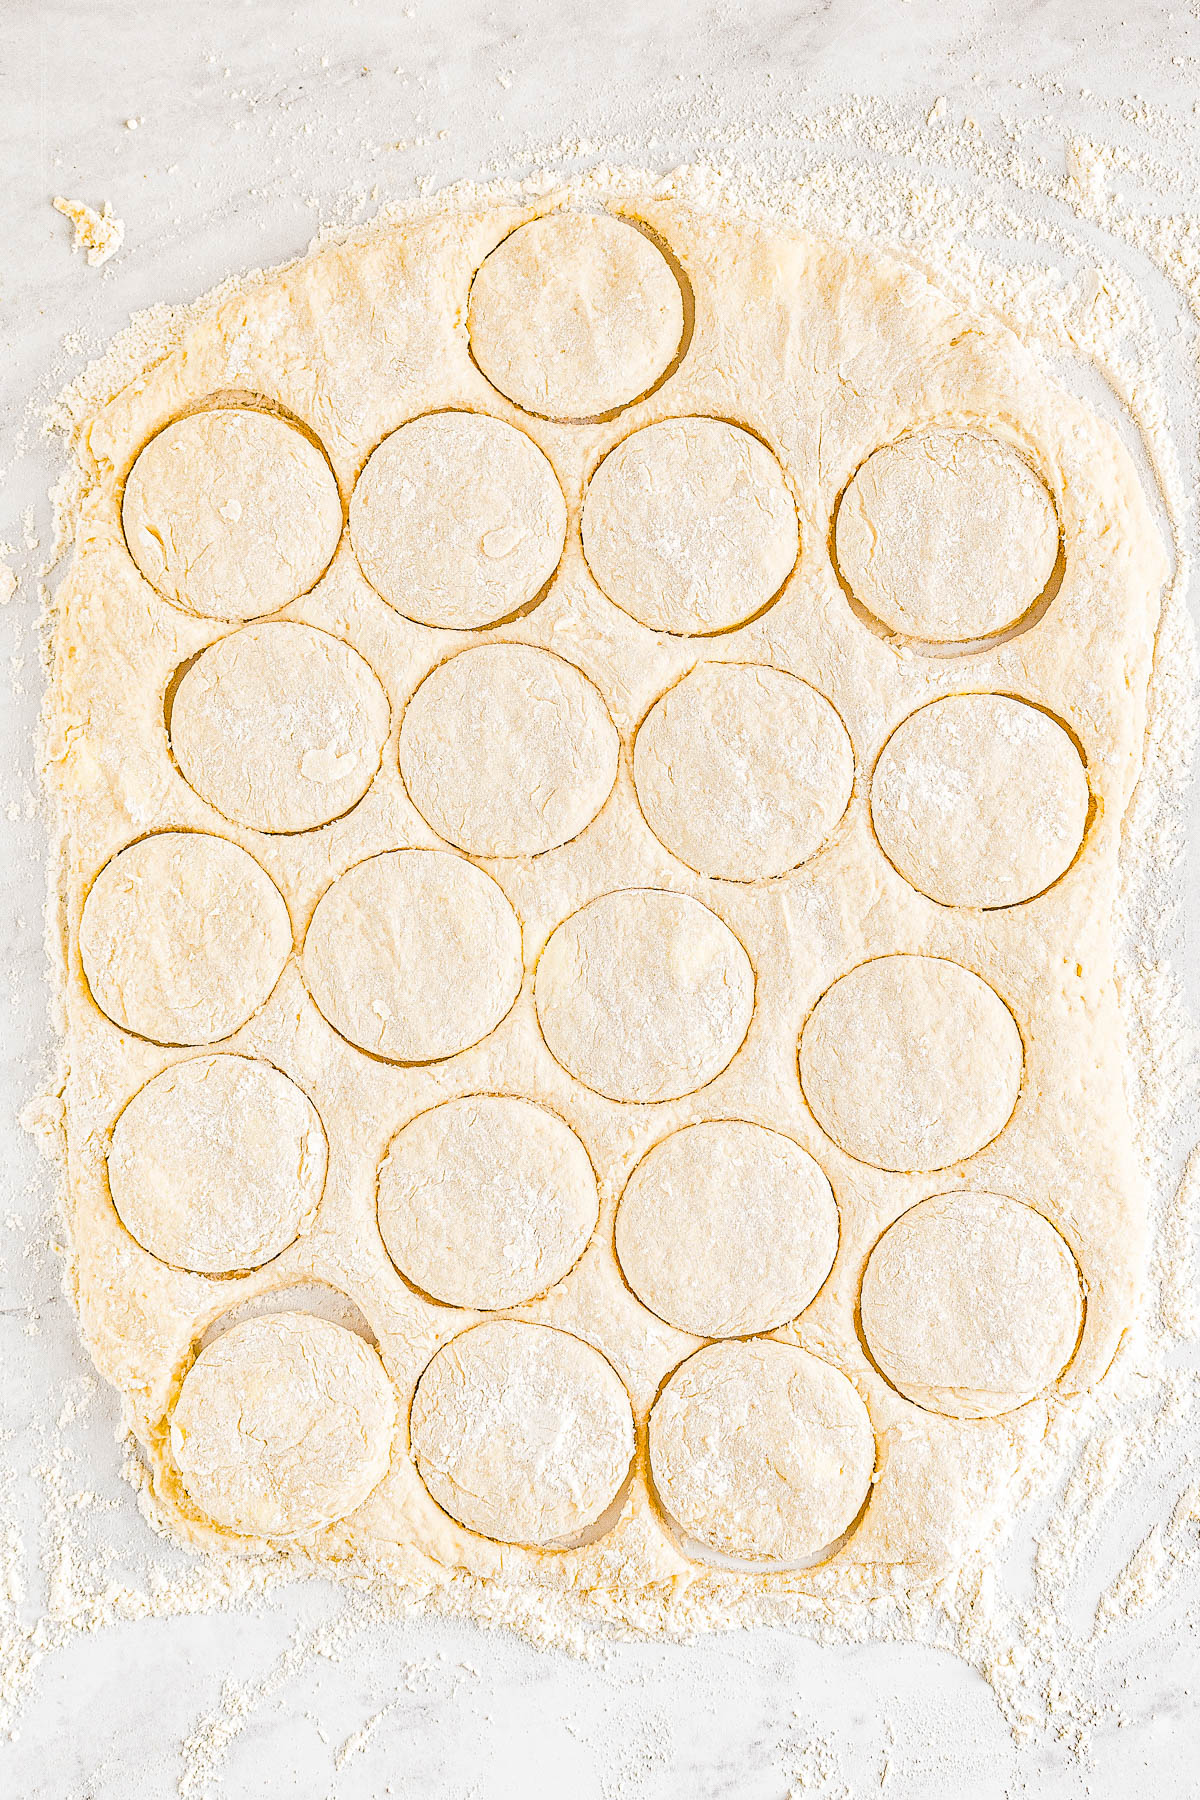
- Use a round cutter such as a 3-inch to 4-inch biscuit cutter to cut out as many biscuits as possible. Don’t twist it, just press straight down. Fold the remaining dough together and cut out the final remaining biscuits.
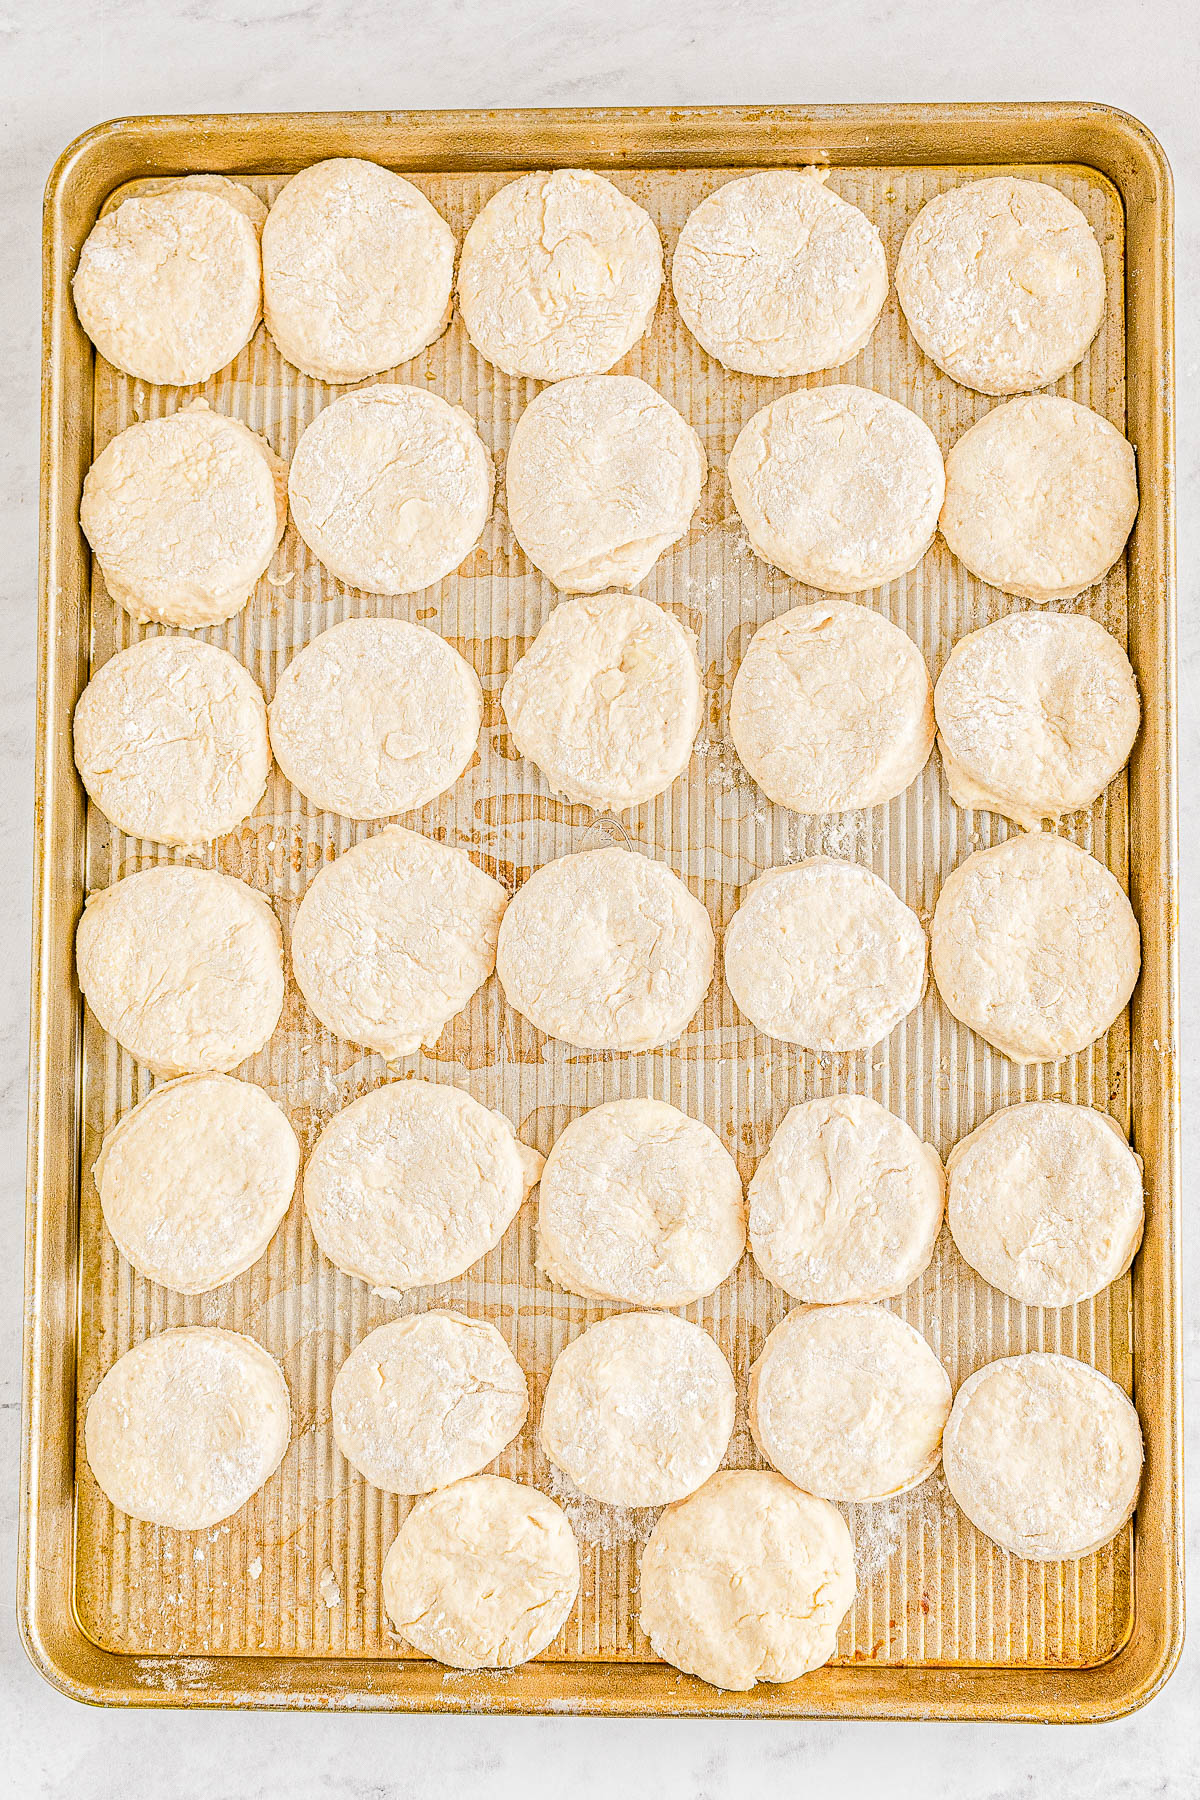
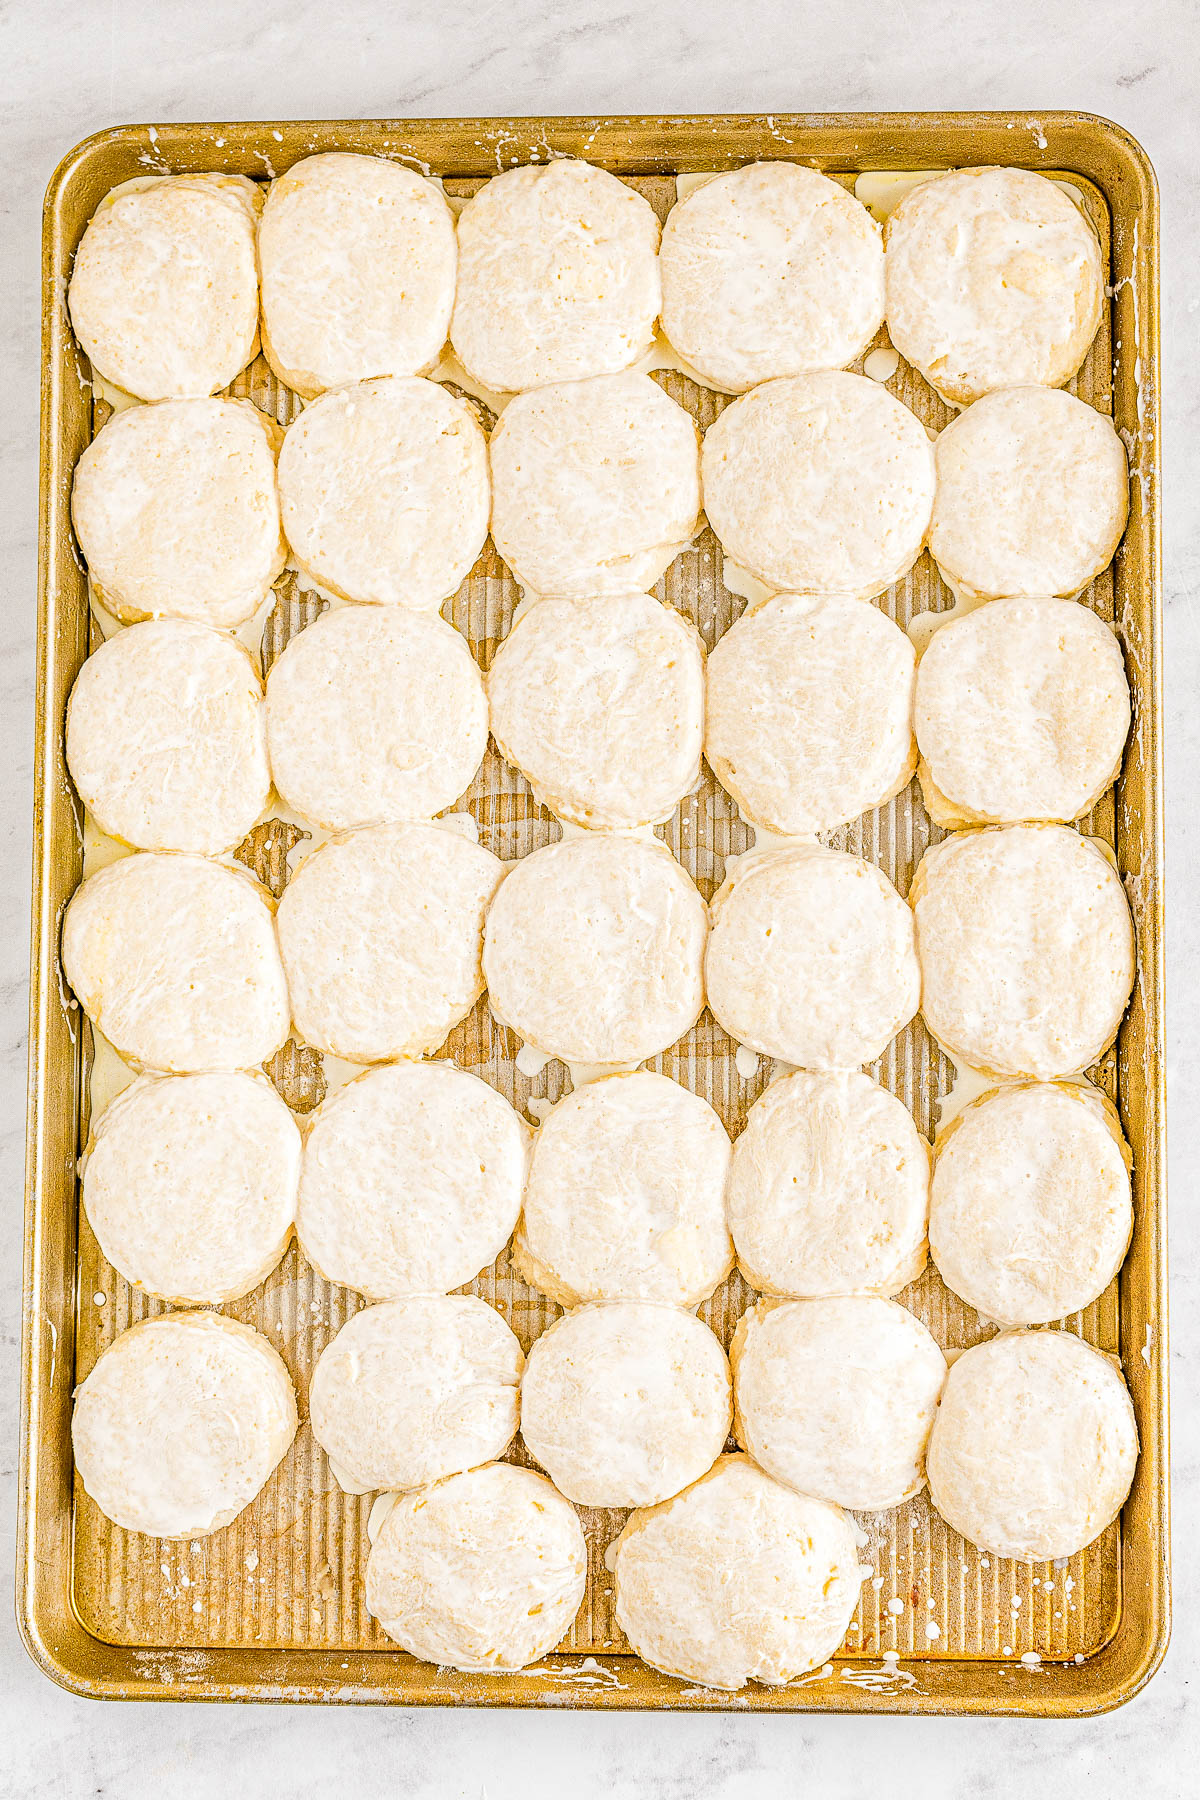
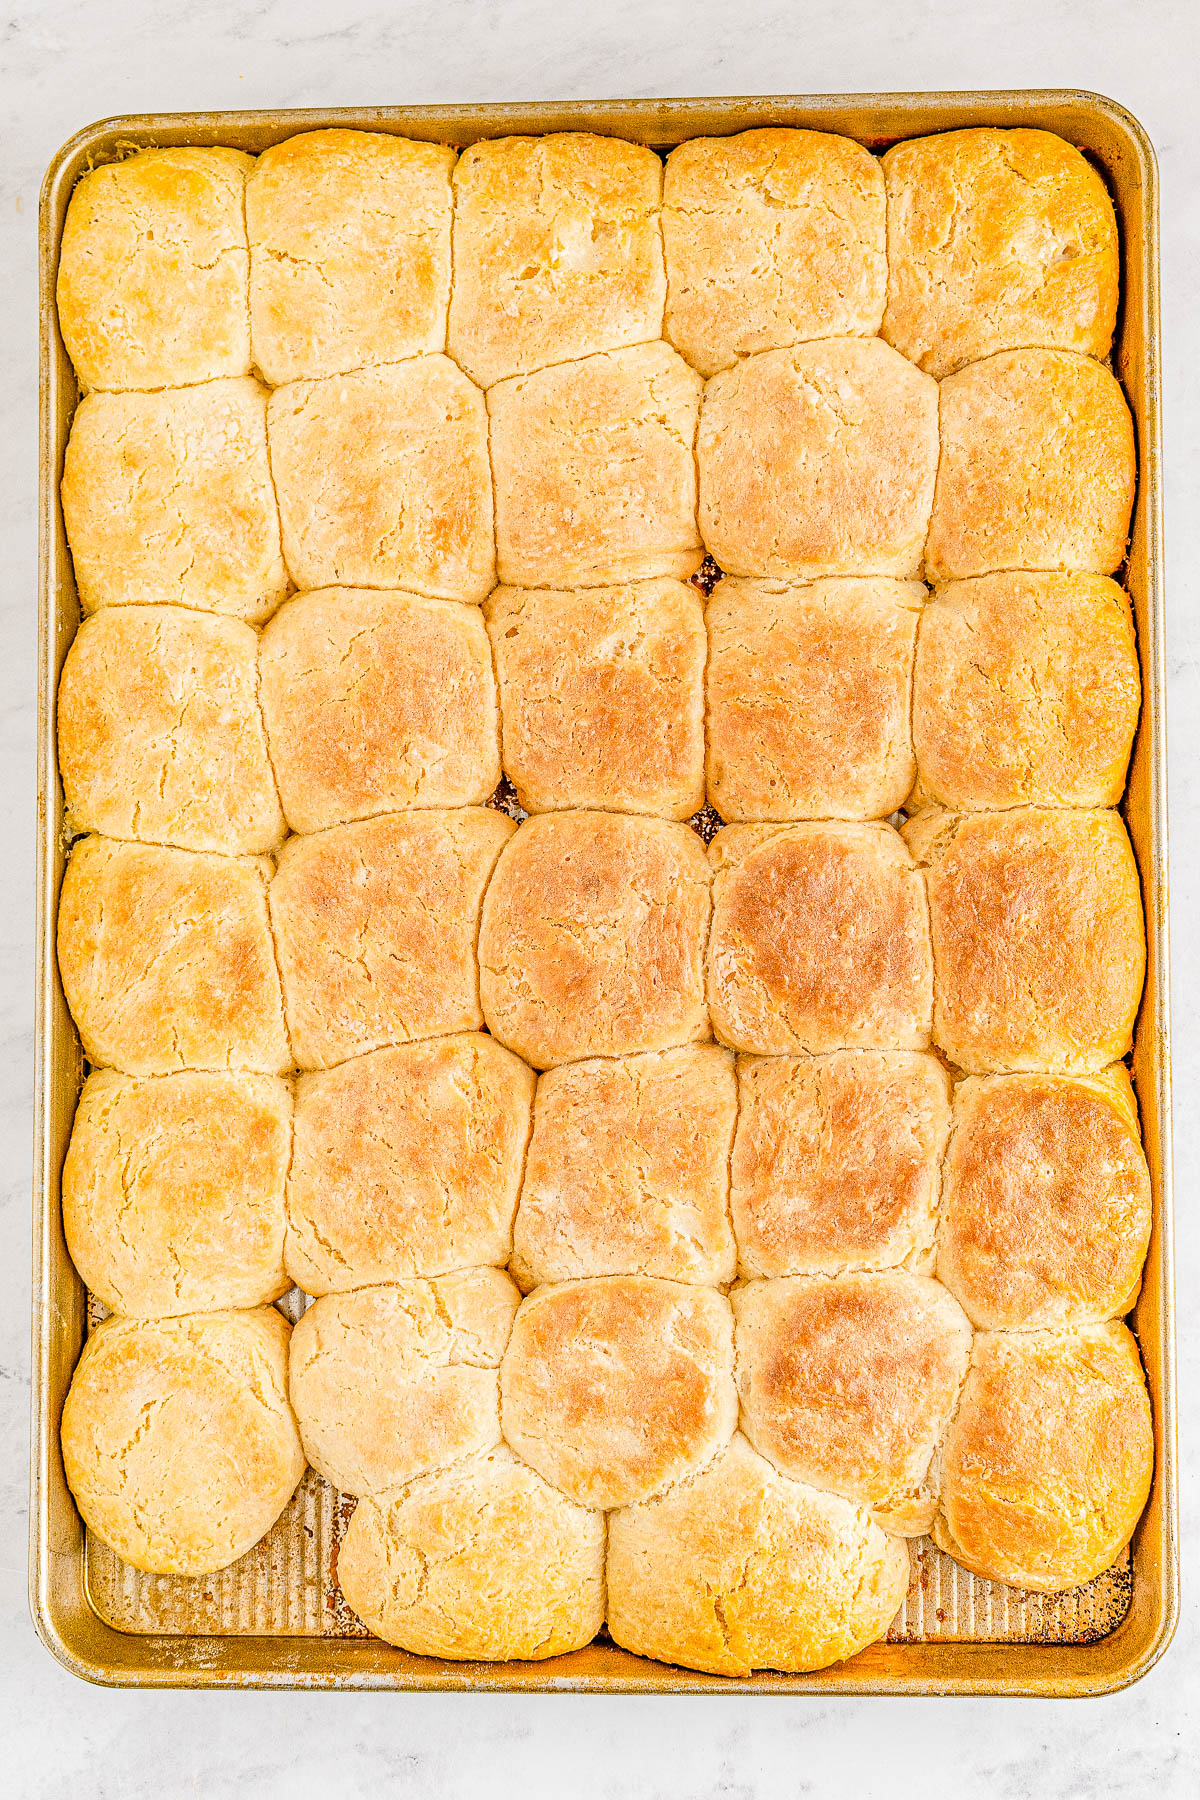
- Place the cut biscuits on a sprayed large baking sheet or jelly roll pan with a bit of a lip, or two medium baking sheets.
- Cover with sprayed plastic wrap and allow them to rise for 1 hour.
- Preheat oven to 400F in the final 20 minutes of rising. Brush the tops with heavy cream.
- Bake on the middle oven rack for 18 minutes, or until golden brown.
Tips for Handling Sticky Biscuit Dough
The less flour you use, the lighter and fluffier your finished angel biscuits will be. It’s a very sticky dough and that’s to be expected.
However, you need to use enough flour. You may need to add an additional 1⁄2 cup to 3⁄4 cup of flour to prevent the dough from being too sticky.
Everything from the exact brand of flour you’re using, what kind of milk (1%, whole, soy milk, etc.), the climate (you’ll need more flour on humid or rainy days), and so forth will cause the flour amount to vary.
Don’t be afraid to sprinkles or add flour if you think it’s warranted.
Recipe FAQs
You potentially could use water for the 2 1/4 cups milk, however I don’t recommend it because your biscuits just won’t have the same wonderful texture. Not to mention, milk will react with lemon juice to create a DIY buttermilk and that also helps with the rising and overall texture. See the next questions.
Yes and no! You will see that I call for regular milk in this easy biscuit recipe. I like to use 2% milk although you can use 1% milk, whole milk, or plant-based milks such as soy, almond, or cashew.
But when you add lemon juice to regular milk, it will curdle, which creates buttermilk. In many recipes such as my Lemon Buttermilk Cake or Irish Soda Bread I suggest this to readers in case they don’t have buttermilk on hand.
Therefore you are using buttermilk that you’ve created by mixing together regular milk with lemon juice. But you don’t need to go out and buy buttermilk specifically.
Some people don’t like using shortening (Crisco or similar) and that’s fine. If you’re one of those people and want to use exclusively butter, go right ahead. Therefore, you need 1 cup (16 tablespoons) + another 6 tablespoons to make up for the shortening.
It should be noted that many people agree that the texture of the angel biscuits is best when you use a butter + shortening combo.
I prefer making this biscuit recipe with shortening and butter, but you can use all butter if desired.
There are recipes out there that use a combination of self-rising flour, baking soda, and baking powder. However, this isn’t one of those recipes.
Do not substitute self-rising flour for all-purpose flour. I can’t predict exactly what will happen because the biscuits will have far too much leavening agents in them (that’s what self-rising flour is – flour, baking powder, salt) other than to say they won’t work out.
Some people swear by cake flour such as White Lily for biscuits in general. However, I don’t find it to be necessary. This angel biscuit recipe was developed using all-purpose flour.
I don’t recommend trying to substitute cake flour, because you’ll likely need to use more than what I indicate. Plus it doesn’t have as much gluten in it, so not sure how the biscuits will rise, or not rise.
I use King Arthur All-Purpose Flour exclusively when a recipe calls for AP flour.
If you want to use plain, full-fat Greek yogurt in place of sour cream, that is fine.
Yes you can. However, you should use two large cast iron skillets (at least 9 to 10-inches in diameter) for the approximate 32 biscuits this recipe yields. Baking time will likely increase because things take longer to bake in cast iron than on baking sheets.
You most certainly can halve the recipe. My thoughts are that as long as I’m making it, I may as well have extra and some leftovers. But if you know you’re making these for a small group, you can halve the recipe. Baking time may reduce slightly, but only by a minute or two.
Tips for the Best Angel Biscuits
Angel biscuits are a wonderful addition to most any meal and are not difficult to make. Here are my final tips and tricks to ensure you have biscuit success.
Active Dry Yeast
Make sure you’re using active dry yeast rather than instant dry yeast. While you could potentially use instant yeast, the recipe wasn’t designed that way and so I can’t guarantee it will work out as you want.
Instant yeast causes things to tend to rise much faster and sometimes you need more (or less) than you would with active dry yeast. Safer to make this biscuit recipe as written.
Take the Temperature
I don’t like to guess if my milk (or water) are the right temperature because this is a critical aspect and element of the recipe.
Too cold and the yeast don’t activate. But too hot and you kill the yeast and need to start over.
Therefore, I always use a digital thermometer and take the temperature of the liquids and make sure the temperature is where it should be and don’t guess. You shouldn’t guess either.
Milk
I use 2% milk although you can use 1% milk, whole milk, or plant-based milks such as soy, almond, or cashew.
You don’t need to specifically purchase buttermilk (and shouldn’t) because the lemon juice will create buttermilk for you. More on this above in the FAQs.
Cold Butter, Cold Shortening
For the best results, use cold butter and cold shortening. Or all butter if you’re using it in place of using shortening.
Cutting Out the Biscuits
I use a 3-inch biscuit cutter with a handle for ease. However, you can use cutters without handles. You can also use a 4-inch cutter, which will cause the yield to drop from about 32 biscuits to about 24, give or take.
Also cut straight down, and do not twist the biscuit cutter. Twisting can “seal” the edges of the dough and the biscuits won’t have the freedom to rise as well during baking.
Storage Instructions
Biscuits are definitely one of those things that are best served warm and fresh. However, if you find yourself with extra angel biscuits on hand, they’ll keep airtight at room temp for up to 3 days.
You can freeze them for up to 3 months potentially, but I never have.
Do not store them in the refrigerator. They will prematurely harden and dry out.
What to Serve with Angel Biscuits
Pin This Recipe
Enjoy AverieCooks.com Without Ads! 🆕
Go Ad Free
Angel Biscuits
Ingredients
- 2 ¼ cups warm milk, divided*
- ⅔ cup granulated sugar, divided
- ½ cups warm water
- 2 tablespoons active dry yeast
- 3 tablespoons lemon juice
- 5 ⅓ cups all-purpose flour
- 2 teaspoons salt
- 1 ½ teaspoons baking powder
- 1 ½ teaspoons baking soda
- 1 cup 16 tablespoons cold unsalted butter, cubed
- 6 tablespoons cold shortening cubed**
- 2 tablespoons full fat sour cream, full fat Greek yogurt may be substituted
- ¼ cup heavy cream, for brushing before baking
- ¼ cup melted butter, optionally for brushing after baking
Instructions
- To a large mixing bowl, add 1/4 cup milk, 2 teaspoons granulated sugar, all the active dry yeast (yes, it's tablespoons and not teaspoons), and whisk to combine. Tips – Warm the milk according the temperature on the package directions on the brand of yeast you're using. The temp can vary from brand to brand. For this recipe, in general I aim for between 105-110F. Check the temp with a digital thermometer and do NOT guess. Proof means "to prove" that the yeast is alive and well. You will know this if the mixture turns bubbly and frothy looking. If it does not, it means that the yeast isn't alive and your biscuits won't rise later on. So you need to start over until you see bubbles and a frothy looking mixture.
- While the yeast is proofing, in a separate medium bowl or large glass measuring cup, add the remaining 2 cups milk, lemon juice, stir to combine, and let stand for about 5 minutes, or until milk curdle. Tip – You are making buttermilk here by souring regular milk. This is an essential step for the recipe so don't skip it!
- After the yeast has proofed, add the milk/lemon juice/homemade buttermilk mixture to the yeast mixture and stir to combine.
- Add the sour cream and stir or whisk to combine; set aside momentarily.
- To a separate very large bowl, add the remaining sugar, flour, salt, baking powder, baking soda, and whisk to combine.
- Add the cold butter and shortening to the dry ingredients.
- Using a pastry cutter or two forks, cut in the butter and shortening into the flour mixture. Tips – The mixture is still going to be very dry and sandy looking after cutting in the butter and shortening, so don't presume that it's going to come together like a pie crust dough, because it's not. It's okay to leave it very crumbly and dry looking because the next step will take care of it.
- Pour the wet yeast and buttermilk mixture over the dry ingredients, and using a wooden spoon, stir to combine. It's a very wet and sloppy mixture.
- Turn the dough out onto a well-floured, clean countertop or work surface.
- Using your hands, fold the dough together until it's no longer sticky, but still soft. Tips – The dough is intended to be a very wet, sticky, and tacky dough which creates lighter and fluffier angel biscuits. However, if it's too ridiculously wet and moist to work with, you can add an additional 1/2 to 3/4 cup flour (or as needed), adding a little bit at a time and working it in, bit by bit, until the dough comes together.
- Once the dough is no longer sticky, using your fingertips, press it out into a 1/2-inch thick large rectangle.
- Use a 3-inch biscuit cutter (or 4-inch, noting you'll yield about a dozen less biscuits), and cut the biscuits out as close together as possible.
- Place the cut biscuits on a well-sprayed, large baking sheet with a lip or two smaller baking sheets. Tip – Make sure it has a bit of a lip or edge, something that prevents the biscuits from sliding off.
- Fold the remaining dough together with your hands and press it out, then cut out the final biscuits from the remaining dough. You should get about 32 biscuits total. Tip – It's okay if they're very close together and touching.
- Cover the baking sheet(s) with plastic wrap. Tips – Spray the underside or the side that comes in contact with the biscuits with cooking spray so it doesn't stick, and allow for them to rise for 1 hour. They'll rise faster/better if your kitchen is on the warmer side. If it's colder, you may want to give them an extra 15 minutes or so.
- In the final 20 minutes or so of rising, preheat your oven to 400F.
- Before baking, using a pastry brush, brush the tops of the biscuits evenly with the heavy cream.
- Bake the biscuits on the center rack of your oven for about 18 minutes, or until lightly golden browned. Tip – Rotate your pan once midway through baking for more even baking and better results. Because this is a hot oven and a delicate dough, start checking at 15 minutes to make sure they're not done early, just in case.
- Optionally brush baked biscuits with melted butter.
- Allow biscuits to cool sufficiently to serve immediately, or cool them completely on a wire rack. Extra biscuits will keep airtight at room temp for up to 3 days, or in the freezer for up to 3 months. I do not recommend storing them in the fridge as they will just dry out and harden prematurely.
Notes
Nutrition
Nutrition information is automatically calculated, so should only be used as an approximation.
©averiecooks.com. Content and photographs are copyright protected. Sharing of this recipe is both encouraged and appreciated. Copying and/or pasting full recipes to any social media is strictly prohibited.
More Easy Bread and Rolls Recipes:
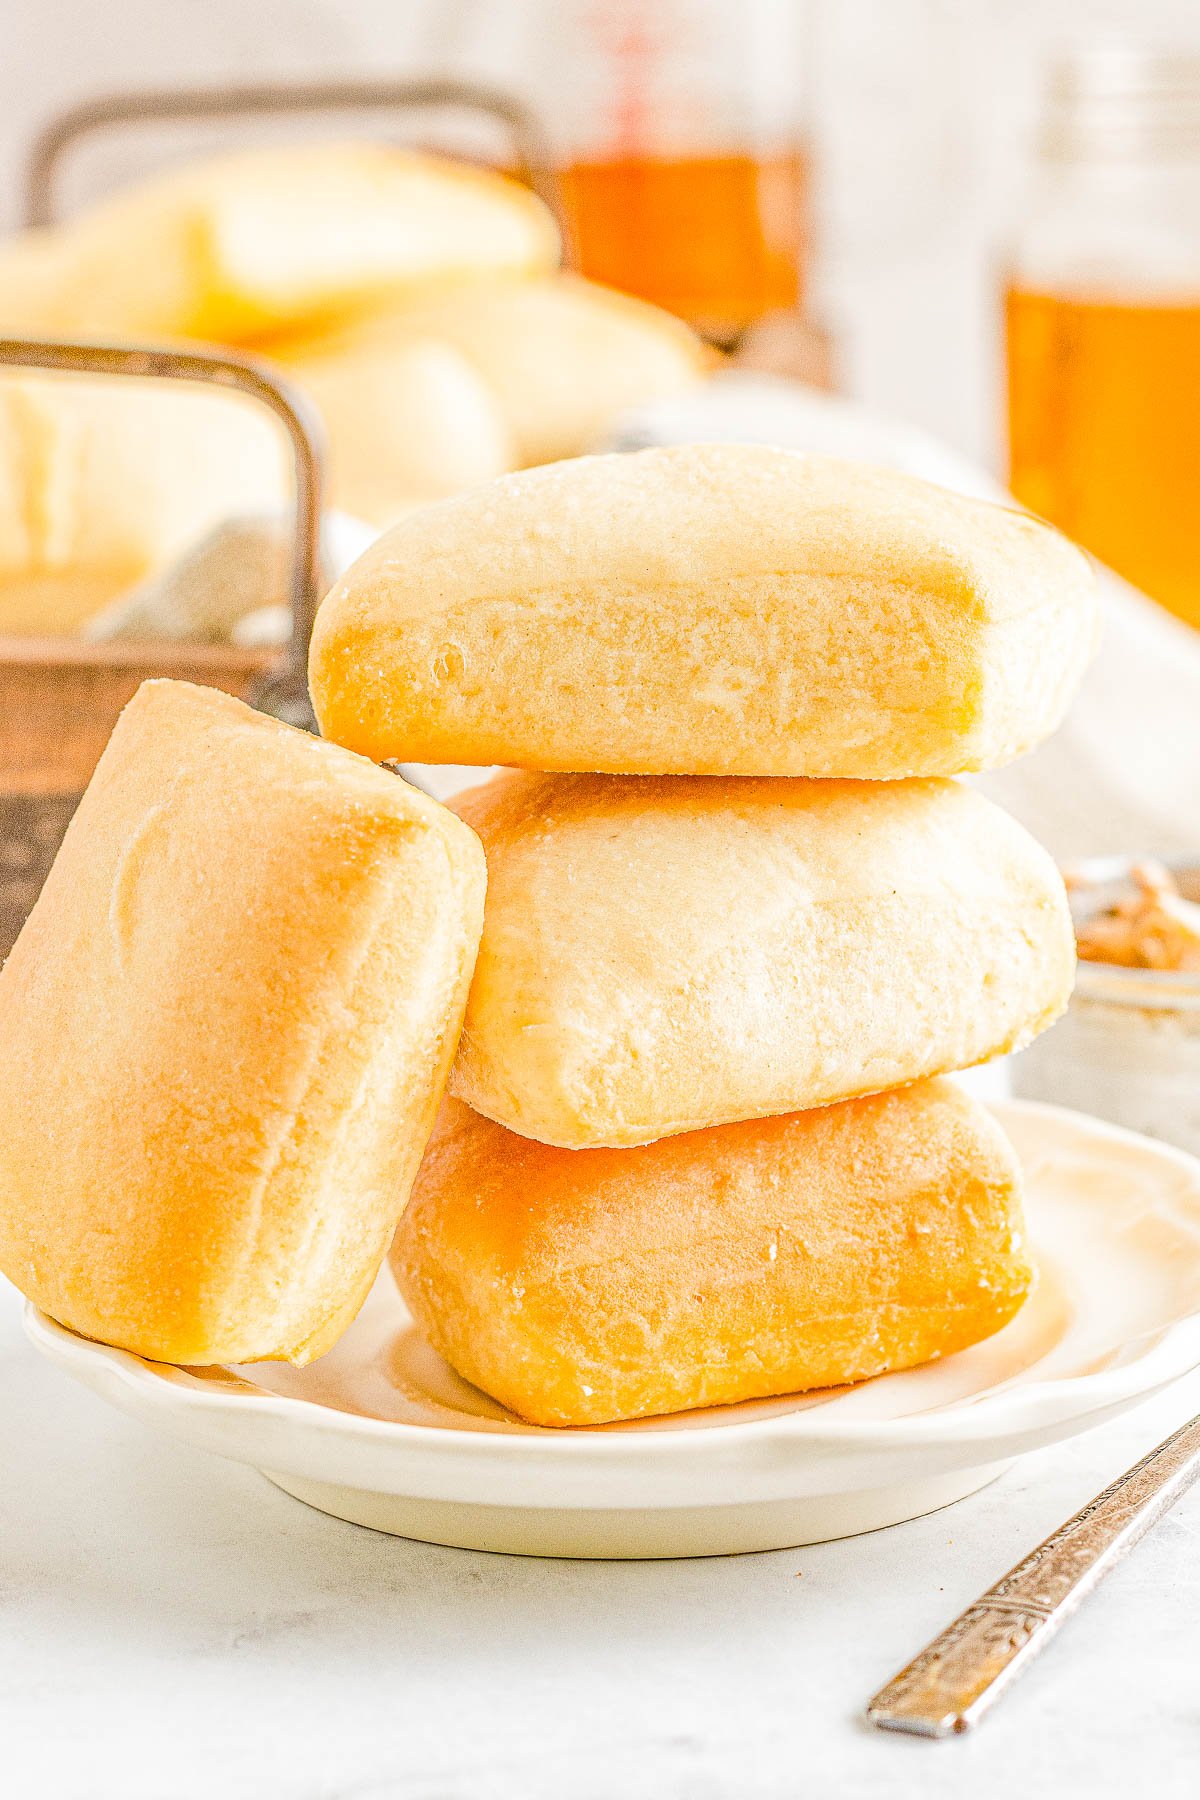
Texas Roadhouse Rolls – Soft, buttery, fluffy, and light this easy COPYCAT recipe for Texas Roadhouse rolls with cinnamon honey butter is INCREDIBLE! Perfect for family gatherings, holiday meals, or anytime you’re craving warm homemade dinner rolls! An approachable recipe even for those who have never made dinner rolls and are novices.
Parker House Rolls — The BEST homemade dinner rolls because they’re so light, airy, fluffy and practically melt in your mouth! They have a wonderful buttery flavor that will make them an instant family favorite at your next holiday gathering or make them for a special meal!
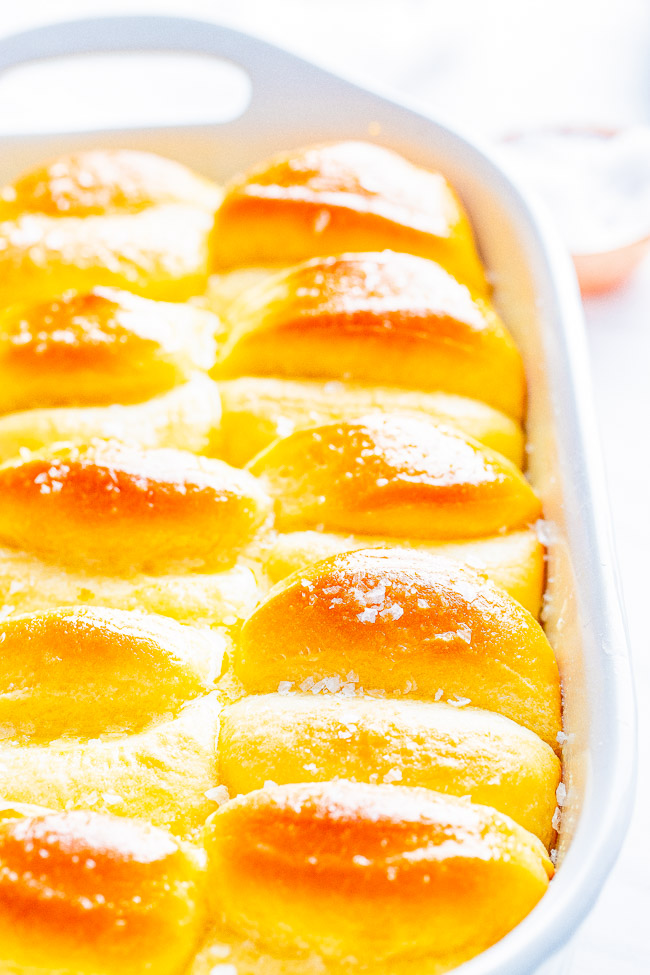
No-Knead Make Ahead Dinner Rolls with Honey Butter – These soft, light, fluffy yeast dinner rolls are so easy to make! They’re practically work-free because there’s no-kneading involved.
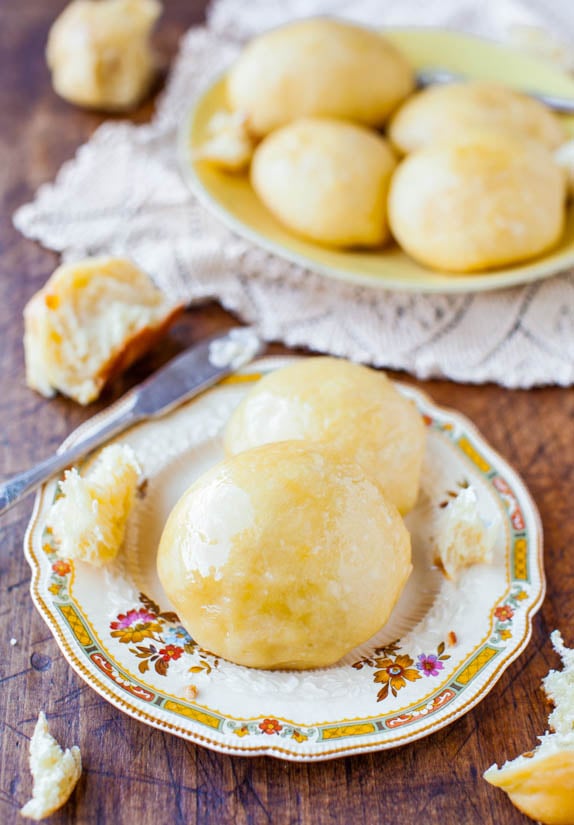
Soft & Fluffy Sweet Dinner Rolls — Lightly sweetened from the honey in the dough and brushed with honey-butter prior to baking!! These dinner rolls are made from scratch and are baked to golden brown perfection!
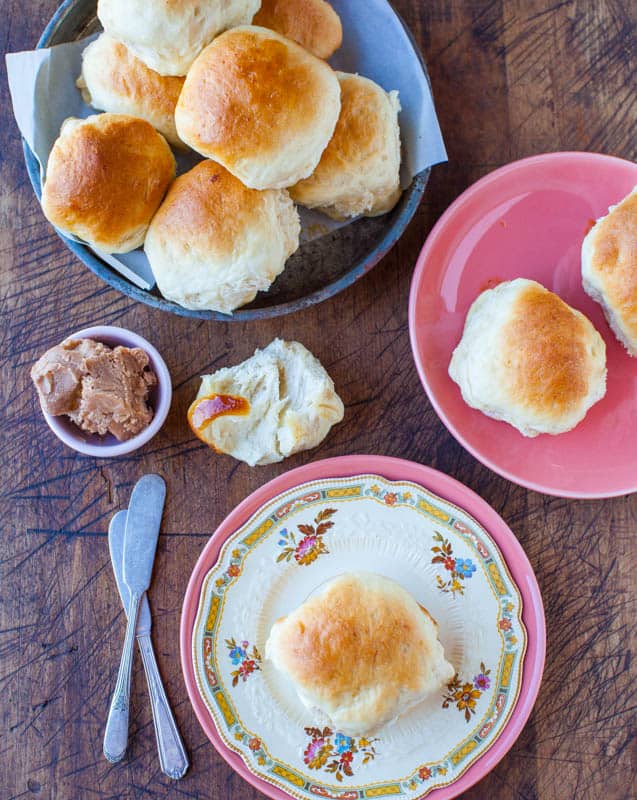
Easy Oatmeal Dinner Rolls (with Raisins!) — Lightly sweetened from honey in the dough and are brushed with honey-butter prior to baking, these homemade dinner rolls are subtly sweet and so easy to make!

Honey Whole Wheat Bread – An EASY and foolproof homemade bread recipe for honey sweetened whole wheat bread! It’s soft, thick, and scrumptious! Serve it plain, toast it, make sandwiches with it, or serve it with honey butter which is my favorite! Even if you’re never made bread before, my recipe is straightforward and do-able.
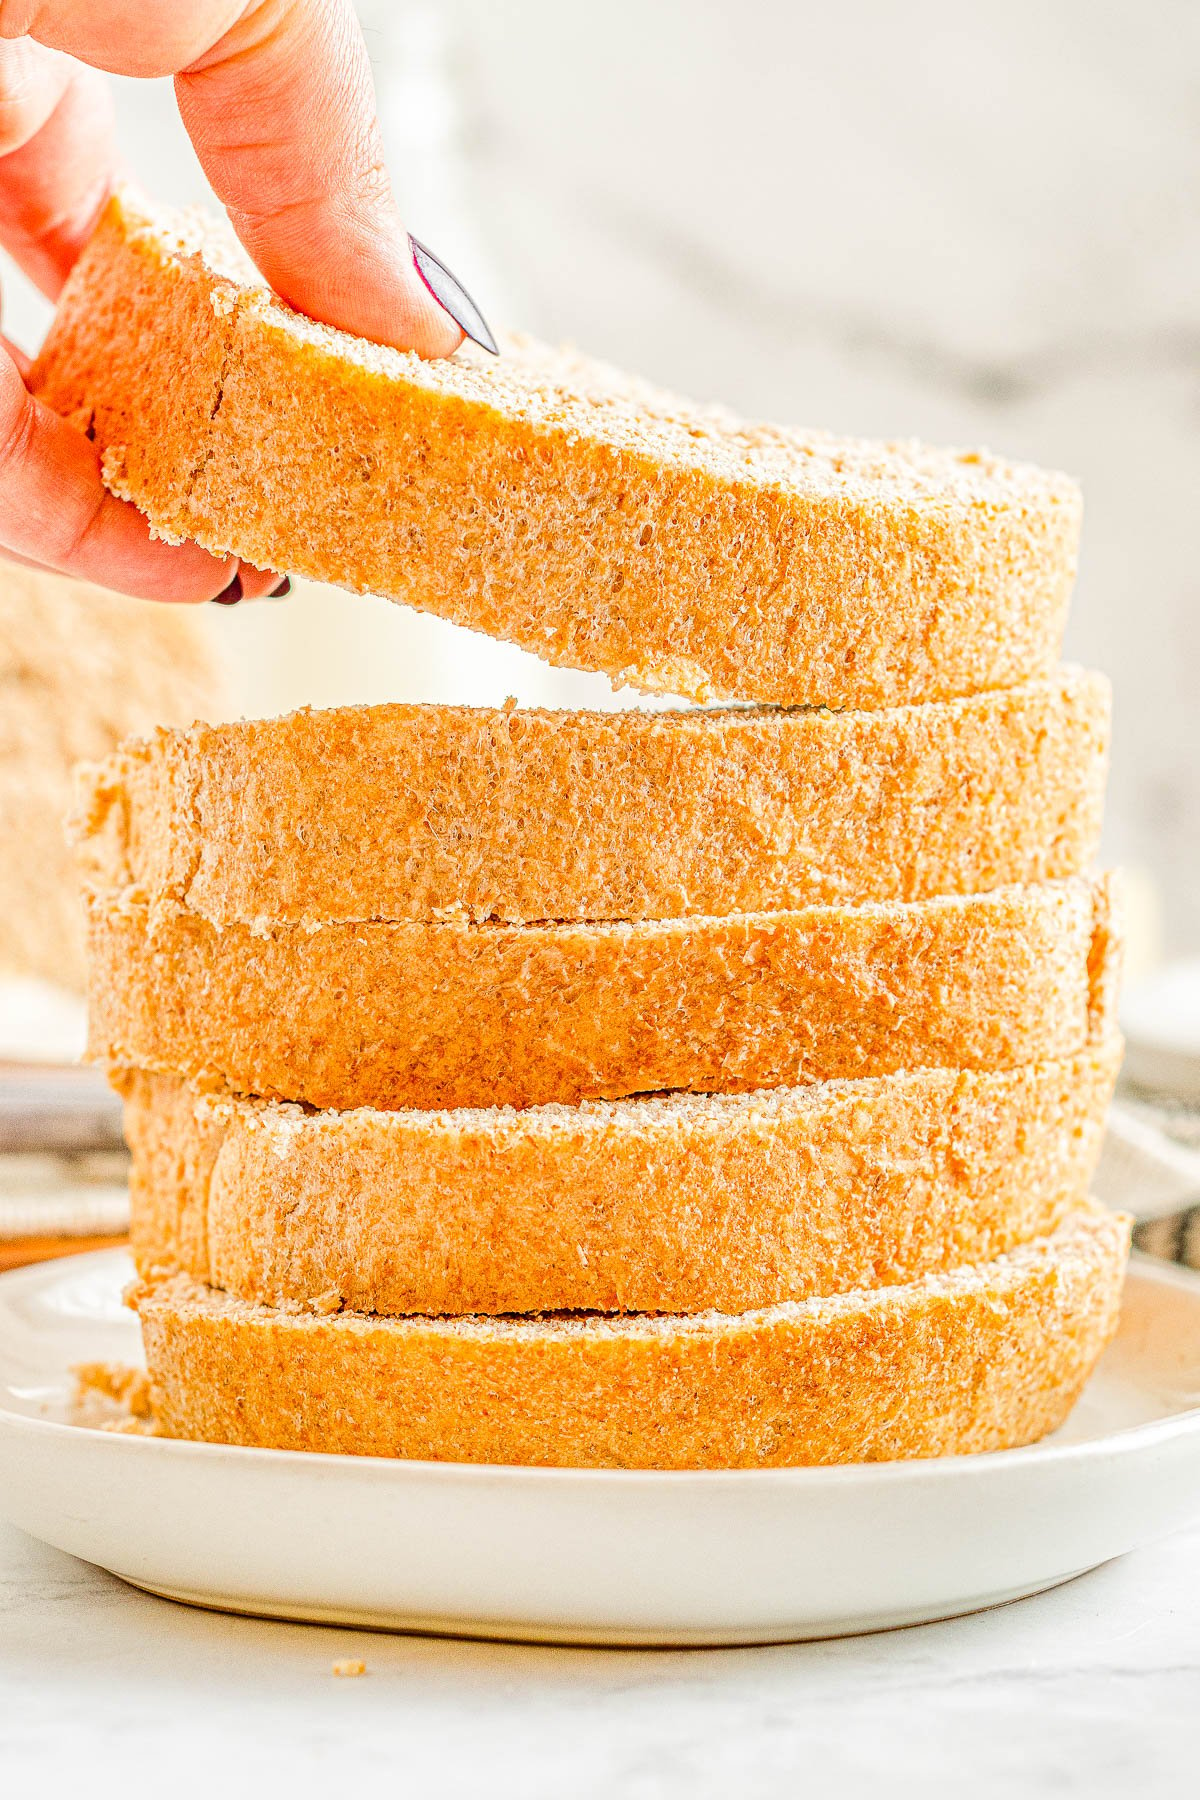
Easy Sourdough Bread — This easy sourdough bread recipe uses yogurt and sour cream in place of a traditional sourdough starter, which makes it possible to prep a loaf in less than a day!

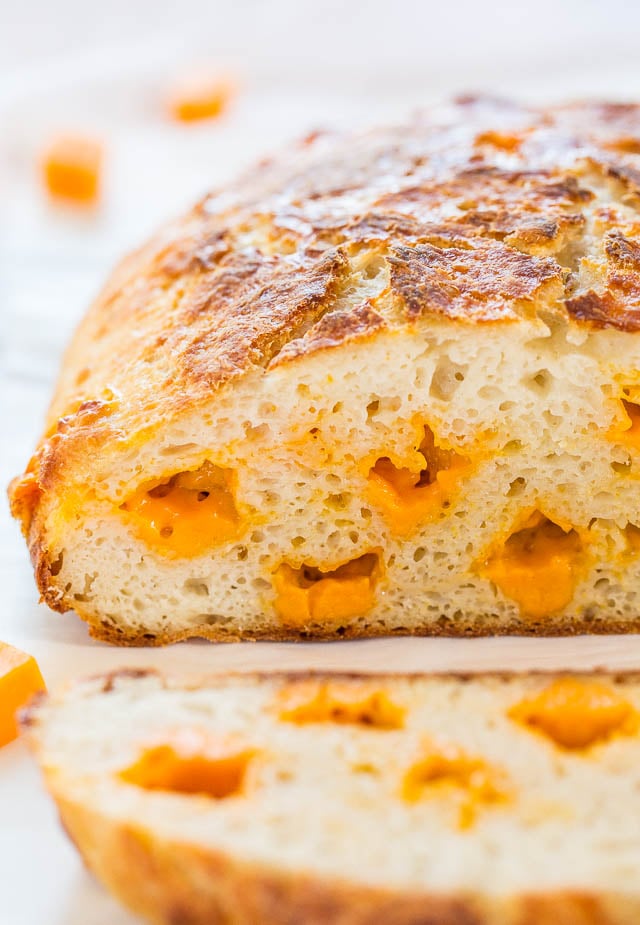
Easy Cheddar Sourdough Bread — Unlike most sourdough recipes that require a starter and weeks to complete, this recipe requires neither. The sourdough taste comes from a combination of Greek yogurt and sour cream that ferments the dough rather than using a starter.

I Can’t Wait To Make The Angel Biscuits!!!!!!
Can you half this recipe?
Yes of course.
I don’t think the all-purpose white flour or other ingredients can possible add the amount of fiber listed in the nutrition section; that, added to the high fat and high trans fat make it impossible for me to serve these to my family.
I’d love it if you could have a email for people who want don’t require ‘all’ whole grains bug want good-tasting/good texture dishes. Thanks for considering this — Susan Masiak
This recipe is for a buttery, carby, “decadent” biscuit that is definitely not an everyday thing for most people, and for some people like you, it’s a never thing. As it stands though, they are estimated to have only 149 calories each.
Good thing I have nearly 3000 other recipes on my site to choose from! I am sure you will find something great from everything I have.
Hi, I’m making this recipe right now but, in your recipe you don’t state where the additional sugar should go just the 2 teaspoons that are used with the yeast and milk. It’s not listed with the dry ingredients but, I included the sugar with those ingredients. So far, the recipe went together easily and I’ll let you know how it turns out. We love all of your recipes that we tried so far.
You assumed correctly and I updated the recipe to include the remainder of the sugar to go in step 5 now. My apologies for the oversight!
Thank you so much for your support and I am glad you love the recipes of mine you’ve tried so far! Please LMK how the biscuits turn out for you.