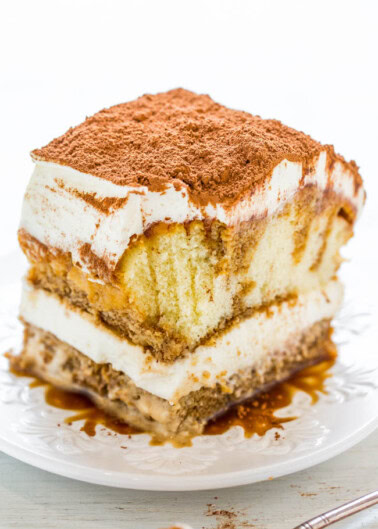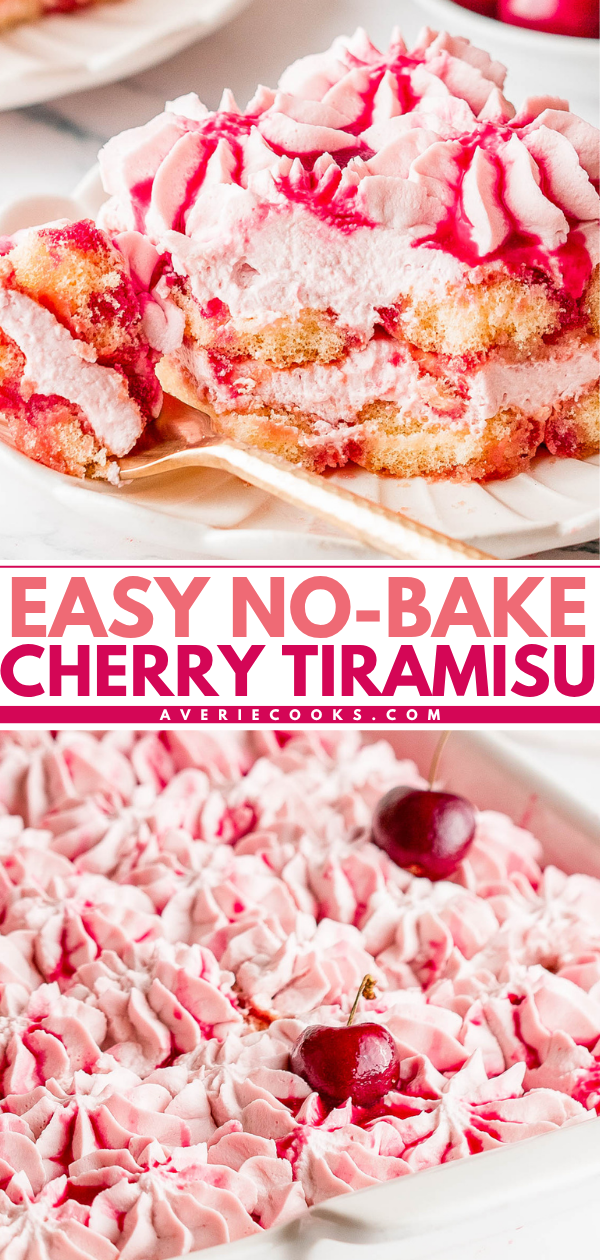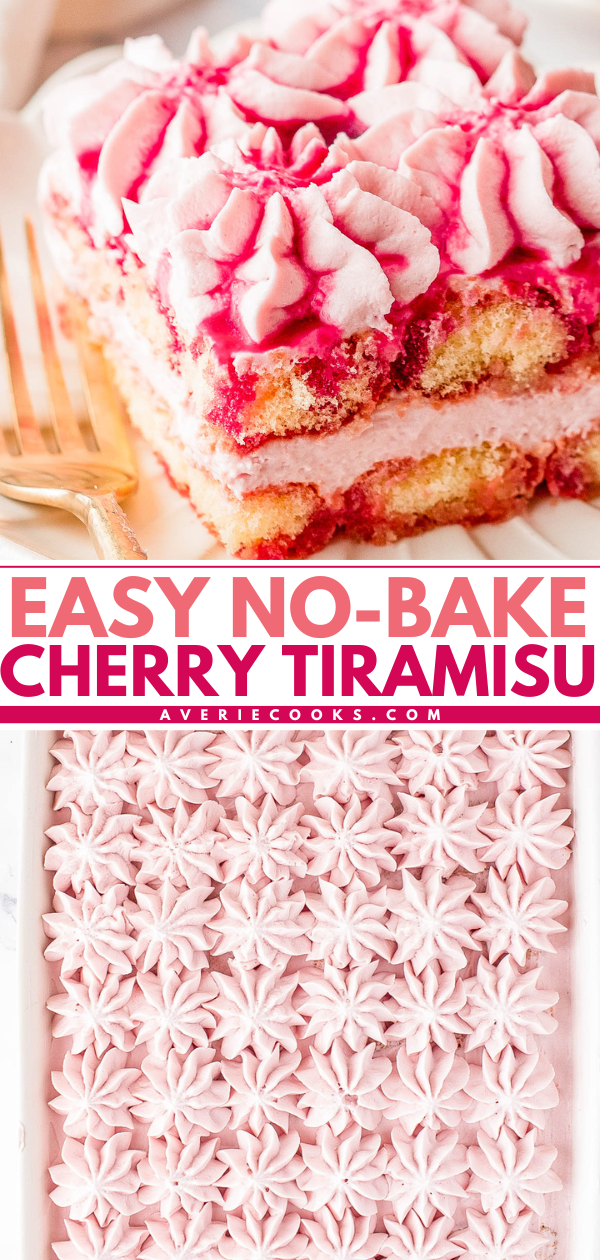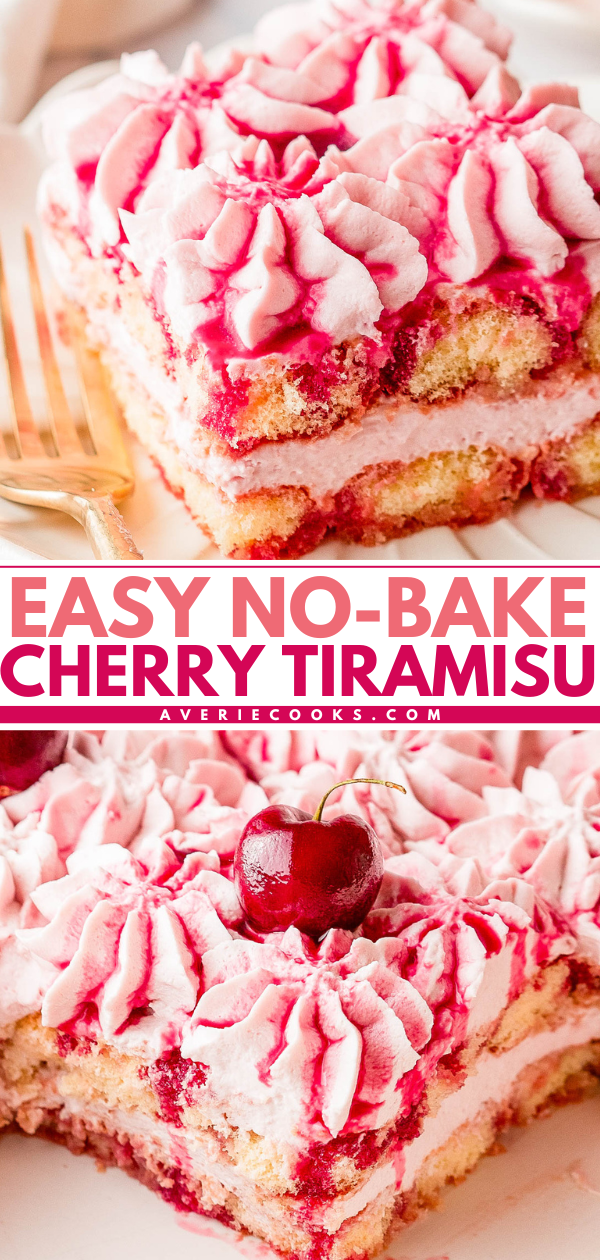
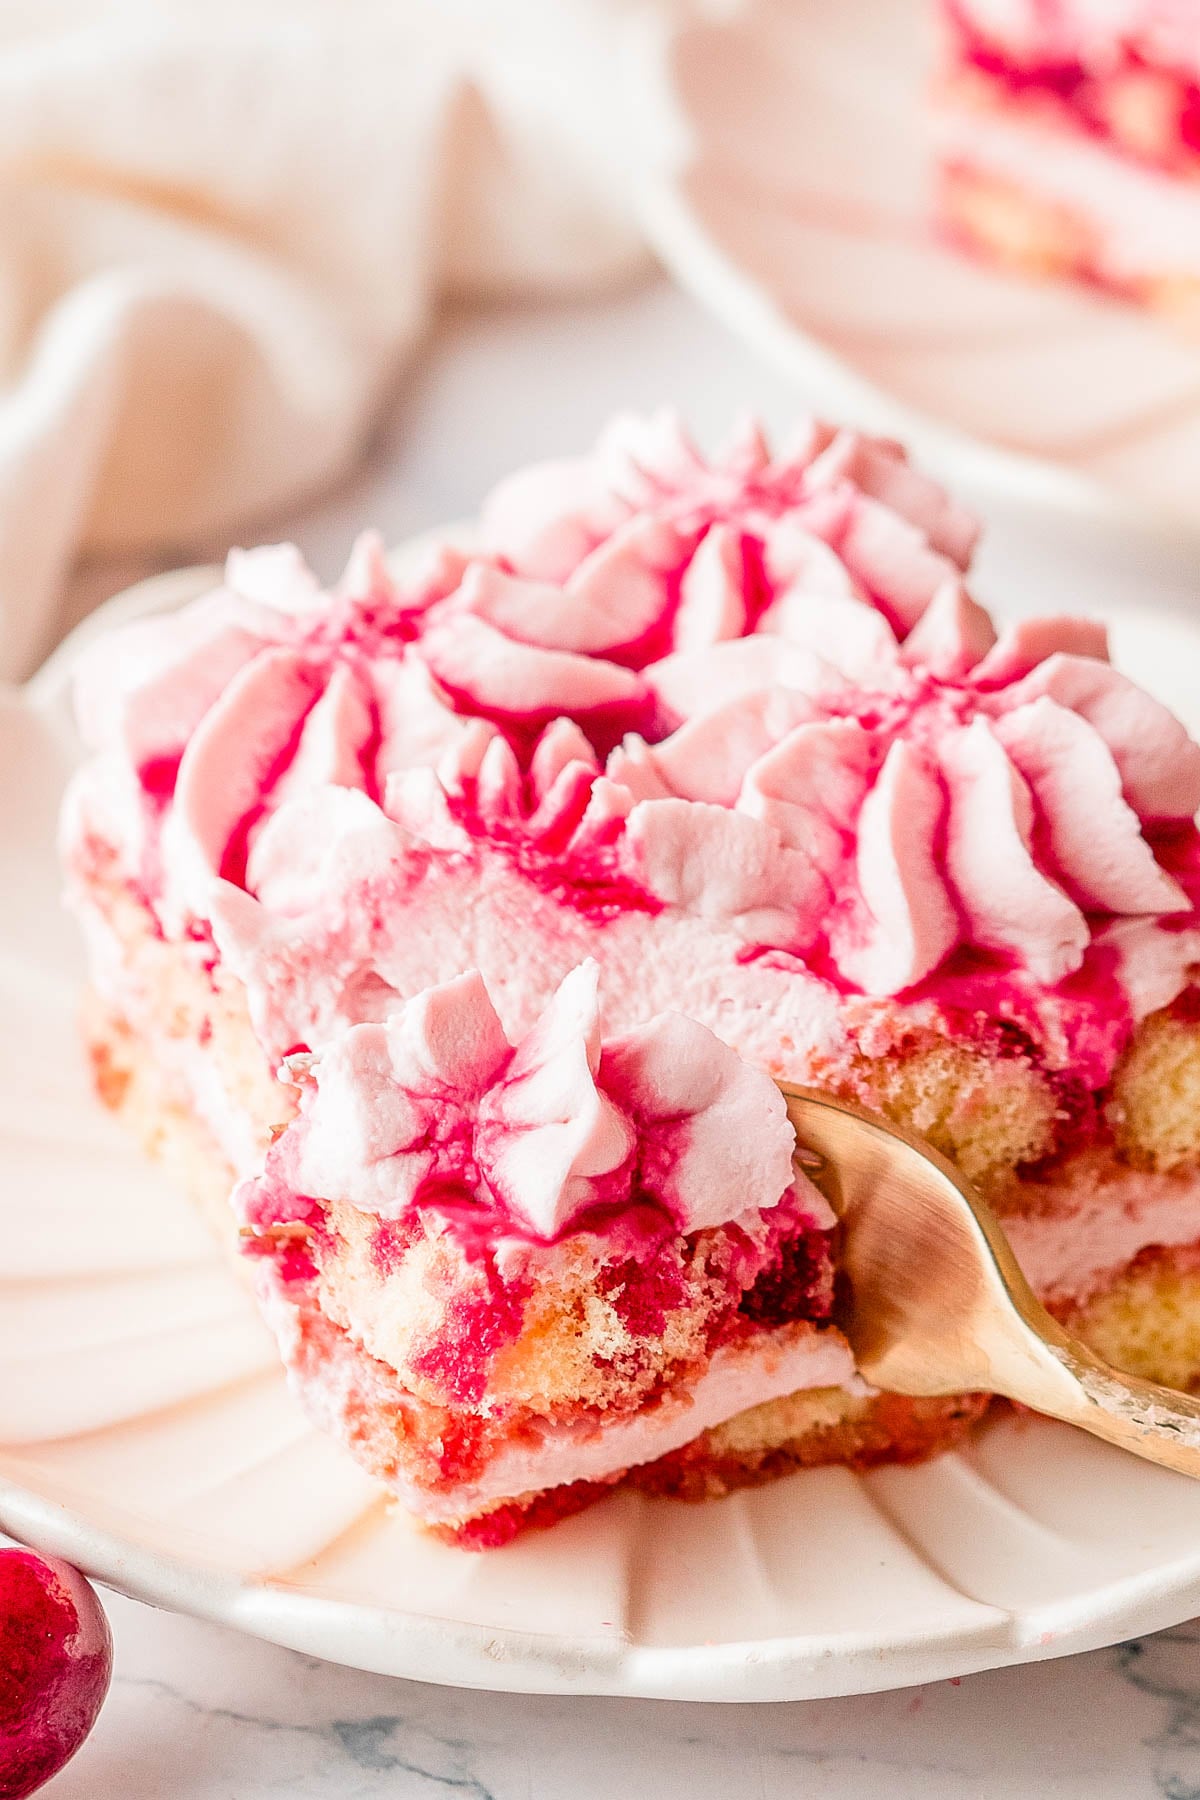
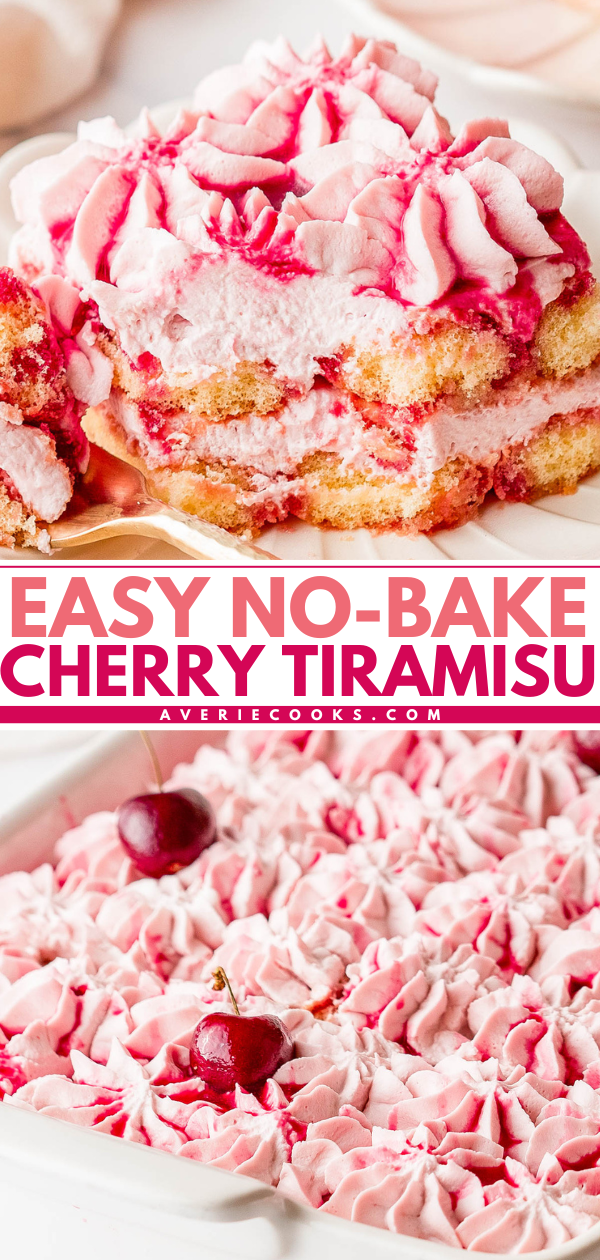
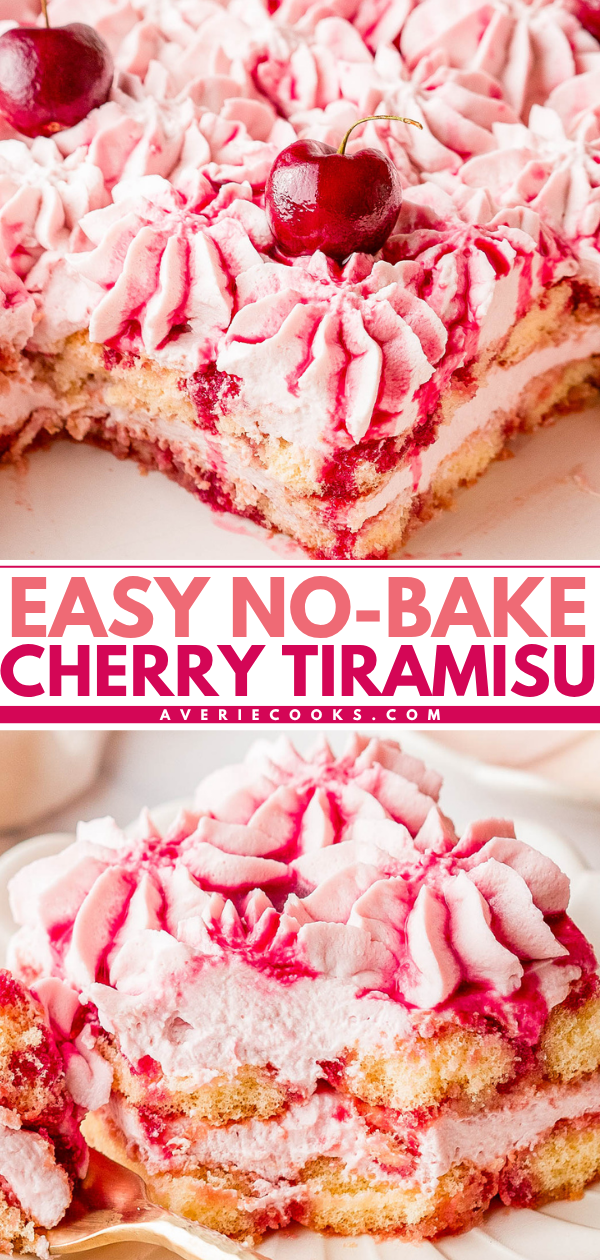
Easy Cherry Tiramisu 🍒🍰✨features fresh cherries, a luscious homemade cherry syrup, a tangy sweet mascarpone cream filling, and classic ladyfinger cookies for the ULTIMATE summer cherry dessert! It’s a no-bake showstopper that you can make ahead of time that looks AND tastes absolutely incredible!
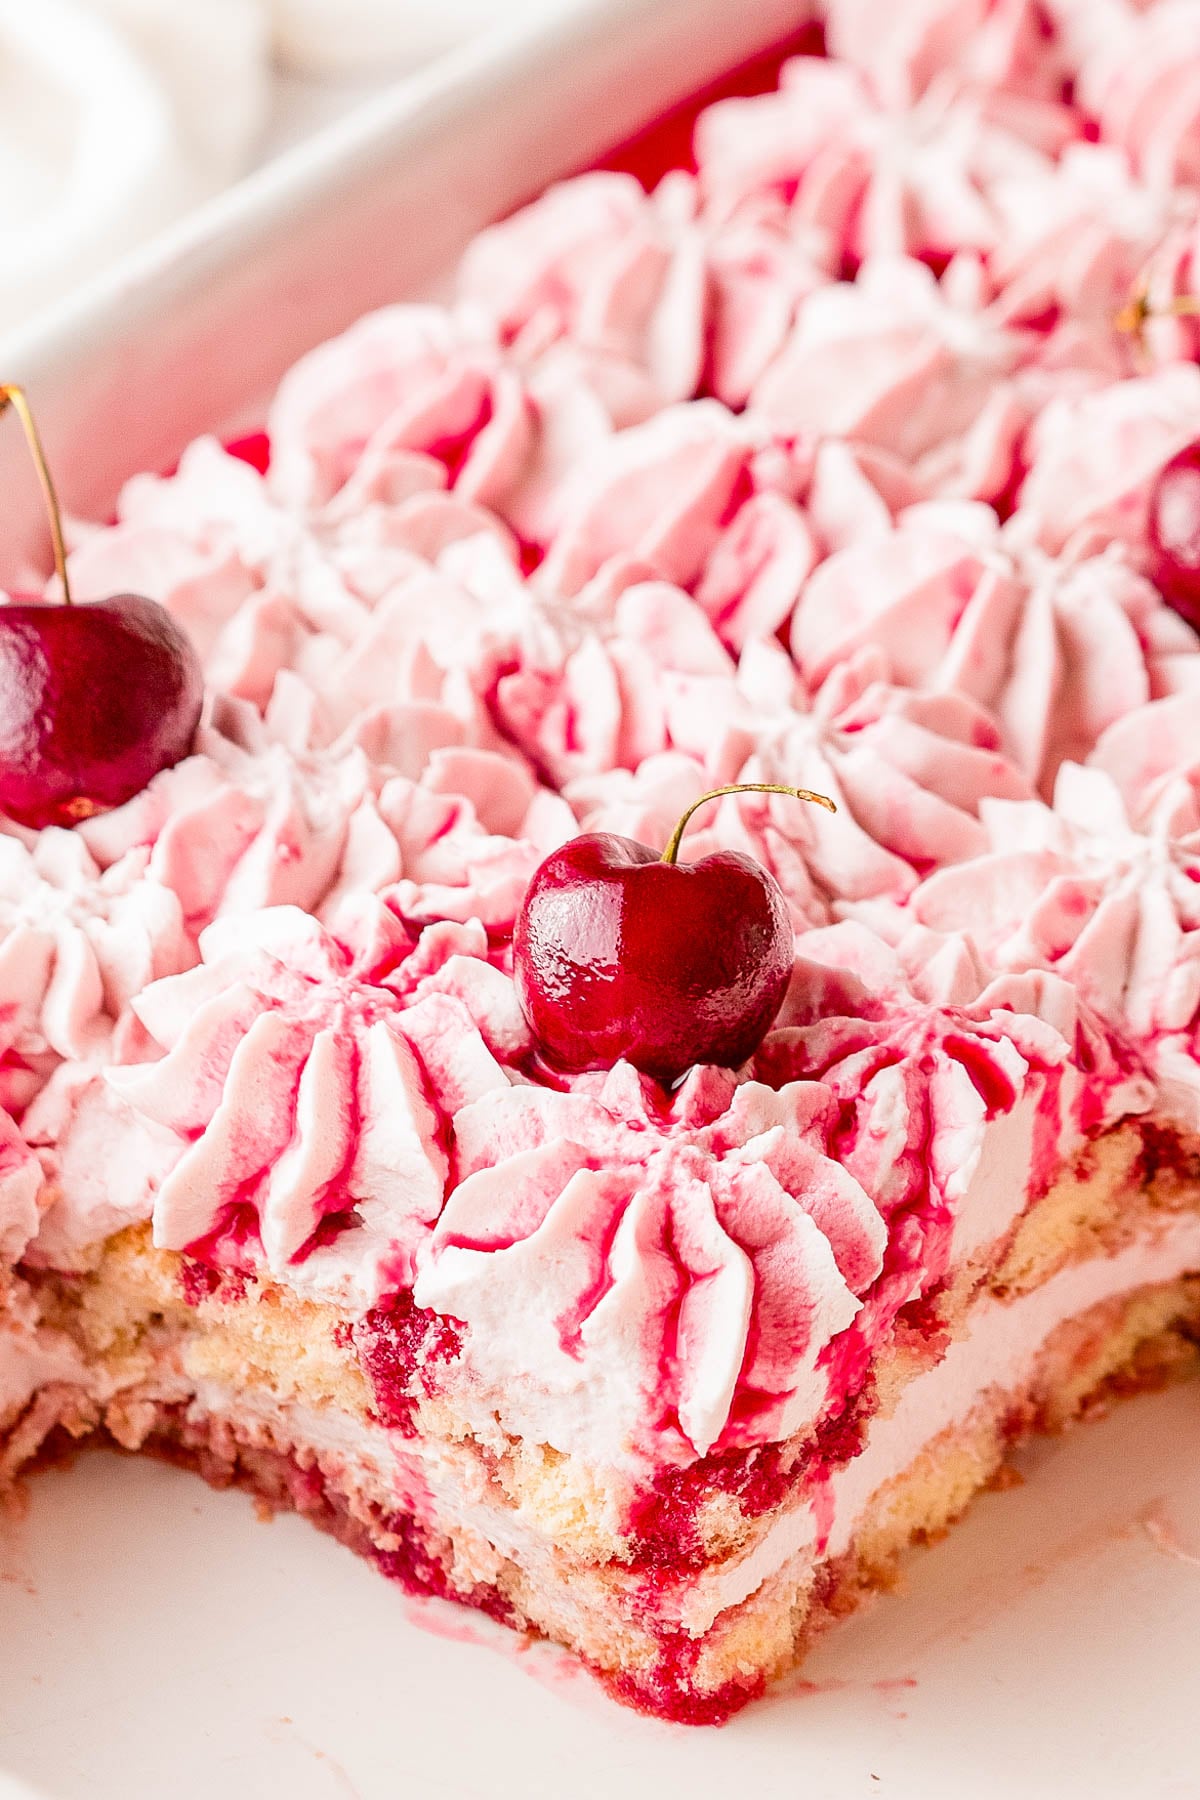
Easy Cherry Tiramisu Recipe
- Maximize summer cherry season. This is THE recipe to make when fresh cherries are at their peak! Although you can use frozen cherries if that’s what’s more readily available for you depending on the time of year you’re making this.
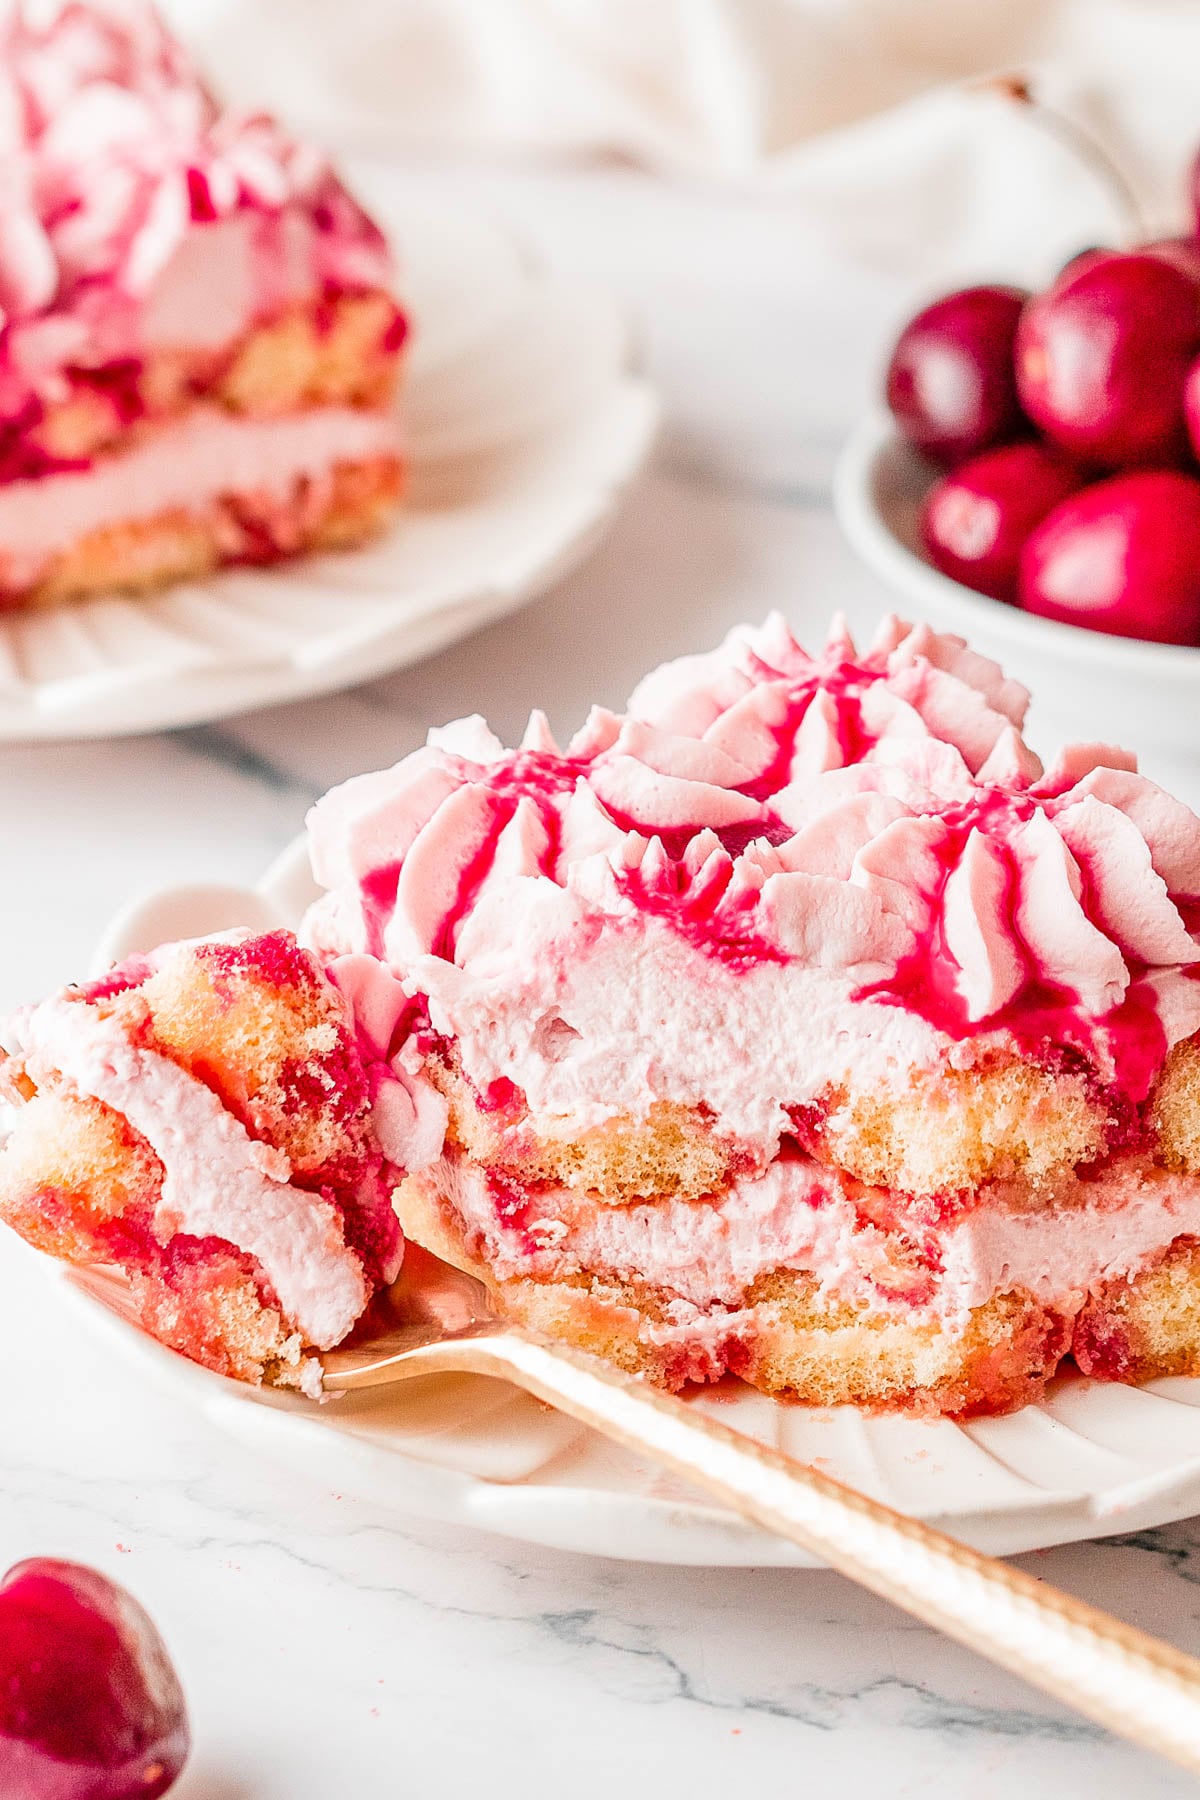
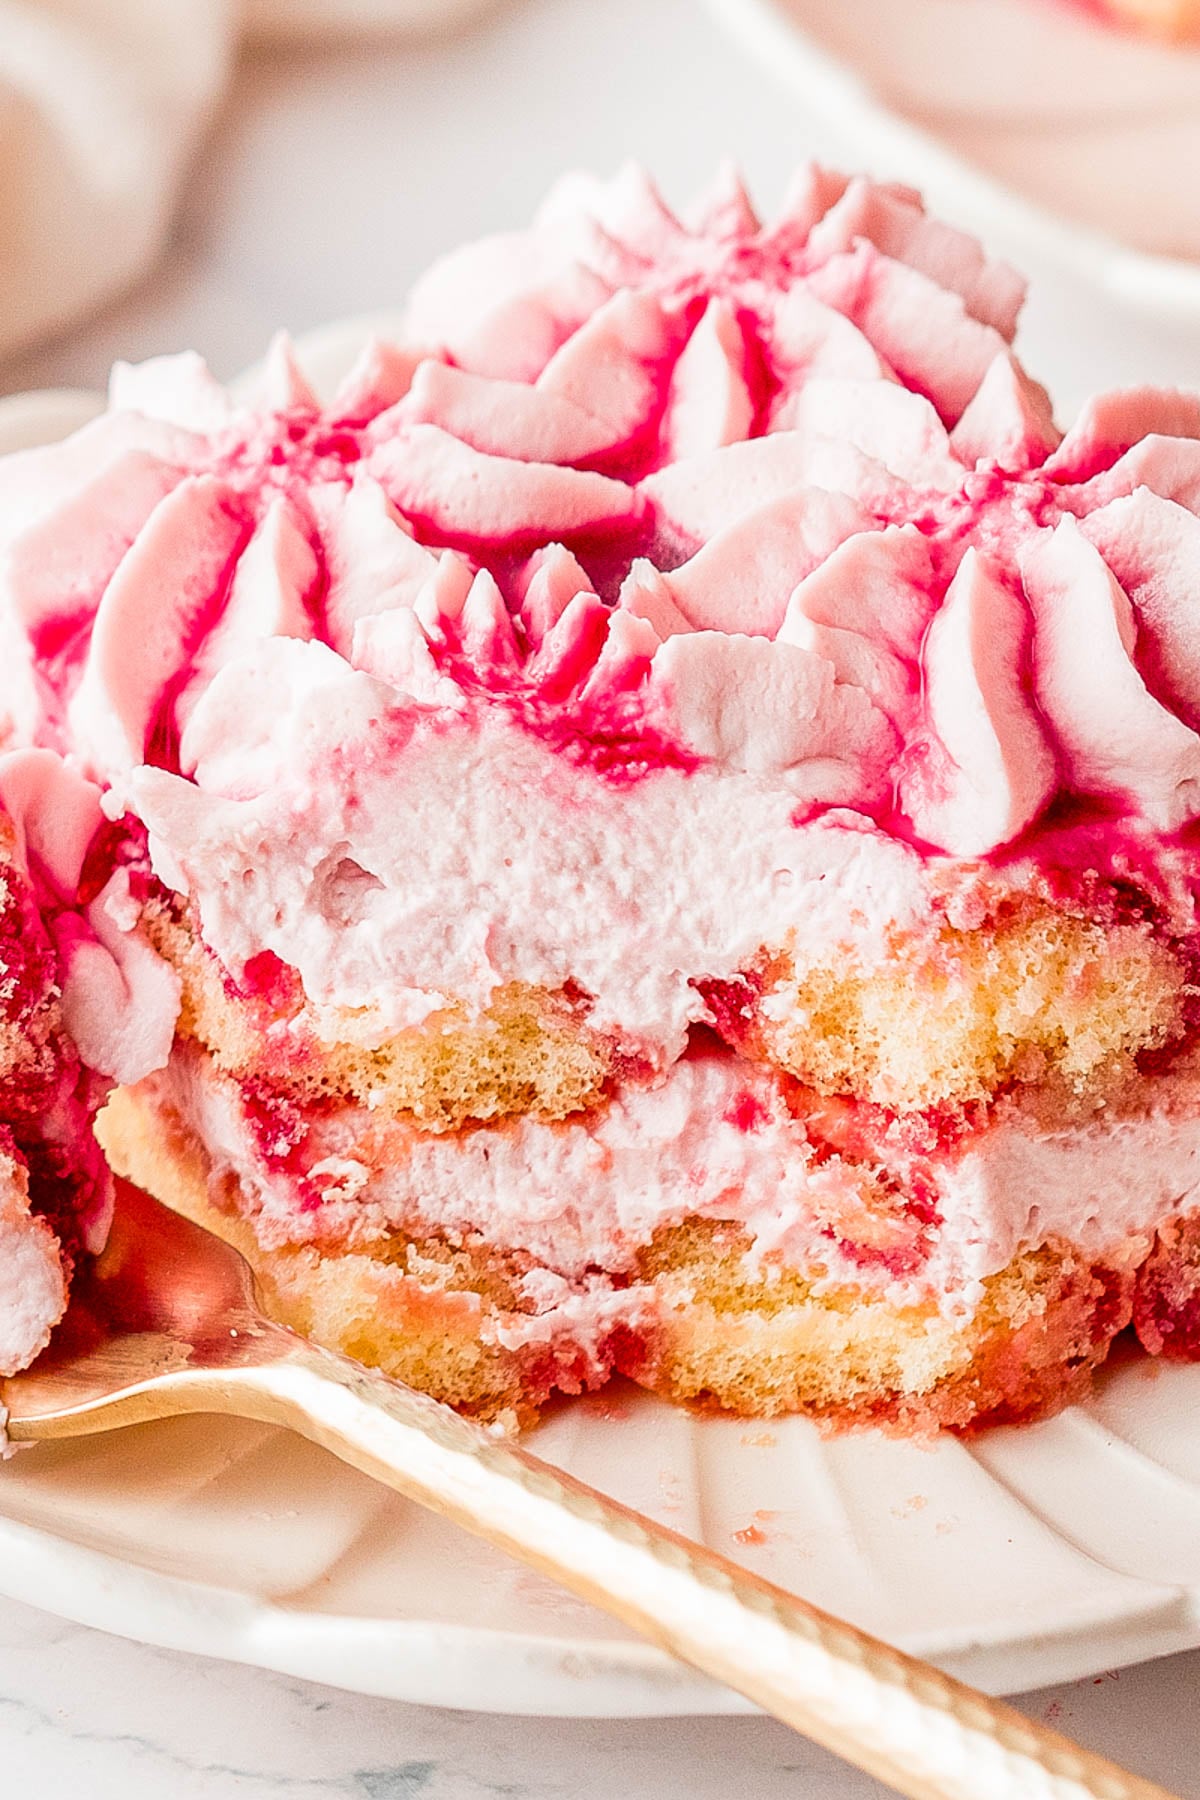
- The texture are flavor are unmatched. It feels like you’re jumping into a squishy bed of soft and creamy goodness! The layers of soaked ladyfinger cookies add texture to the otherwise soft and squishy creamy filling that’s interspersed. The flavor is sweet enough but not overly sweet thanks to both a restrained amount of sugar and the natural tanginess from the mascarpone.
- Impressive but easy. While I think it looks like a bakery dessert, it comes together in about 30-45 minutes of hands on time and your fridge does a lot of the heavy lifting.
- Tiramisu is a no-bake dessert. When it’s hot, humid, and turning on your oven just isn’t happening, turning to no-bake desserts like tiramisu is perfect. I also have a Classic Tiramisu recipe if you prefer that.
- Make-ahead friendly. The cherry-syrup soaked ladyfingers and mascarpone cream need at least 6 hours to soak and set (and overnight is ideal) so when you need a dessert to prep the night before a party or gathering to lessen your load the day-of, tiramisu is a great one.
- Feeds a crowd. Makes 12 generous slices (or 15-18 if you slice them smaller) so it’s ideal for summer cookouts, potlucks, and entertaining. If you have a summer anniversary or summer birthday in your family, this will get everyone ooh’ing and ahh’ing.
The Easiest Fresh Cherry Dessert
For nearly 15 years running my Cherry and Chocolate Chip Blondie Bars recipe has been my #1 summer dessert with readers because it’s no-mixer, no-fuss, and delivers big flavor AND it takes advantage of fresh cherries. If you haven’t tried it yet, it’s truly so easy and so GOOD!
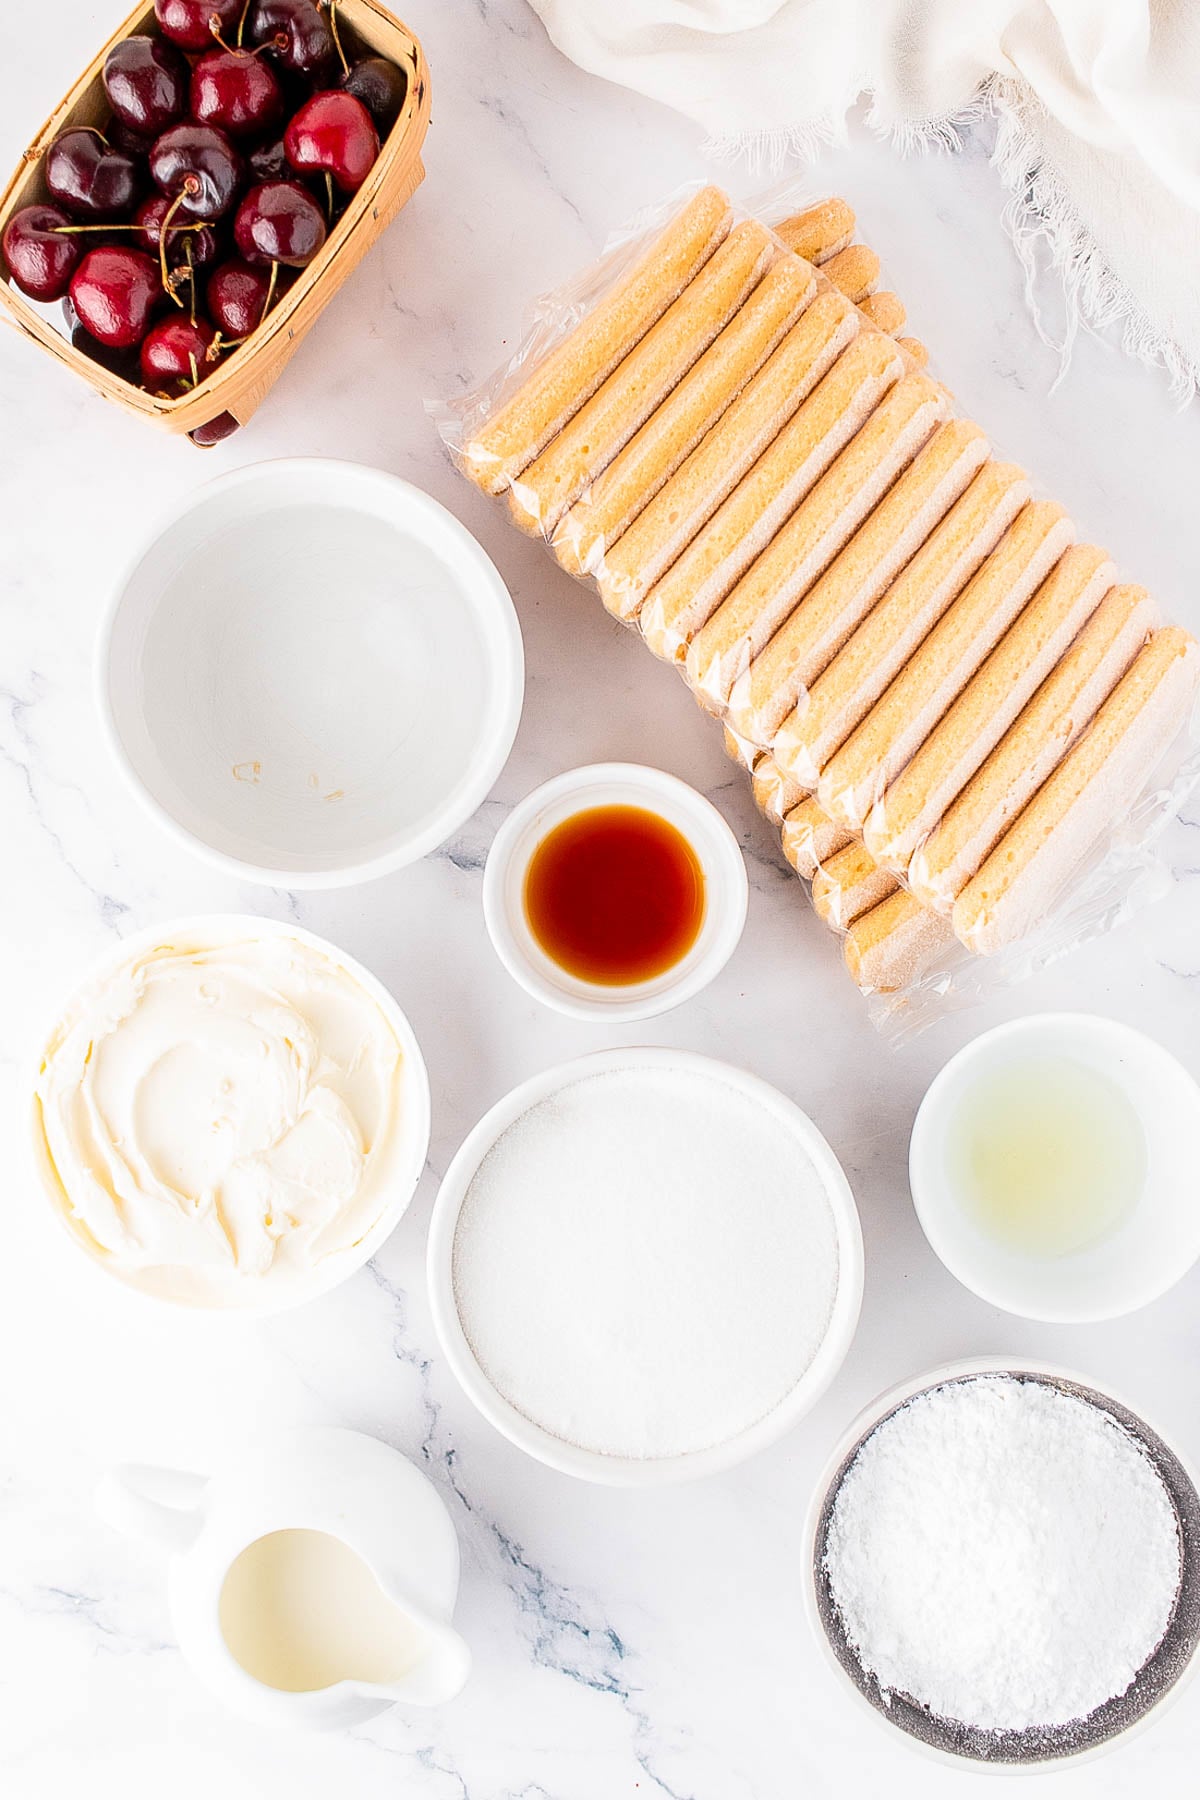
Ingredients in Cherry Tiramisu
Cherries: You’ll need cherries to make the cherry syrup. Fresh cherries are ideal for the most vibrant color and flavor. I use classic summer cherries, sometimes called bing cherries. I personally wouldn’t use tart cherries (save those for cherry jam) unless you adjust the sugar because they’re usually very tart.
If fresh aren’t available, frozen cherries that have been thawed and drained will also work. Sometimes frozen cherries are sold already pitted which is a great perk!
The cherries must be cooked in order to make the syrup and they must be pitted before cooking. A cherry pitter makes this faster and easier. The other option is a paring knife and some good knife work.
Cherry Syrup: Homemade from simmered cherries, sugar, and lemon juice. It soaks into the ladyfingers and flavors the cream filling.
Ladyfinger Cookies: These are the classic tiramisu cookie and there are no substitutions because this IS what tiramisu is. Grab a couple packages of ladyfinger cookies or these ladyfingers and you’re set. Most well-stocked grocery stores carry them in the cookie and cracker aisle.
Mascarpone Cheese and Heavy Cream: Cold mascarpone cheese whipped with heavy cream (no substitutions), powdered sugar, cherry syrup, and vanilla creates the LIGHTEST, most luscious filling. Mascarpone is often kept in the ‘gourmet’ cheese case area of well-stocked supermarkets and sold in a tub.
Can I sub cream cheese for mascarpone cheese? It’s not ideal because mascarpone cheese has double the fat (about 65-70% vs. 33% in cream cheese) which allows the filling to set up better. And mascarpone is much milder and not nearly as tangy as cream cheese. It’s subtly sweet, rich, and buttery without the acidity and tang.
Note: Scroll down to the recipe card section of the post for the ingredients with amounts included and for more complete directions.
How To Make Tiramisu with Fresh Cherries
- Make the Cherry Syrup. Simmer cherries with water, mash them, strain, then cook the juice with sugar and lemon until slightly thickened. Chill completely.
- Whip the Mascarpone Cream. Beat mascarpone, heavy cream, powdered sugar, cherry syrup, and vanilla until soft peaks form.
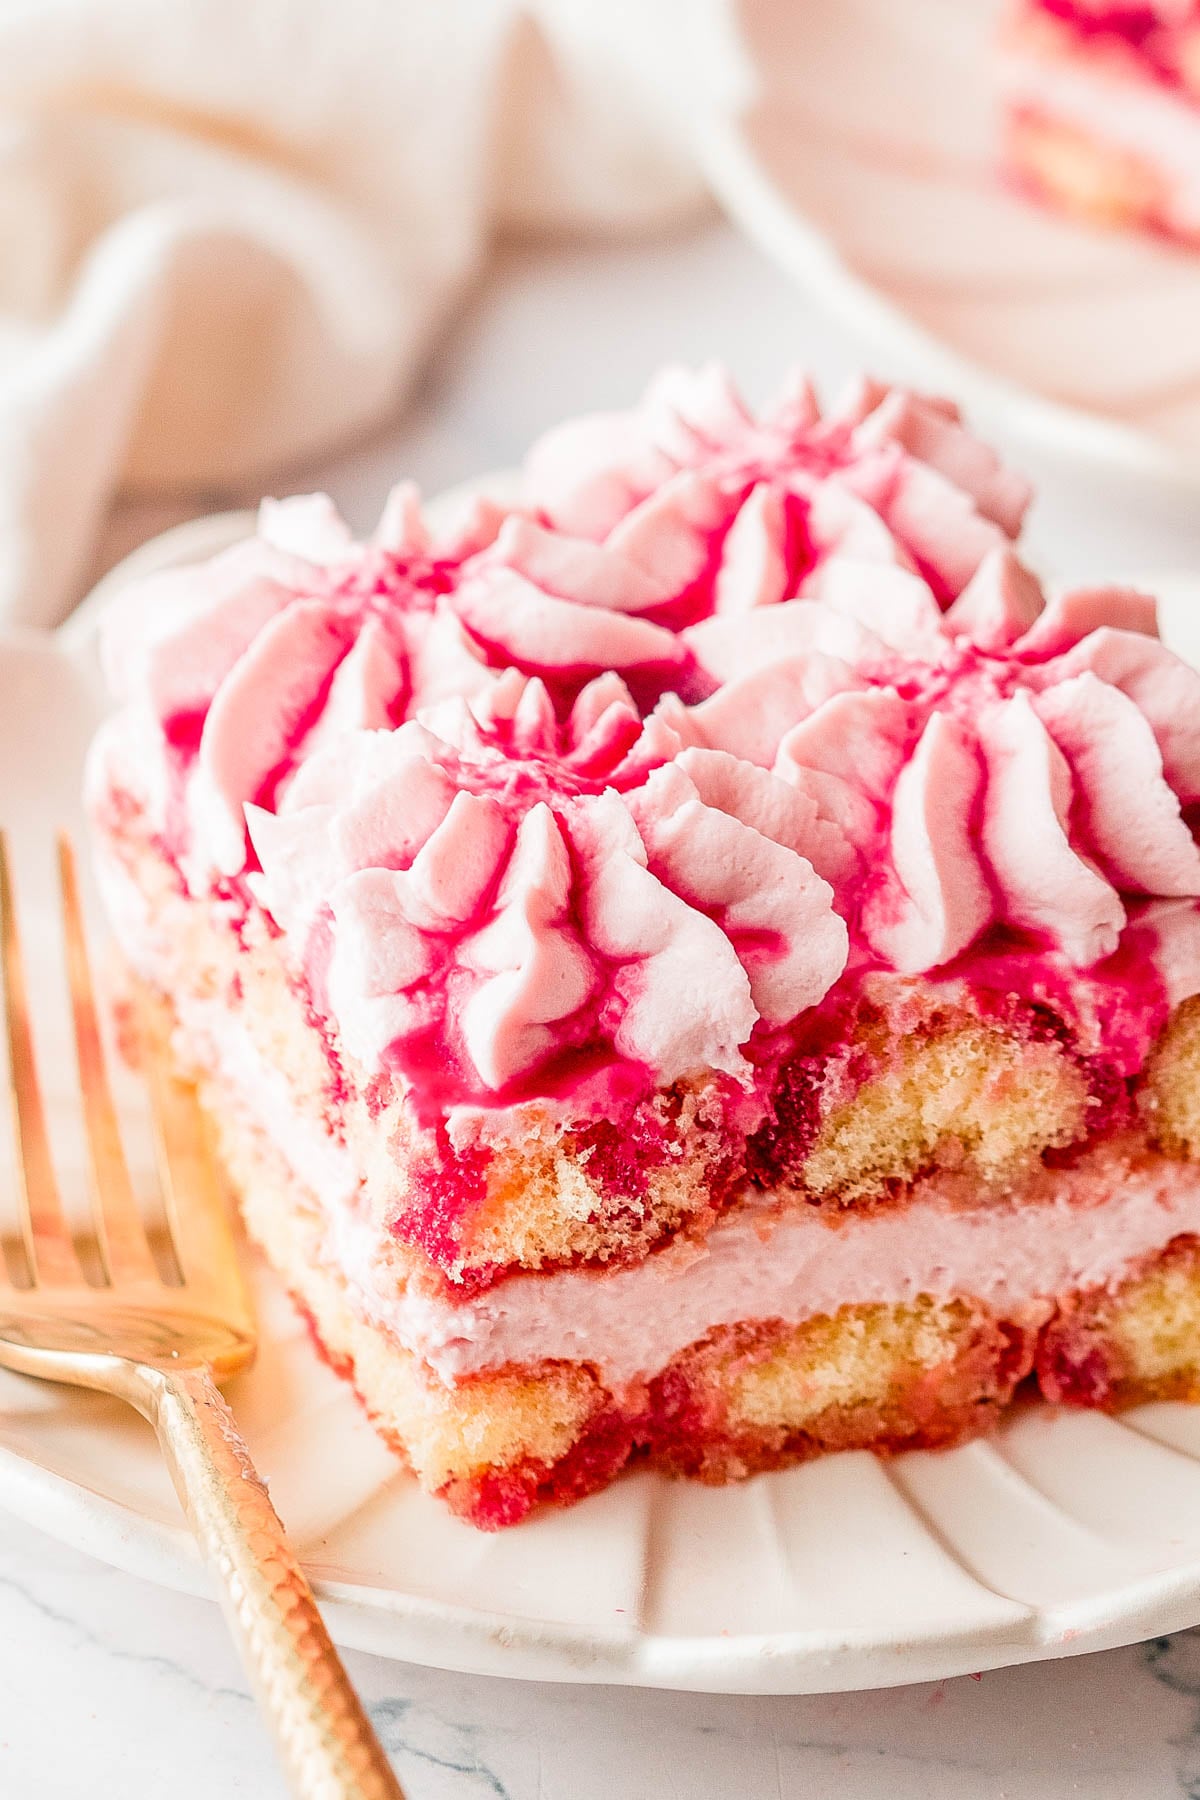
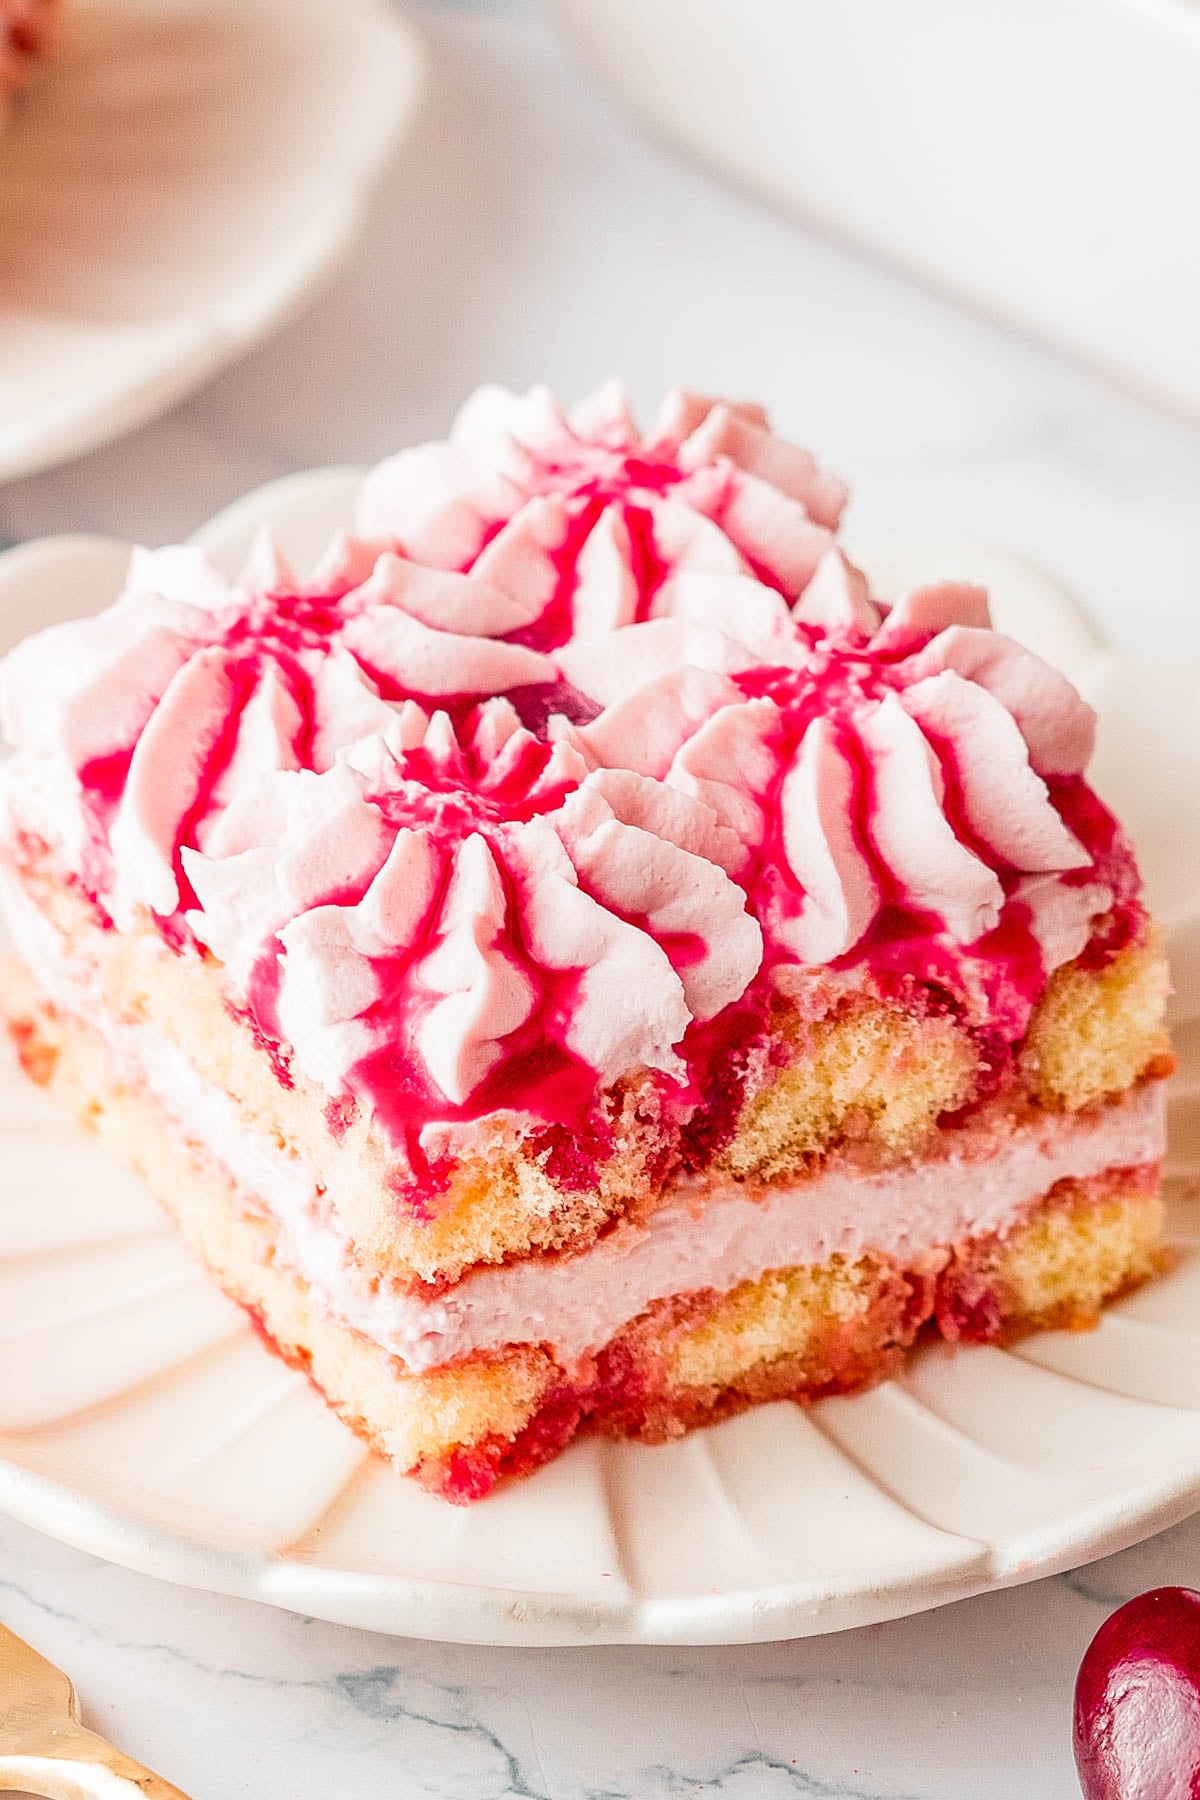
- Layer It Up. Dip ladyfingers in cherry syrup, lay them in a 9×13 baking pan, spread half the cream on top. Repeat for a second layer.
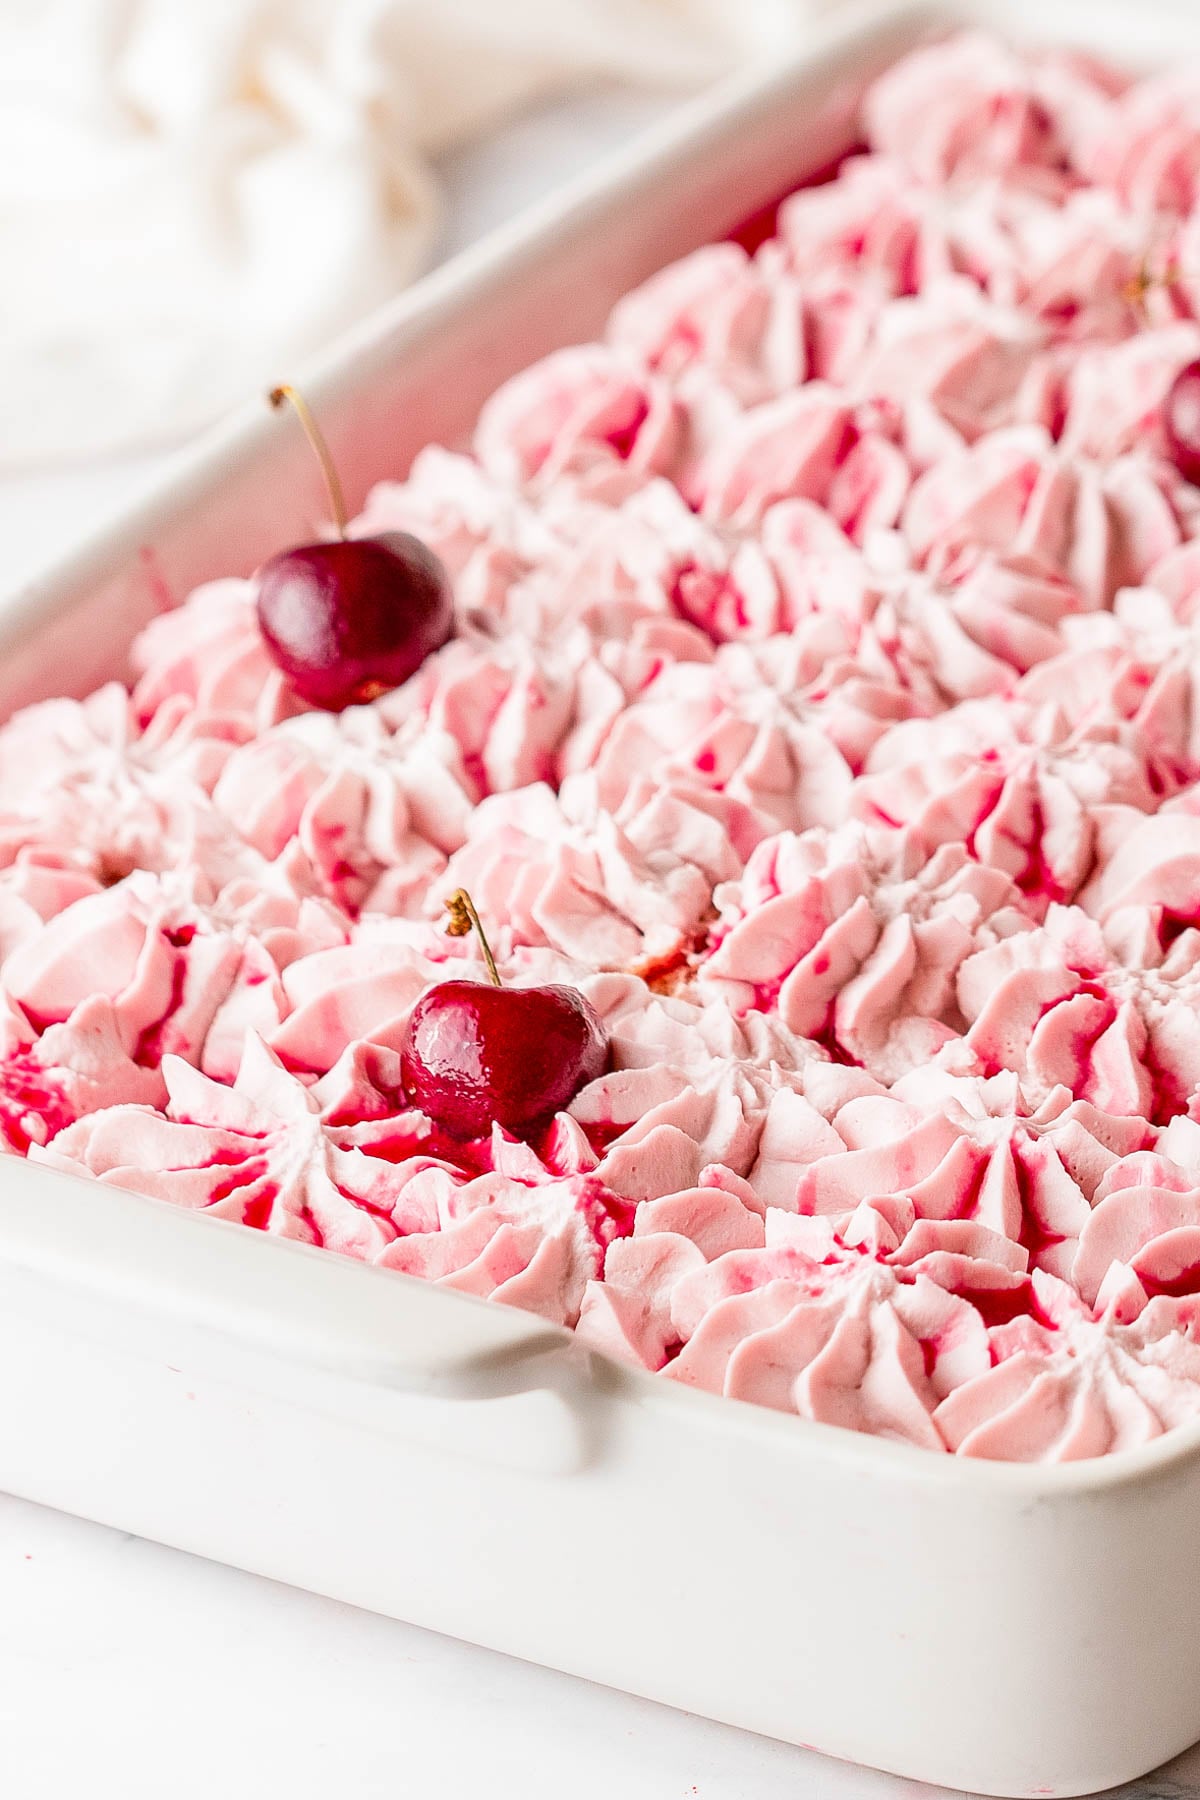
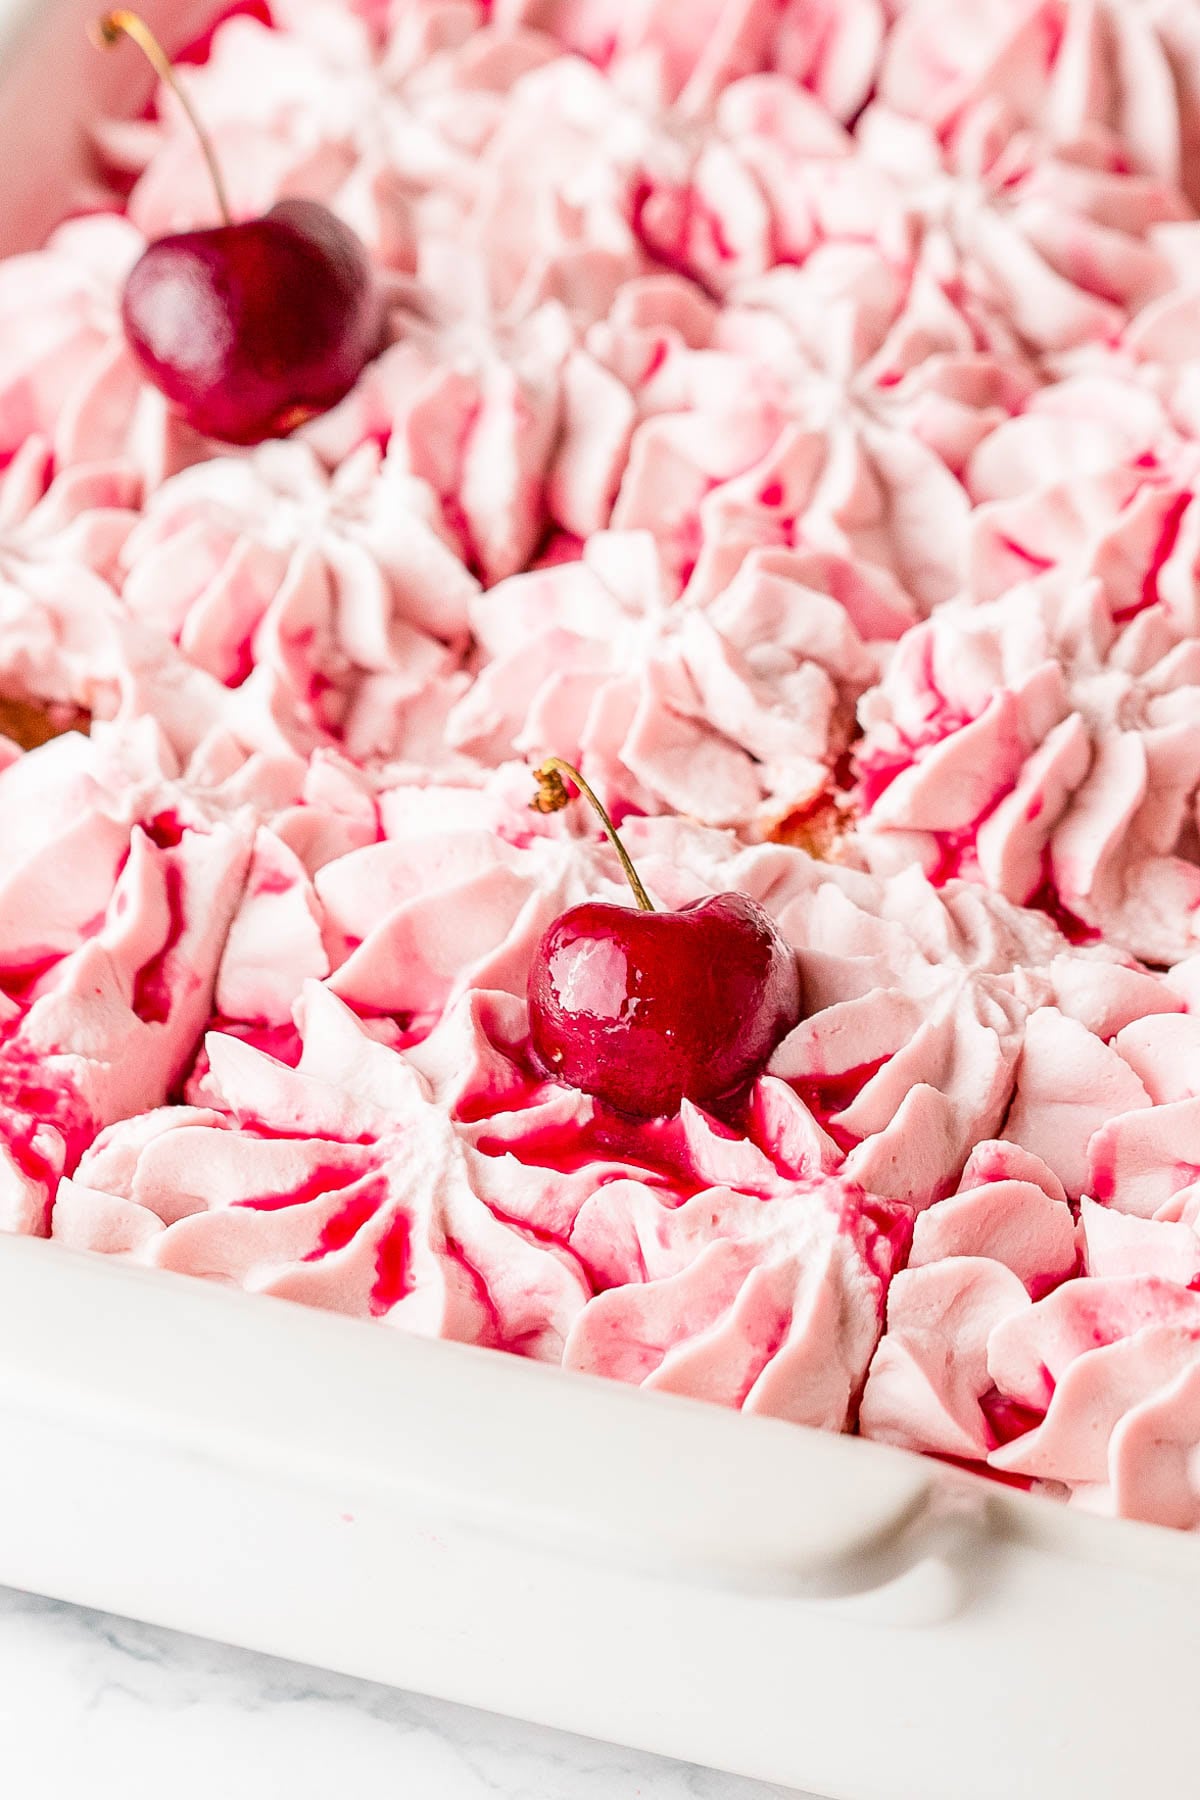
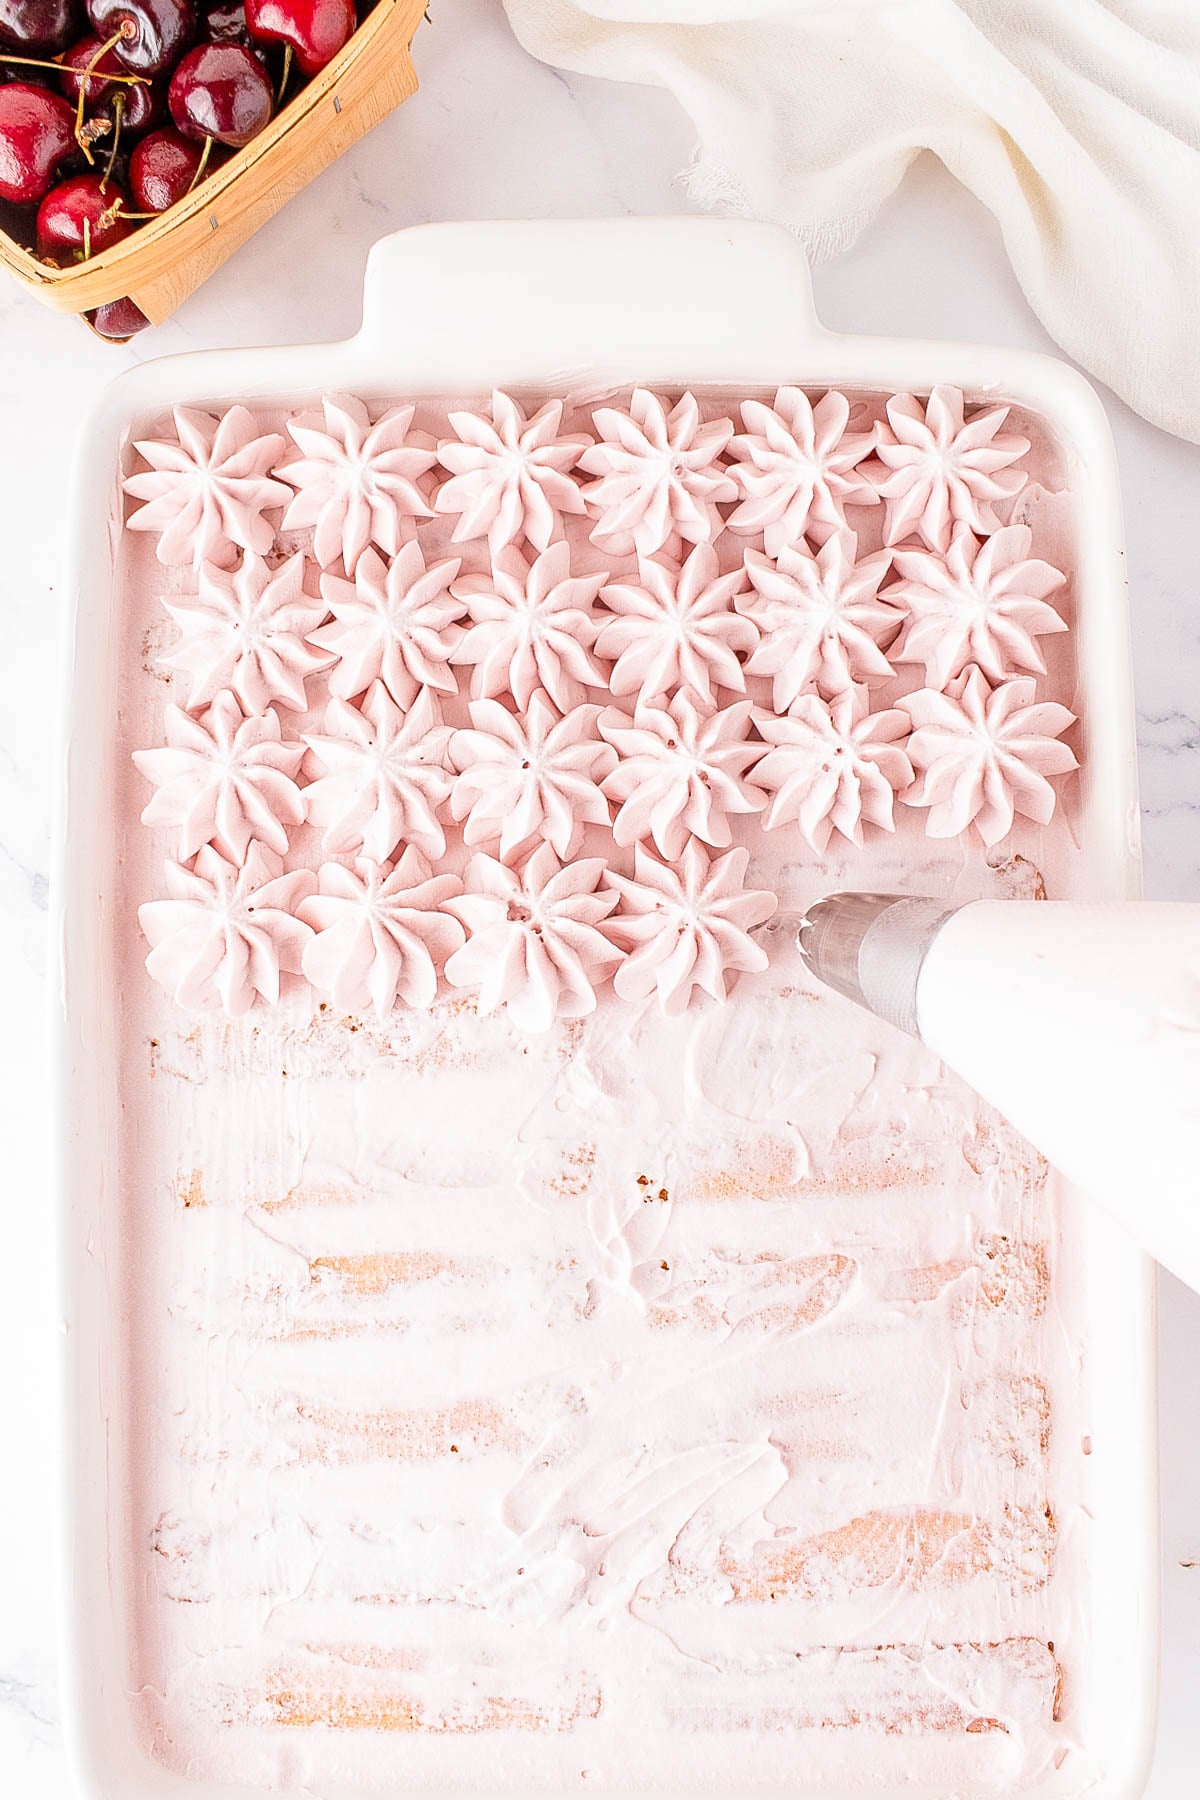
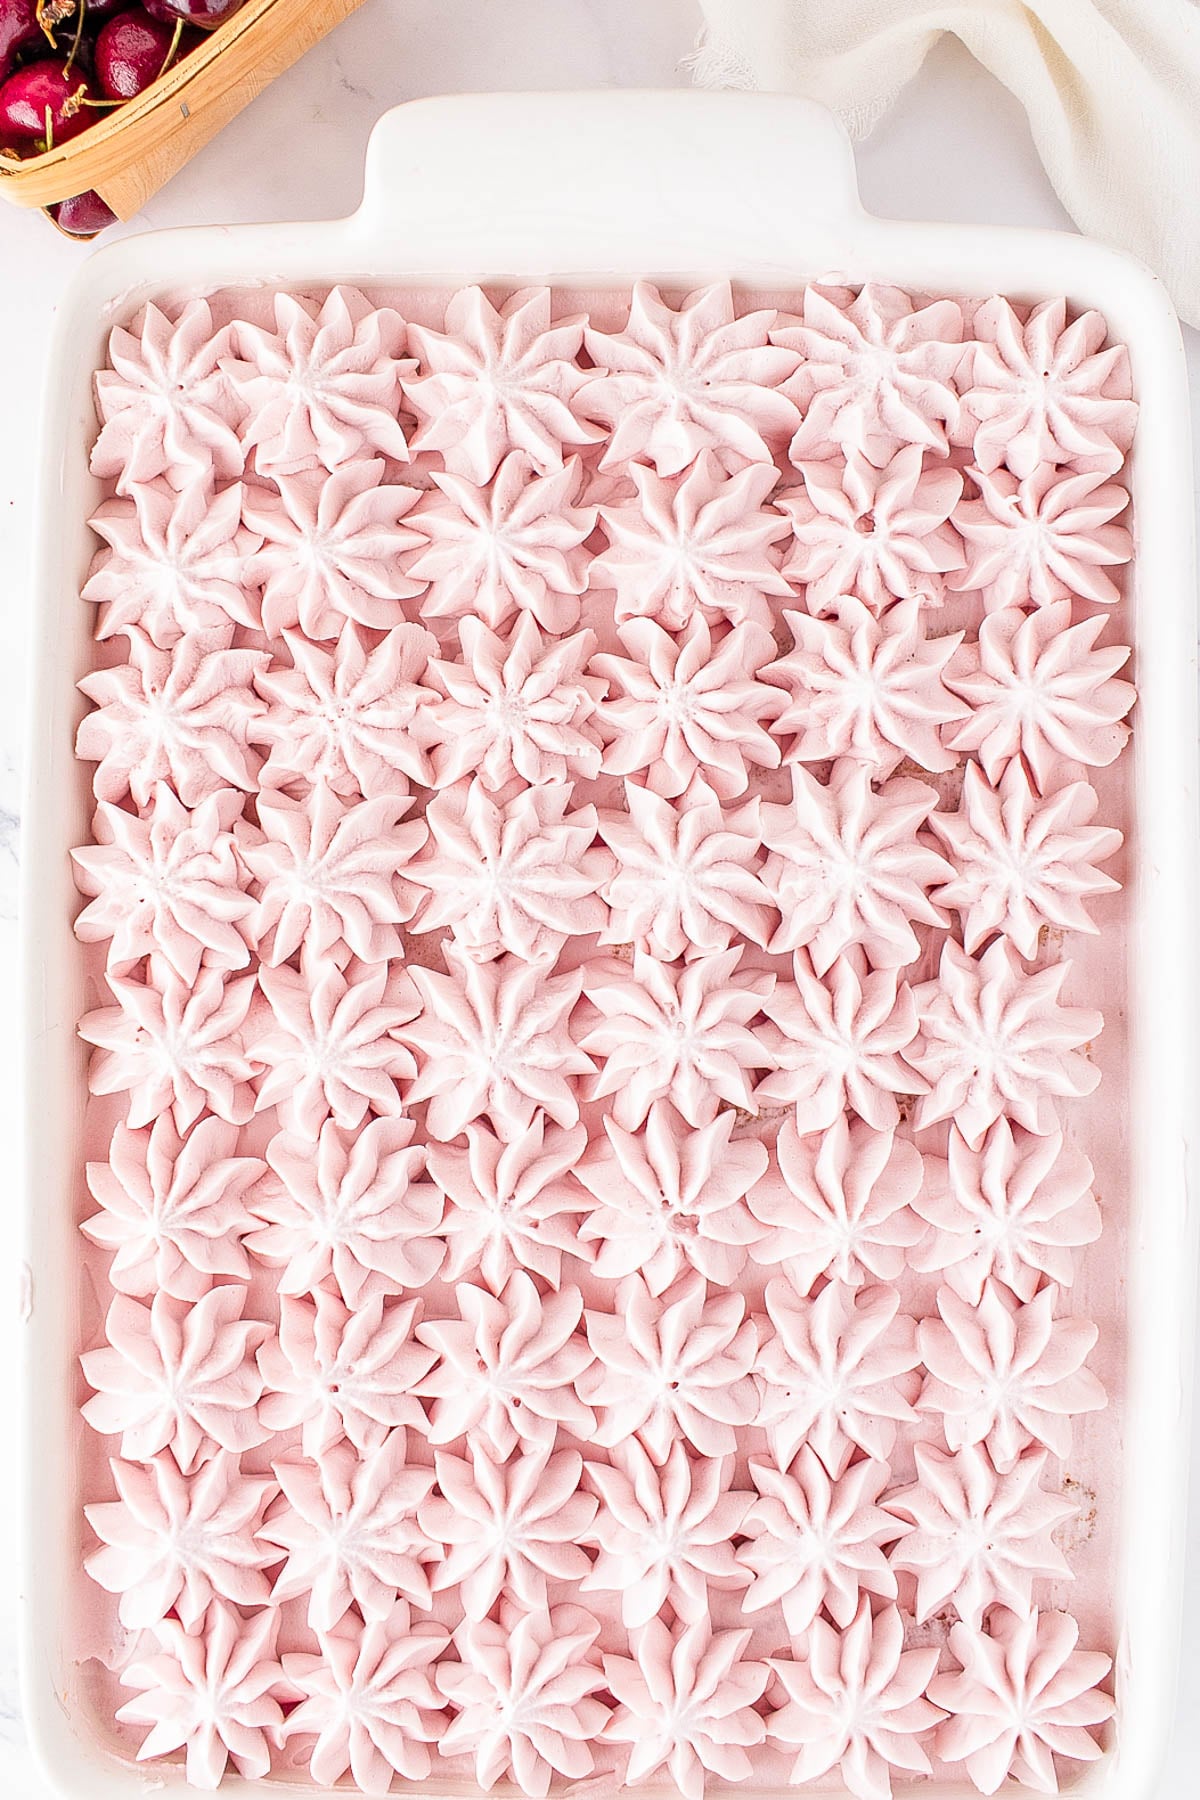
- Spread or Pipe. If you’d like, you may pipe the remaining cream mixture on top for an extra beautiful finish, or just spread or swirl it on with a spatula.
- Chill and Serve. Refrigerate at least 6 hours or overnight. Garnish with fresh cherries and a drizzle of cherry syrup before serving.
Note: Scroll down to the recipe card section of the post for step-by-step photos and process shots of the cooking process.
Cherry Tiramisu
Equipment
- cherry pitter optional but recommended
Ingredients
Cherry Syrup
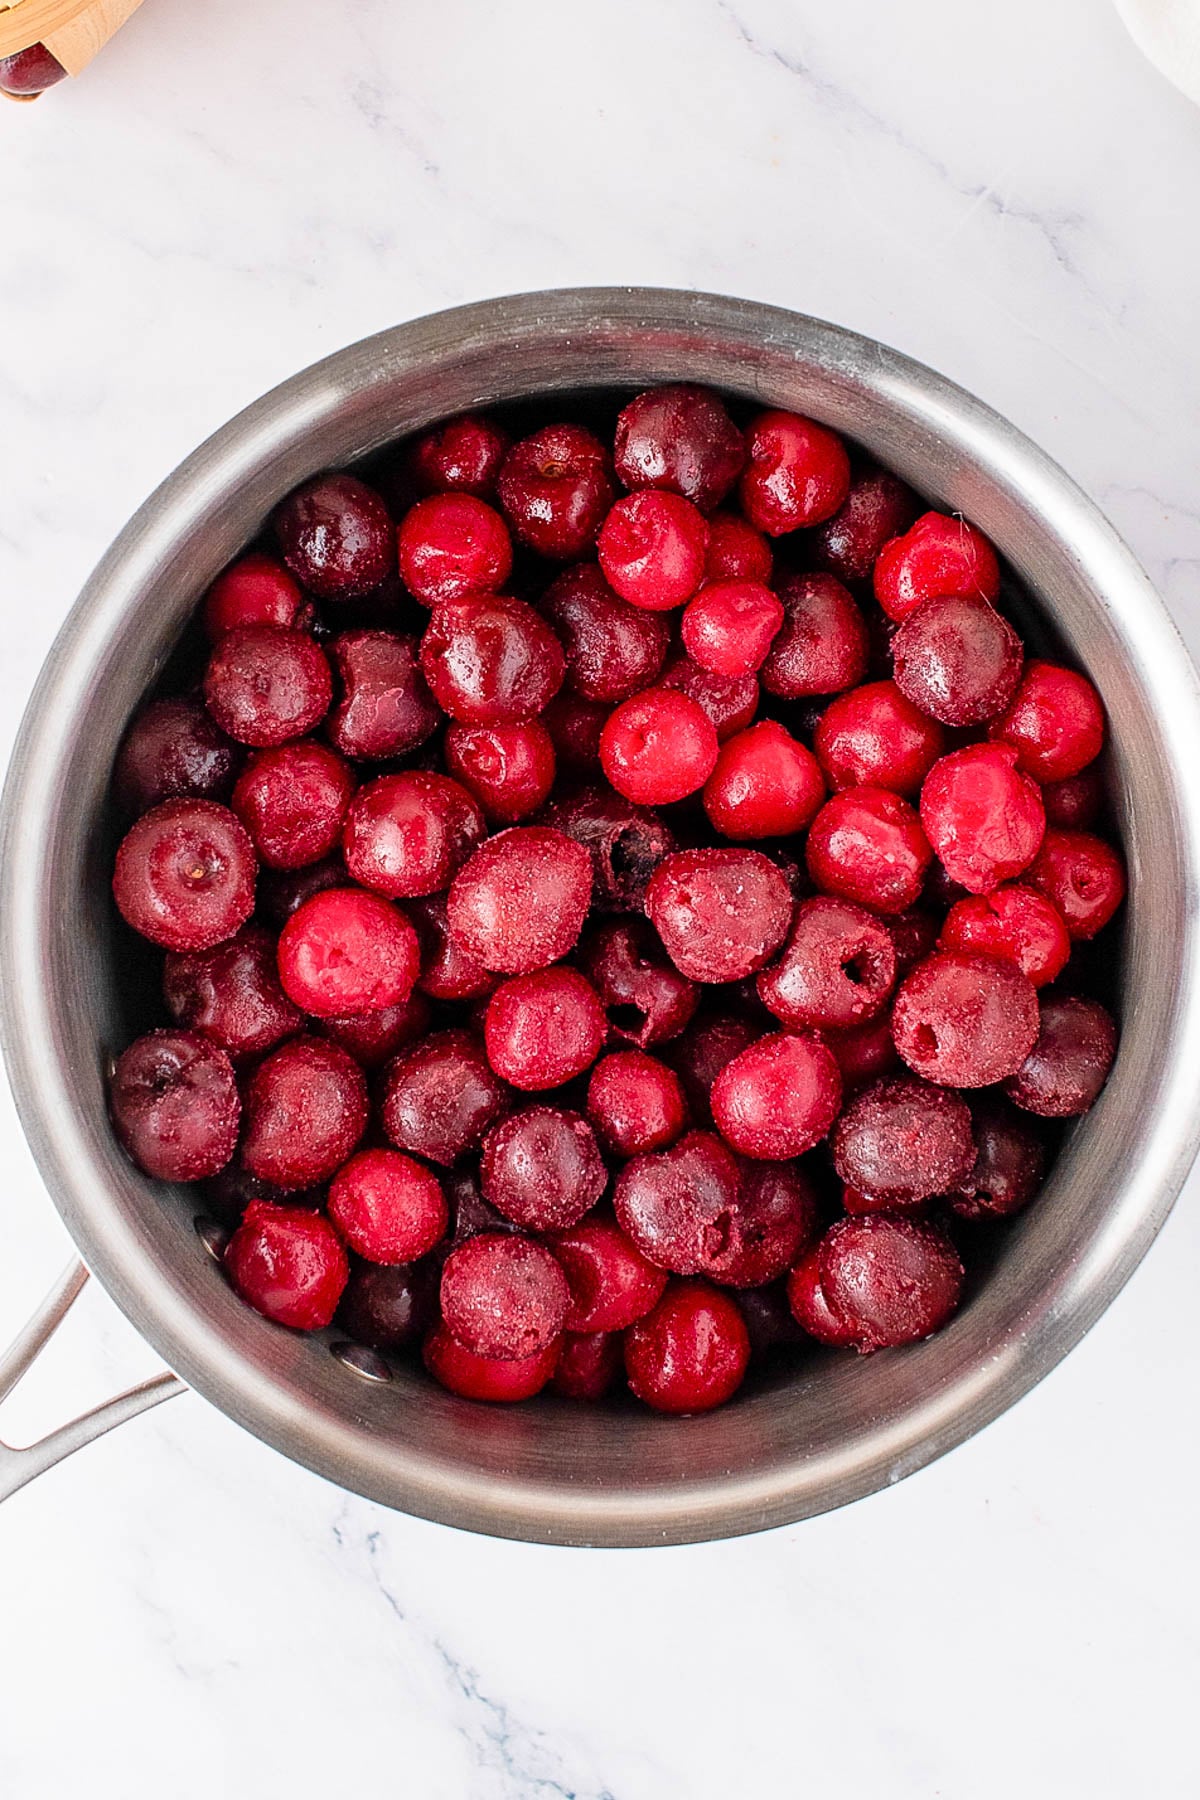
- 6 cups pitted cherries, fresh are best but frozen that have been thawed and drained may be used
- ¾ cup water
- 1 ¼ cups granulated sugar
- 2 tablespoons lemon juice
Mascarpone Cream Filling
- 2 ½ cups heavy whipping cream, no substitutions
- 16 ounces mascarpone cheese, cold (read blog post about why I don’t recommend substituting with cream cheese)
- 1 cup confectioners’ sugar, sifted if lumpy
- 1 cup cherry syrup, from above
- 1 teaspoon vanilla extract, or more to taste
- ½ teaspoon almond extract, optional and to taste
Assembly
- 40 ladyfinger cookies, about 2 packages
- Fresh cherries, as desired for garnishing
- Extra cherry syrup, as desired for drizzling
Instructions
- Cherry Syrup: To a medium saucepan, add the cherries, water, and heat over medium-high heat.

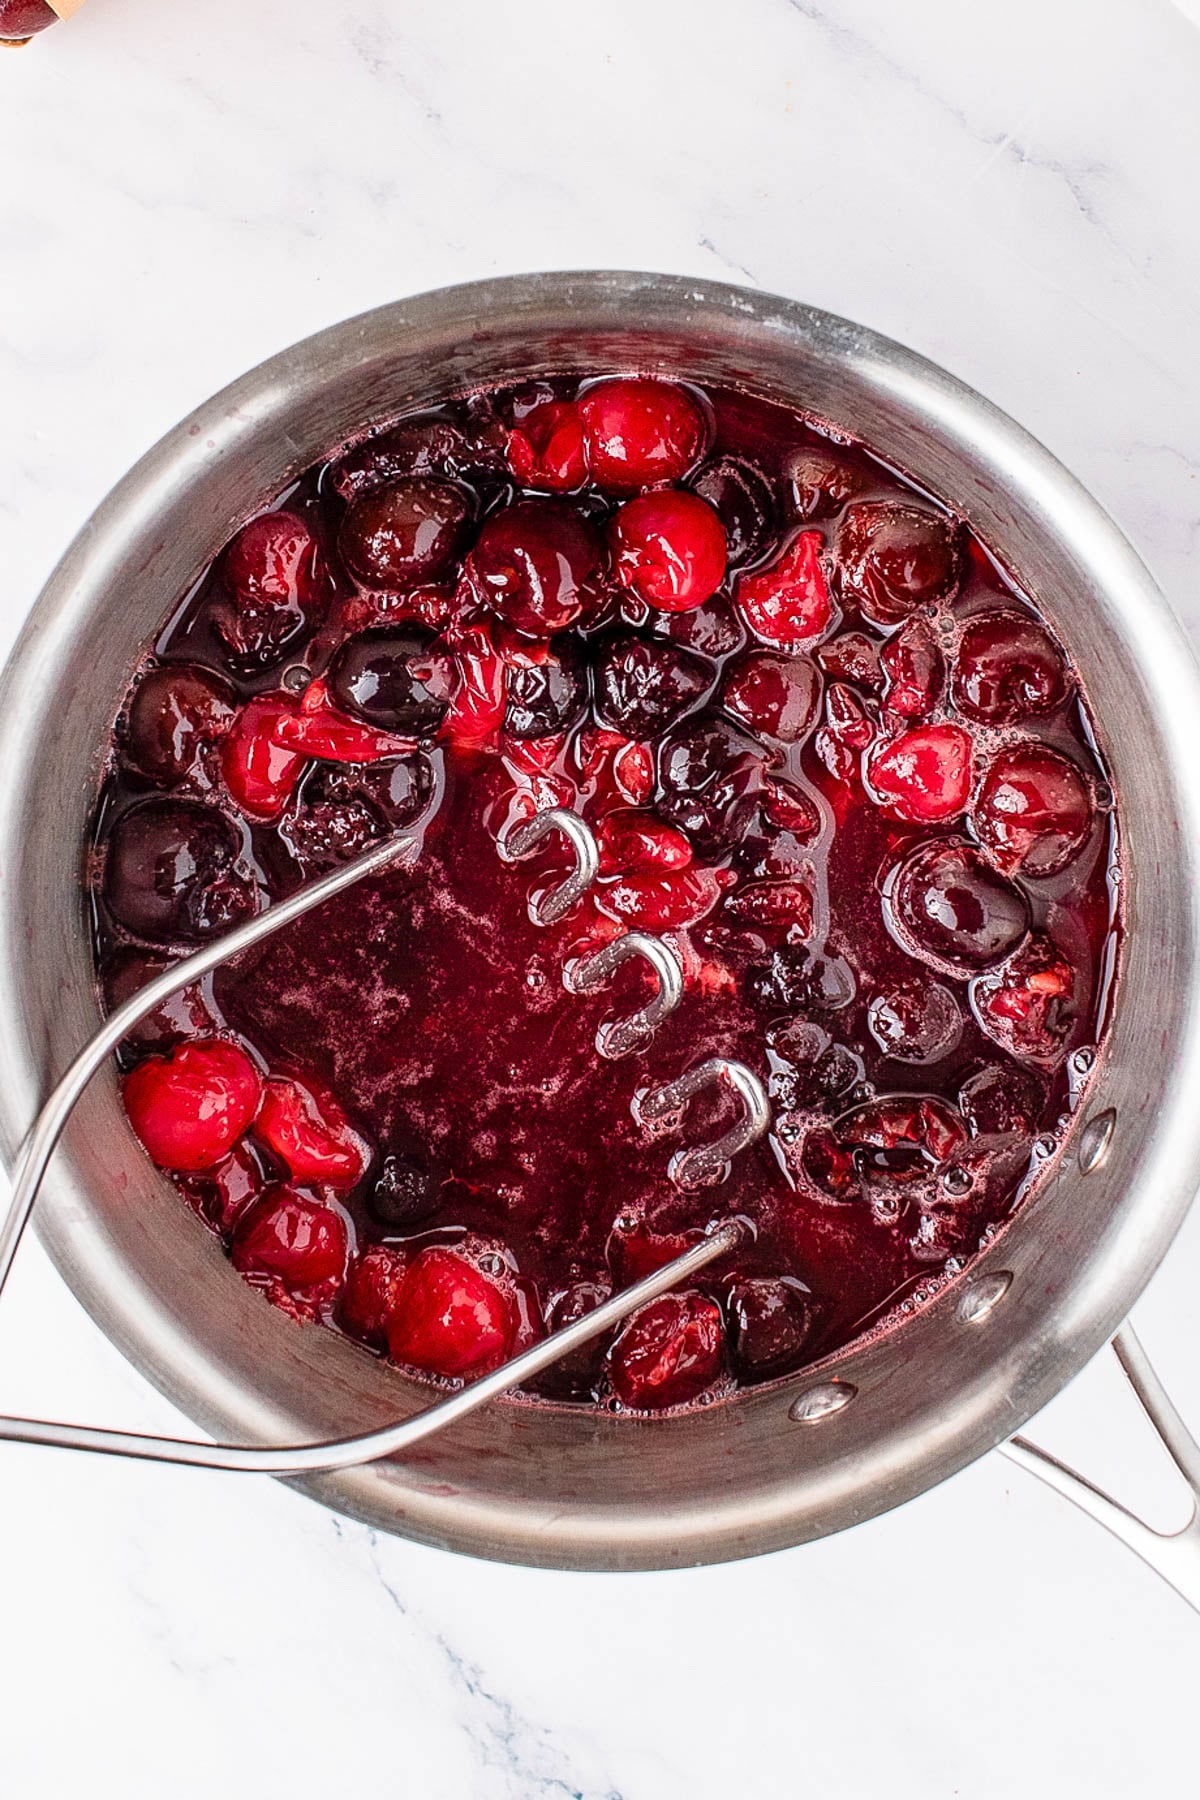
- As the mixture heats, gently mash the cherries with a potato masher to release their juices.
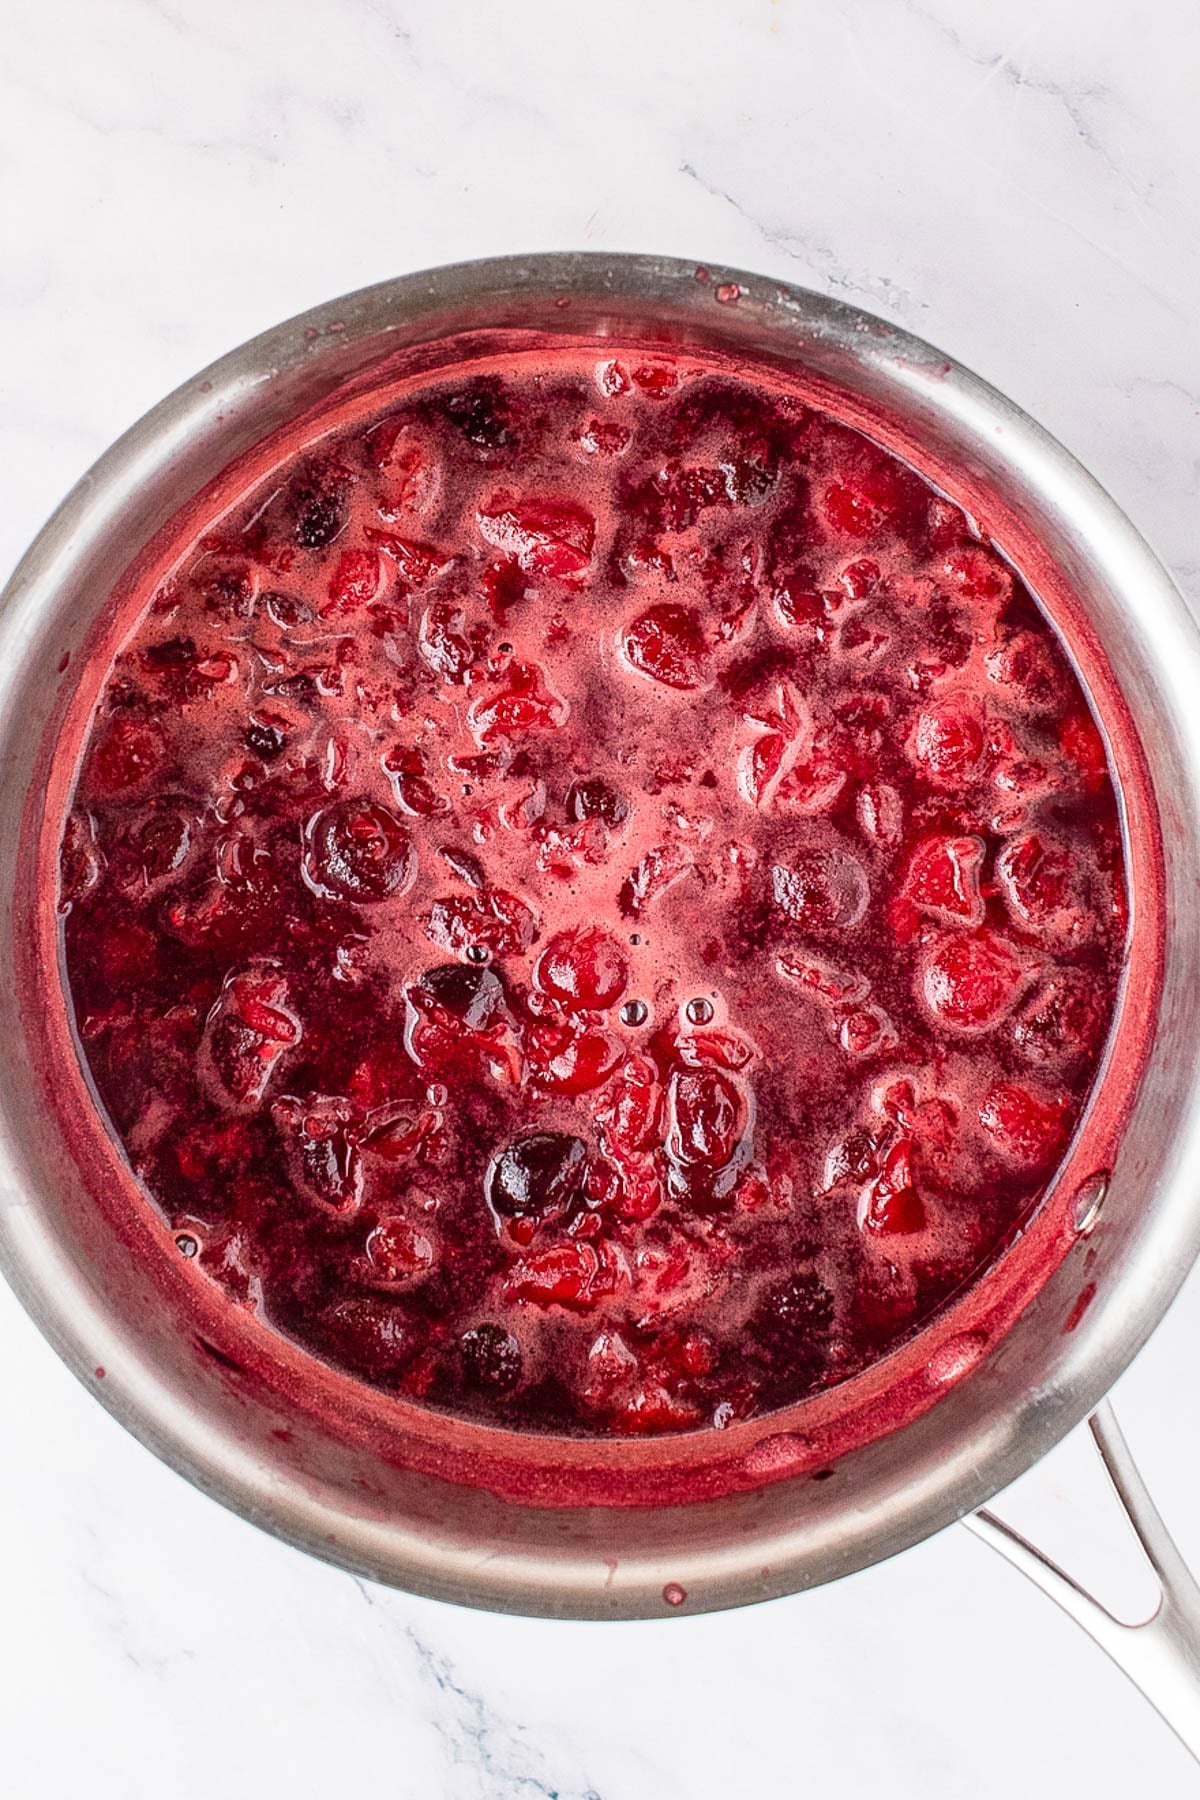
- Once it begins to bubble, reduce heat to medium-low and simmer for 2–3 minutes.
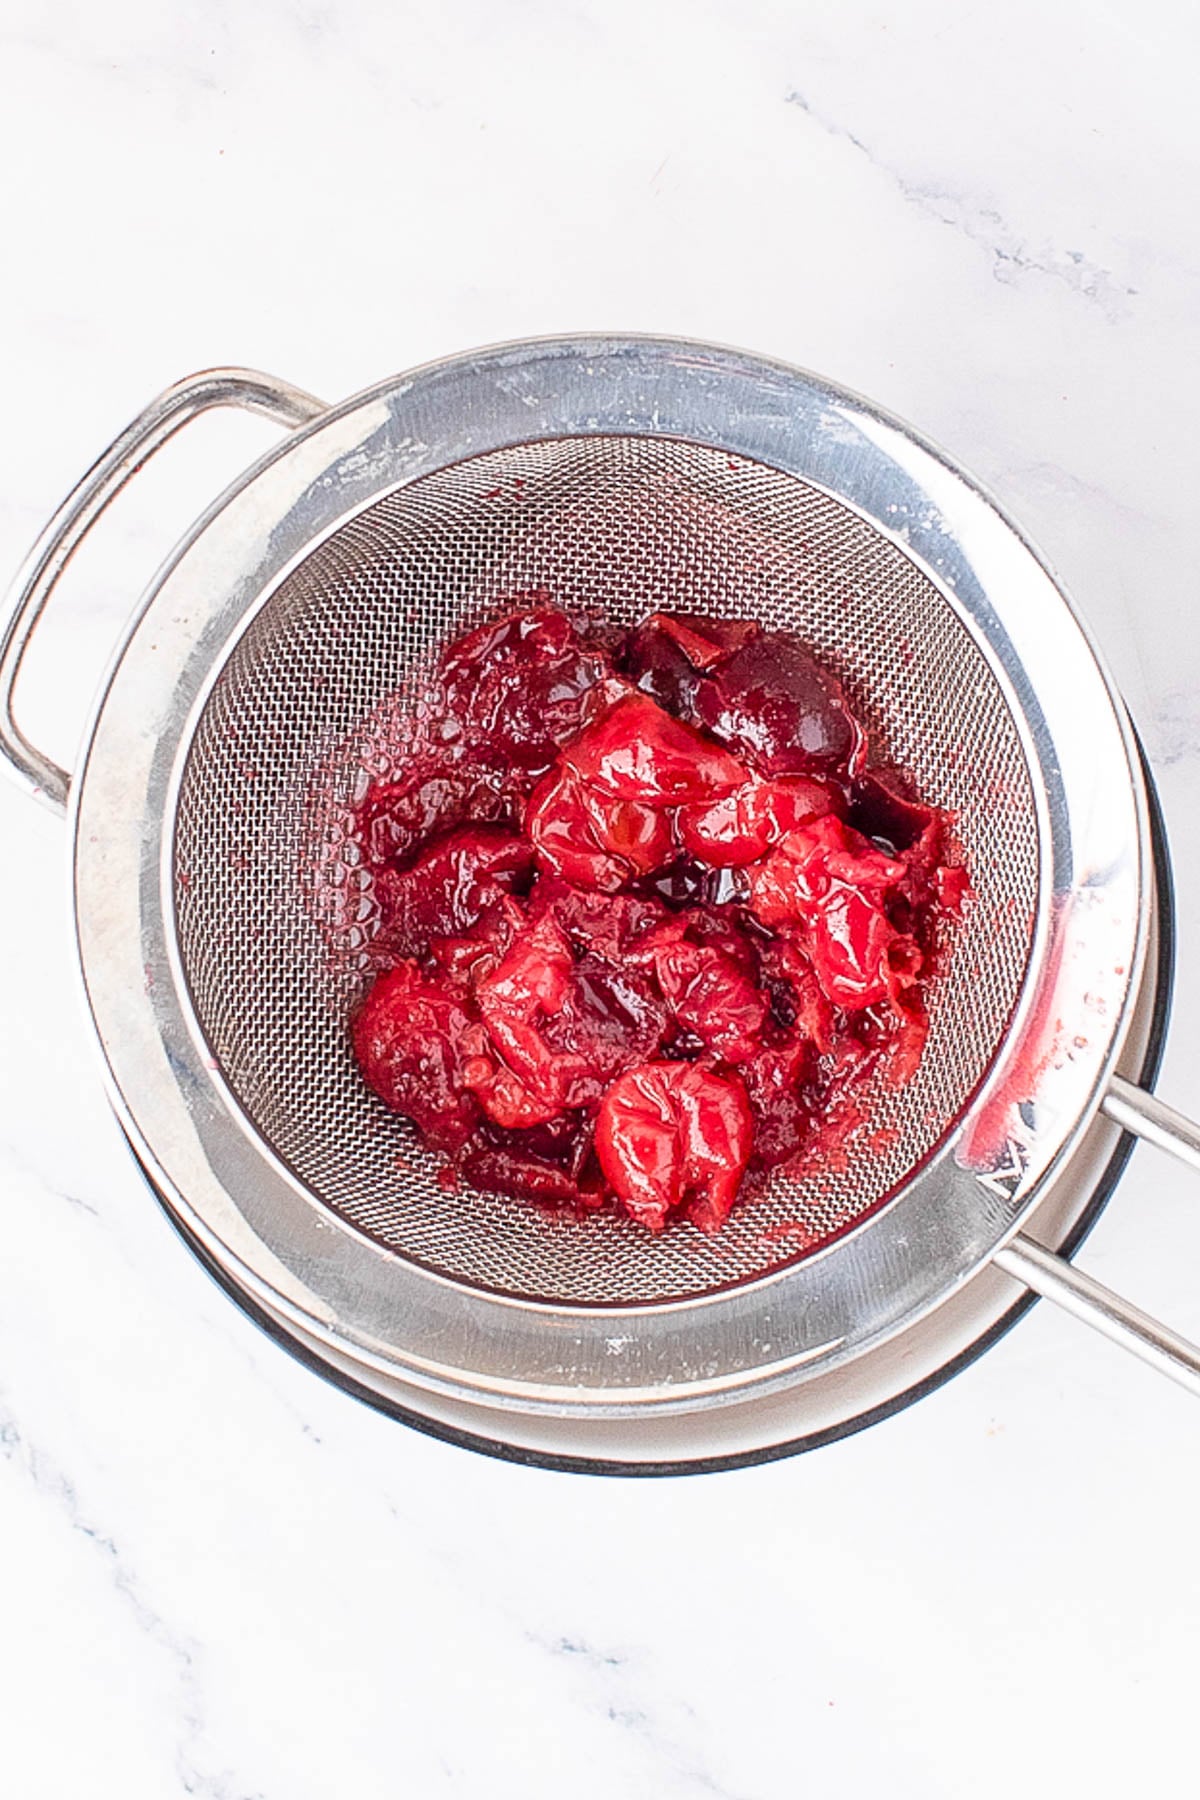
- Strain: Remove from the heat and strain through a fine mesh sieve to remove the pulp, collecting the juice over a large bowl.
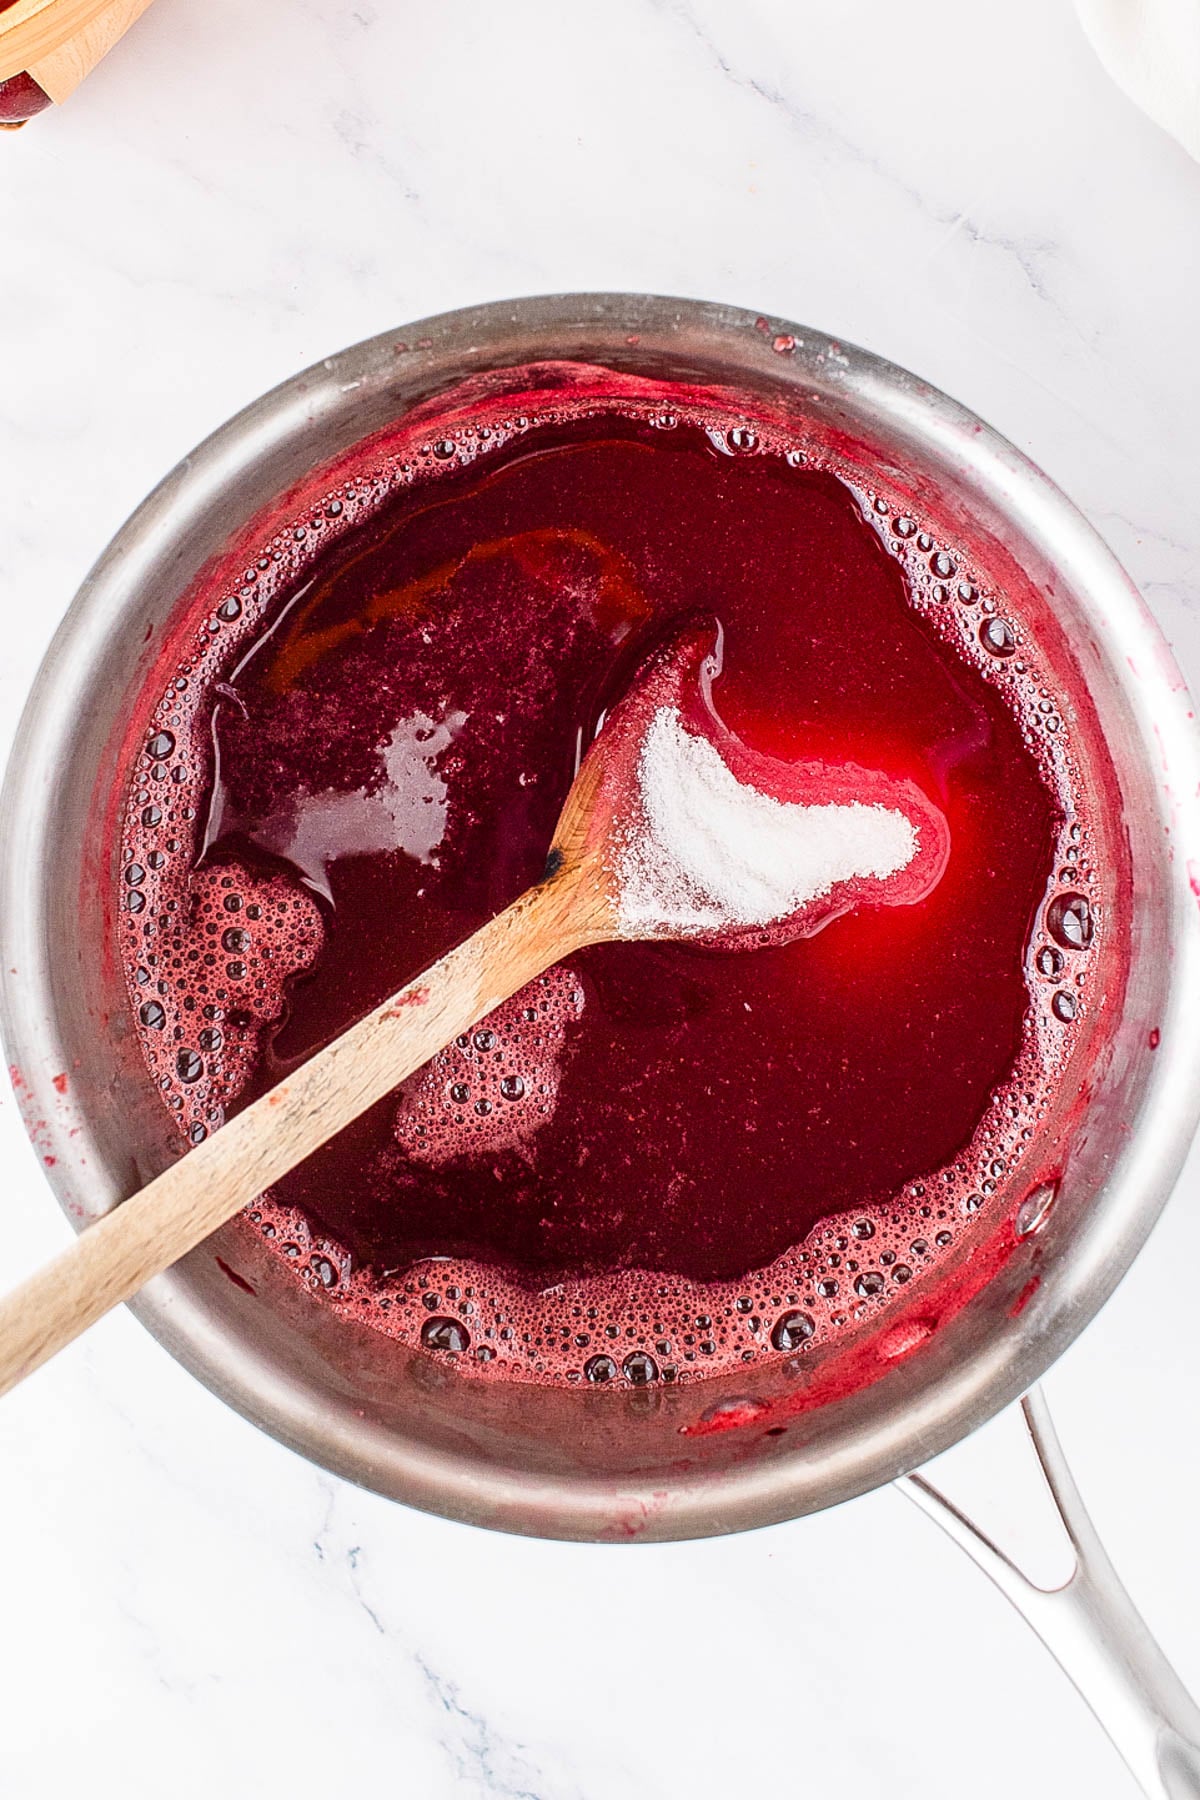
- Thicken: Return the strained juice to the saucepan, stir in the granulated sugar and lemon juice, and bring to a gentle boil. Simmer for 4–5 minutes, or until slightly thickened.
- Chill: Transfer to a container and chill completely in the refrigerator, about 1 hour, or longer if desired. Tip – Don't use warm syrup in the following steps because it'll prevent the filling from whipping and setting; you have to chill it, no exceptions.Reserve and use 1 cup for the cream filling (next step) after it's chilled.
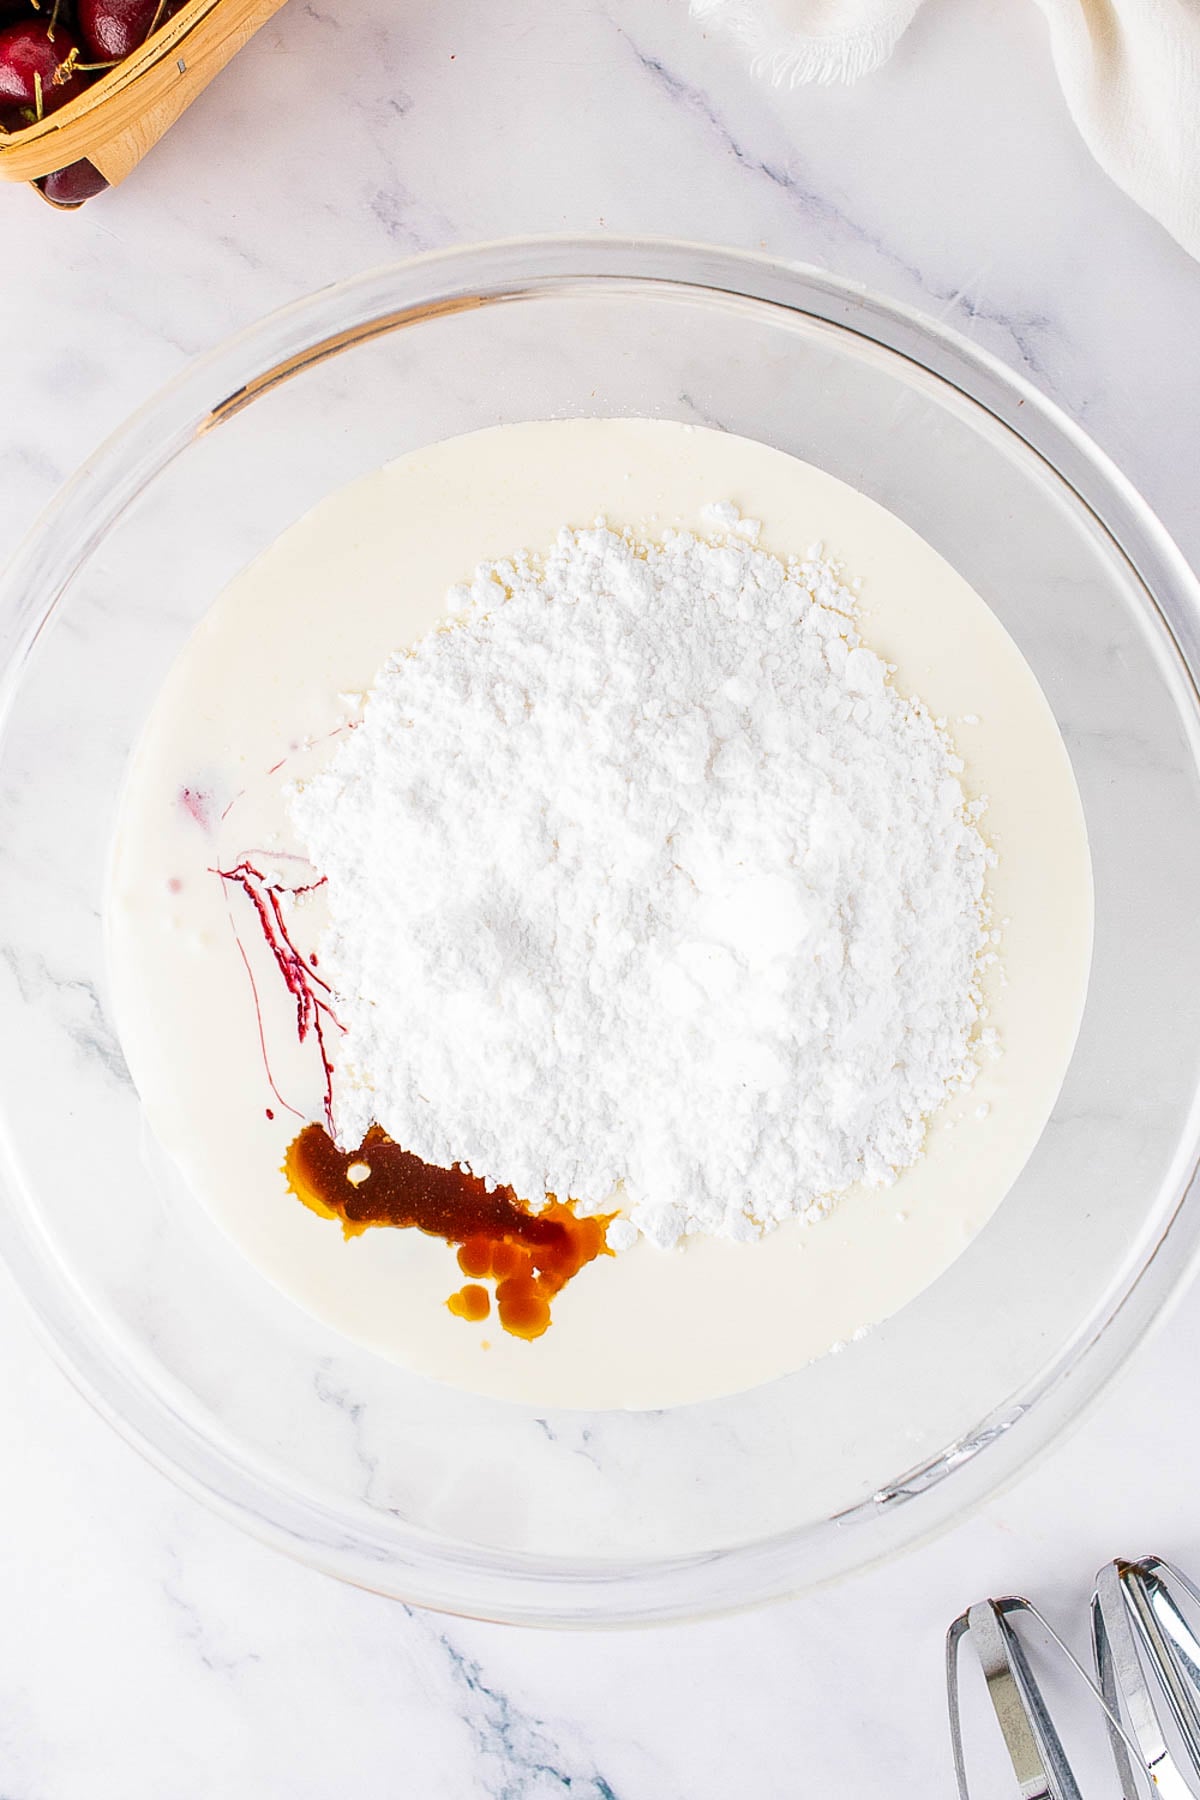
- Mascarpone Cream Filling: To a large mixing bowl (or mixing bowl for a stand mixer) add chilled mascarpone, heavy cream, confectioners' sugar, 1 cup of cherry syrup, vanilla extract and optional but recommended almond extract.
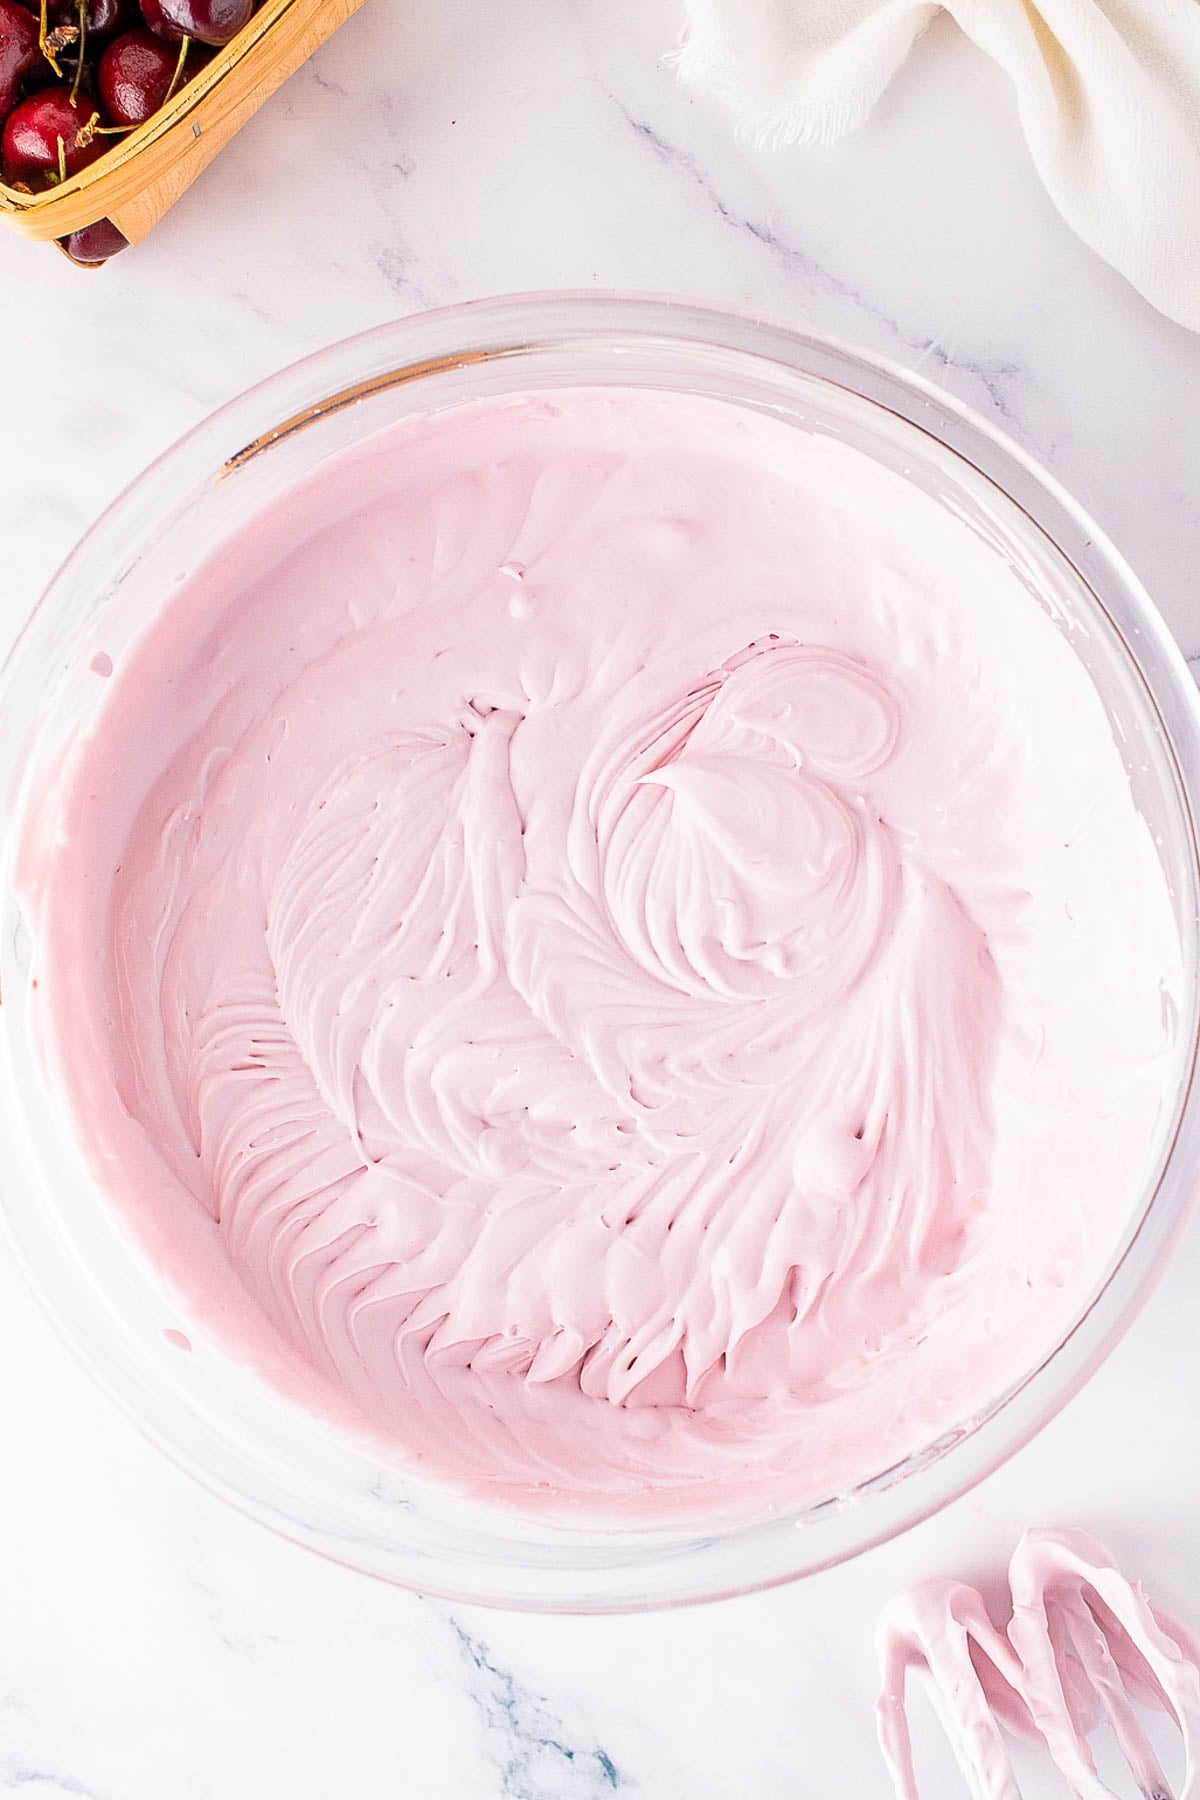
- Beat: Beat on medium-high speed until thickened and soft peaks form; depending on your mixer this will be anywhere from 3-8 minutes; scrape the sides down as necessary while beating. Tip – Don't overmix or else the cream may begin toseparate, stop mixing once soft peaks form. Set aside momentarily for the assembly once the soft peaks have formed (step 10 below).
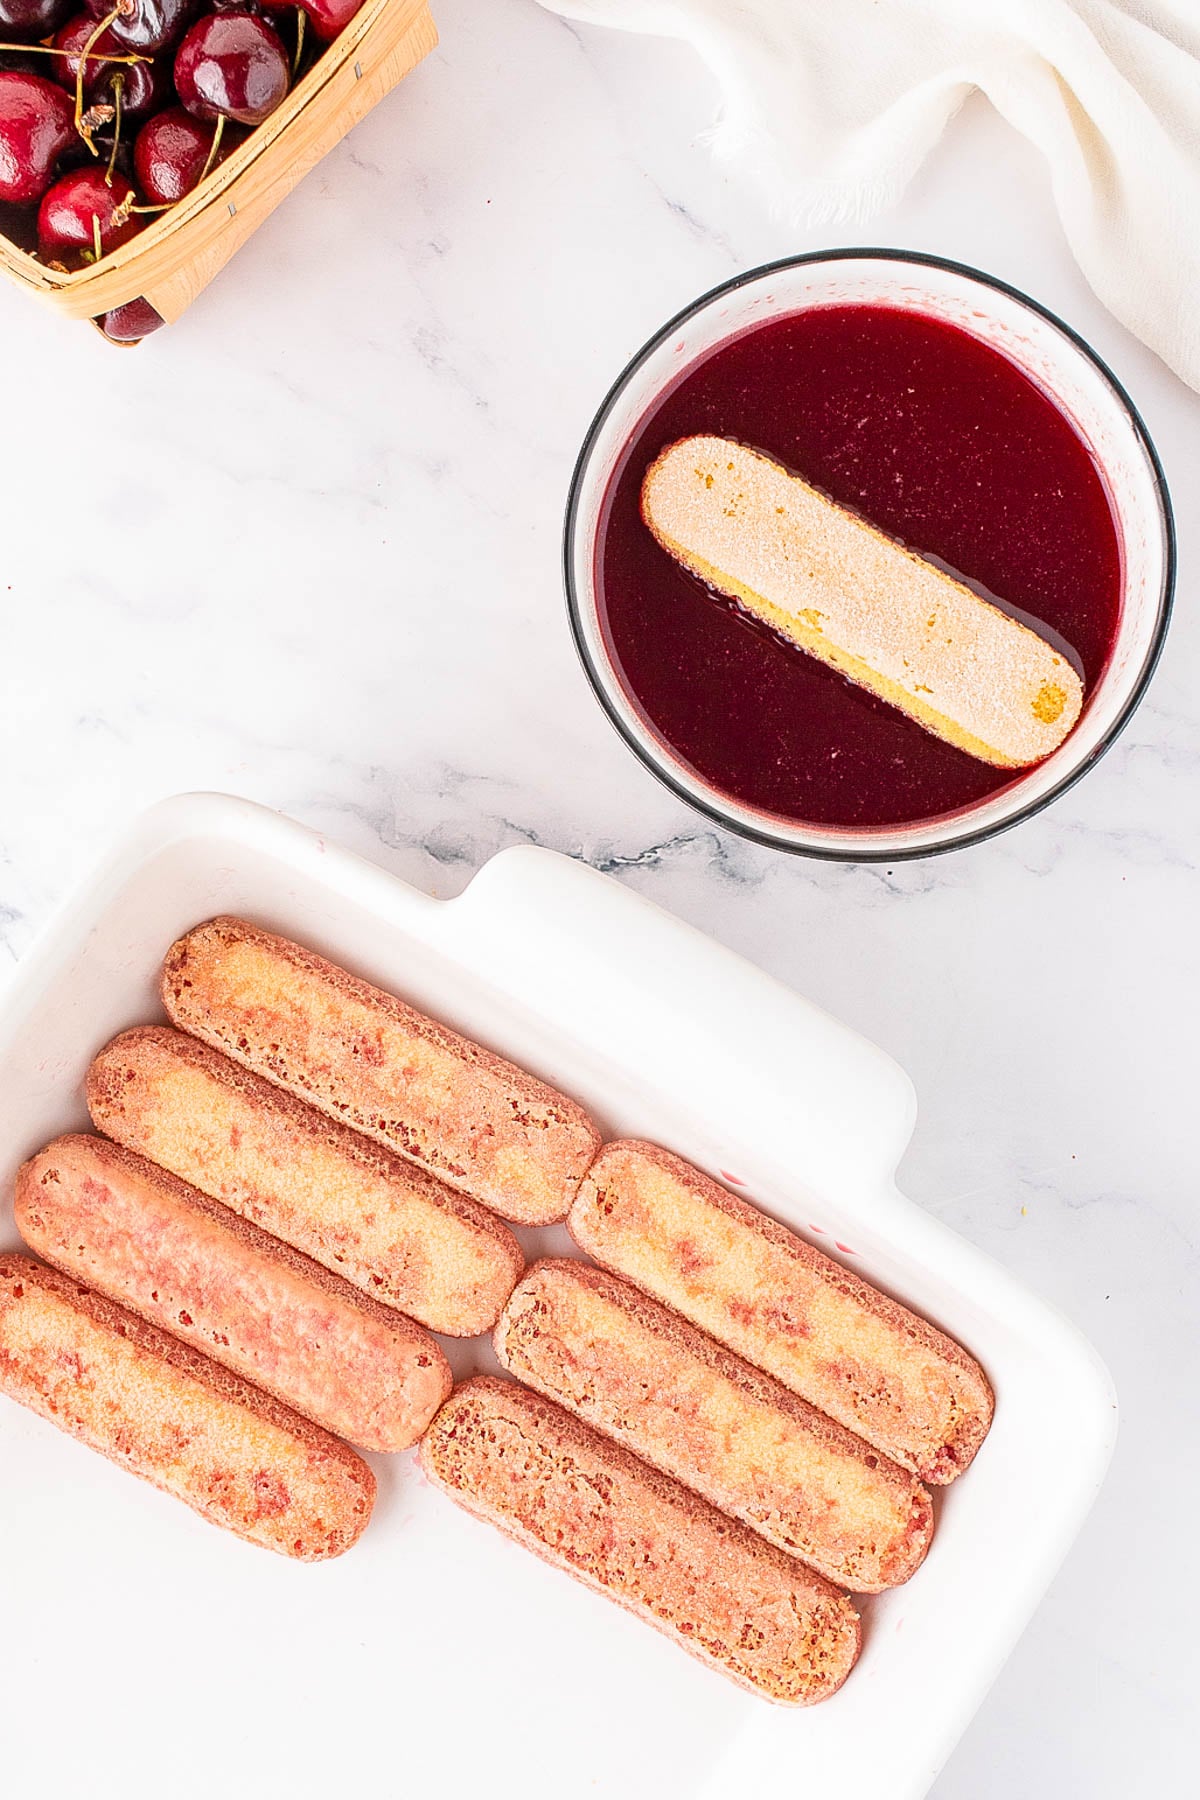
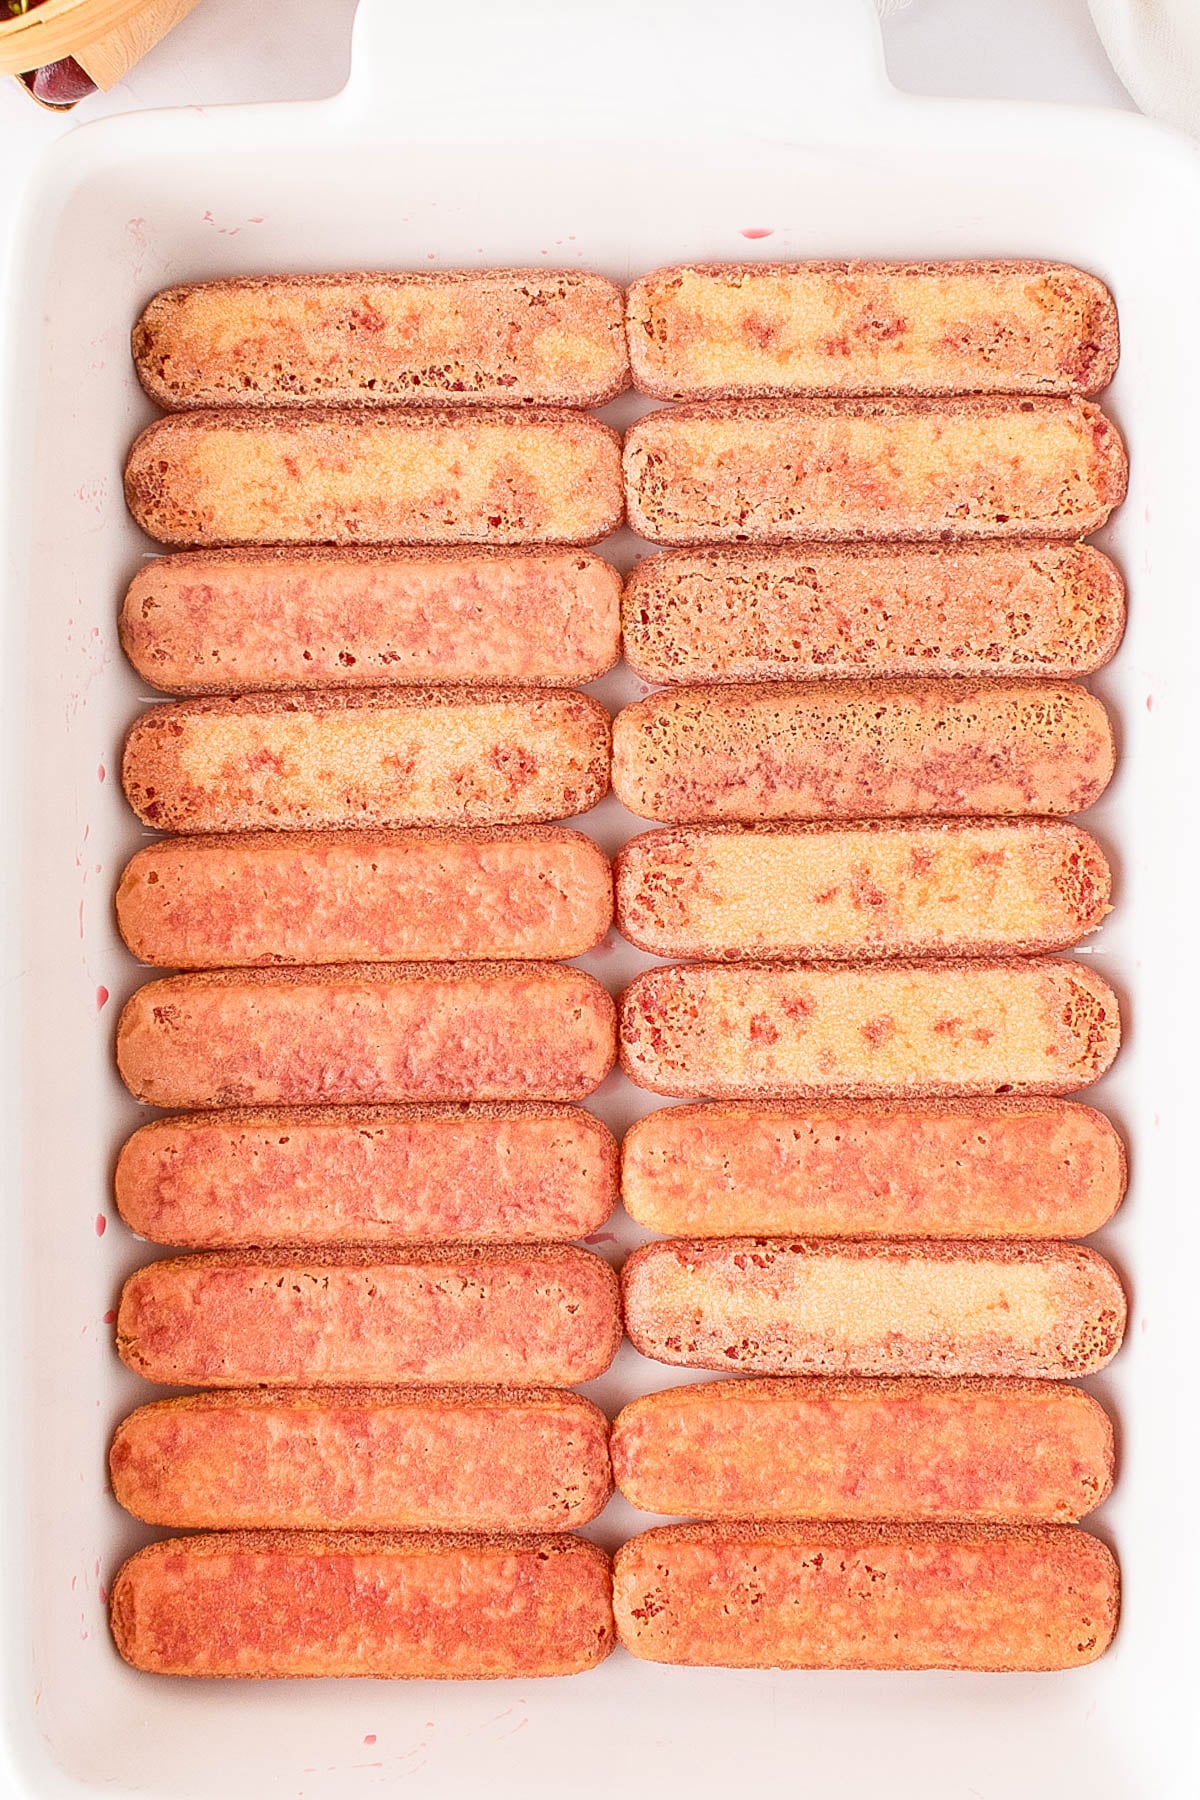
- Assembly: Retrieve the cherry syrup from the fridge. Lightly dip each ladyfinger into the cherry syrup and arrange in a single layer in a 9×13-inch baking or casserole dish.
- Tip – You may need to slightly slice the ends of the ladyfingers to fit in the dish depending on the size and how it's looking. You can trim with a paring knife.
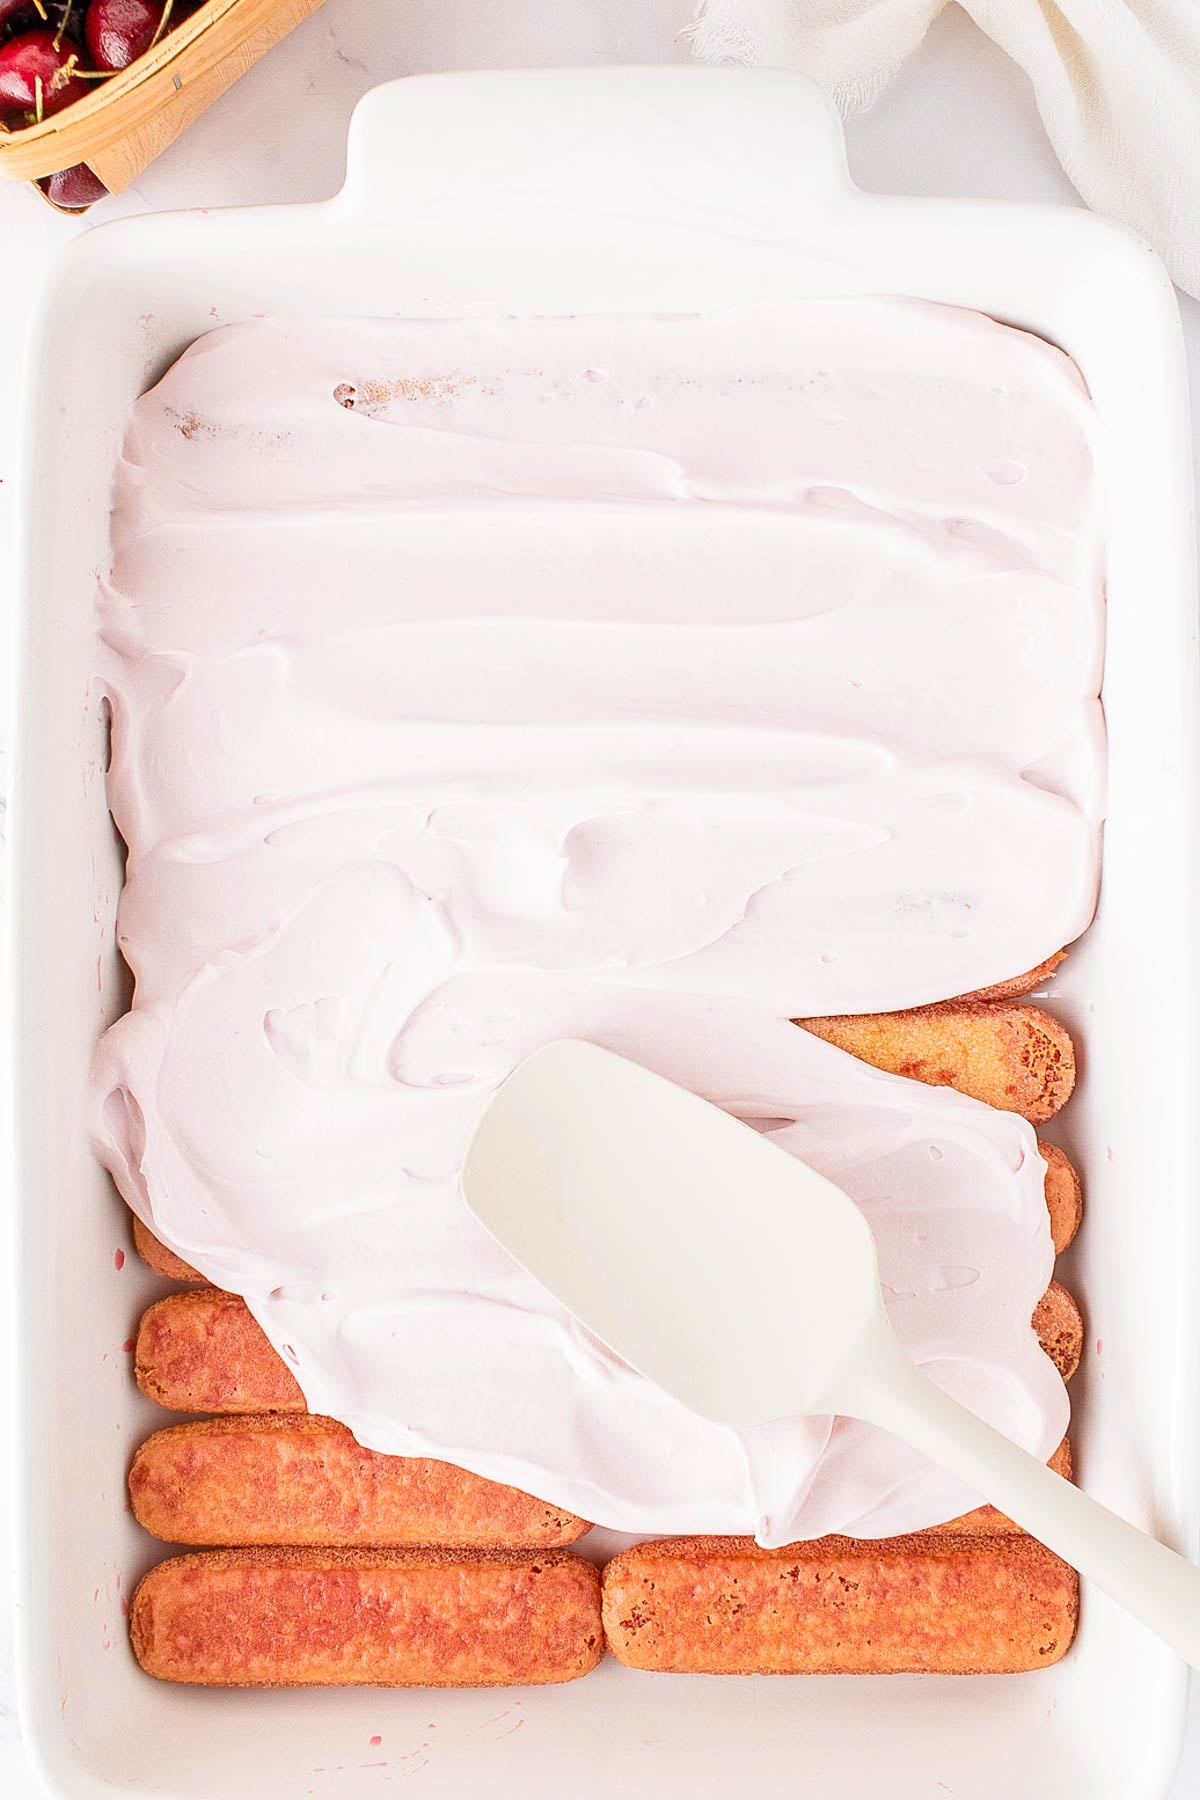
- Spread: Lightly spread half of the cherry mascarpone cream evenly over the soaked ladyfingers.
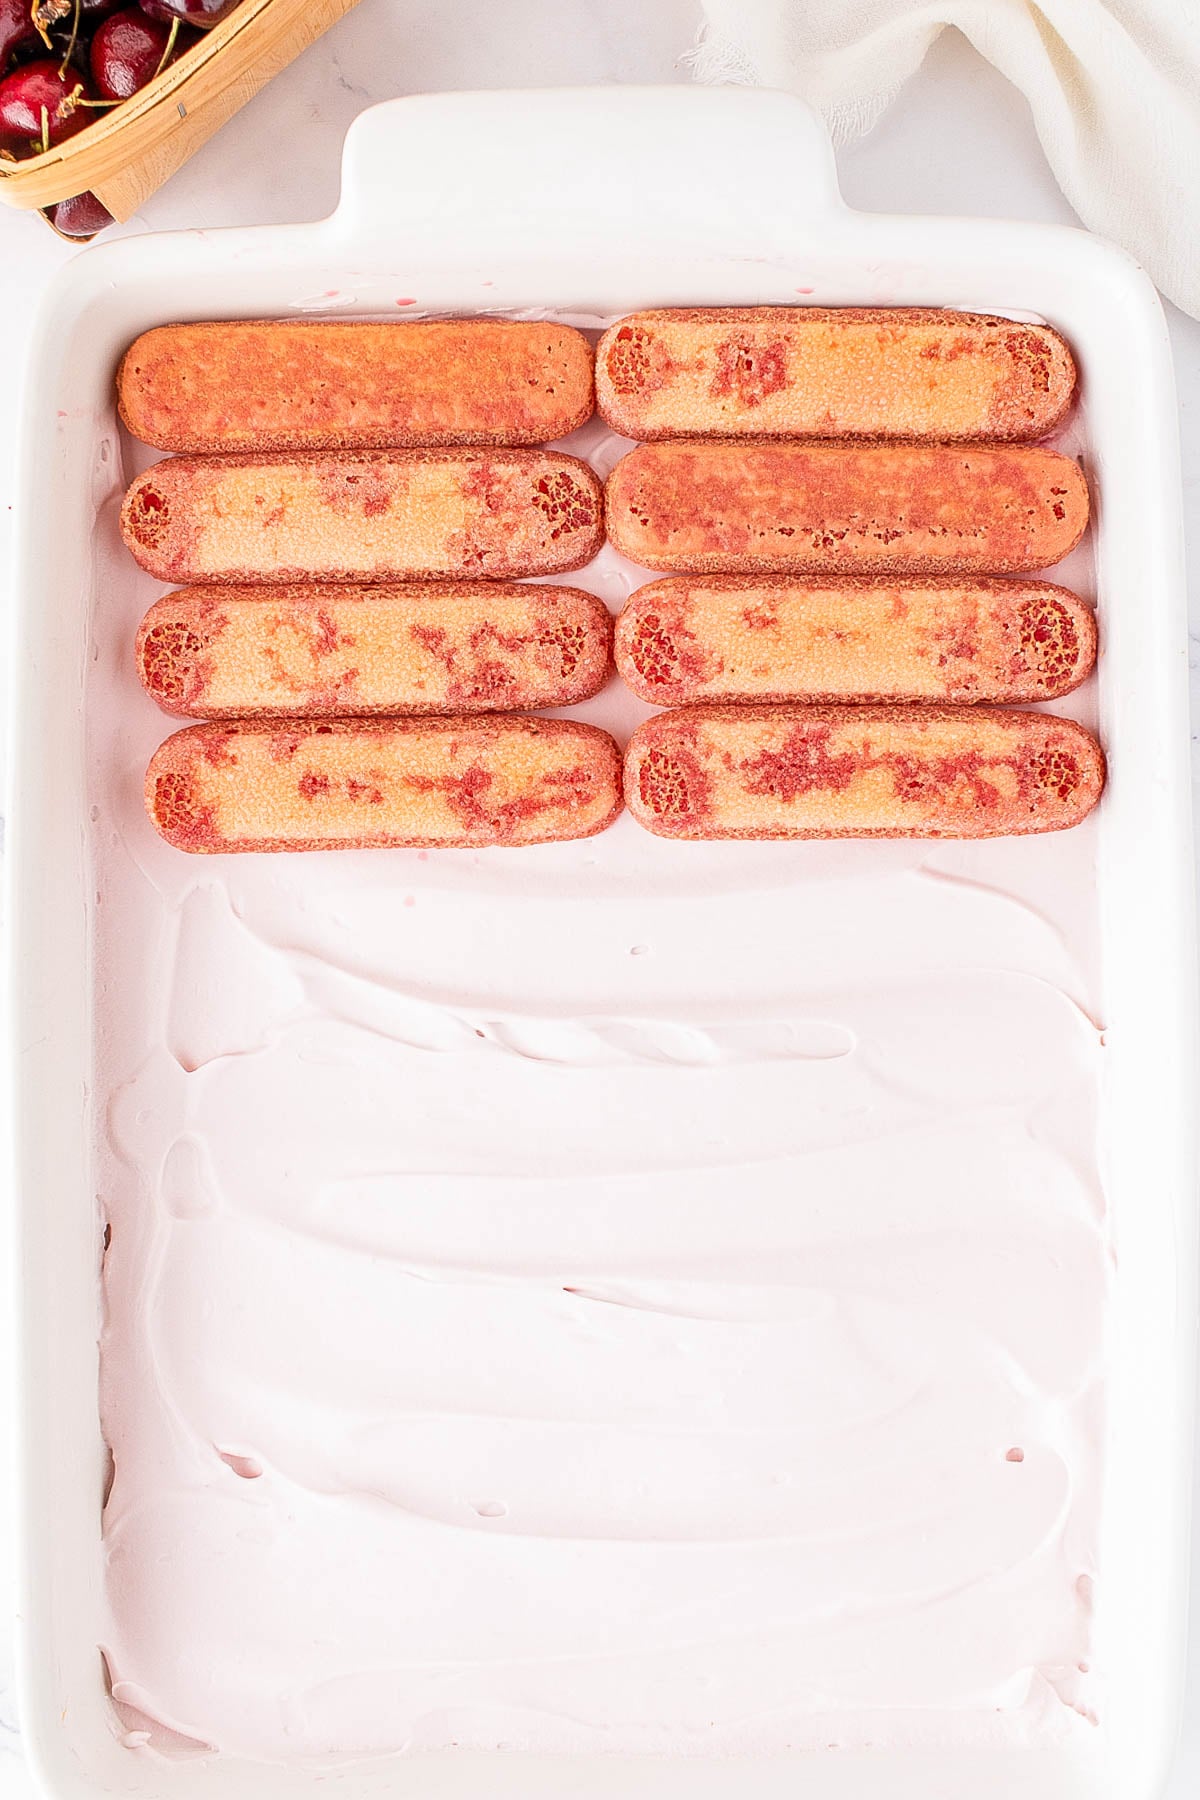
- Repeat: Repeat with another layer of dipped ladyfingers and then the other half cherry mascarpone cream.
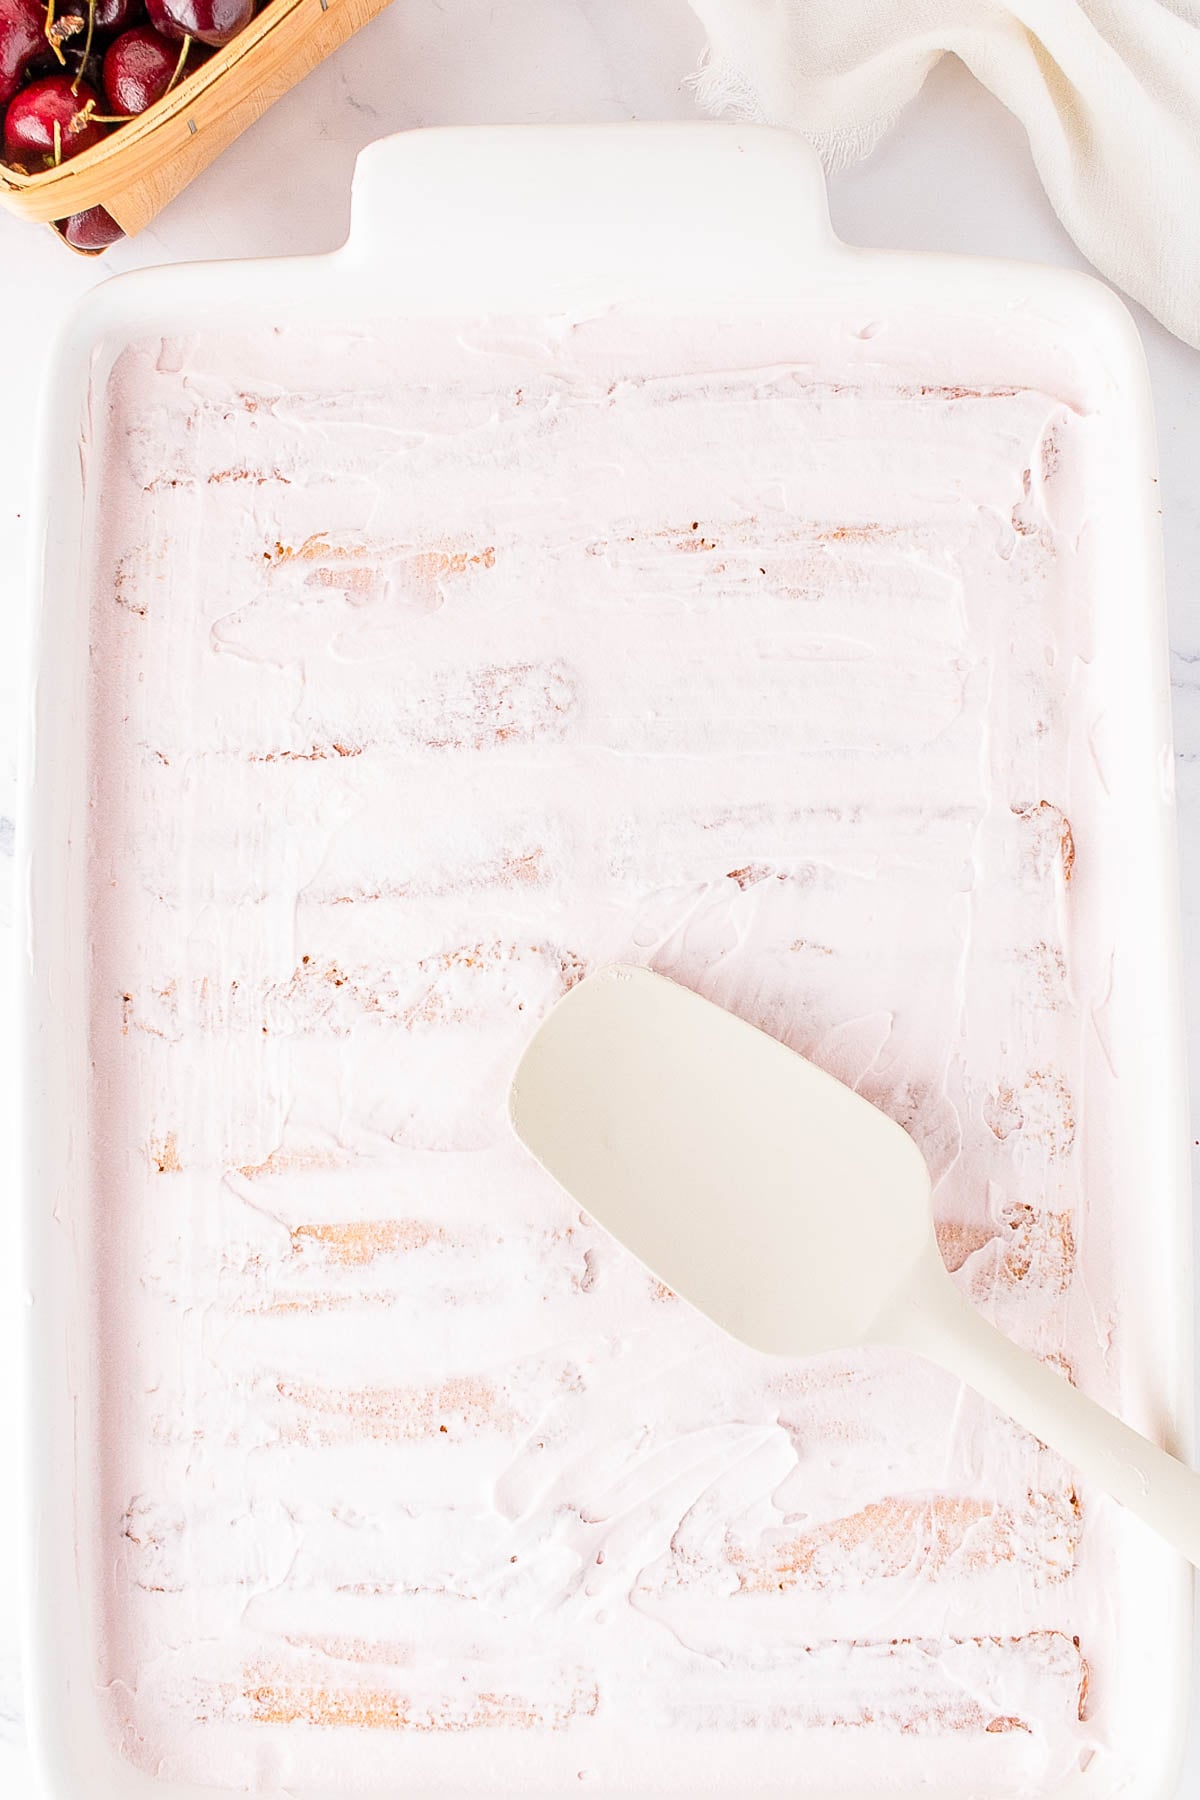
- Smooth out the top with a spatula if you're planning on piping.
- Pipe or Spread: For a decorative finish, transfer the last portion of mascarpone cream filling to a piping bag fitted with a large round or star tip and pipe dollops across the top. Alternatively, simply dollop it into the baking dish, and using a spatula or offset spatula, lightly spread or swirl it around as desired.
- Chill: Cover and refrigerate for at least 6 hours, or preferably overnight, until fully set.Tip – Chill overnight for the best texture and it'll be easier and cleaner to slice.
- Serving: Before serving,as desired, garnish with fresh cherries and a drizzle of the extra cherry syrup.
- Slice and serve.
Notes
Nutrition
Nutrition information is automatically calculated, so should only be used as an approximation.
©averiecooks.com. Content and photographs are copyright protected. Sharing of this recipe is both encouraged and appreciated. Copying and/or pasting full recipes to any social media is strictly prohibited.

more easy no-bake desserts