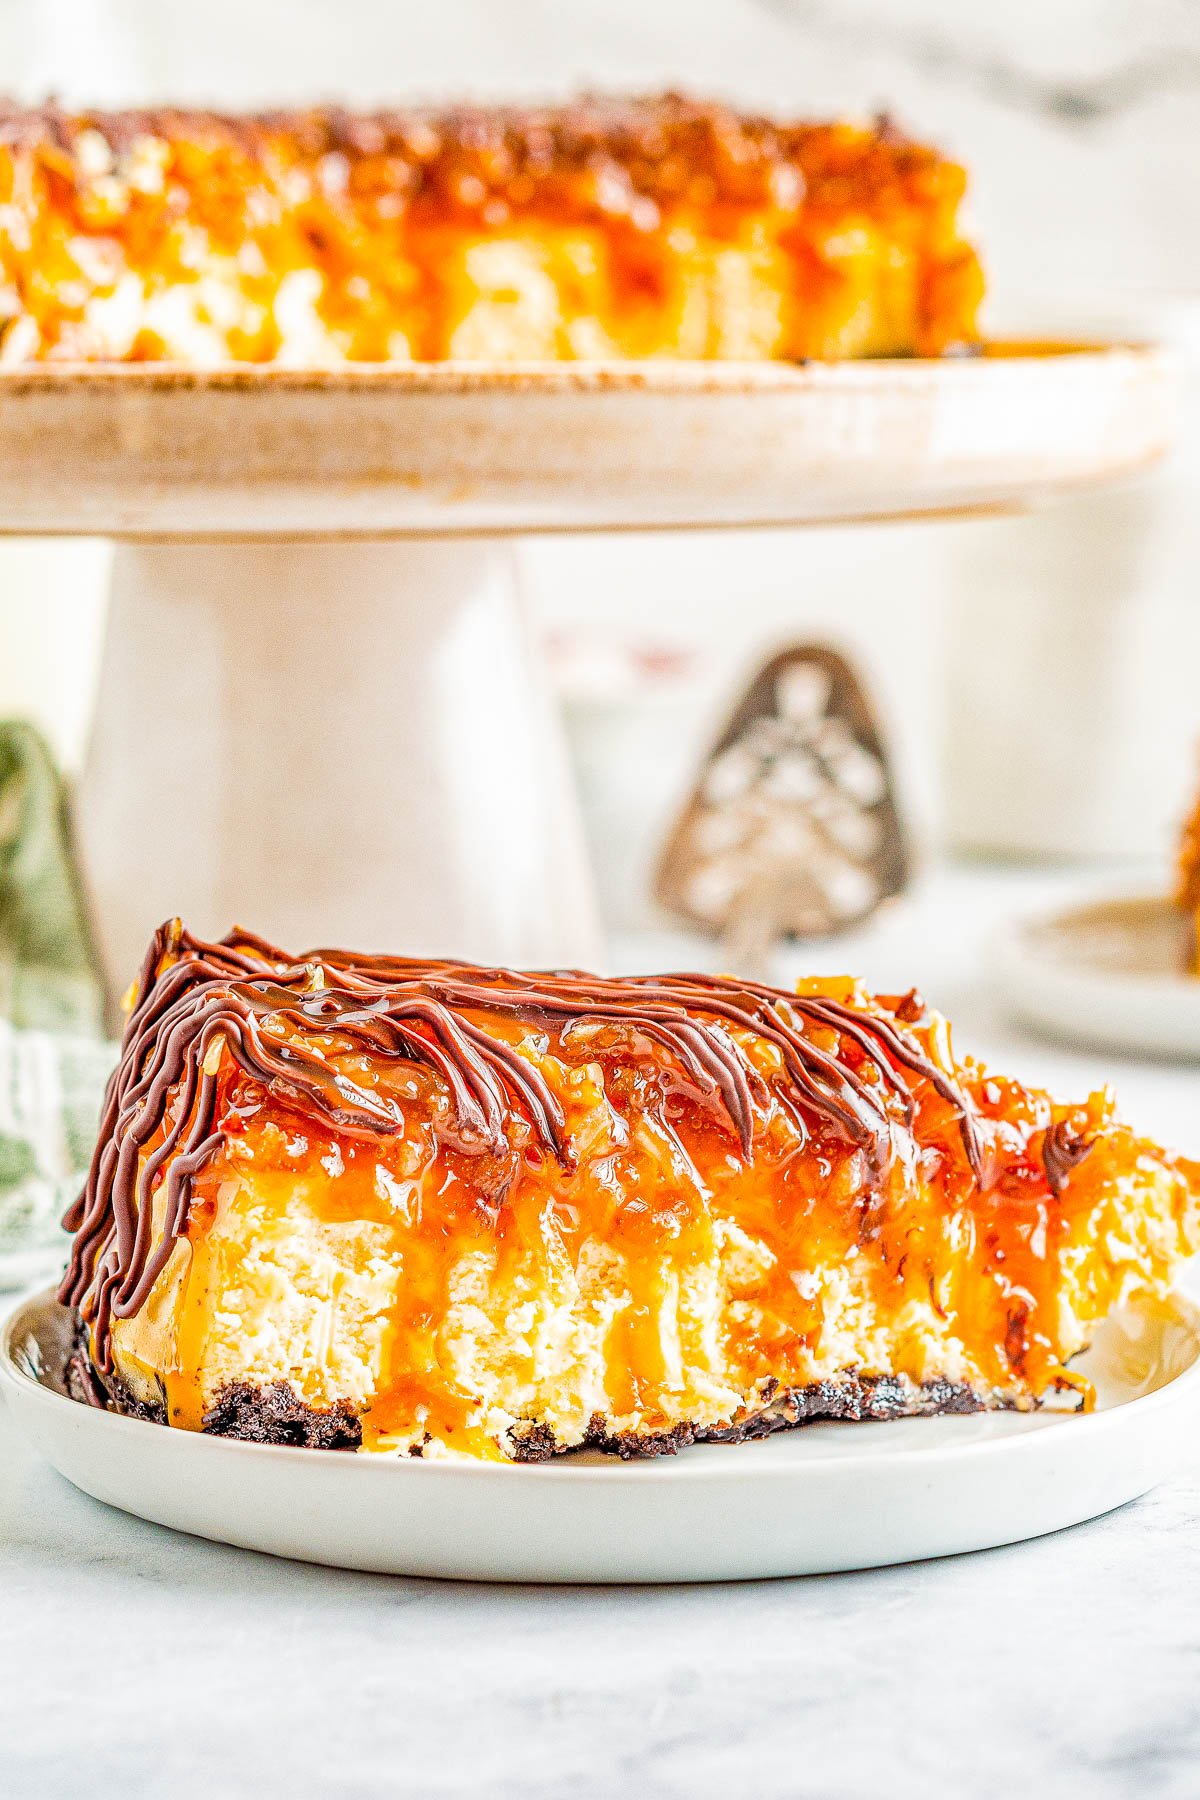
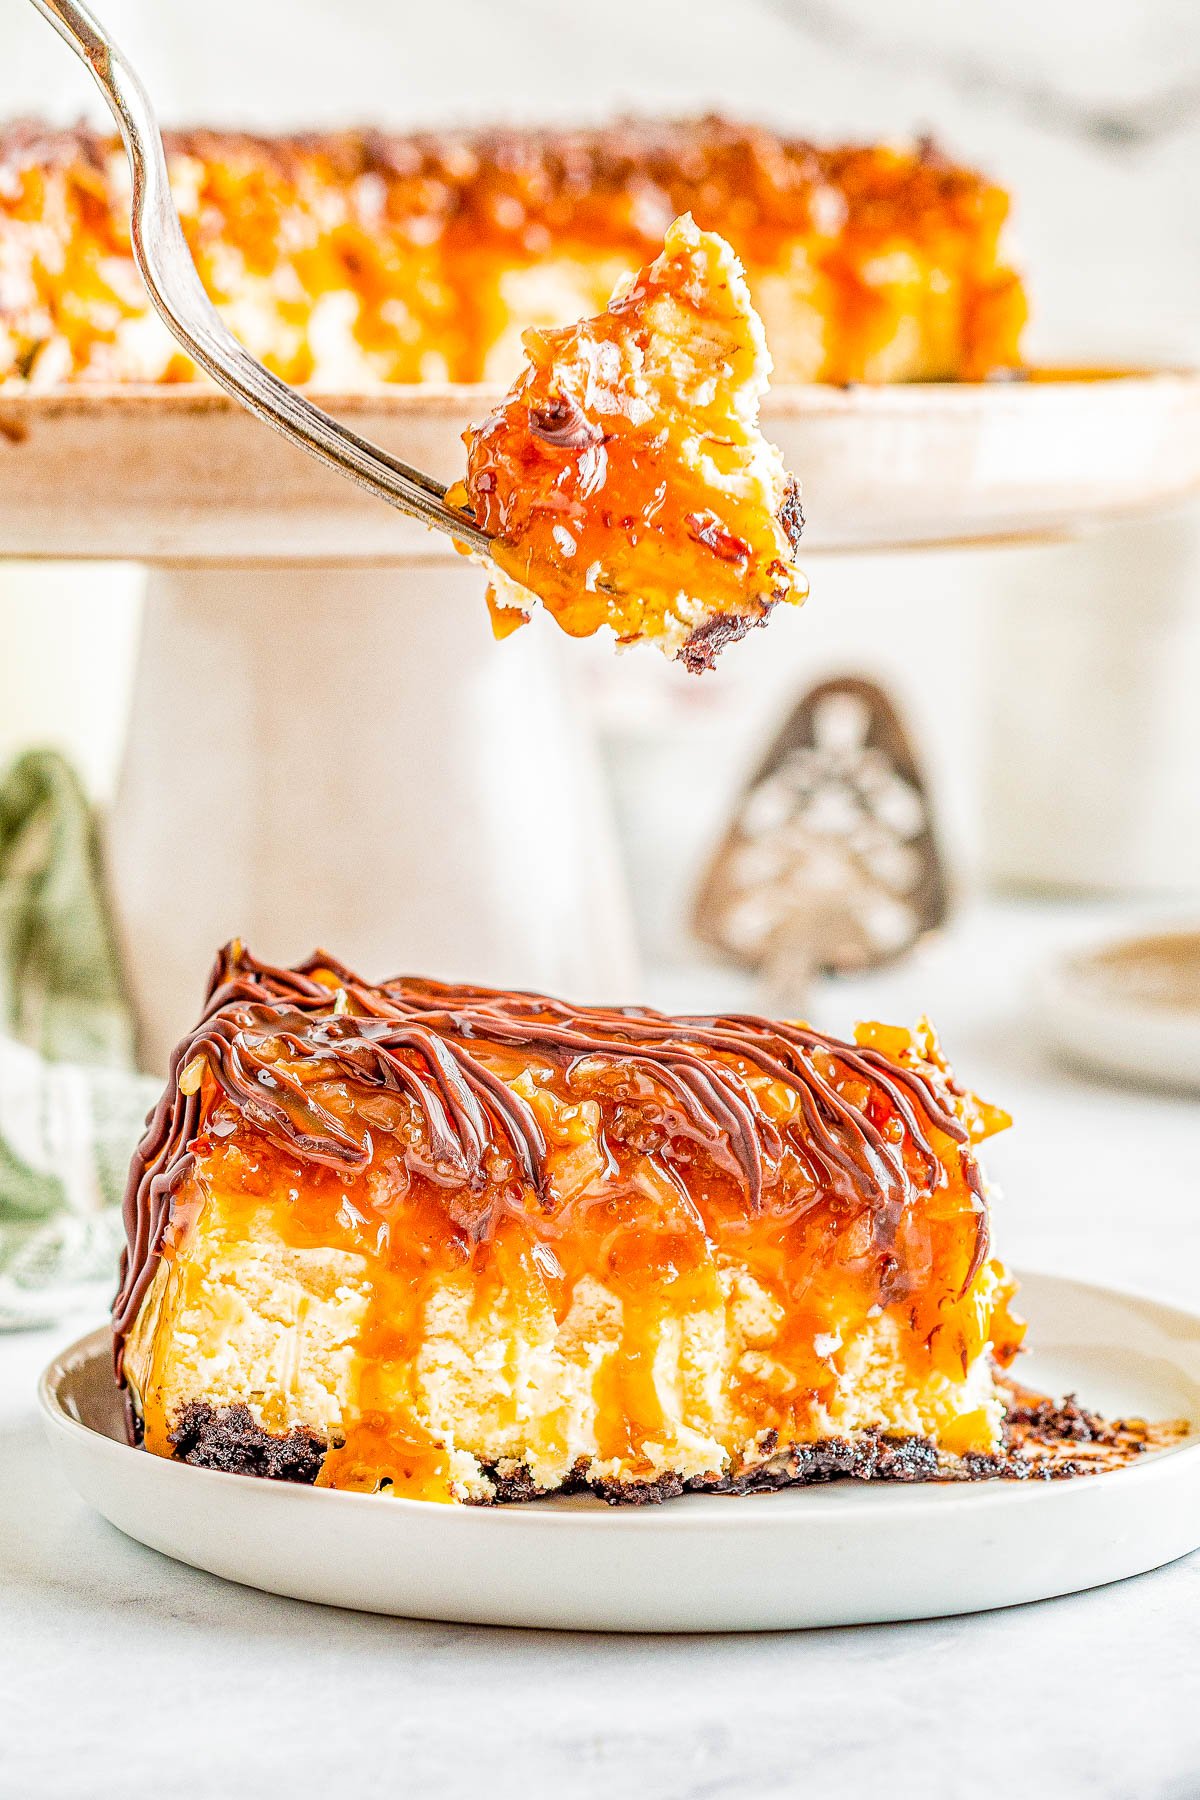
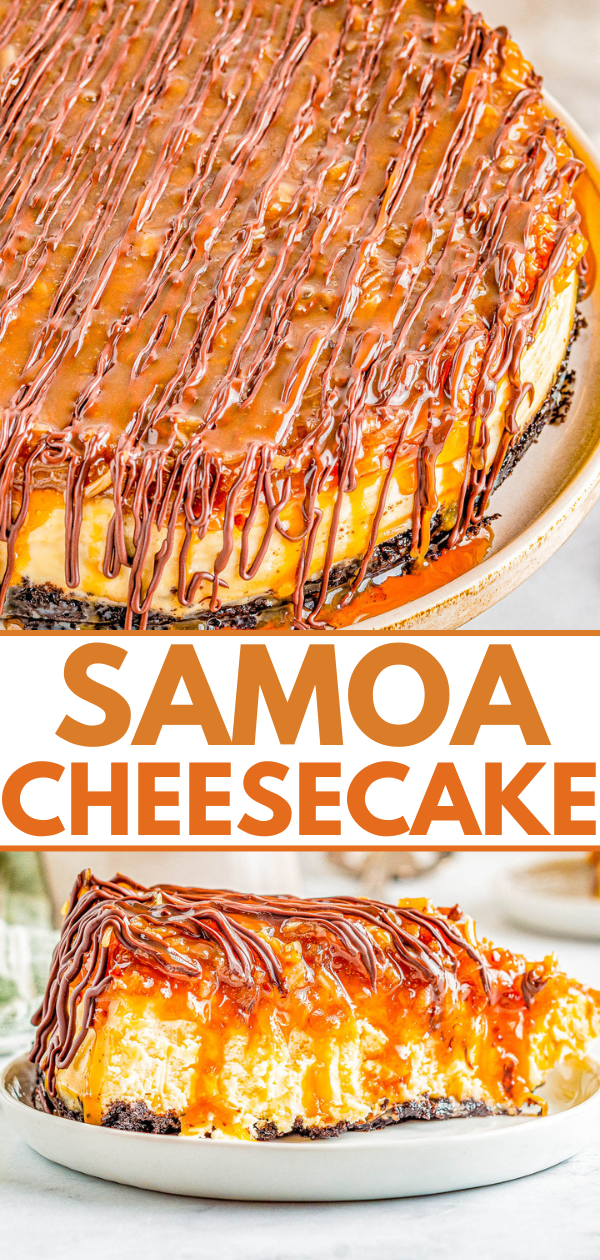
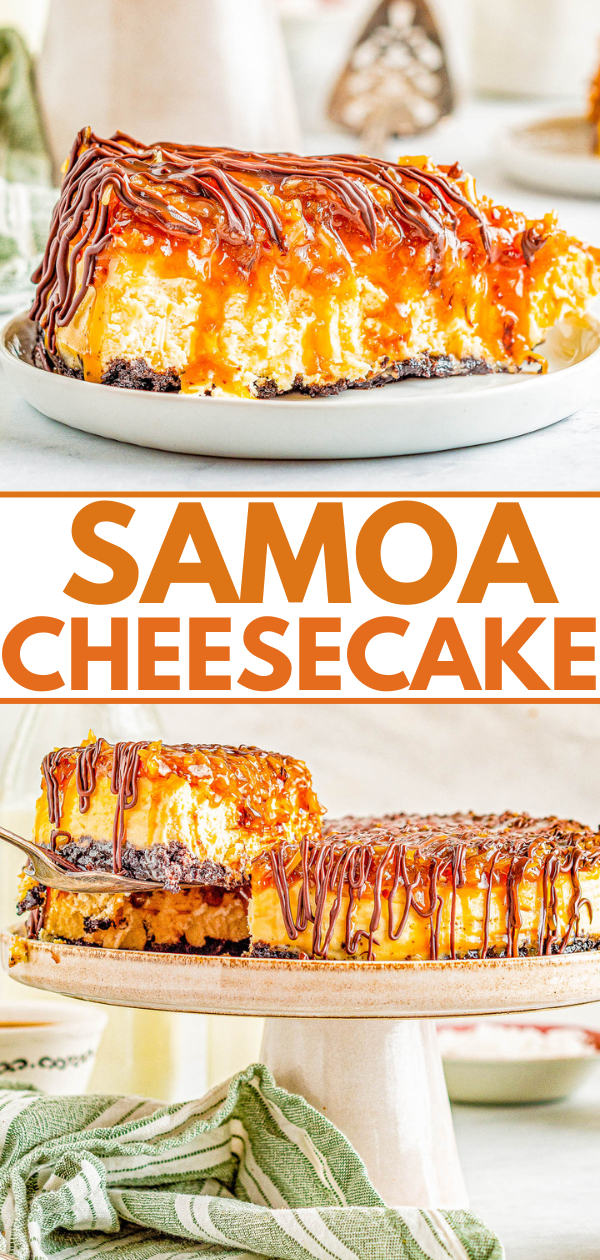
Samoa Cheesecake — Smooth, creamy cheesecake with an Oreo crust and topped with chewy toasted coconut, caramel, and chocolate! If you’re a fan of Girl Scout Samoas Cookies, this homemade rich and decadent cheesecake with the same flavors is PURE PERFECTION! There are clear and easy directions even if you’ve never made a cheesecake so yours turns out amazing.
Easy Samoa Cheesecake Recipe
My two favorite Girl Scout Cookies are Thin Mints and Samoas (or Caramel DeLites, depending on your area). In my childhood and teen years when calories and fat didn’t exist, I could literally polish off a sleeve of Thin Mints or half of a box of Samoas in a sitting.
So for me the ultimate indulgence dessert comes in the form of this beloved homemade Samoa Cheesecake!
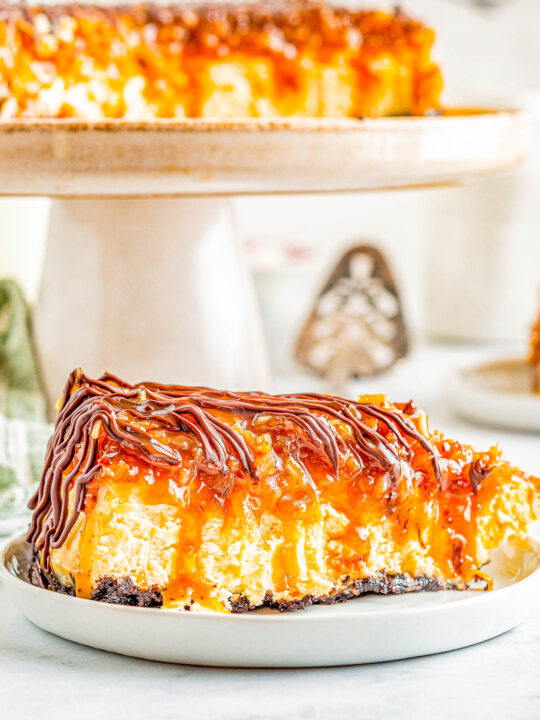
The cheesecake itself is smooth, creamy, rich, sweet yet tangy, and dare I say just perfect. This decadent cheesecake is perched on top of an Oreo cookie crumb crust.
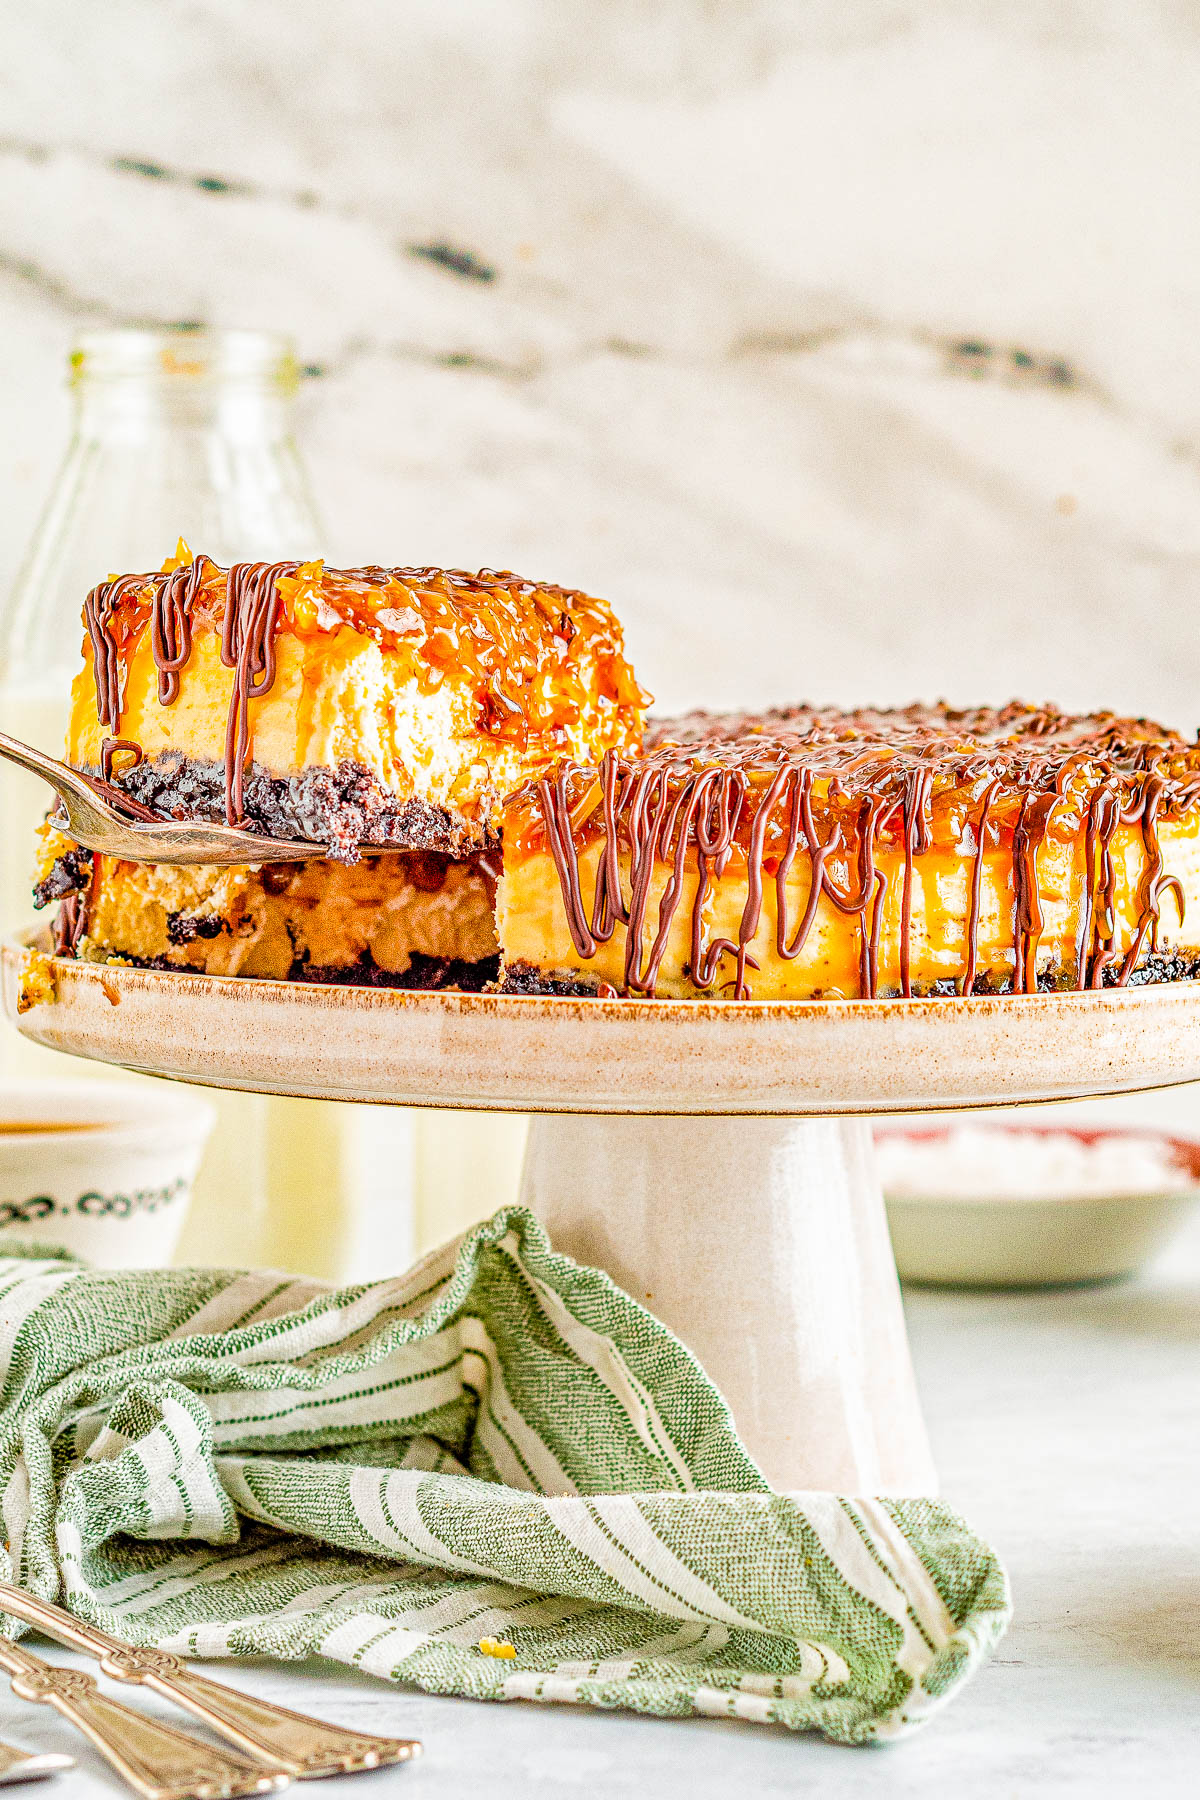
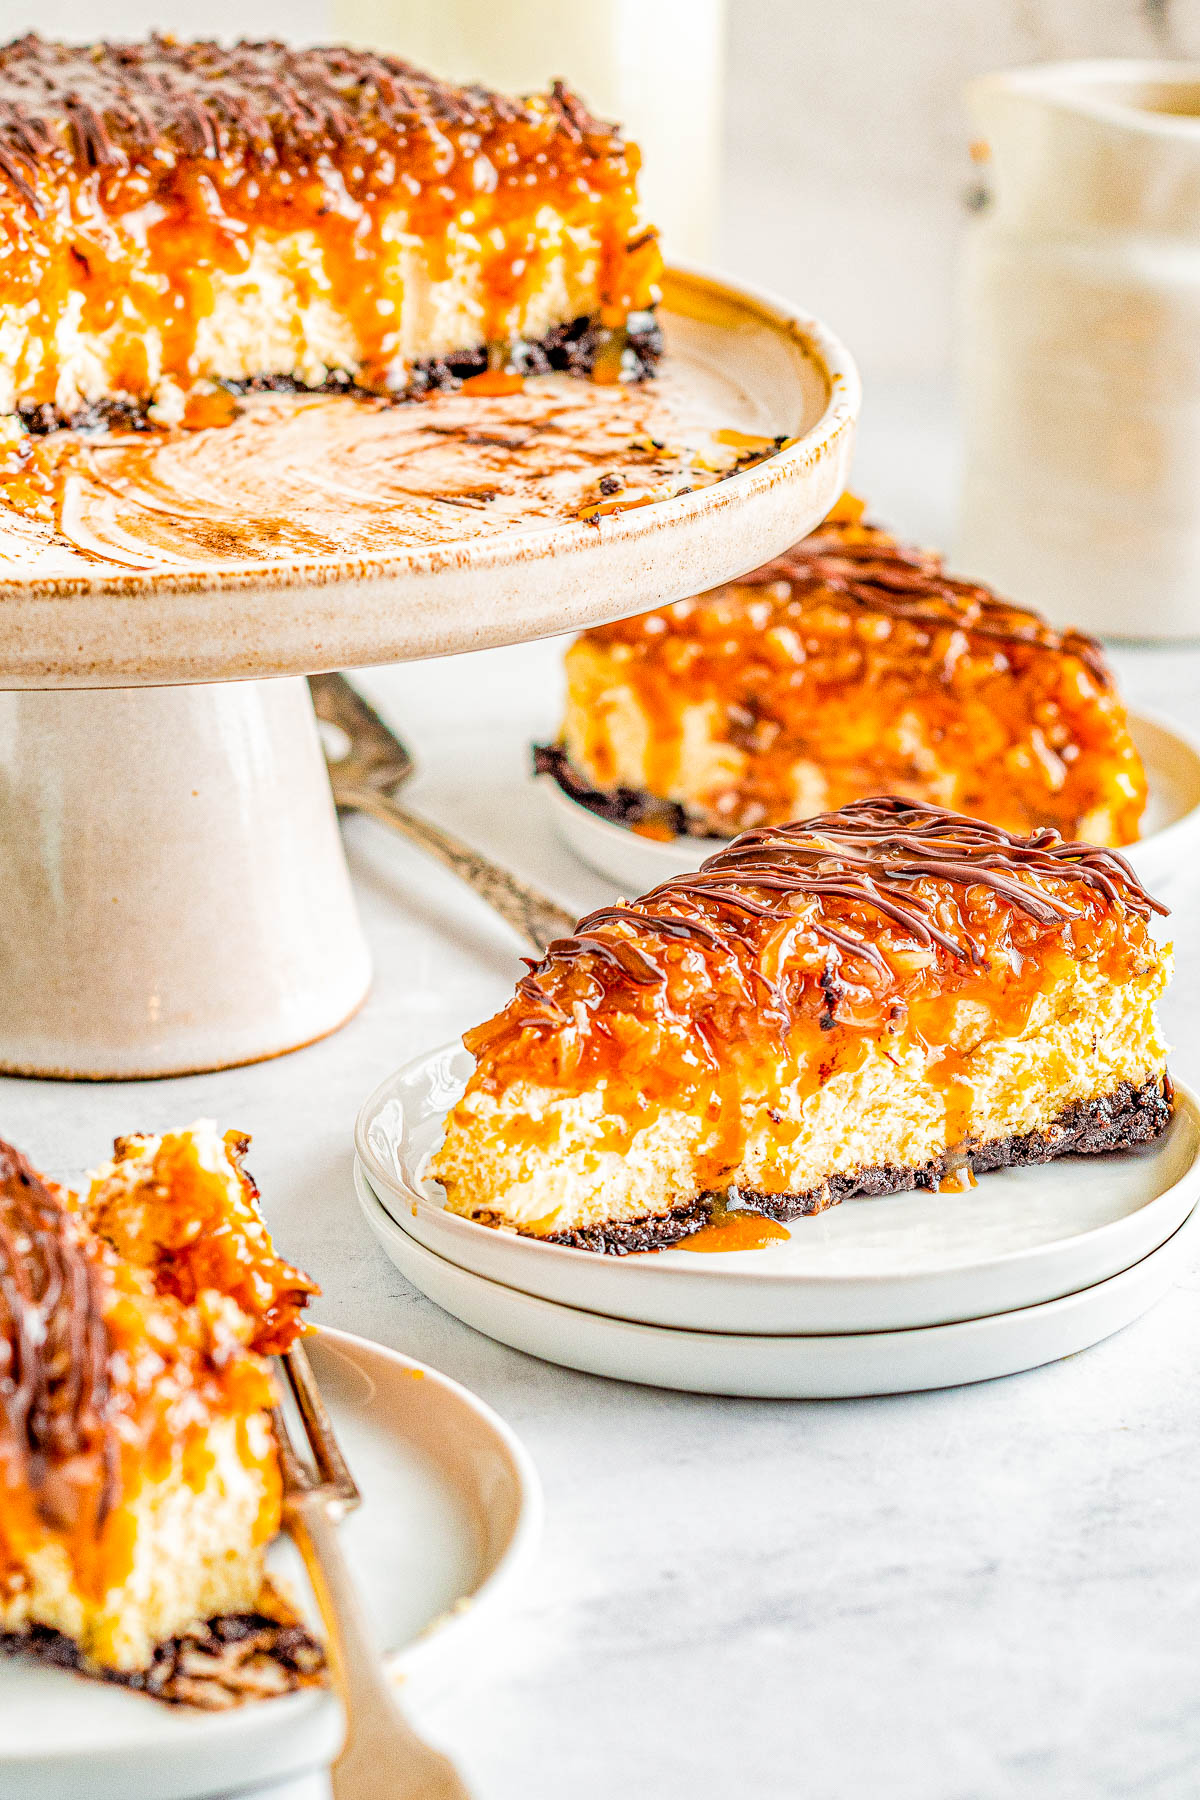
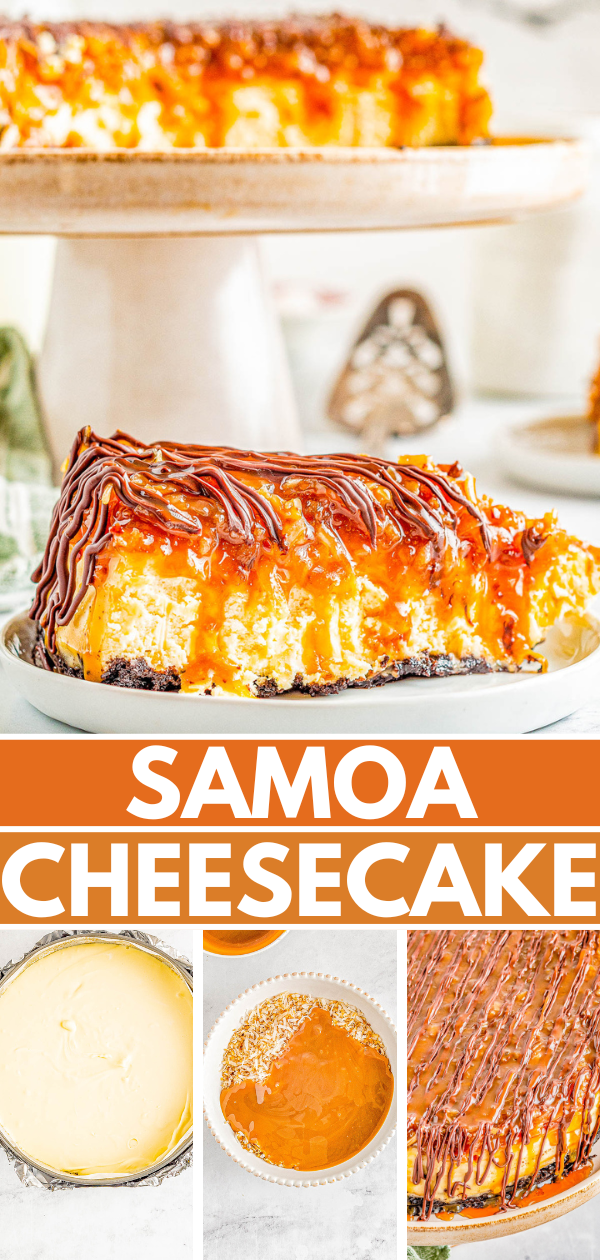
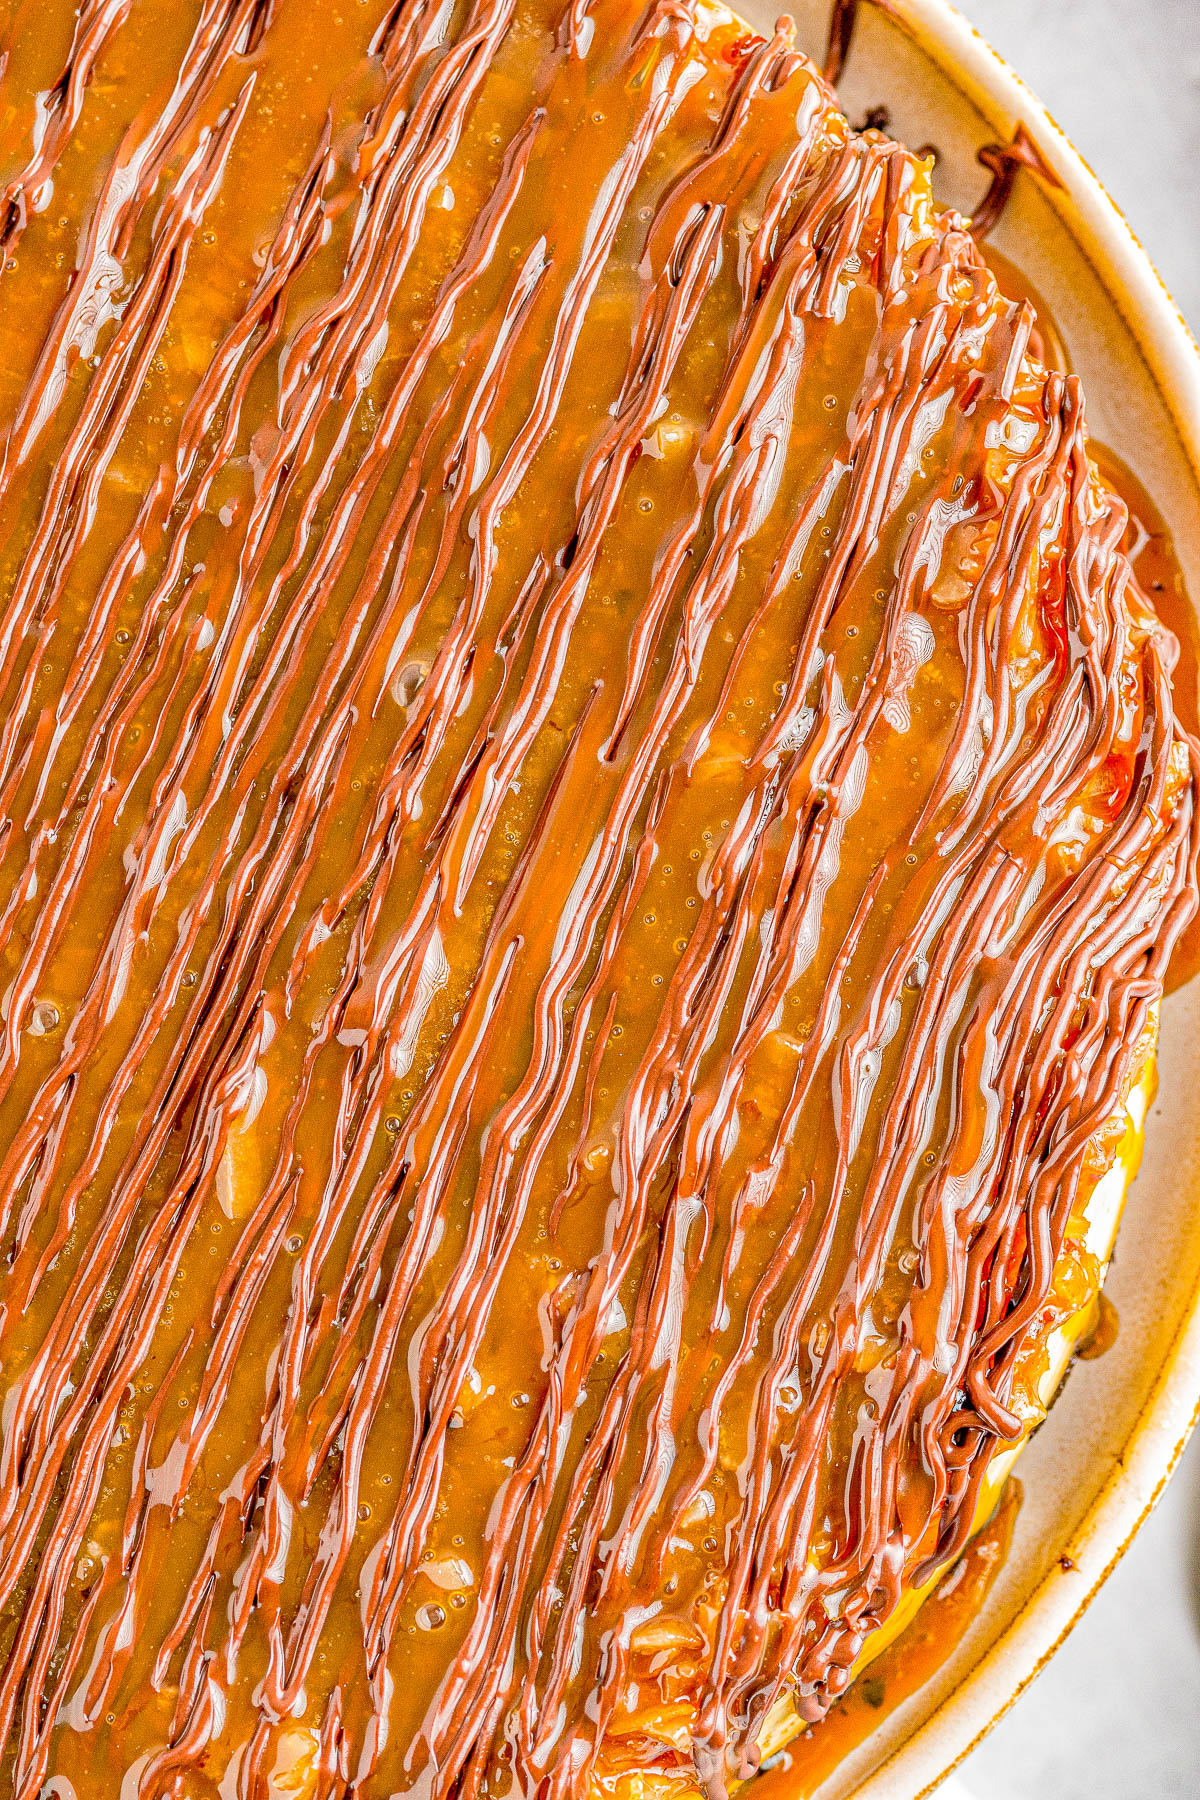
To top the cheesecake, there’s a mixture of chewy toasted shredded coconut, caramel, and melted chocolate which makes it visually resemble Samoas Cookies.
If you’re a little nervous about making cheesecake from scratch, don’t be! A water bath and some cooling time may seem cumbersome, but I promise that these steps are easy follow.
And as soon as you take your first bite of this incredible cheesecake, you’ll see that your labor of love was well worth the effort.
This is a special occasion dessert that’s perfect for the holidays like Thanksgiving or Christmas. Or make it for Valentine’s Day, a special birthday or anniversary, or anytime you’re wanting to recreate Girl Scout Cookie season in your own kitchen!
Ingredients in Samoas Cheesecake
Everything you need for your showstopping Samoas cheesecake are common and easy to find ingredients including the following:
For the Crust:
- Oreos
- Butter
For the Cheesecake:
- Cream cheese
- Granulated sugar
- Light brown sugar
- Heavy cream
- Sour cream
- Vanilla extract
- Lime juice
- Salt
- Egg yolks
- Cornstarch
For the Samoa topping:
- Sweetened shredded coconut
- Caramel sauce
- Chocolate chips
Note: Scroll down to the recipe card section of the post for the ingredients with amounts included and for more complete directions.
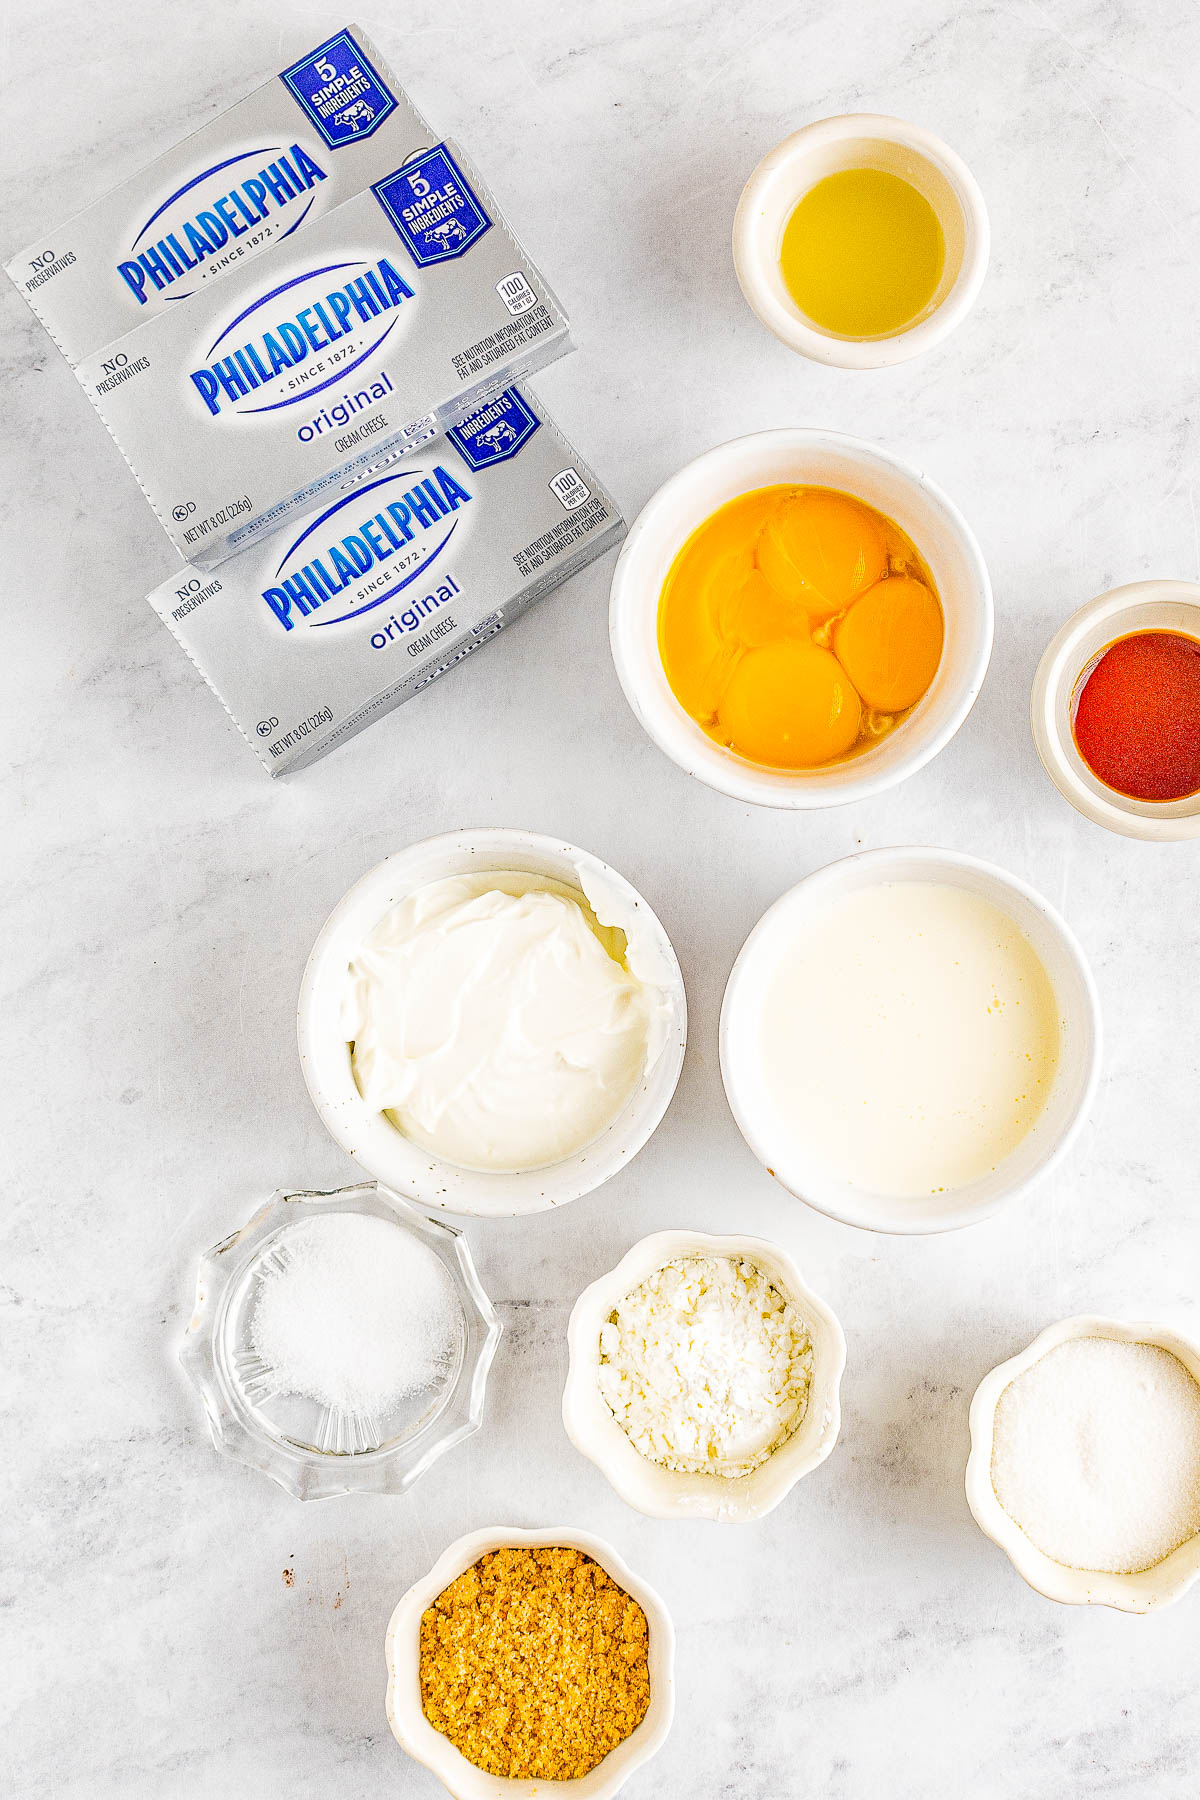
How to Make Samoa Cheesecake with Oreo Crust
Every step of this process is straightforward and my goal is to keep the directions easy to follow despite it looking like a lot of words. Cheesecakes just are.
Remember to scroll all the way down to the actual recipe card for full details!
You’re going to appreciate how simple this impressive recipe really is so let’s get started!
Crust and Batter
Step 1: Preheat the oven to 350°F and prepare a 9-inch springform pan by lining the base with parchment paper and spray well with cooking spray.
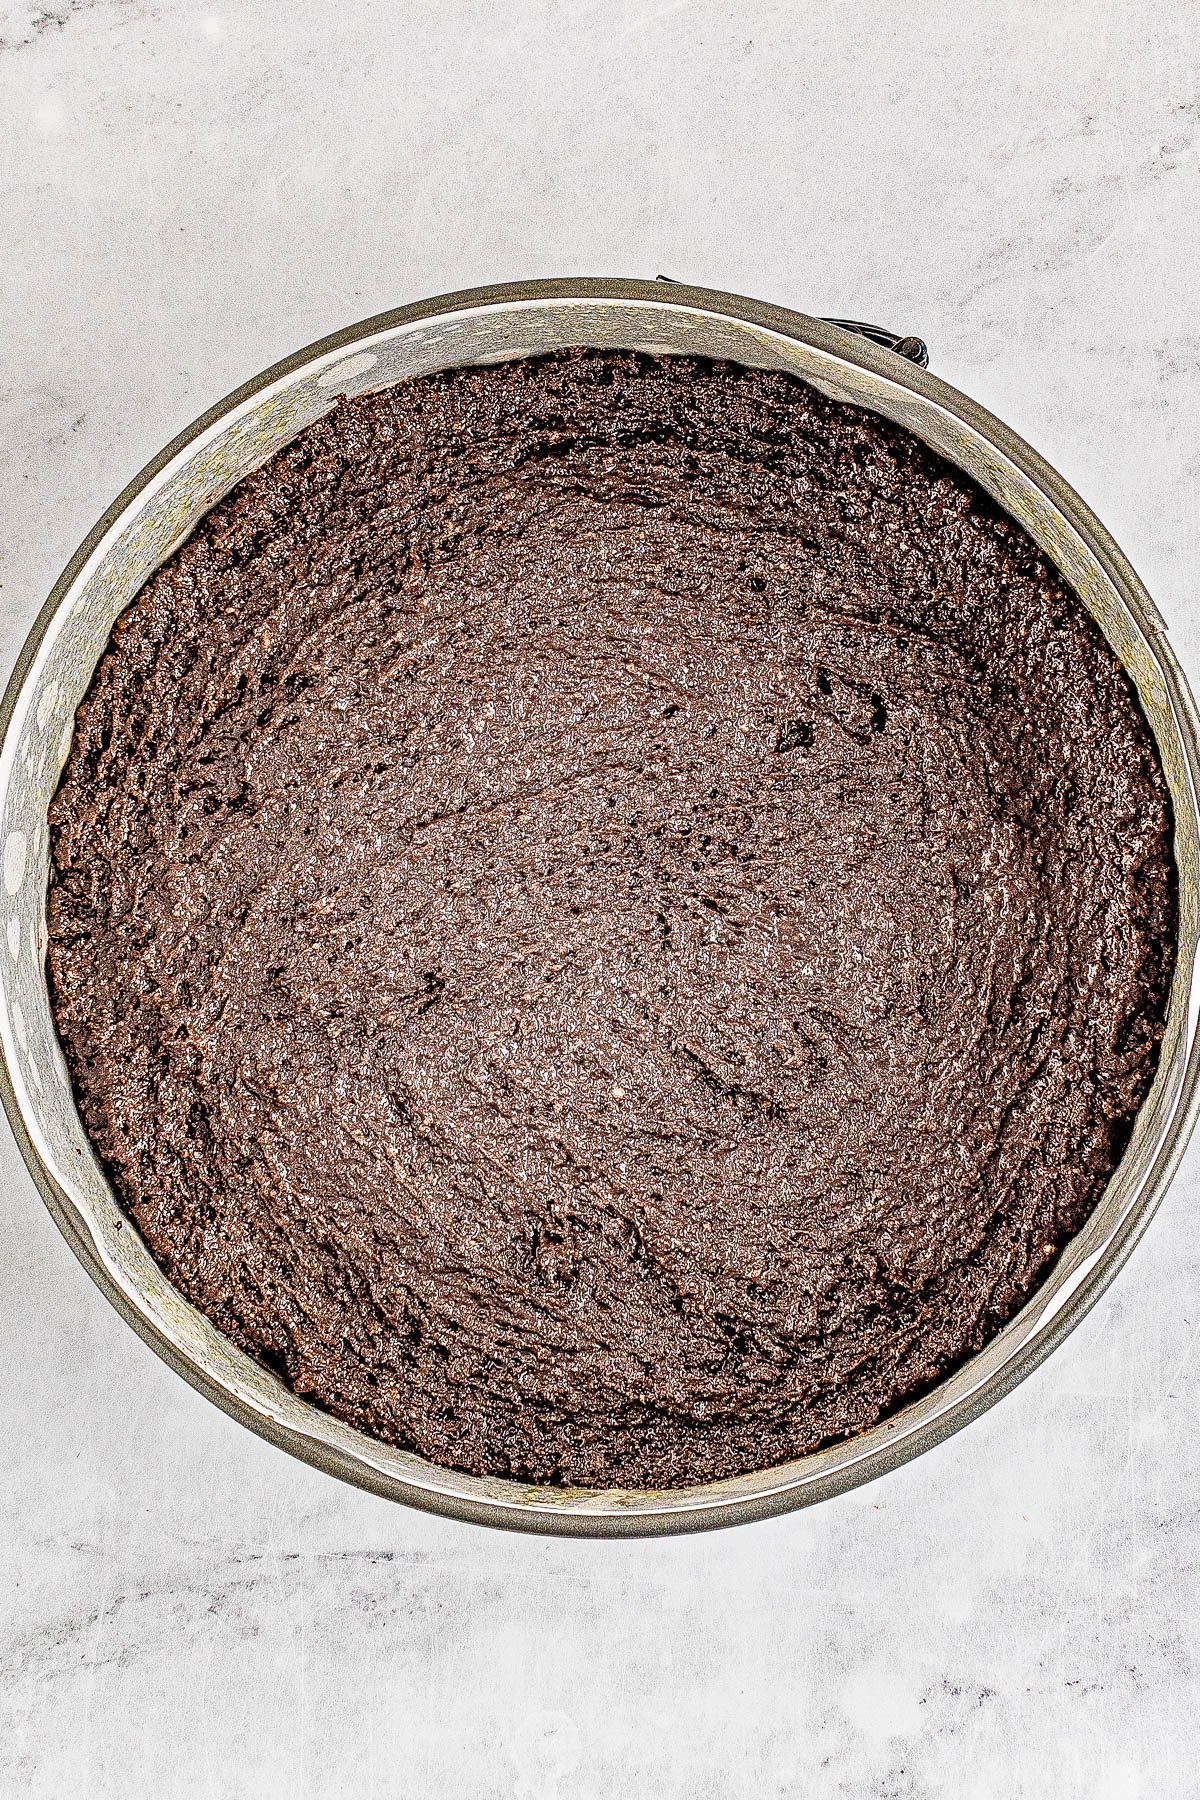
Step 2: Blend whole Oreos in your food processor until you have crumbs. Then combine the crushed Oreos and butter until a wet sand forms. Press the crust into the prepared pan and form an even layer. Bake for 15 minutes. Let cool and preheat the oven to 400°F.
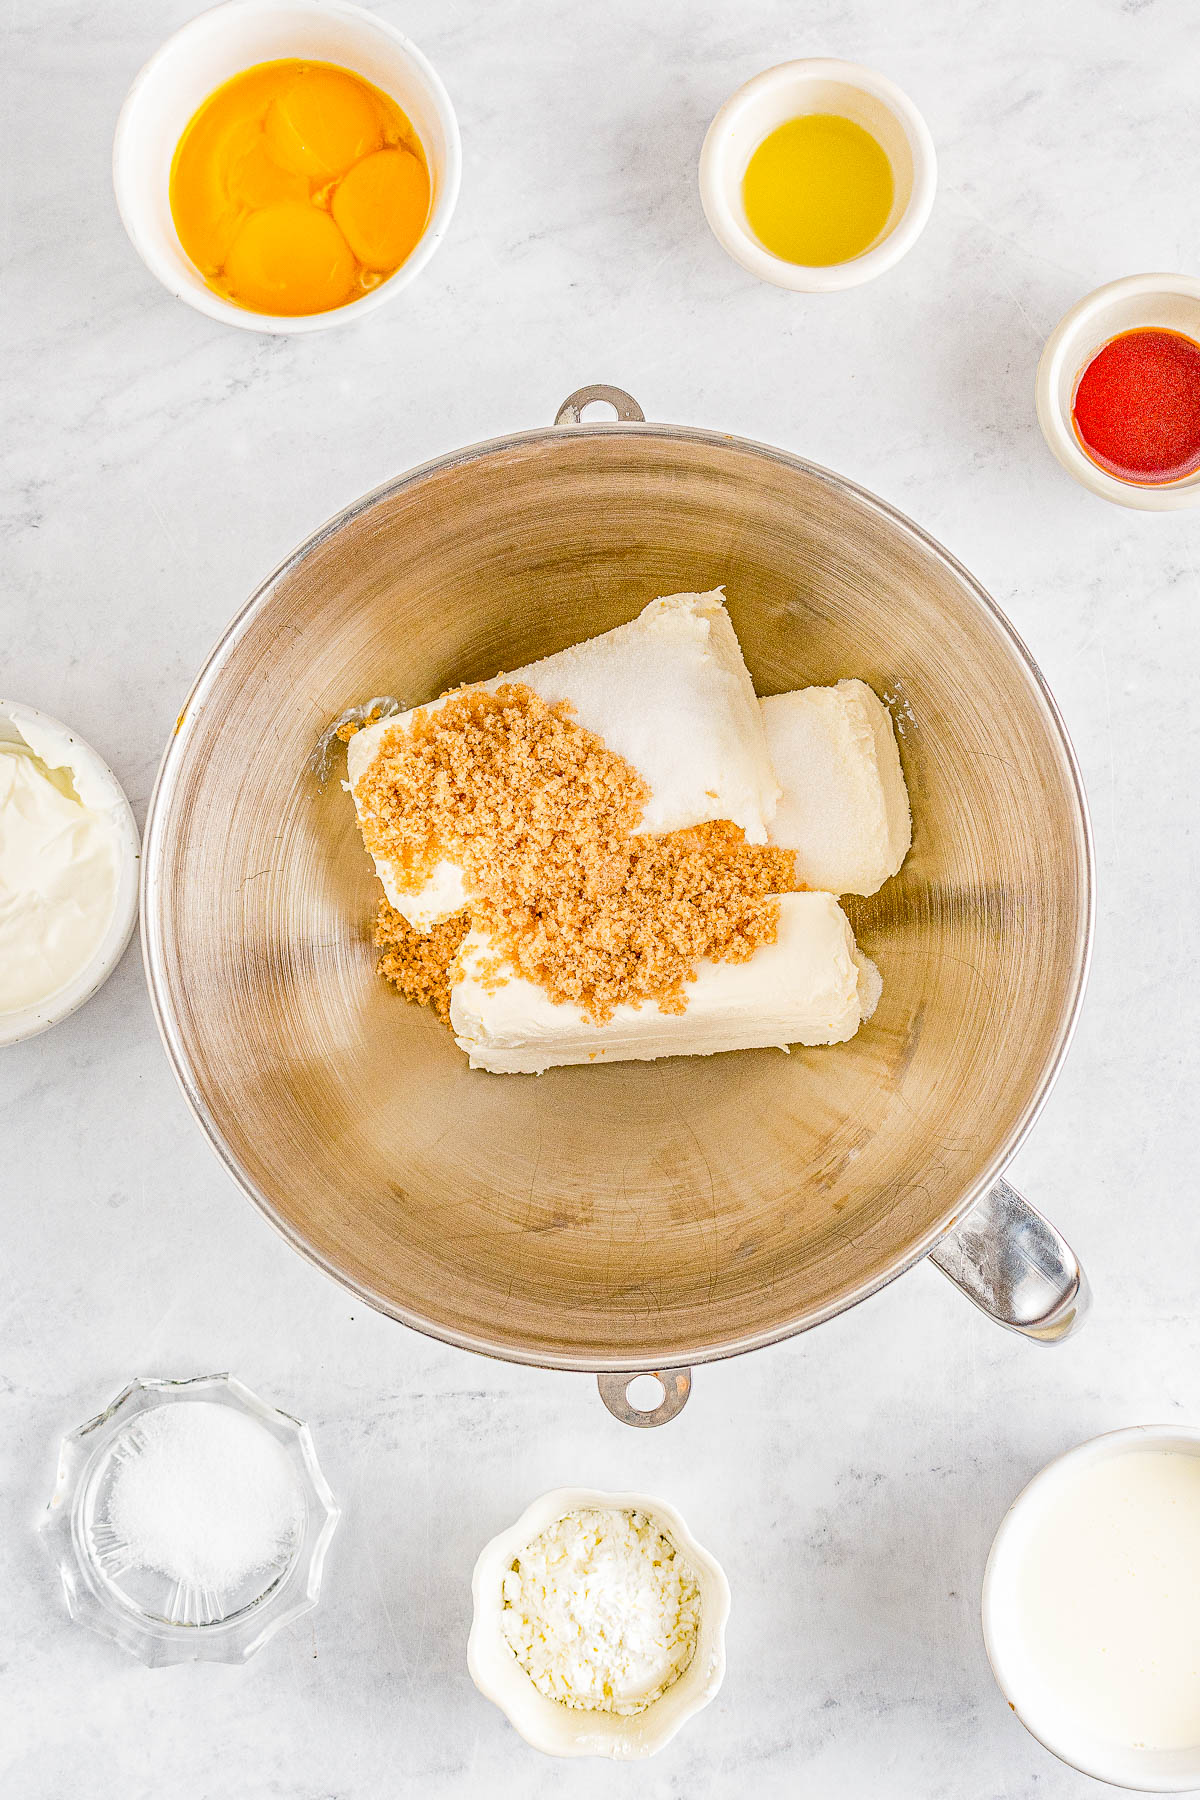
Step 3: In a stand mixer (or handheld electric mixer) beat together the cream cheese, brown sugar, and white sugar using a stand mixer with the paddle attachment.
BatterTips
Scrape the sides of the bowl down while beating the cream cheese with the sugar. The smoother it is at the beginning of the process, the better the final result will be.
If cream cheese lumps do remain at the end of making the batter, simply press them against the side of the bowl with a rubber spatula to disperse them as best as possible.
Step 4: Once smooth and creamy, add in the heavy cream, sour cream, vanilla extract, lime juice, salt, and beat until combined.
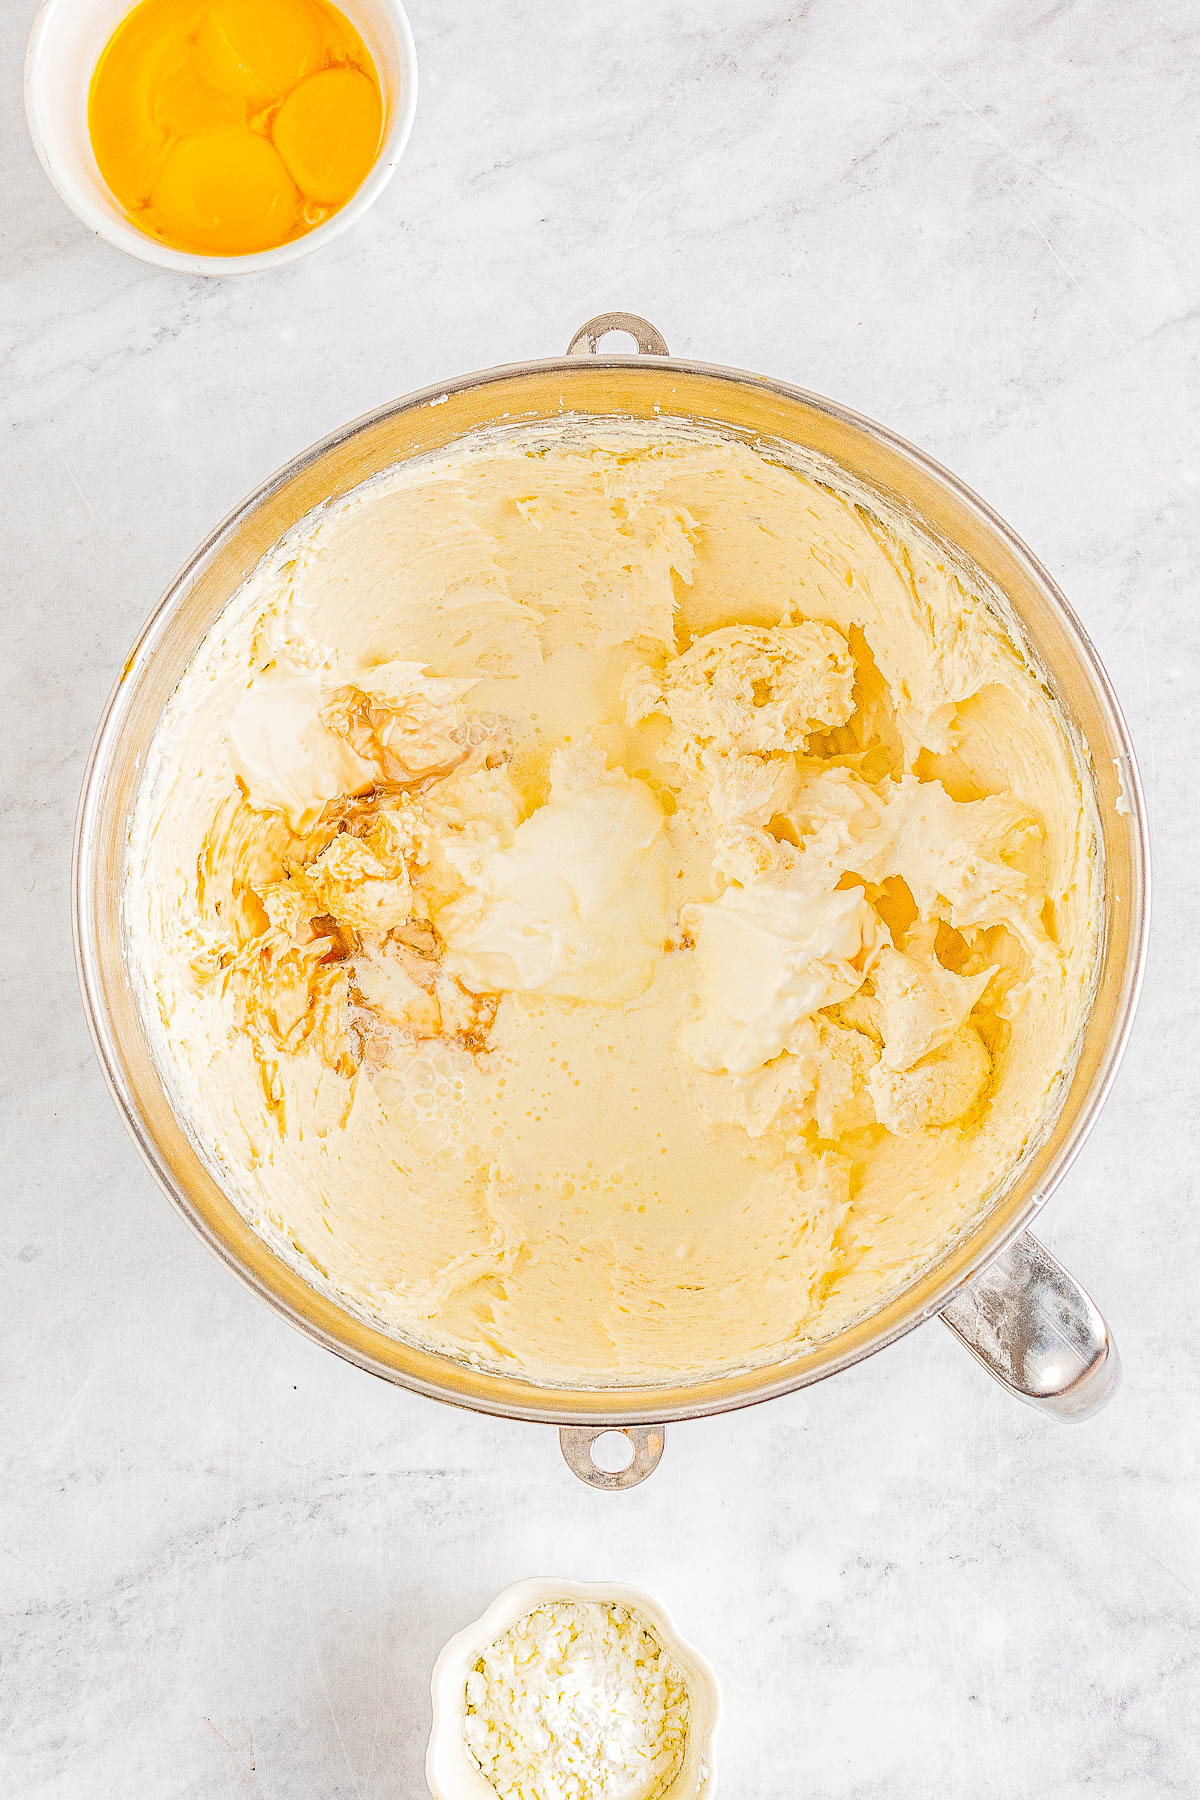
Step 5: Add the egg yolks and beat for 15 seconds to incorporate before lastly adding the cornstarch and beating.
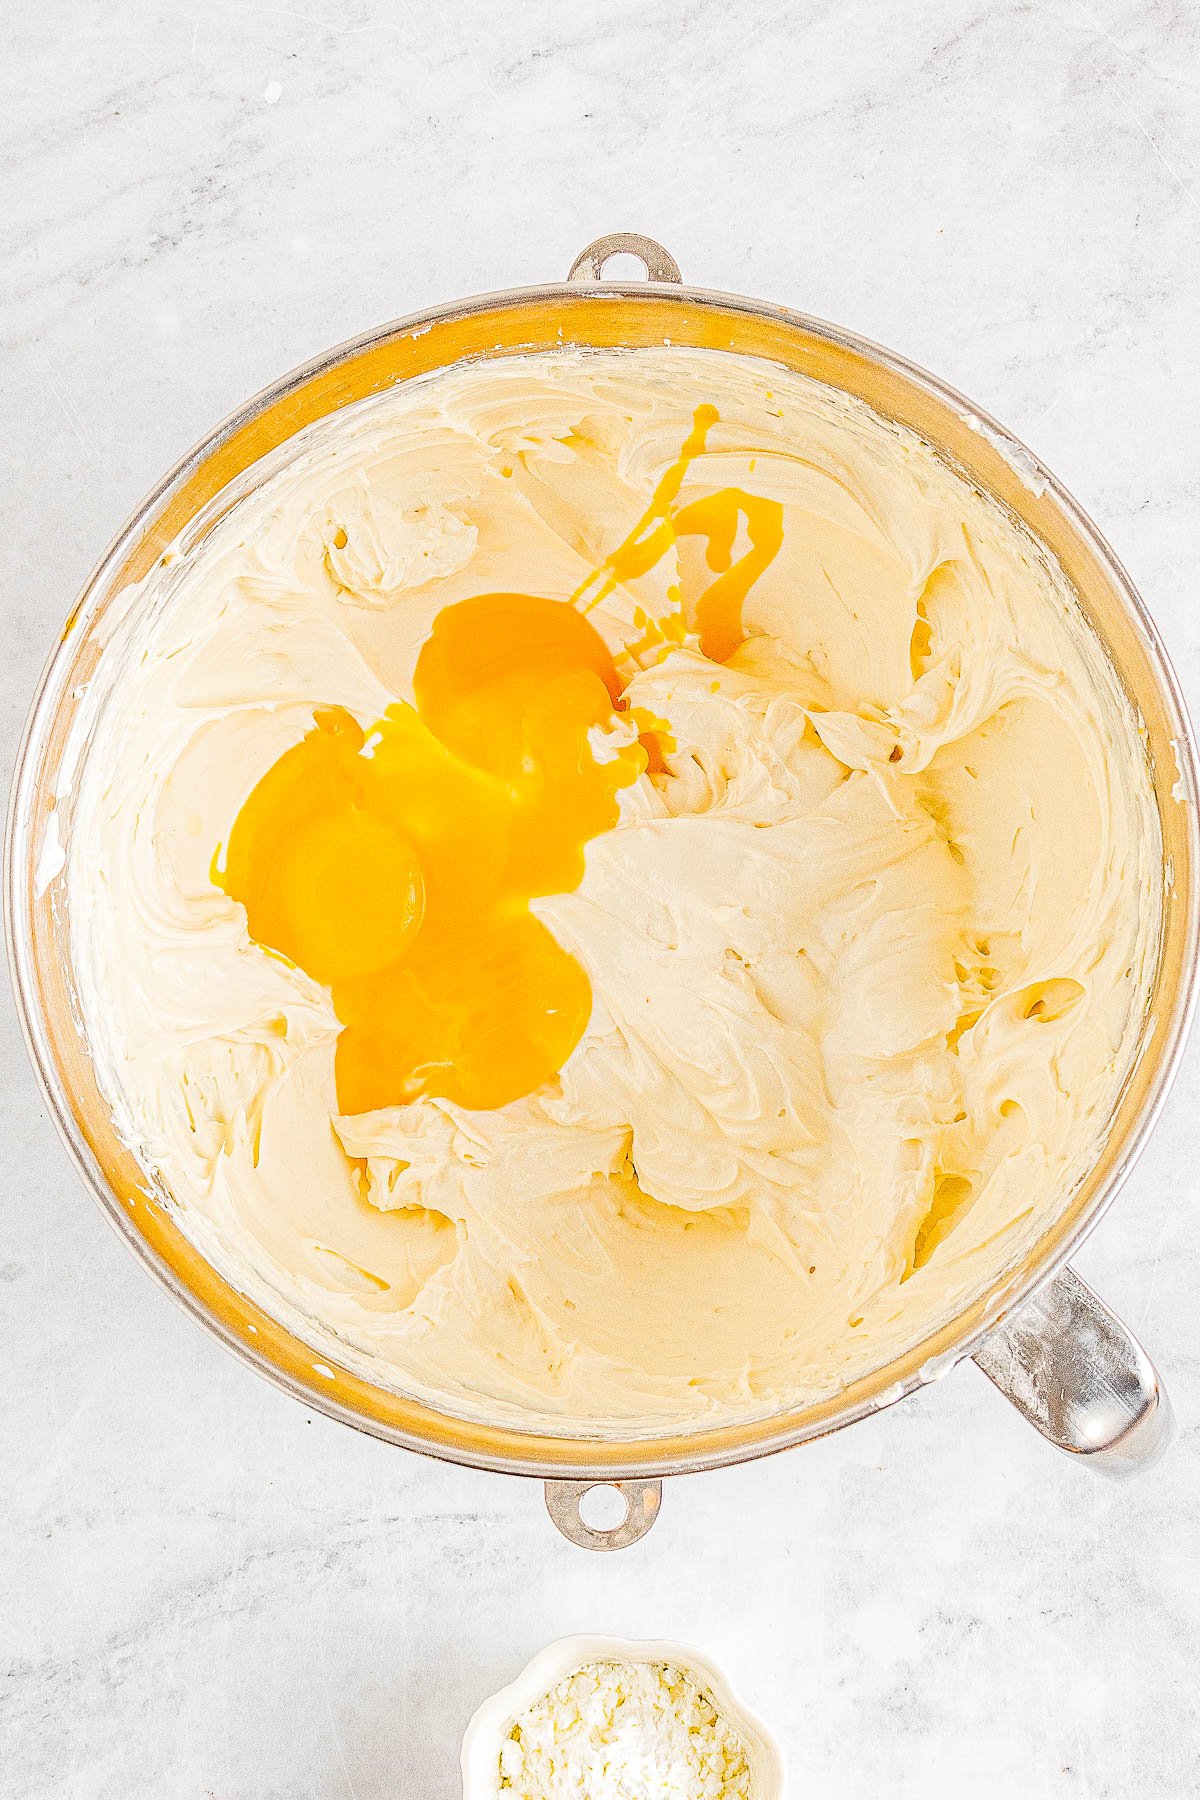
Egg Beating Tip
Only mix the eggs into the batter per the amount of time indicated. Overmixing will add too much air which will cause the cheesecake to crack while baking. Not good!
Step 6: Pour the batter on top of the crust.
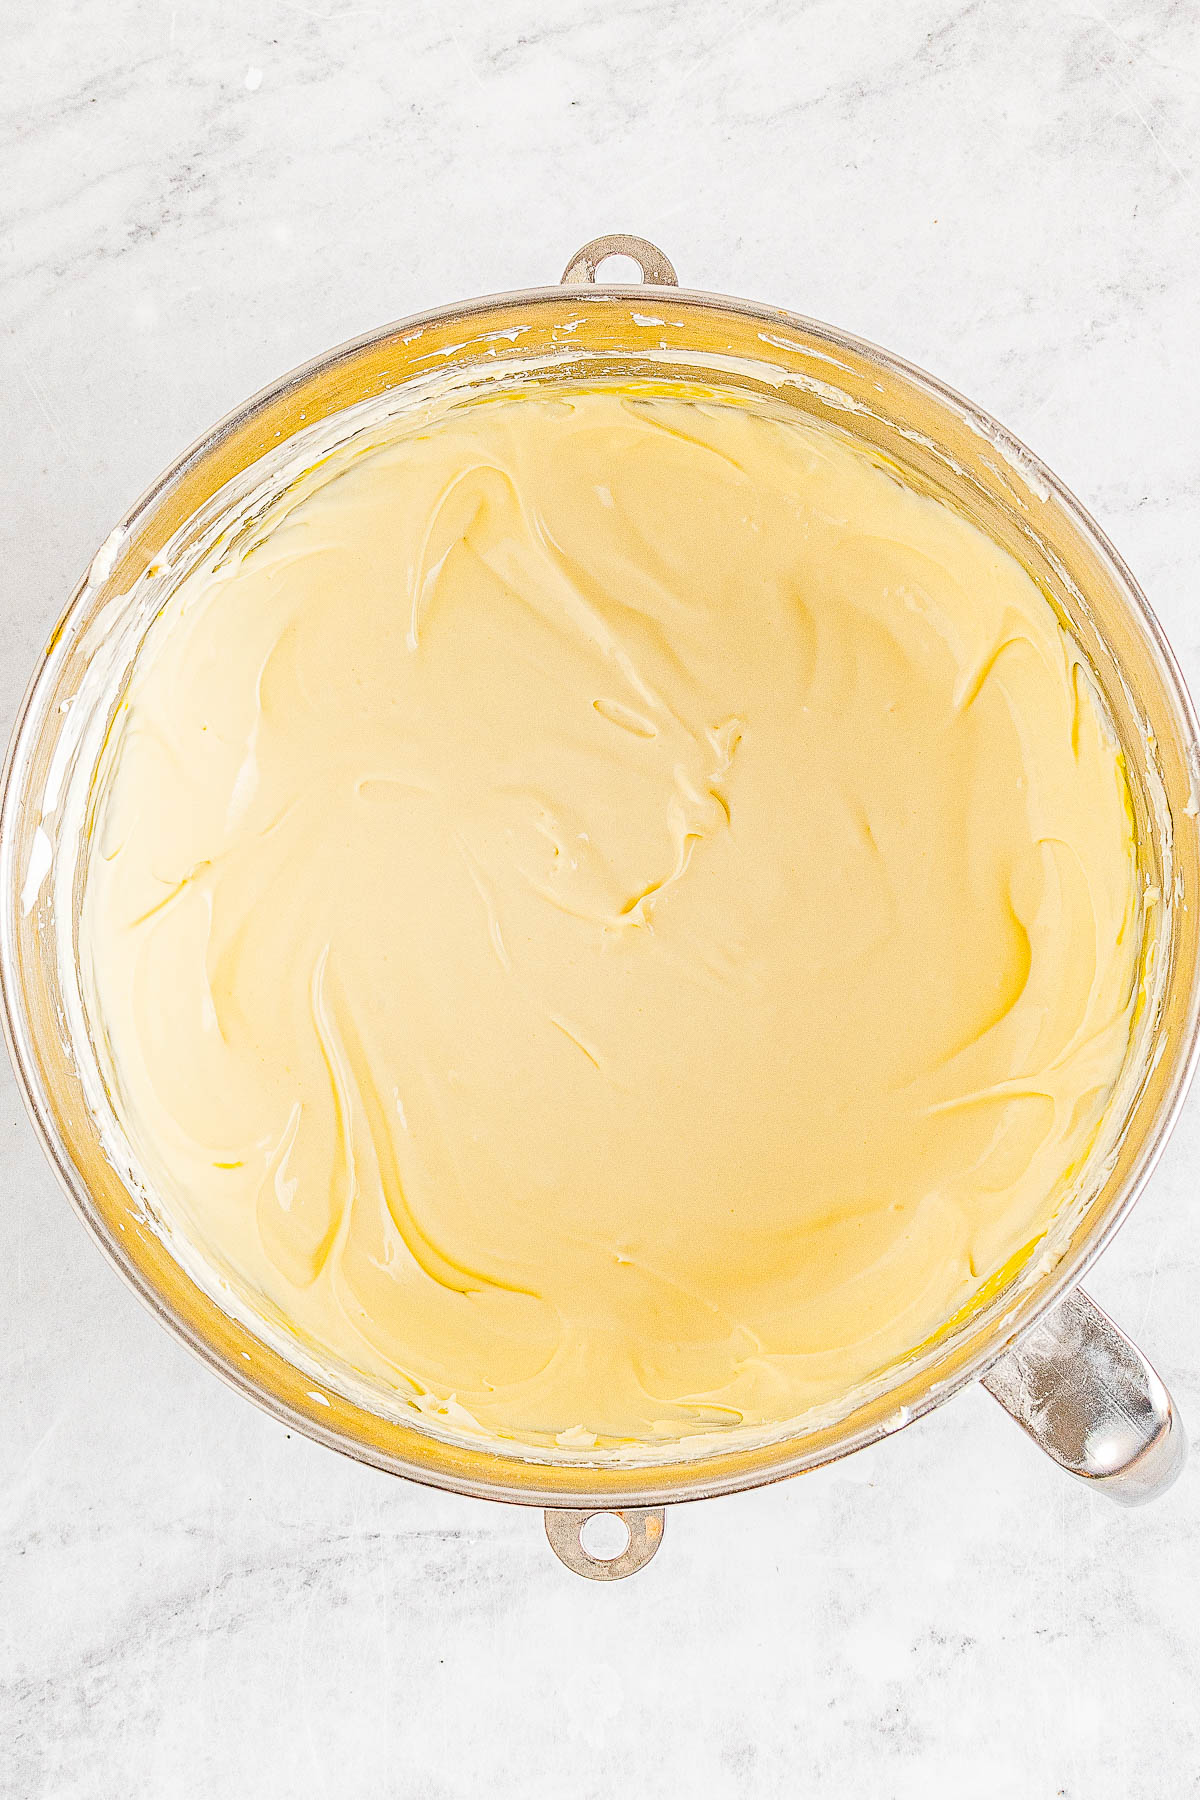
Baking Process
Step 7: Wrap the bottom and sides of the springform pan very well with heavy duty foil to prevent water from seeping in.
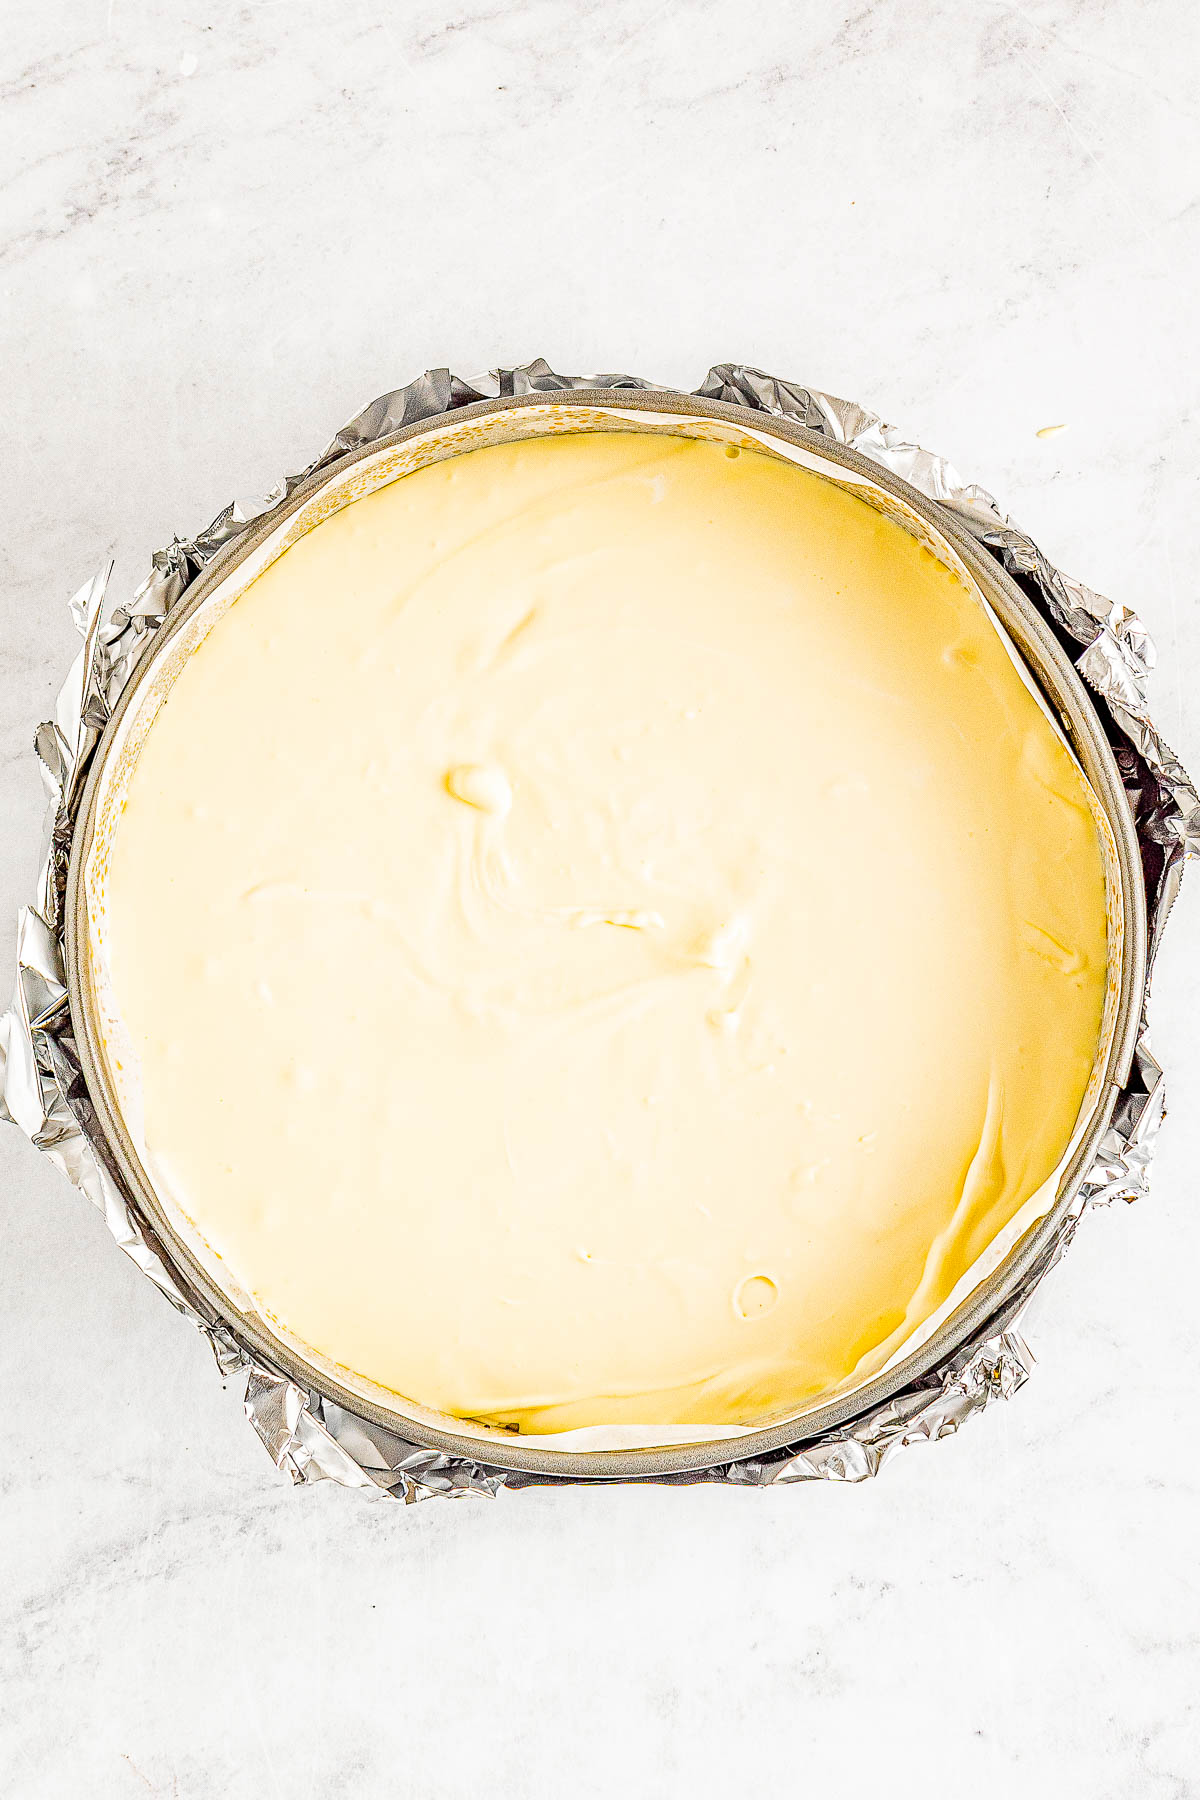
Step 8: Place the springform pan into a larger baking pan and fill the larger pan with 1-inch of warm water.
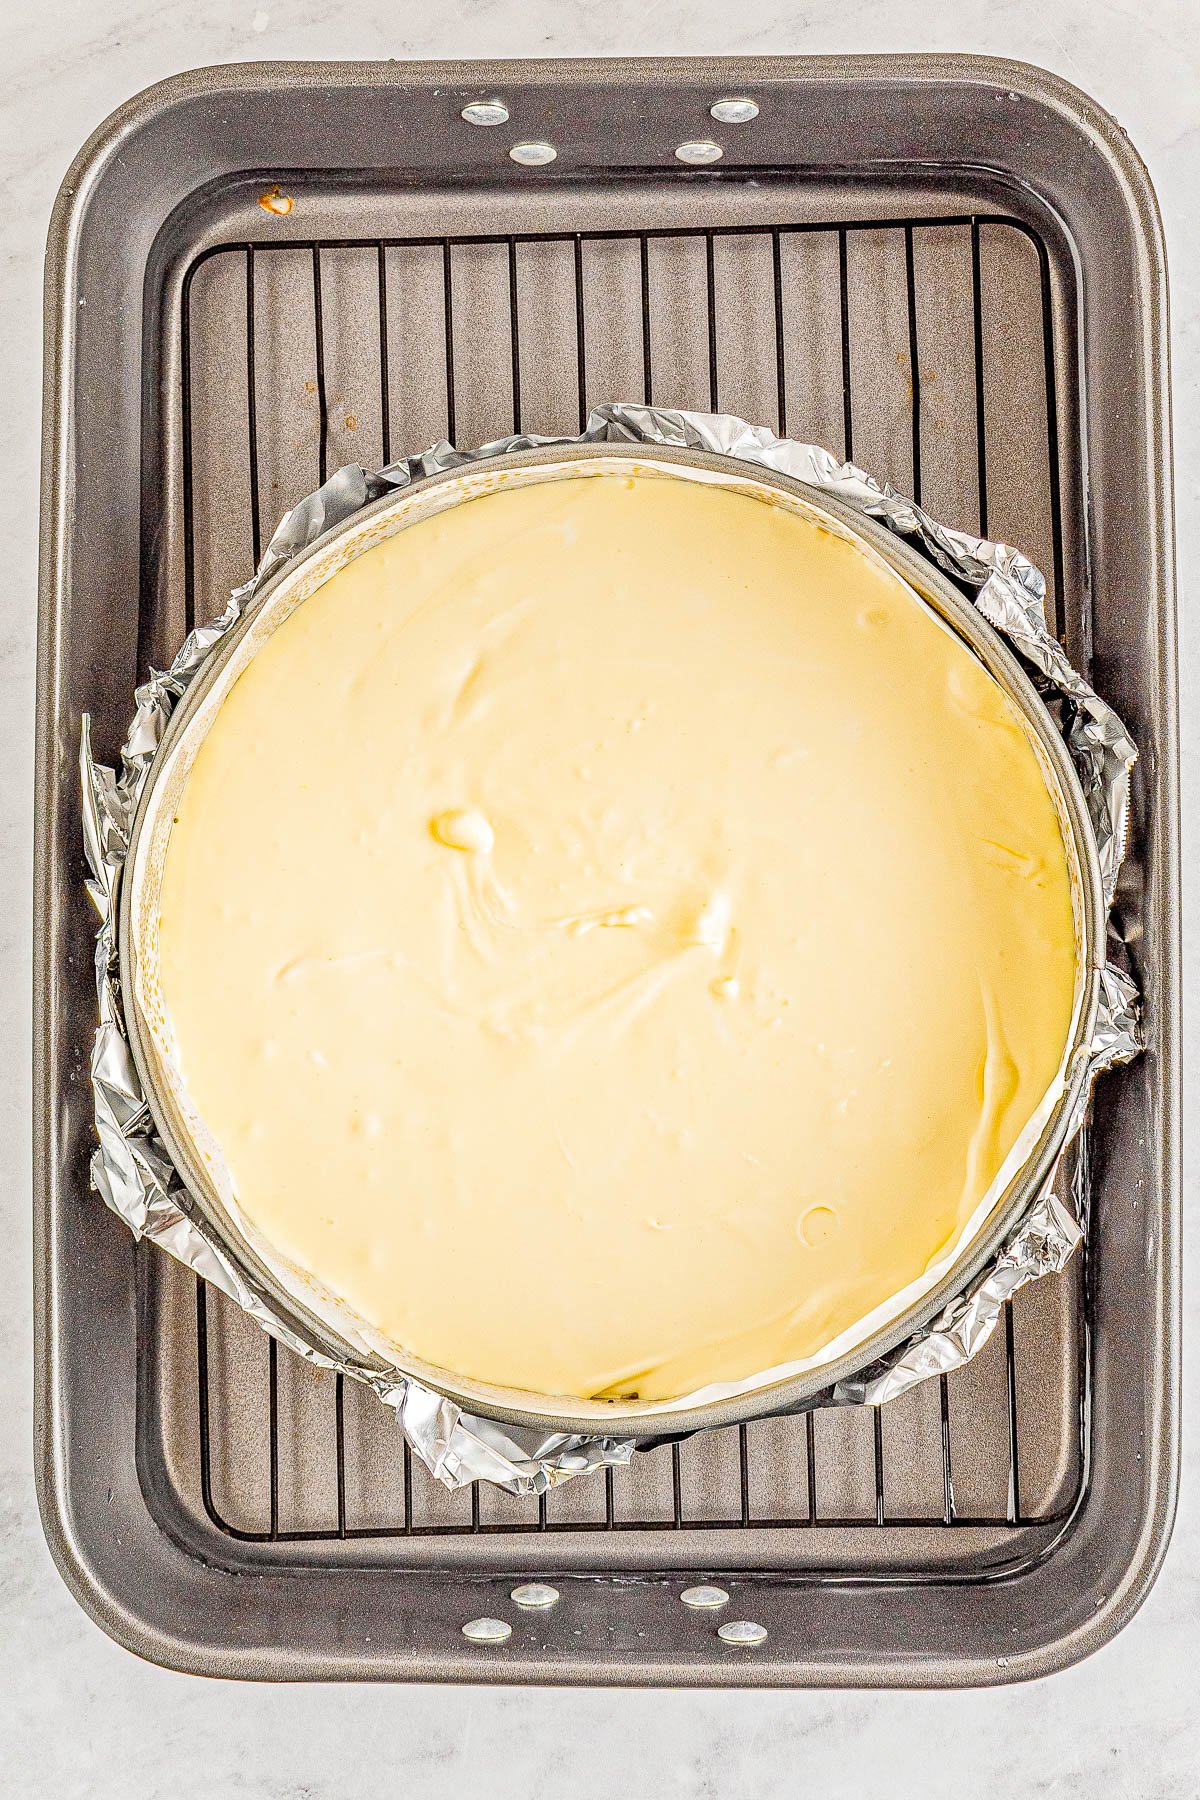
Step 9: Bake at 400°F for 15 minutes. Reduce to 250°F and bake for another hour and 15 minutes.
Water Bath Tips
Using the water bath is extremely important! The water bath helps to prevent the cheesecake from cracking. Do NOT skip or omit this.
I like to use a deep 9-13-inch roasting pan which is just big enough to encase the cheesecake. I also prop it up on the wire rack that comes with the pan but this is optional if you don’t have a wire rack – because remember – you wrapped your springform pan very well already with foil so water doesn’t leak in.
Another option is a 9×13-inch baking pan depending on the exact measurements of both the baking pan and the springform pan.
If you do not have a deep enough pan to fill with 1-inch of water, simply use a pan with enough depth or lip to hold a little bit of water.
Partway through baking, add more water to the pan so that there is always water to steam.
Cooling Process
Step 10: Turn off the heat and let the cheesecake sit in the oven with the door closed for 30 minutes.
Step 11: Then, open the door and let the dessert rest for 30 minutes in the oven door open.
Step 12: Place the cheesecake on a cooling rack to cool completely before transferring to the fridge and chill it for 8 hours.
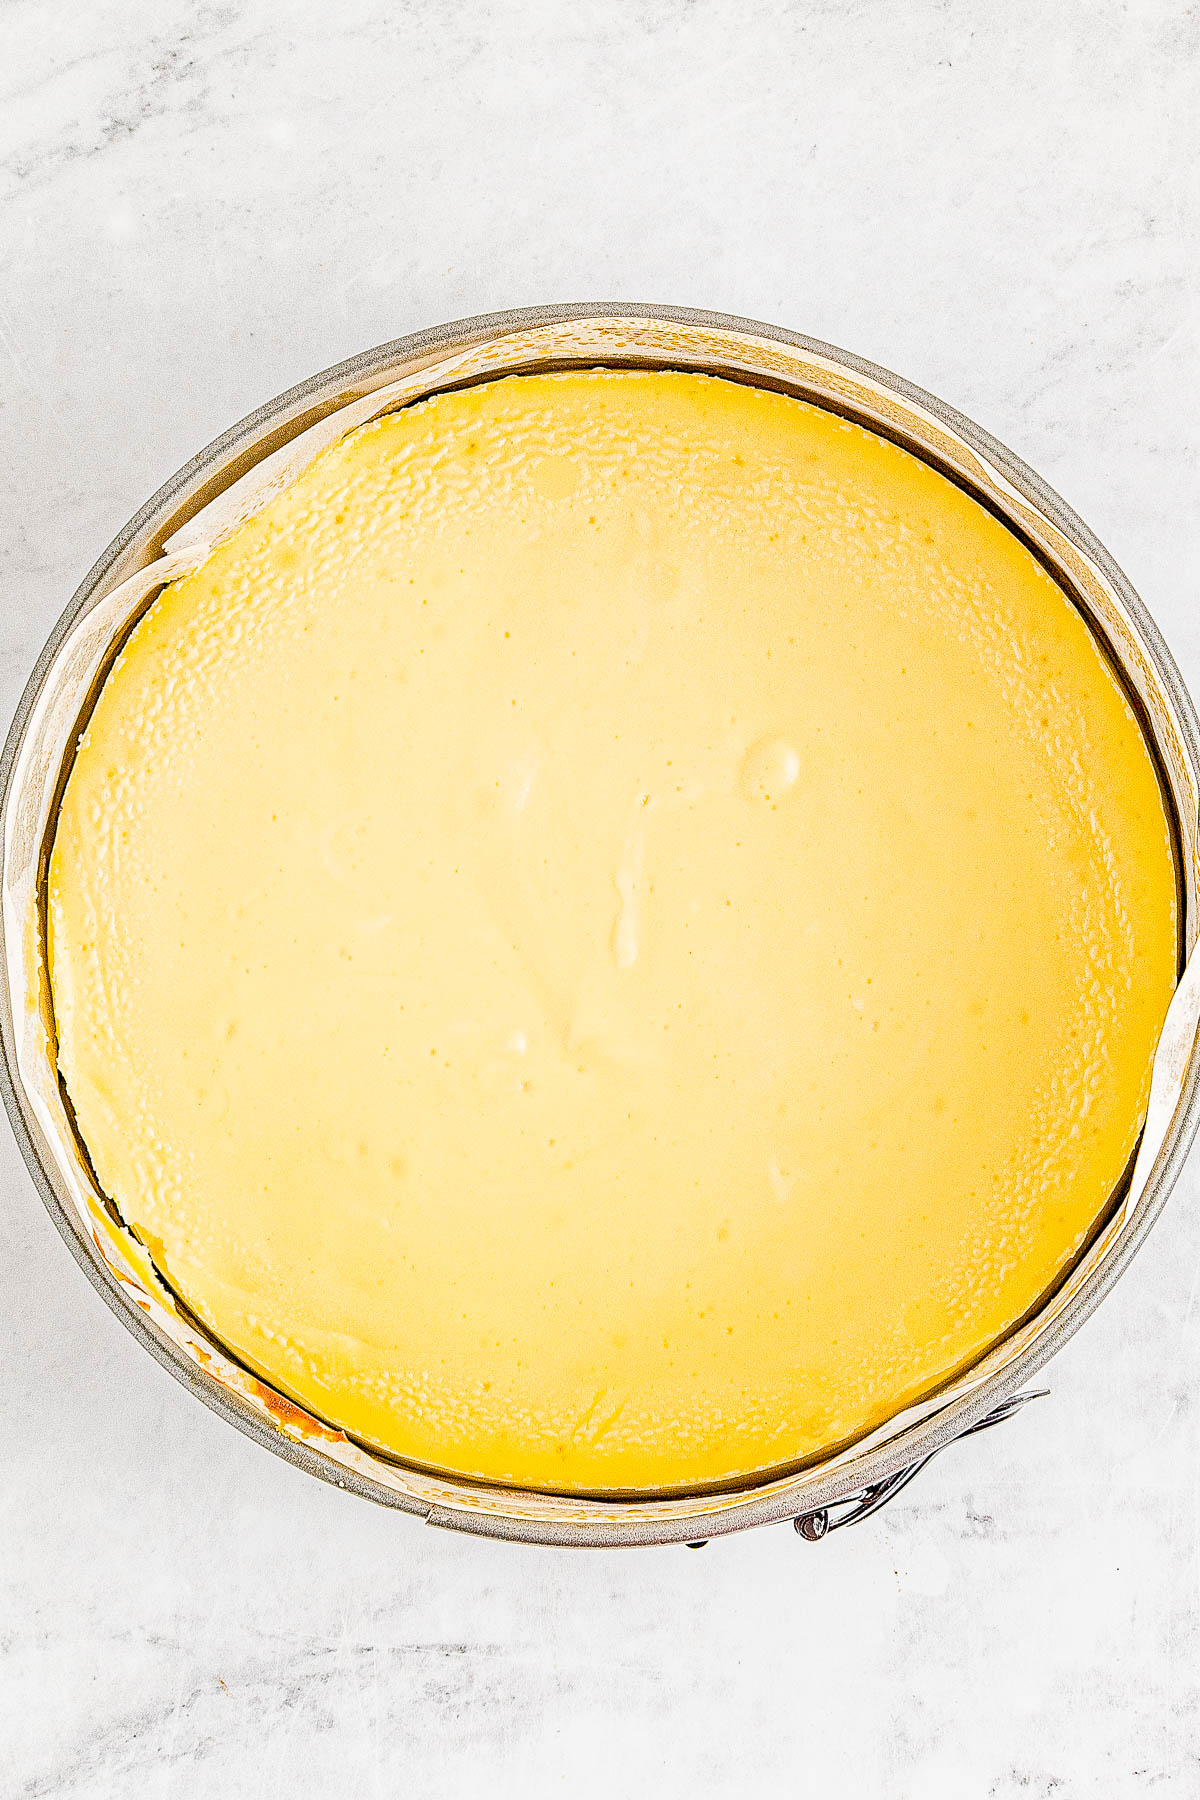
Cooling Tips
Be sure to let the cheesecake cool down in your powered off oven with a closed door for 30 minutes and then with an open oven door for 30 minutes.
And then chill for 8 hours in the fridge.
Don’t shortcut the chilling time. This aids in completely setting the cheesecake which enhances the creaminess of it.
Topping and Assembly
Step 13: Toast the shredded coconut and combine it with caramel sauce.
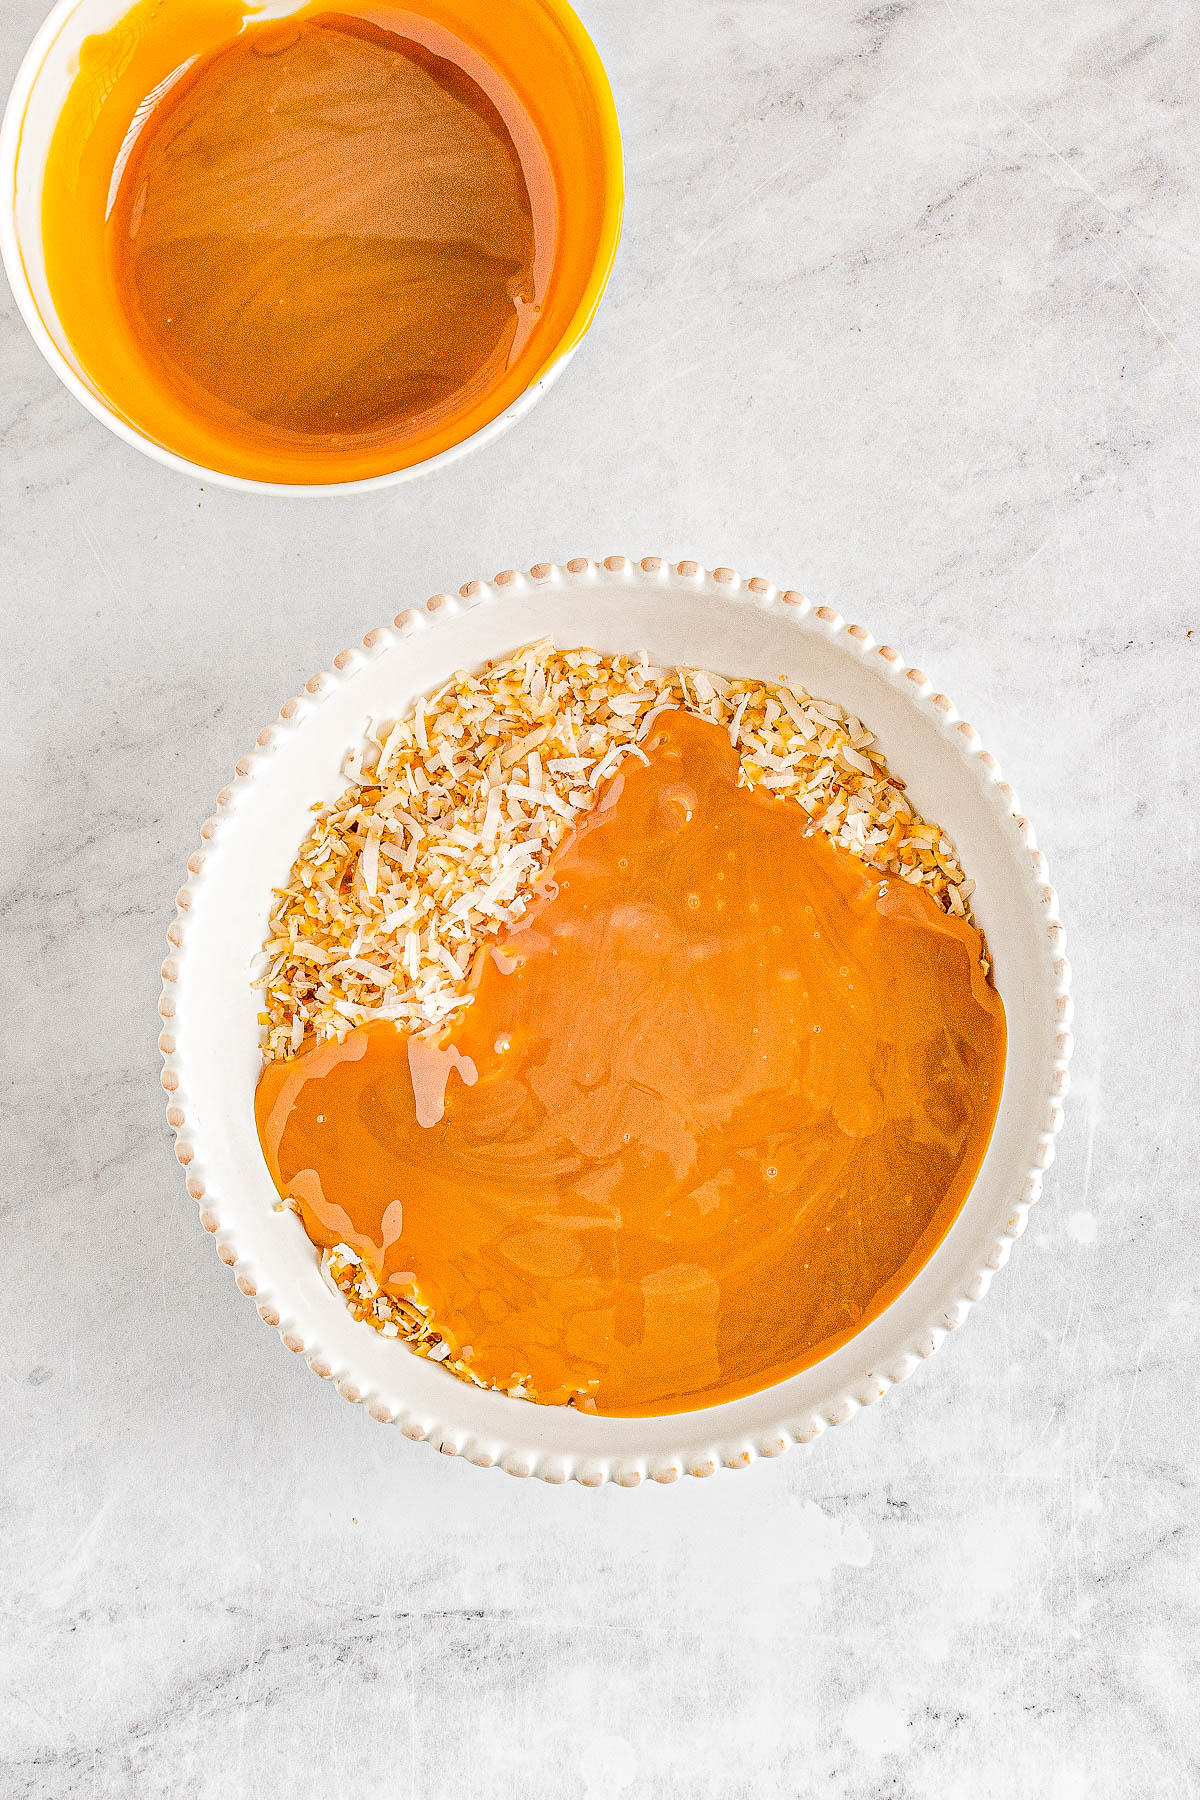
Step 14: Spread the caramel coconut mixture all over the cheesecake.
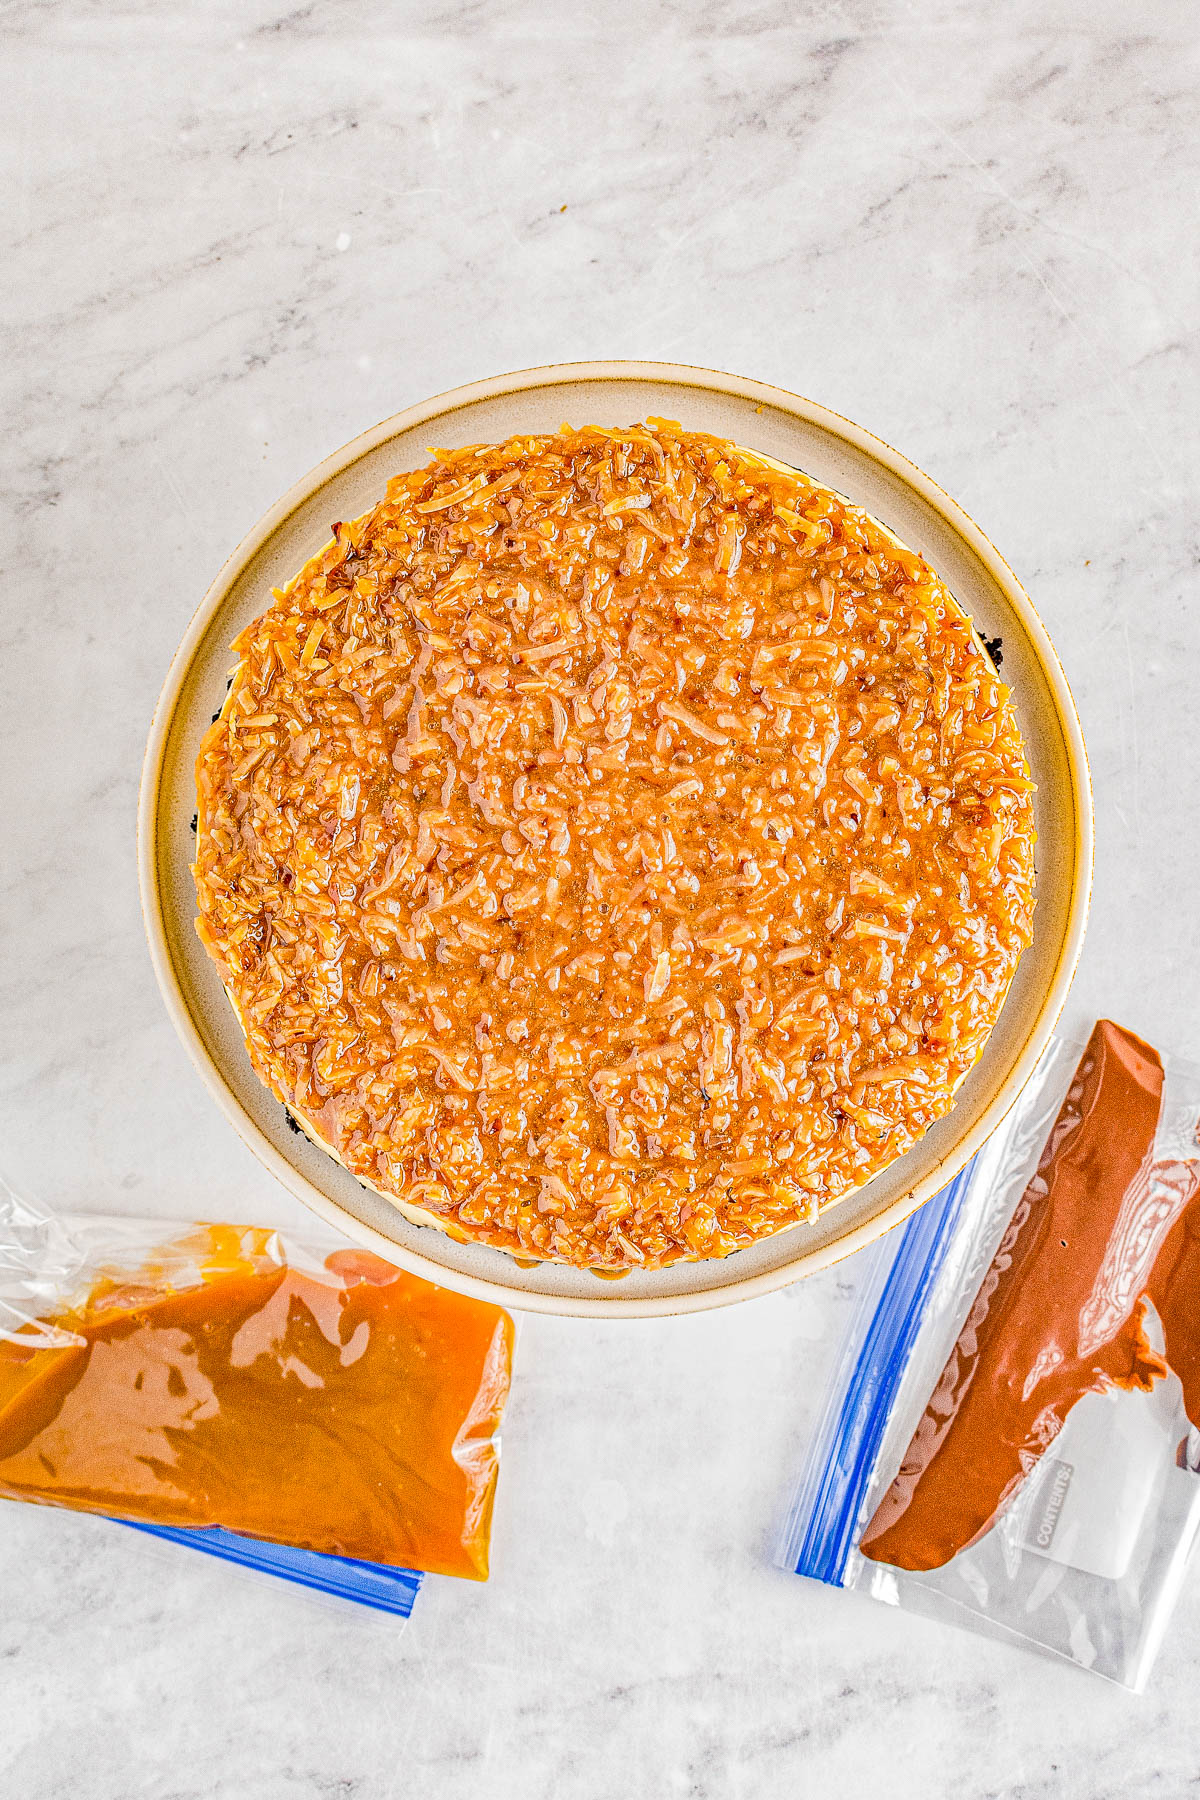
Step 15: Place additional caramel sauce into a small bag.
Step 16: Melt the chocolate chips and add them into a small bag.
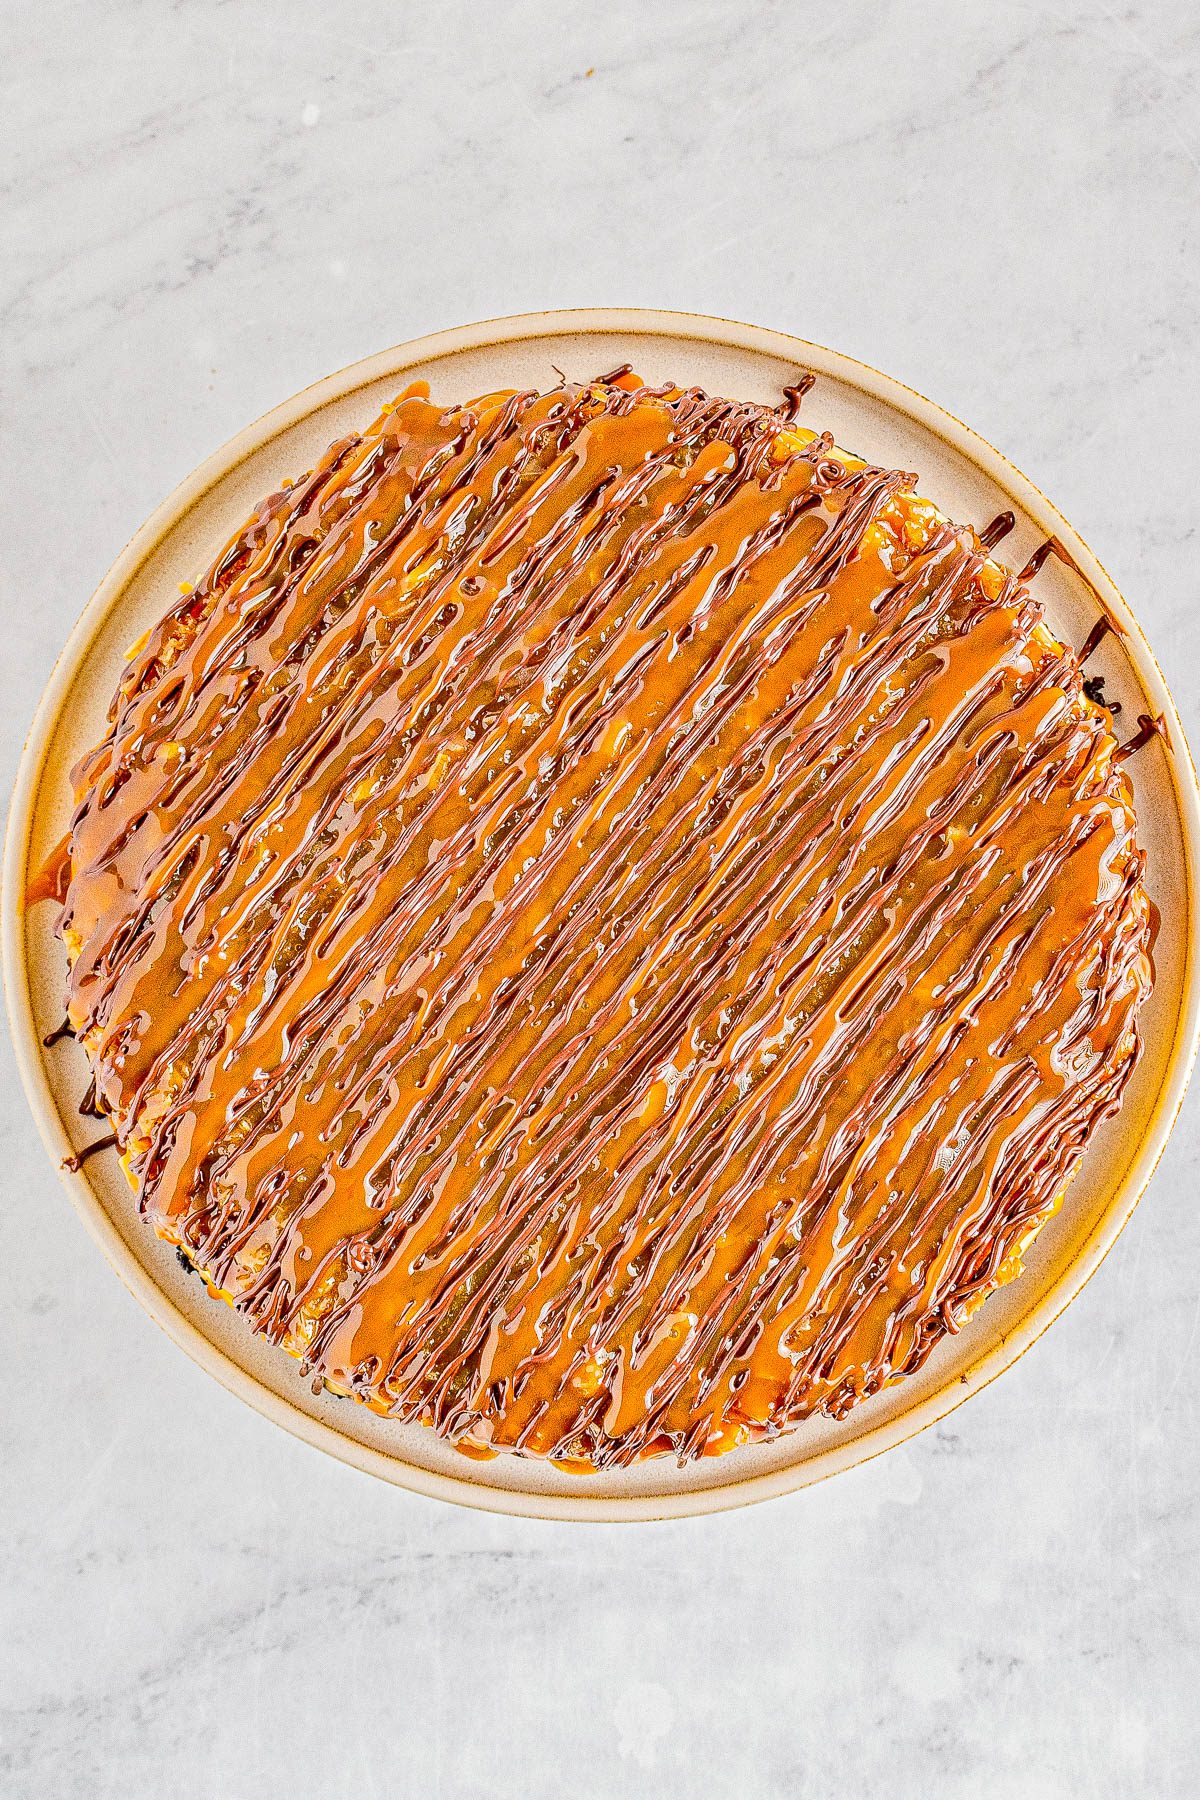
Step 17: Drizzle the caramel sauce and melted chocolate over the top before slicing and serving your Samoas cheesecake with Oreo crust!
Ingredient Substitutions
Although this chocolate, caramel, and coconut cheesecake is absolutely dreamy perfection as written, if you’re wondering about substitutions, here are the most common:
- Oreos – Not an Oreo lover? You can use graham crackers instead for a more traditional crust. Use the Graham Cracker Crust portion of the recipe from my Best No-Bake Cheesecake.
- Sugars – I use half white and half brown sugar in my cheesecake batter. After lots of trial and error, I find this to be just perfect, but can use all granulated sugar..
- Sour Cream – Plain Greek yogurt can be used in place of the sour cream. Just note that there will simply be less acidity to enhance the cheesecake flavor.
- Cornstarch – All-purpose flour can be used instead. Simply increase the amount used to 3 tablespoons rather than the 2 1/2 tablespoons of cornstarch that I call for.
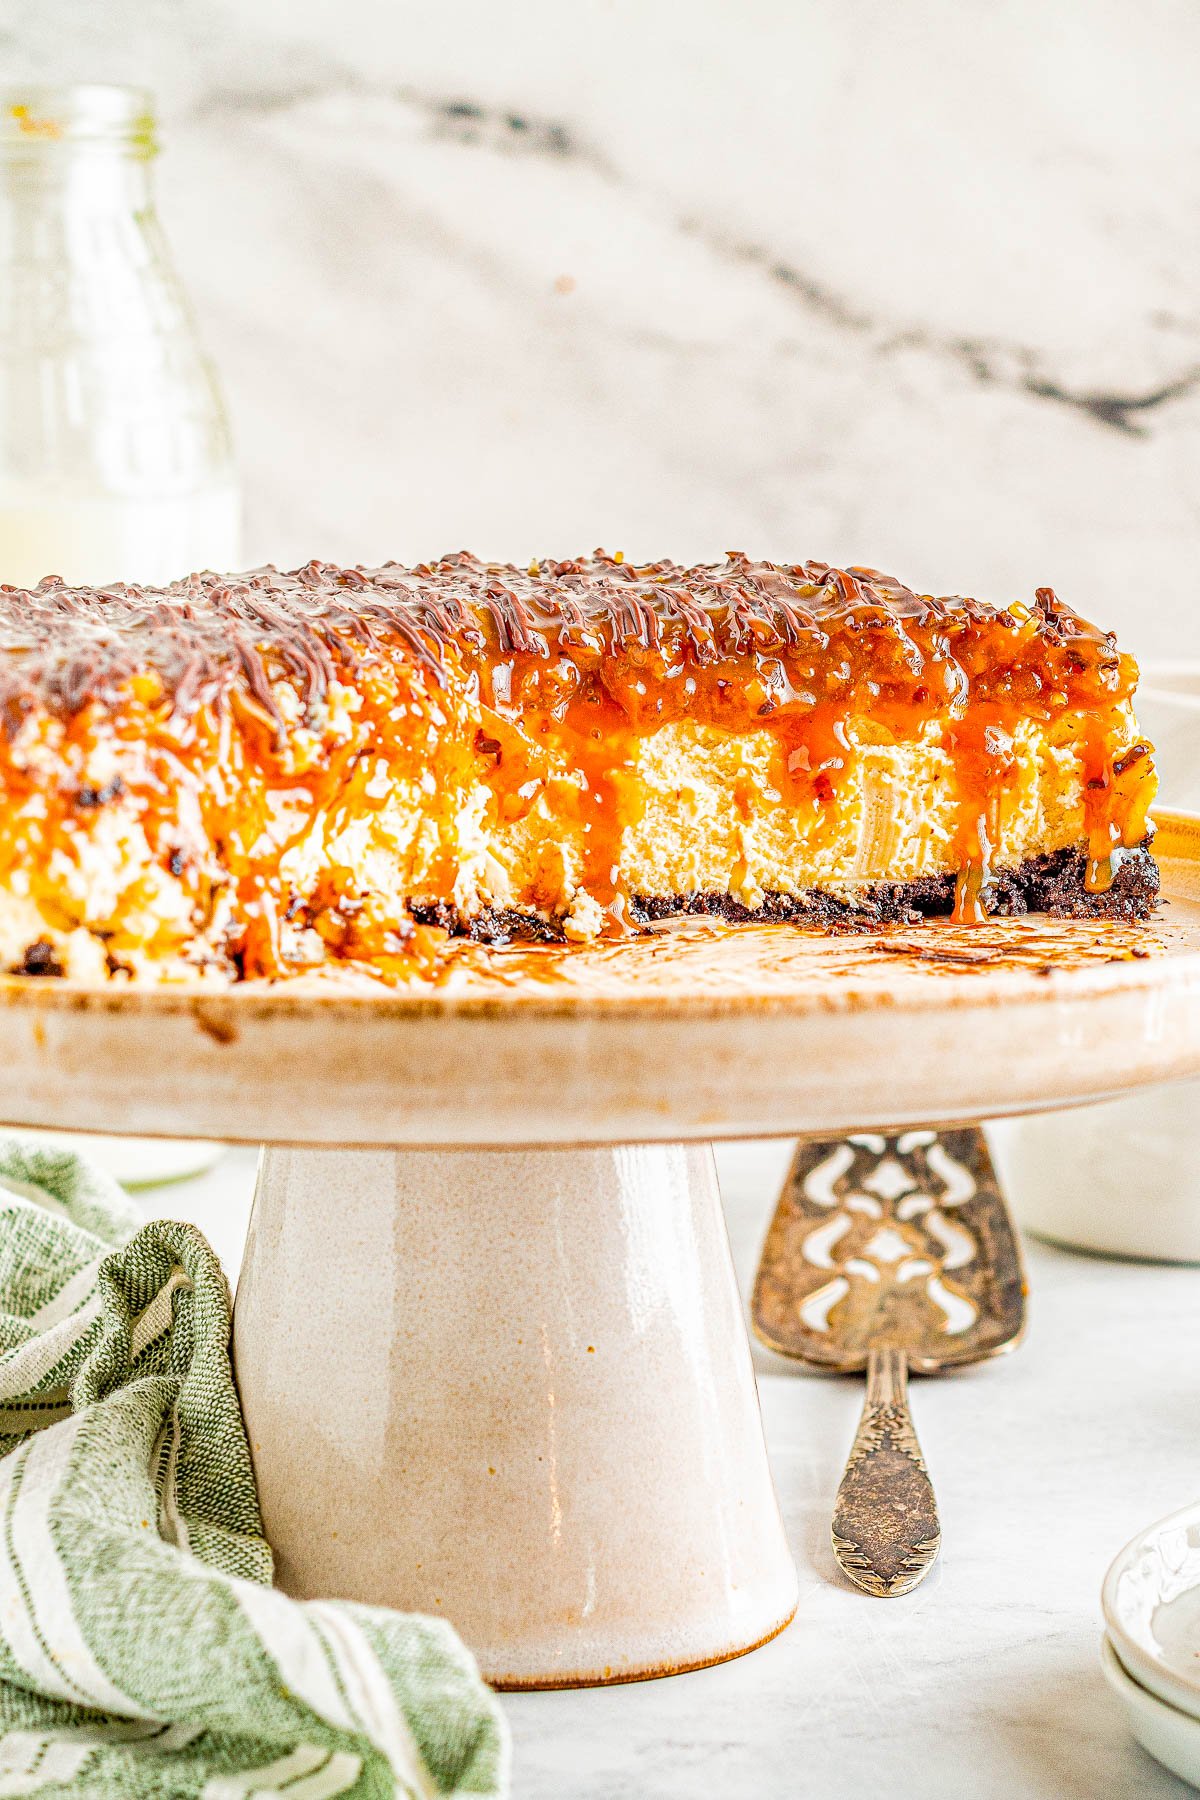
Serving Suggestions for Samoa Cheesecake
Based on how rich and decadent this Samoas cheesecake is, thanks not only to the Oreo crust, creamy filling, and coconut, don’t forget there’s also melted chocolate and additional caramel sauce drizzled on top.
Meaning, you really don’t need to serve it “with” anything. Maybe a cup of coffee or espresso.
If you have extra caramel sauce on hand, you can also make my homemade Caramel Macchiato {Starbucks Copycat}.
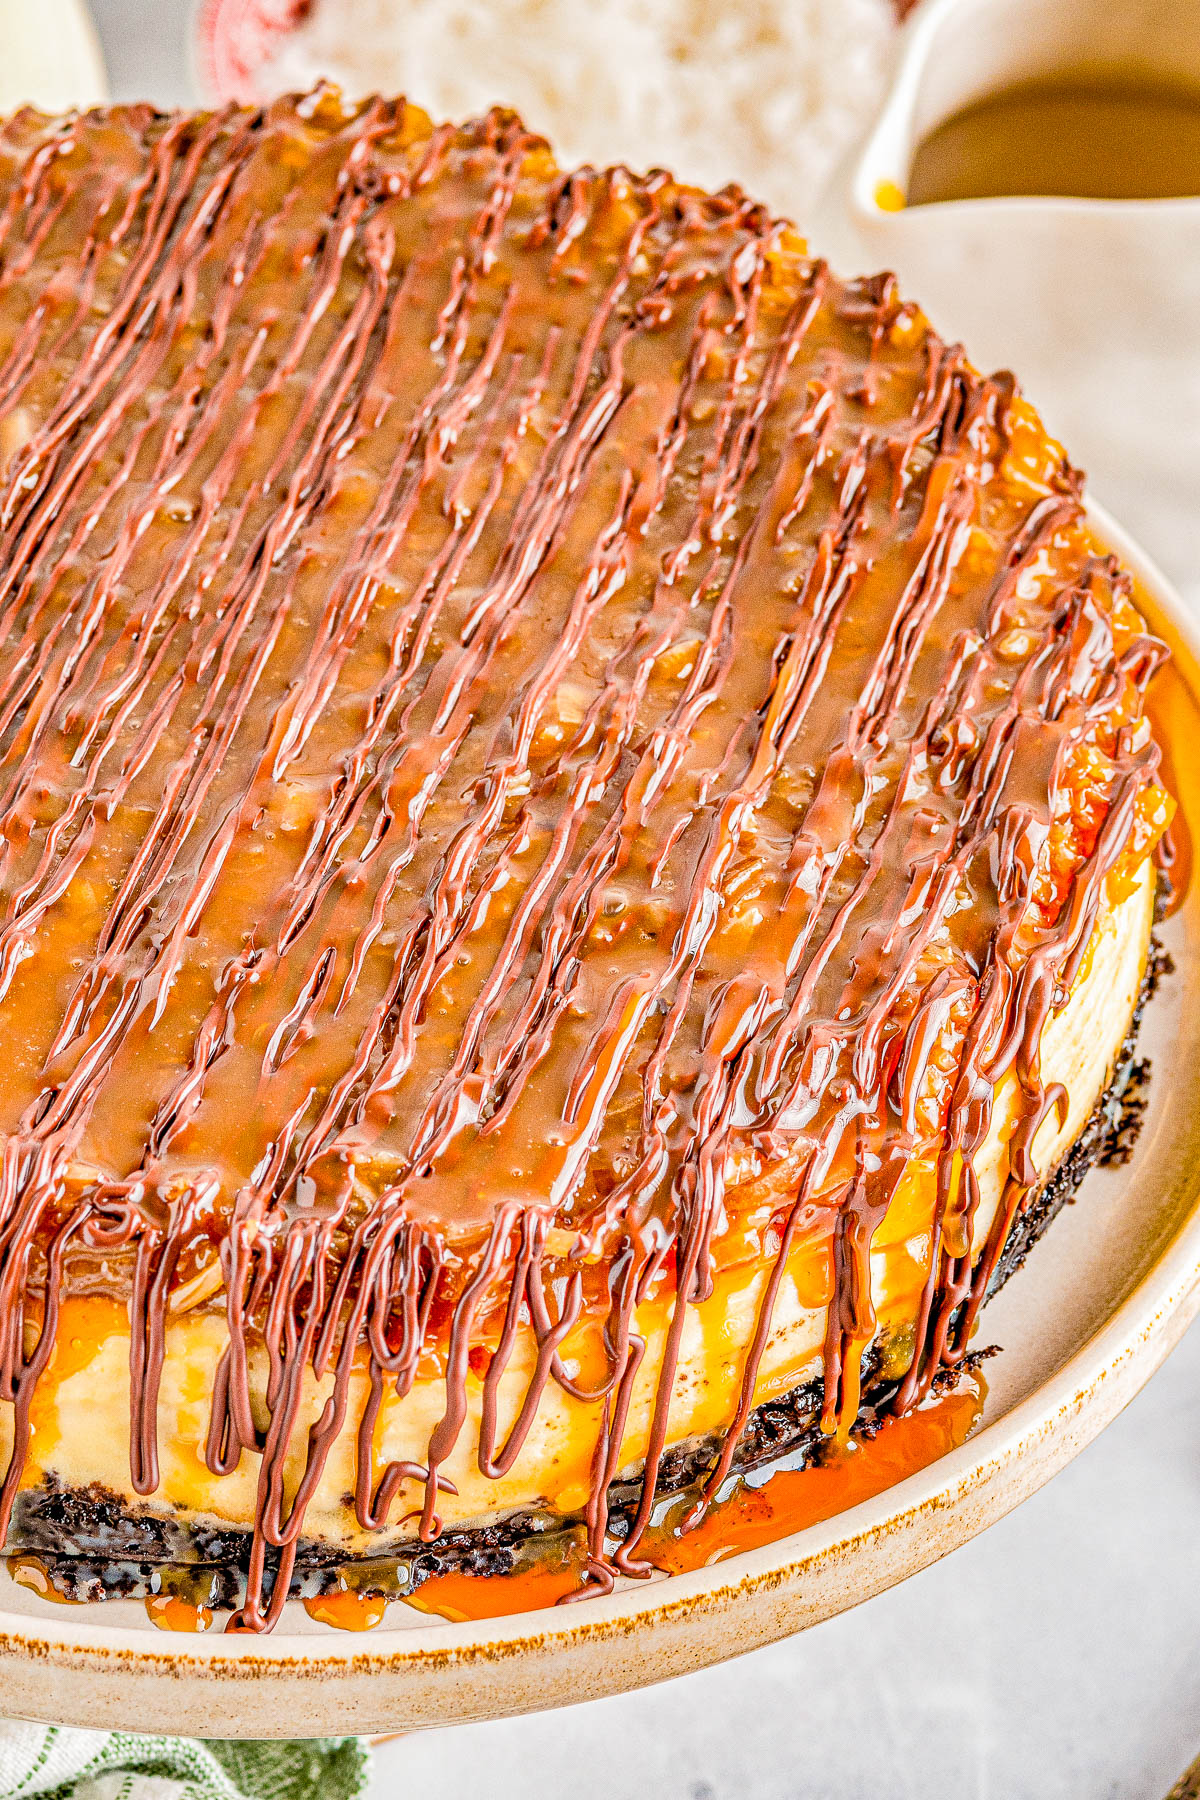
Storage Instructions
This cheesecake makes a big amount. As long as you’re going through the work of making a cheesecake, leftovers aren’t a bad idea!
The cheesecake will keep airtight in the fridge for up to 5 days or in the freezer for up to 3 months.
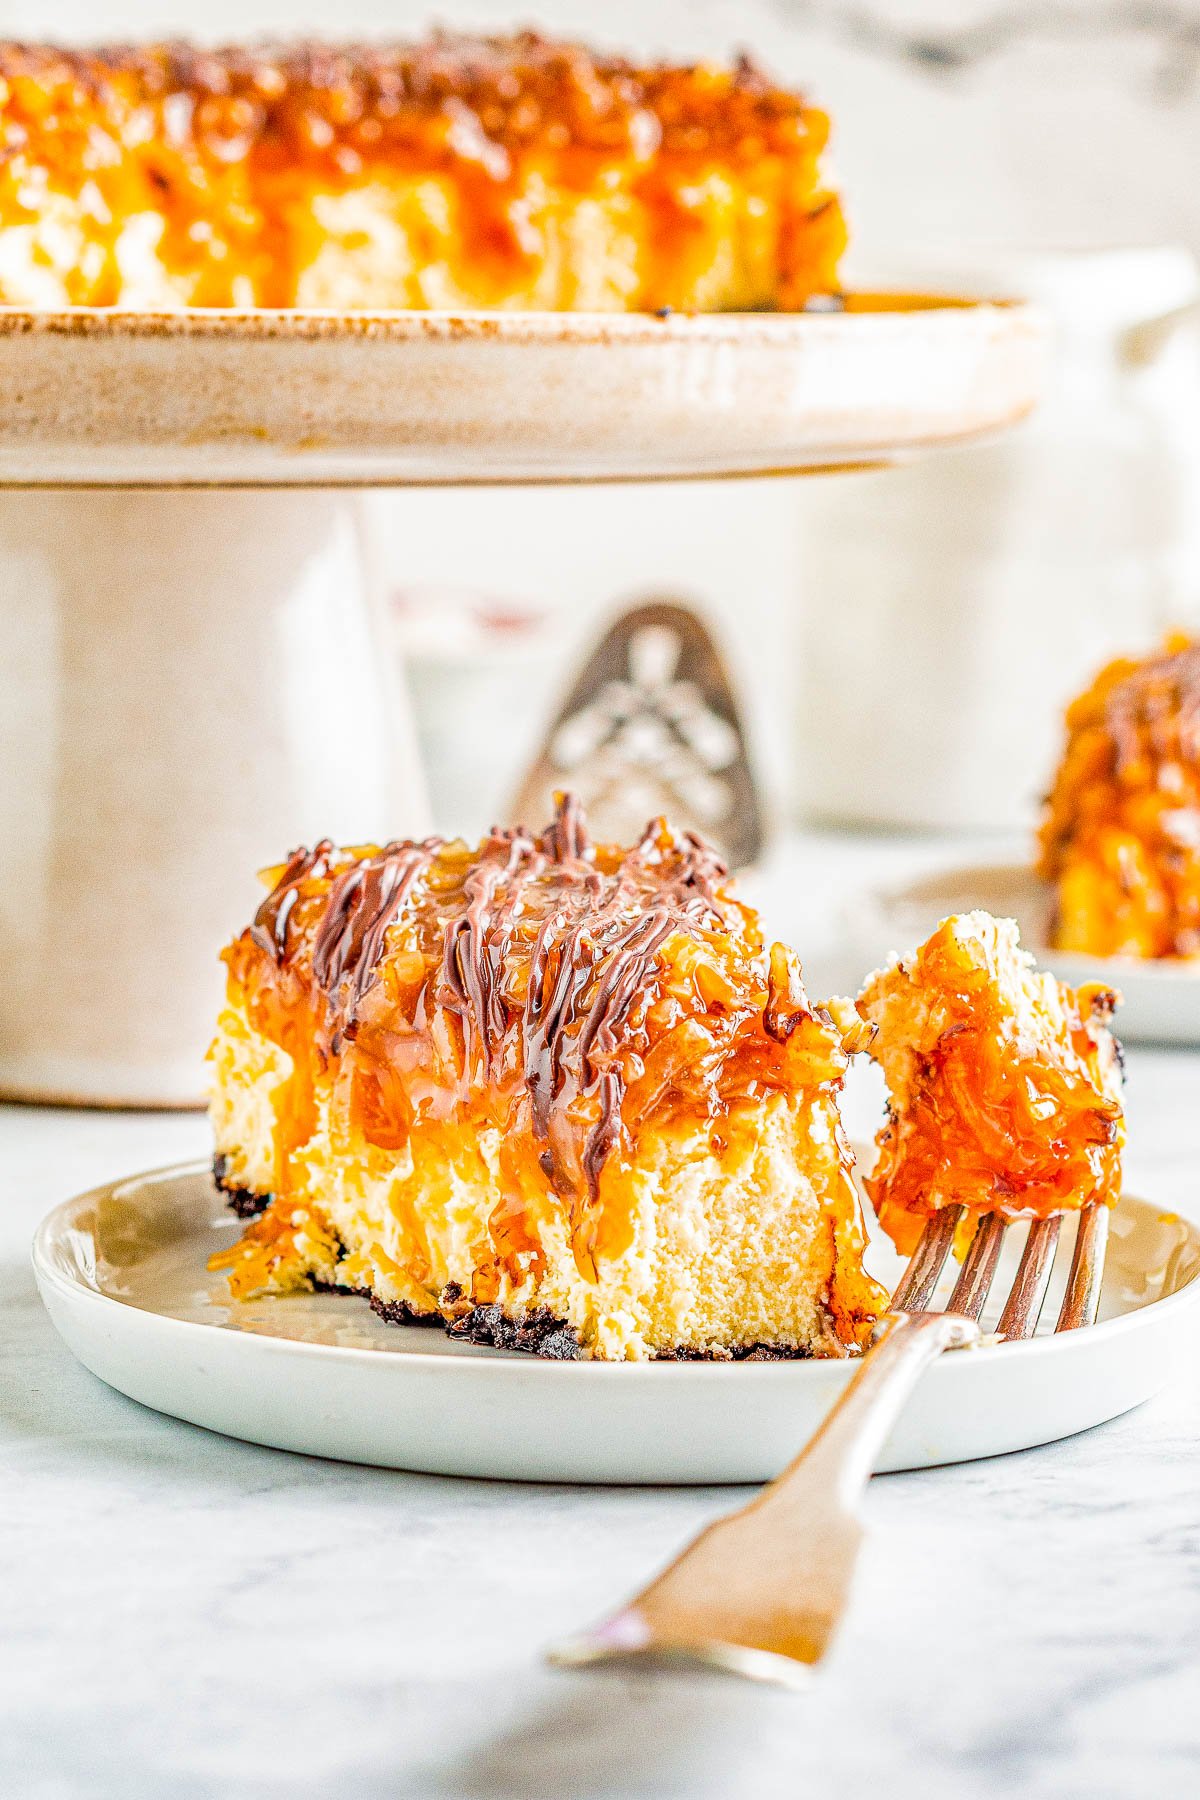
Freezing Tip
This cheesecake freezes really well!
For quick serving and thawing purposes, I like to slice the cheesecake, wrap each slice very well in saran wrap, then freeze the slices. It’s less bulky to store slices wrapped in plastic wrap in my freezer than in containers, but you can use containers instead if you can make that work.
When I’m ready for a slice, I take one out of the freezer, let it set on the counter for 15 to 20 minutes to thaw, and enjoy.
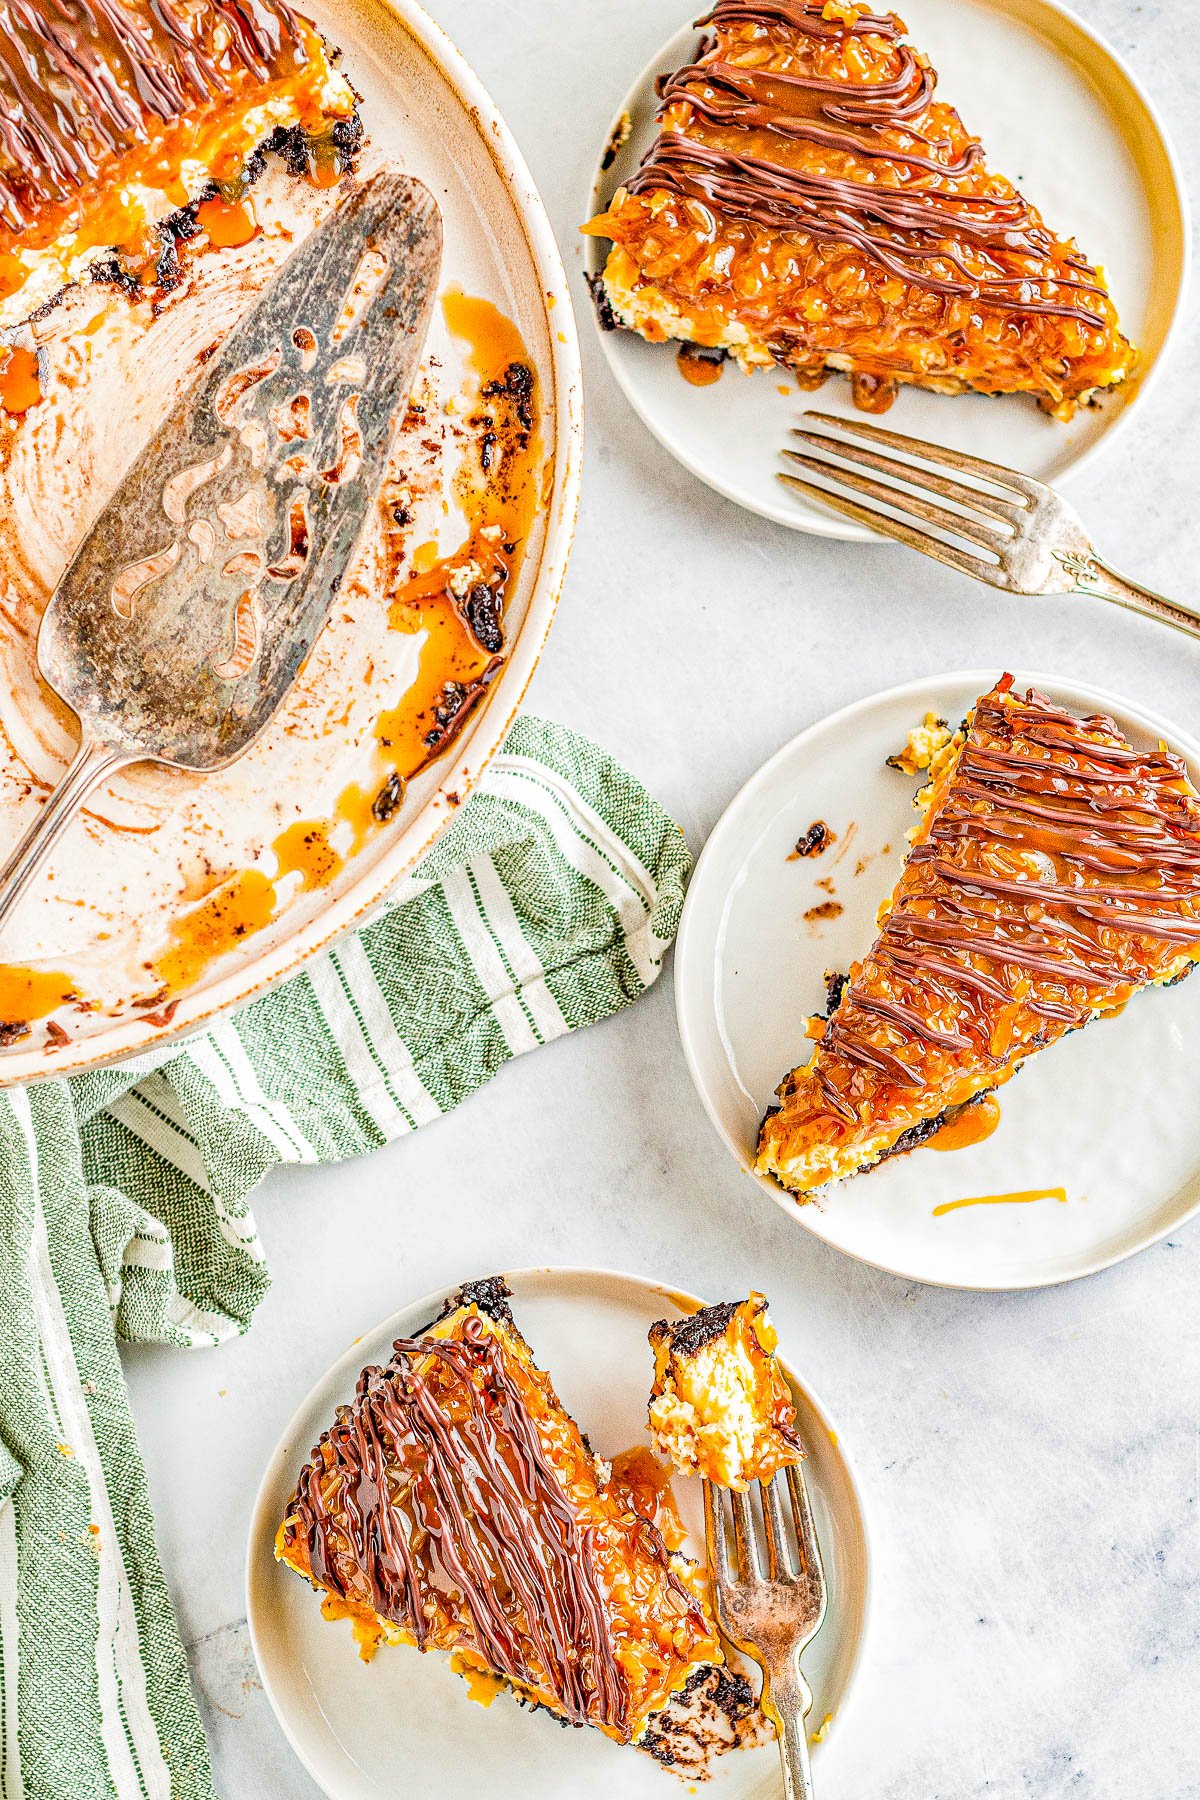
Tips for the Best Samoa Cheesecake
When considering making this homemade Samoa cheesecake recipe, there is plenty to take into account!
Here are some of my tips and highlights at the top of my list that I want to be sure to share with you:
Oreos – The recipe calls for 3 cup of Oreo cookie crumbs. You have two options:
- Buy and use premade Oreo Cookie Crumbs
- Blend whole Oreo cookies in a food processor until you have 3 cups of crumbs. If you’re using this method, just toss the cookies in whole (no need to pick out the white filling) and pulse. You’ll probably need about 11 Oreos for each 1 cup of crumbs, or about 33 cookies total. This is what I do and recommend. It takes literally 15 seconds in a food processor.
Cream Cheese – You’ll need three 8-ounce packages of brick-style cream cheese. I use the Philadelphia brand.
Do not use anything type of “cream cheese” product labeled lite, fat free, spreadable, or whipped. Your cheesecake will not turn out since most are made with lots of water and fillers.
Heavy Cream – Use heavy cream and not half-and-half.
Sour Cream – You need full-fat sour cream.
You may substitute with full-fat Greek yogurt, plain flavor. Do not use regular yogurt (non-Greek yogurt) because it’s too runny and your cheesecake won’t set up.
If you do use Greek yogurt, your cheesecake won’t have quite as much tanginess compared to if you use sour cream.
Eggs – Make sure to use large eggs and not another size. Save the whites for another use like this show stopping White Layer Cake. Or just make scrambled eggs with the whites.
Lime vs. Lemon Juice – Lime juice enhances the flavor of the cream cheese helping to bring out that classic cheesecake flavor. Lemon juice adds to the tartness of the cream cheese, however it is more prominent or detectable in the final overall flavor of the cheesecake than lime juice. Lime juice enhances and lemon juice adds flavor. That’s why I choose lime.
Cornstarch – This is what I suggest for the best texture in your homemade cheesecake, although if you don’t have it, use 3 tablespoons all-purpose flour instead.
Coconut – I use Baker’s Sweetened Shredded Coconut. It’s my gold standard in baking. Coconut can vary a ton from brand to brand in terms of the size, thickness it’s cut, coarseness, softness, sweetness, moisture, and on it goes. Use Baker’s or a very similar type of coconut for best results.
Make sure the coconut is sweetened because unsweetened coconut isn’t what you want.
Caramel Sauce – You need 2 1/2 cups (or about 20 ounces) total.
- You can use homemade caramel sauce such as my Best and Easiest Homemade Caramel Sauce.
- Or use store bought. There are approximately 8 ounces in 1 cup caramel sauce. Therefore, you need about 20 ounces. Most jars are sold in 8 to 12 ounce sizes so you’ll need 2 or 3 jars, depending on size.
FAQs
Yes, you can use a hand mixer. It’ll just take a bit longer. If you have a stand mixer, this is the time to break it out!
No, you cannot because a normal cake pan isn’t deep enough. That’s one reason why you need a 9-inch springform pan. The other reason is for easy releasing of your Samoa cheesecake when you’re ready to slice and serve it.
I use Reynold’s Nonstick Heavy Duty Foil. Make sure it’s a good foil that doesn’t rip and isn’t flimsy because it’s instrumental acting as a barrier to keep water out of your springform pan.
In theory, you certainly can. In reality, I would not want the meticulous work of assembly and trying to figure out a water bath situation for mini pans, and experiment with baking times until you get it just right. But it is theoretically possibly for the right person!
By all means yes! If you’re making this for a big event like Valentine’s Day, an anniversary or birthday, or a holiday party, feel free to make the cheesecake in advance, keep it in your fridge very well covered and just chilling for 2 to 3 days. About 2 to 12 hours before service, make the toasted coconut and caramel topping, add, drizzle, and chill again until serving.
Read the Recipe First
This seems so basic but you’d be surprised how many readers do not do this which can lead to preventable errors. That is, please read over the recipe at least once in entirety before beginning so you know what the overall roadmap is!
Pay special attention to the baking process, including lowering the oven temp from 400F to 250F after 15 minutes, and then allowing the cheesecake to stay in the water bath in a powered-off oven with the door shut for 30 minutes, and then out of the water bath but in the oven with the door open for 30 more minutes.
Pin This Recipe
Enjoy AverieCooks.com Without Ads! 🆕
Go Ad Free
Samoa Cheesecake
Ingredients
Crust
- 3 cups crushed Oreo cookie crumbs, about 33 whole Oreo cookies, whites and all, blended in a food processor
- 8 tablespoons 1/2 cup plus 1 tablespoon unsalted butter, melted
Cheesecake
- 24 ounces cream cheese, softened very well to room temp (brick-style, full-fat)
- ¼ cup granulated sugar
- ¼ cup light brown sugar, packed
- ⅔ cup heavy cream
- ½ cup sour cream, or plain Greek yogurt, do not use regular yogurt it’s too thin
- 2 ½ teaspoons pure vanilla extract
- 2 teaspoons lime juice*, lemon juice may be substituted
- 1 teaspoon salt
- 4 large egg yolks, save the whites for another use
- 2 ½ tablespoons cornstarch, 3 tablespoons all-purpose flour may be substituted
Topping
- 2 ½ cups sweetened shredded coconut
- 1 ¾ cups caramel sauce, divided
- ½ cup milk chocolate or semi-sweet chocolate chips, melted
Instructions
- Please read over the recipe at least once in entirety before beginning so you know what the overall roadmap is. Pay special attention to the baking process, including lowering the oven temp from 400F to 250F after 15 minutes, and then allowing the cheesecake to stay in the water bath in a powered-off oven with the door shut for 30 minutes, and then out of the water bath but in the oven with the door open for 30 more minutes.
- Preheat oven to 350F and line the base of a 9-inch springform pan (do not use a regular 9-inch round cake pan, it's not deep enough) with a circle of parchment paper cut to fit it, and spray very well with cooking spray; set aside.
- Crust – To a medium bowl, add the Oreos, melted butter, and whisk the mixture together until it resembles wet sand. Tip – I recommend just blending the Oreos in a food processor until you have 3 cups. There are about 11 cookies per 1 cup of cookie crumbs, so you'll need about 33 cookies, give or take. Add them to your food processor whole – no need to separate or pick out the white filling – blend, and use the crumbs as directed. The other option is to purchase store bought Oreo crumbs but they're tricky to find.
- Press the mixture firmly into the base of the springform pan in an even flat layer with your hands and fingertips or a fork.
- Bake crust for 15 minutes and after baking, place the springform pan on a cooling rack to cool while you move onto making the filling.
- Cheesecake Filling – Increase the oven temp to 400F and to the bowl of a stand mixer fitted with the paddle attachment, add the cream cheese, both sugars, and beat on high speed for 2 minutes. Scrape the sides of the bowl down intermittently. Tips – The smoother the batter is at the beginning of the process, the better the final result will be. If cream cheese lumps do remain at the end of making the batter, simply press them against the side of the bowl with a rubber spatula to disperse and flatten them as best as possible.
- Add the heavy cream, sour cream, vanilla, lemon or lime juice, salt, and beat together until combined, about 30 seconds. Stop and scrape down the sides of the bowl.
- Add the egg yolks and mix just for 15 seconds to incorporate. Tip – Do not mix for extra time because this will add air which will cause the cheesecake to crack while it bakes.
- Add the cornstarch and beat for a couple seconds to incorporate.
- Pour the batter into the crust.
- Tightly wrap the outside and sides of the springform pan with foil. Tips – It needs to be tightly and very well wrapped so that in the next steps water doesn't seep in. I suggest heavy duty foil.
- Water Bath – Place the springform pan into a larger pan (such as a larger roasting pan or bigger baking pan) and slowly add warm tap water so that the springform pan is resting in 1-inch of water. My roasting pan has a wire rack so I prop the springform pan on that, but a wire rack isn't necessary. Tips – Do not skip the water bath. It's essential to prevent the cheesecake from cracking during baking. While baking, add a bit more water so there's a steady supply of steam.
- Baking – Place the pans into the oven and bake for 15 minutes at 400F.
- Reduce the temp to 250F and bake for 1 hour 15 minutes.
- Once baked (after the 90 minutes total) turn the oven off. Let the cheesecake rest with the door closed for 30 minutes inside the water bath, inside the oven with the door closed.
- After 30 minutes, crack the over door open a few inches and allow the cheesecake to rest in the water bath, in the oven, with the door open slightly.
- Cooling – Remove the pans from the oven, take the springform pan out of the water bath, and unwrap the foil from around the springform pan.
- Place cheesecake on a wire rack to cool completely. Tip – Don't shortcut this step, make sure it's fully cooled to room temp before moving on.
- After it's completely cooled, cover the top tightly with foil, and place it into the fridge to chill for 8 hours, or overnight.
- Topping – Toast the shredded coconut in a skillet over medium heat for 4 to 5 minutes or until golden brown; stir very frequently. Tip – Keep a close eye on the coconut because it's prone to burning due to the high sugar content so don't turn your back on it.
- Add the toasted coconut to a large bowl, add 1 1/2 cups caramel sauce* (about 12 ounces), and stir to combine.
- Assembly – Turn the coconut and caramel mixture out over the top of the cheesecake in an even, flat layer. Smooth it very gently with a spatula as necessary.
- You can add the remaining 1 cup (about 8 ounces) caramel sauce to a small ziptop baggie with a tiny corner snipped off for a more precise drizzle and then drizzle it over the top of the cheesecake. Or, you can just drizzle it 'freehand' from a small spoon very lightly and carefully and skip the baggie. Tip – This is my vote as to not waste caramel that gets stuck to the baggie and just go with an easier and more 'artsy' approach to drizzling.
- Melt the chocolate chips in a medium microwave-safe bowl by heating on high power in 15 second increments, stopping after each burst to stir, and heat again only until the chocolate can be stirred smooth; don't overheat or the chocolate will seize and you'll have to start over.
- The same as was the case with the caramel drizzle, you can either add it to a plastic baggie and drizzle, or drizzle it freehand with the back of a spoon. At this point you can slice and serve. Or, return to the fridge and continue to chill until you're ready to serve it.
- Cheesecake will keep airtight in the fridge for up to 5 days or in the freezer for up to 3 months. Freezing Tips – The cheesecake freezes really well! For quick serving and thawing purposes, I like to slice the cheesecake, wrap each slice very well in saran wrap, then freeze the slices. It’s less bulky to store slices wrapped in plastic wrap in my freezer than in containers. When I’m ready for a slice, I take one out of the freezer, let it set on the counter for 15 to 20 minutes to thaw, and enjoy.
Notes
- You can use homemade caramel sauce such as my Best and Easiest Homemade Caramel Sauce.
- Or use store bought. There are approximately 8 ounces in 1 cup caramel sauce. Therefore, you need about 20 ounces. Most jars are sold in 8 to 12 ounce sizes so you'll need 2 or 3 jars, depending on size.
Nutrition
Nutrition information is automatically calculated, so should only be used as an approximation.
©averiecooks.com. Content and photographs are copyright protected. Sharing of this recipe is both encouraged and appreciated. Copying and/or pasting full recipes to any social media is strictly prohibited.
More Easy Cheesecake Dessert Recipes:
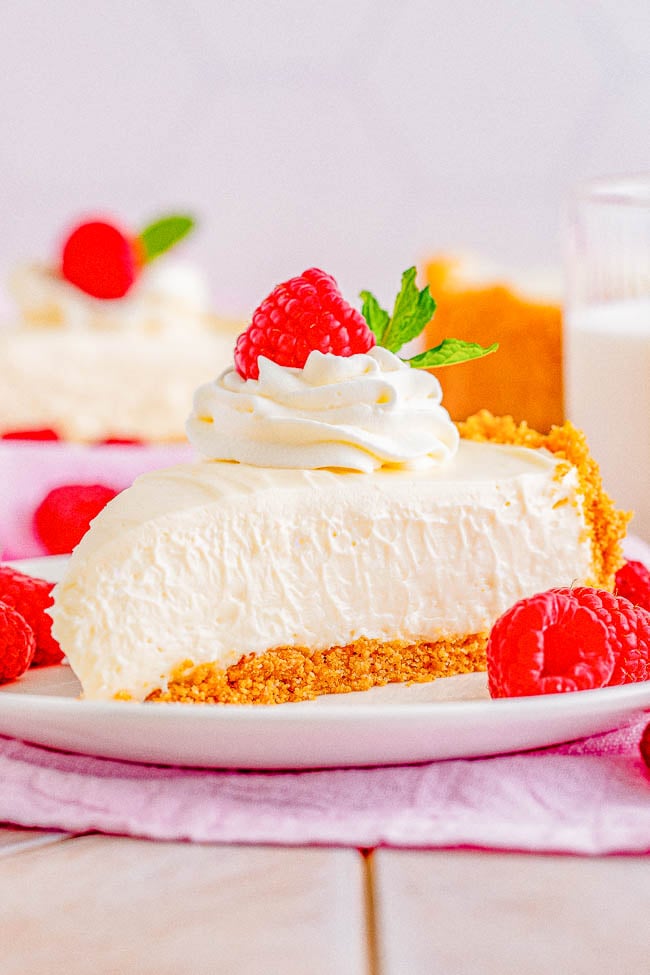
Best No-Bake Cheesecake — Look no further than this EASY recipe for PERFECT no-bake cheesecake with a tangy, cream cheese-forward flavor, and a homemade graham cracker crust! Impress your family and friends by serving them the BEST no-bake cheesecake after a special family dinner, as a holiday dessert, or anytime you’re craving perfect cheesecake!
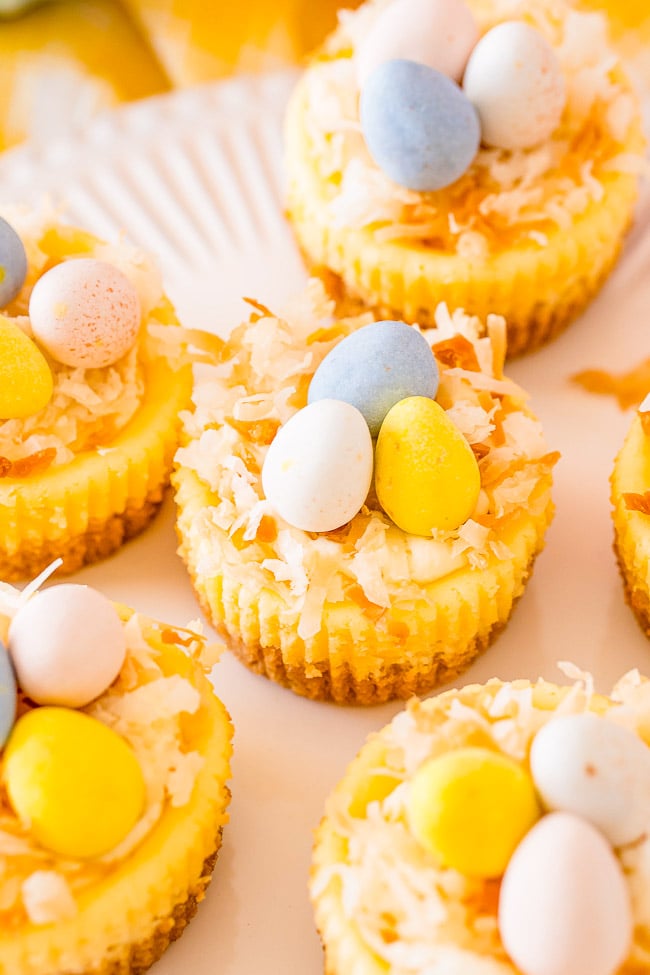
Mini Easter Cheesecake Bites — These cute little cheesecakes are perfect for Easter! Creamy cheesecake filling sits atop a shortbread crust and is topped with a cheesecake pudding whipped cream, coconut, and mini chocolate eggs!
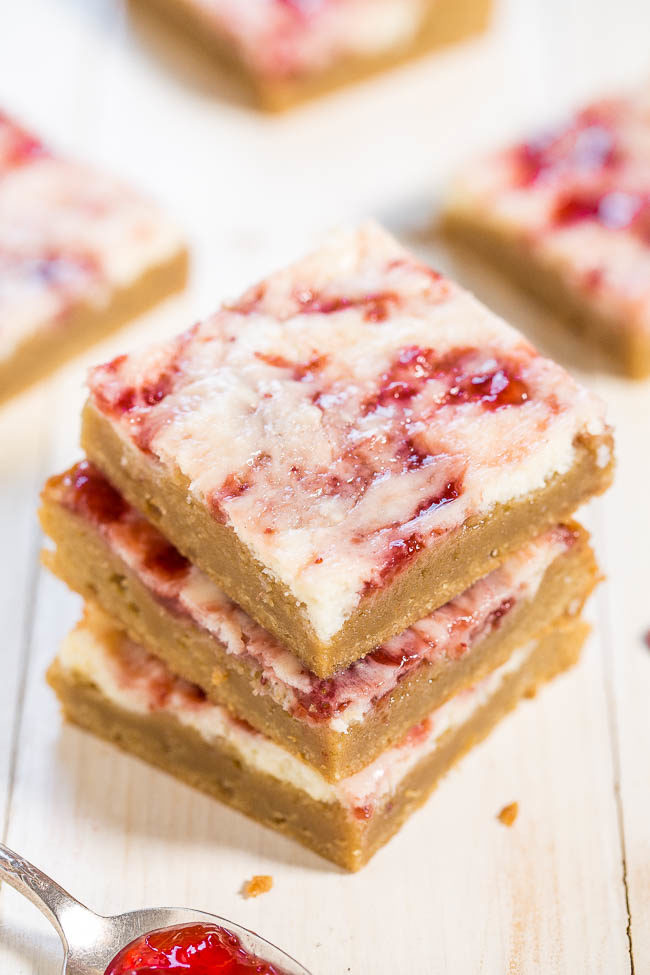
Strawberry Cheesecake Bars — Soft, buttery bars topped with cheesecake and swirled with strawberry jam! The best of all worlds in these fast, easy, and AMAZING bars!!
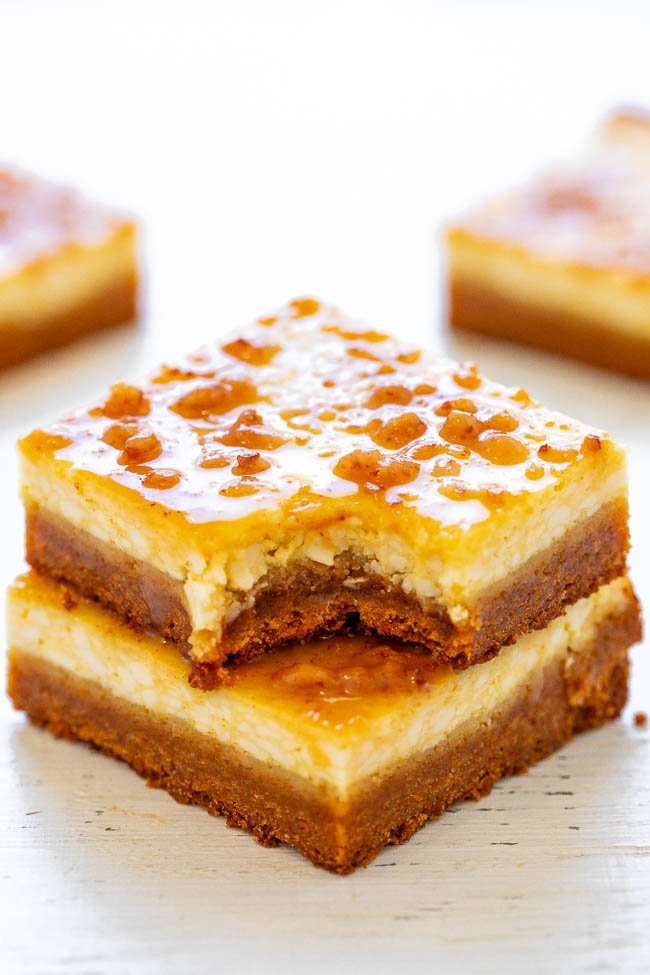
Crème Brûlée Cheesecake Bars – EASY bars that taste like crème brûlée met a cheesecake on the way to the oven with a sugar cookie crust!! Rich, sinfully decadent, and a great make-ahead dessert for parties and events!!
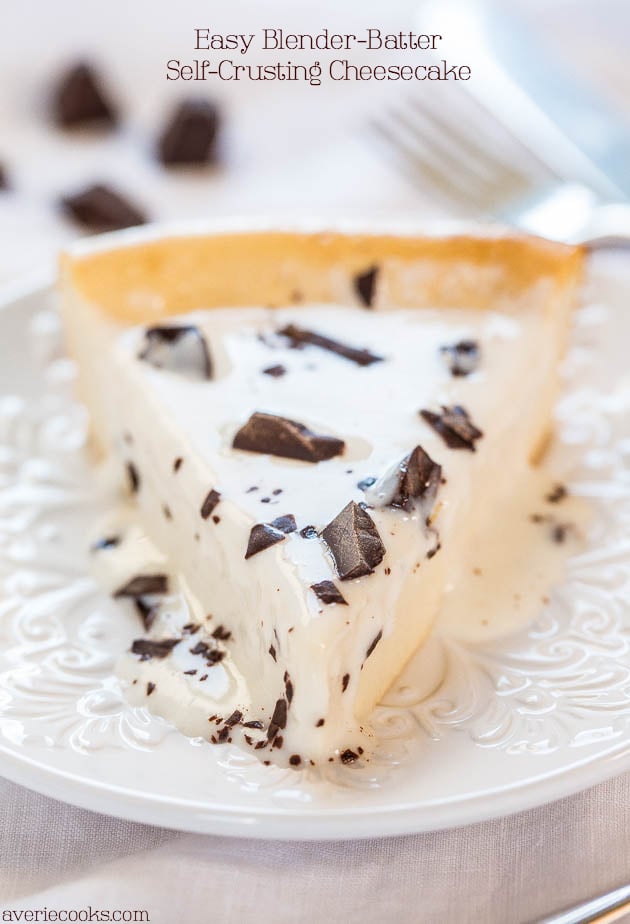
Easiest Crustless Cheesecake — No crust to make and whiz the batter together in the blender!! Easy, foolproof, and so good!!
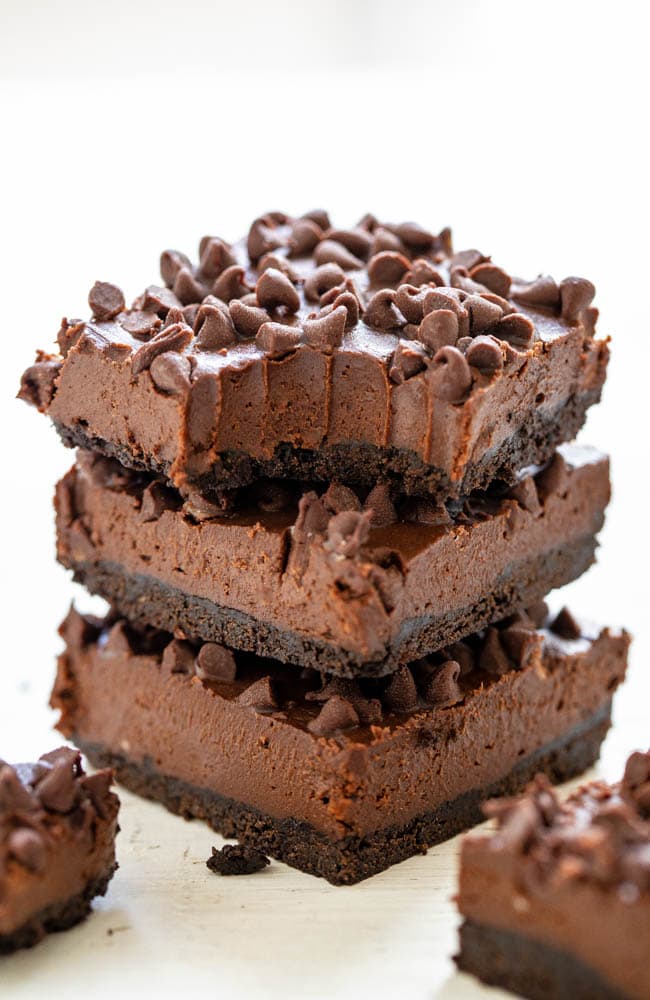
Death by Chocolate No-Bake Cheesecake Bars — Only for serious chocoholics because they’re rich, creamy, decadent, and loaded with chocolate!! NO-BAKE and an easy MAKE-AHEAD dessert!!
Butterscotch Cheesecake Bars — A super chewy crust made with butterscotch chips and graham cracker crumbs that also doubles as the topping!! The silky smooth tangy cheesecake layer is the PERFECT contrast! A simple recipe that FAR EXCEEDED expectations!!
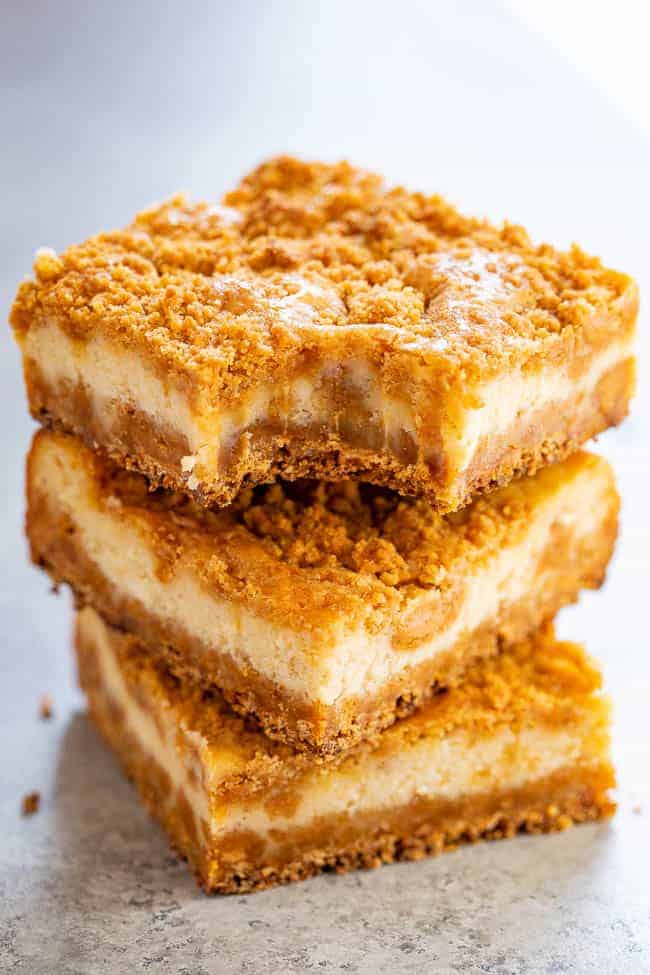
Caramel Apple Cheesecake Bars — These caramel apple cheesecake bars feature a buttery crust that’s topped with cheesecake and spiced apples. After they’re done baking, the bars are drizzled with salted caramel sauce!
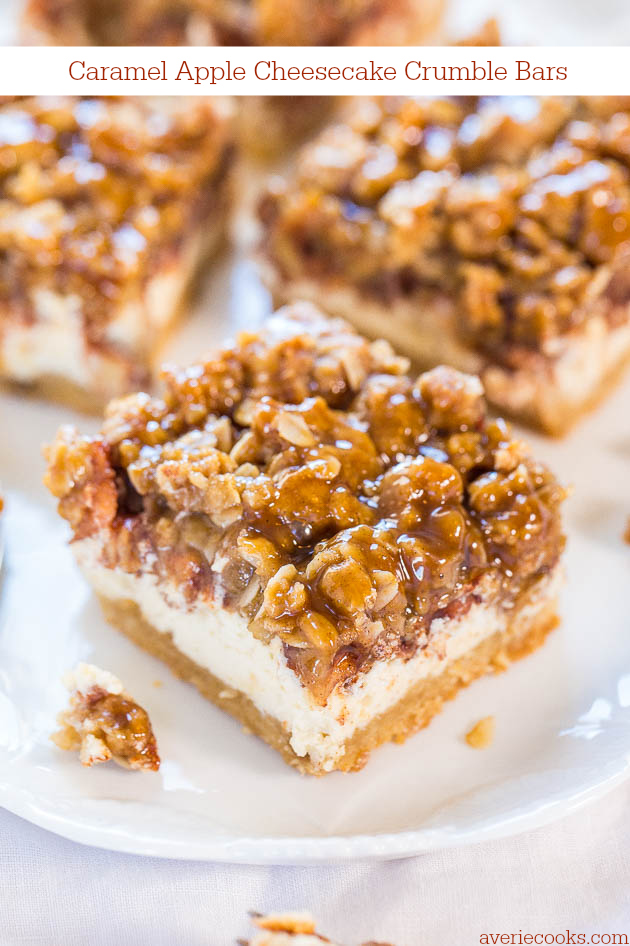
Salted Caramel Apple Cheesecake Bars — These bars are full of the flavors of fall! The soft yet dense apple cheesecake layer tops a crisp, brown sugar-graham cracker crust, while gooey, salted caramel drenches the top. Yum!!
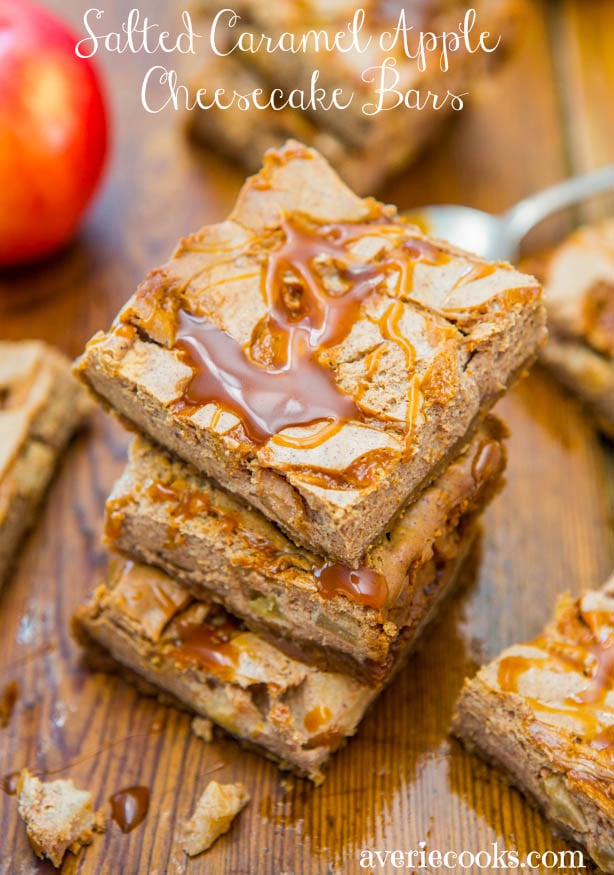
Salted Caramel Pumpkin Swirl Cheesecake Bars — These pumpkin cheesecake bars are a texture lover’s dream with a crisp brown sugar-graham cracker crust, a soft yet dense pumpkin cheesecake layer, and gooey soft salted caramel swirls the run like a river over the surface.
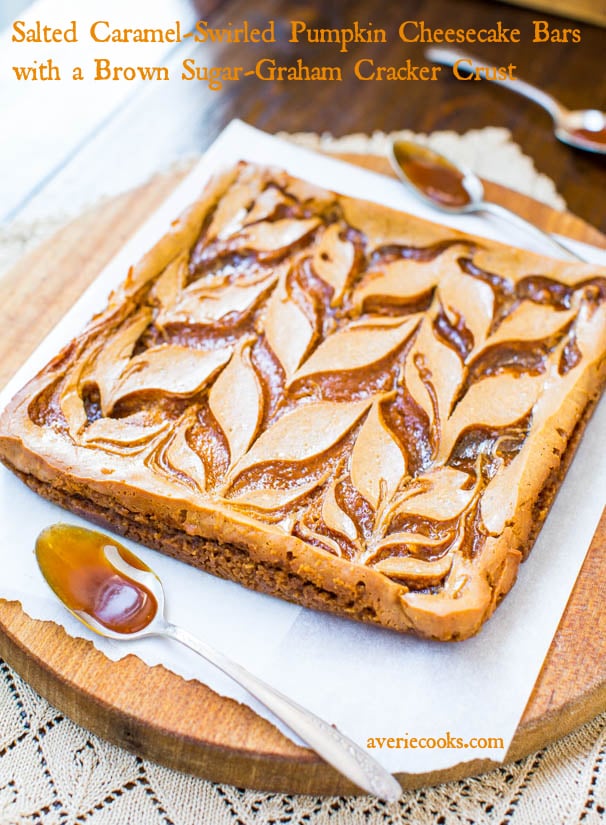
No-Bake Mini Cheesecakes — These no-bake mini cheesecakes require just 5 ingredients and don’t require you to turn on your oven! Perfect for holiday parties, birthdays, and more!
