
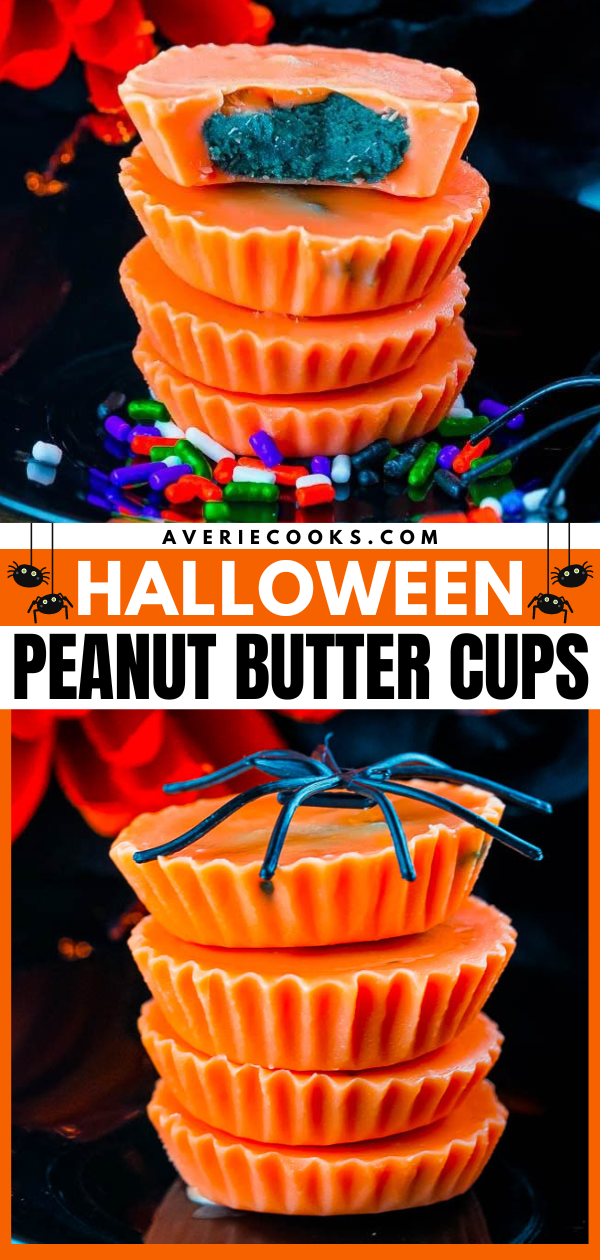
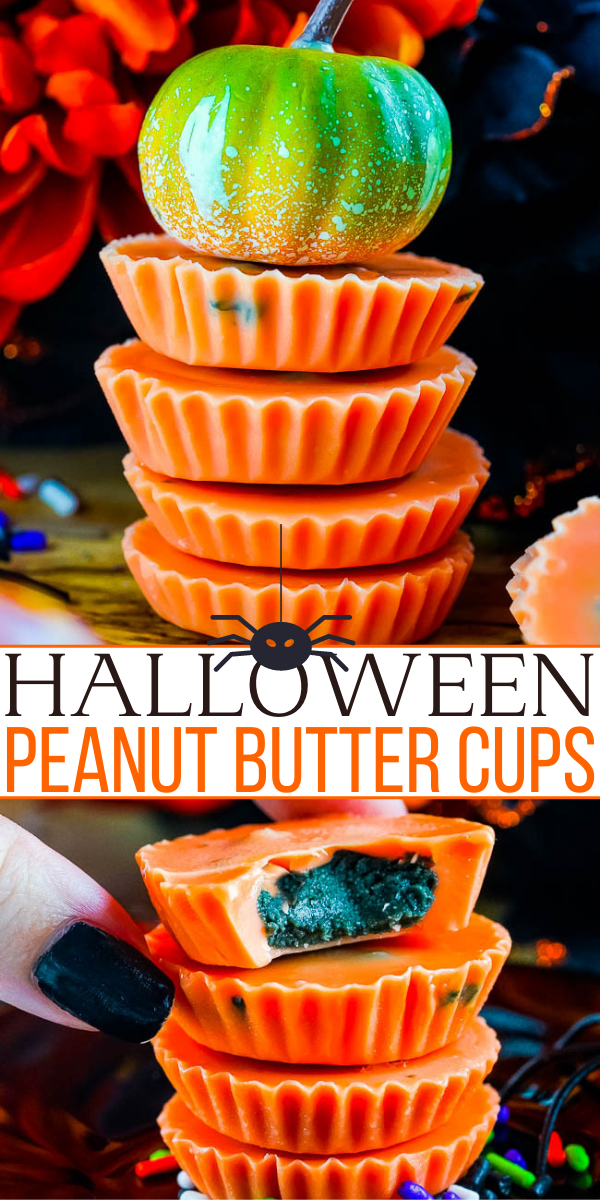
Halloween Peanut Butter Cups — 🎃🥜🍂 Learn how to make white chocolate peanut butter cups with this NO-BAKE 5-INGREDIENT RECIPE! With festive Halloween colors, they’re sure to be a hit with everyone from kids to adults alike! They keep perfectly for weeks. So, feel free to make them in advance, and pass them out at your Halloween parties and festivities!
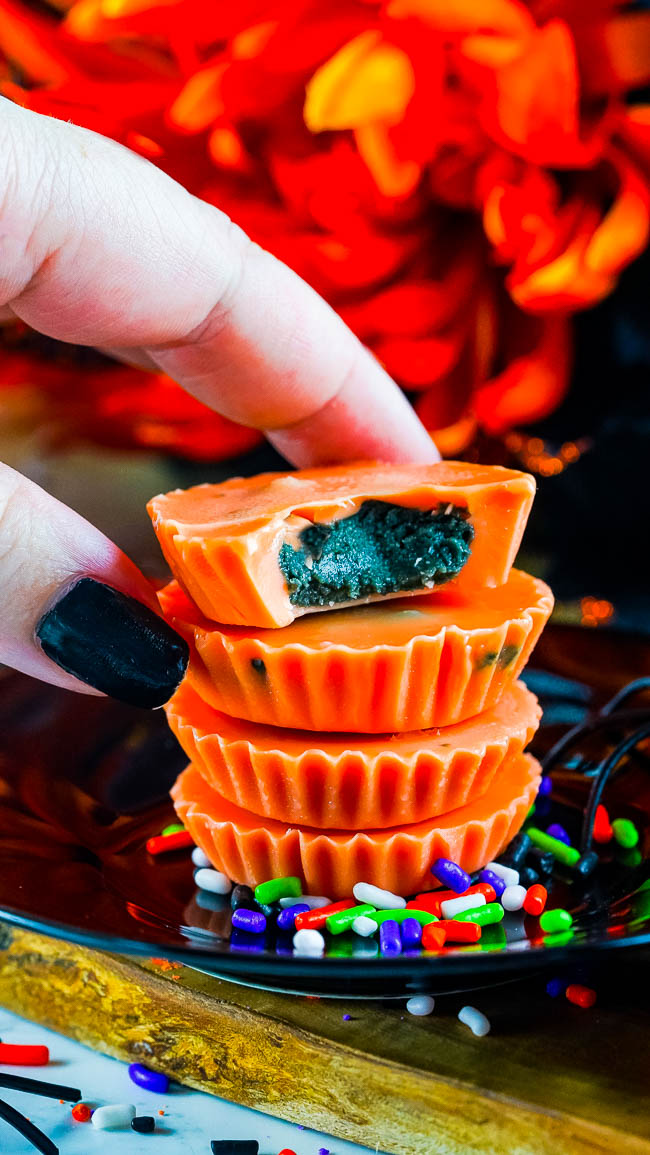
Table of Contents
Easy No-Bake Halloween Treat
I’ve been making homemade peanut butter cups since before food blogs were even a thing!
For a vintage look at bad photos and my then-toddler turned current high schooler, feel free to check out these 2009-era Peanut Butter Cups, these 2010 Tuxedo Cups, then again in 2013 with Ritz-Stuffed Peanut Butter Cups.
However, peanut butter cups don’t change. They are always fabulous and delicious, and now we have the Halloween edition.
Easy to make, ready in an hour, with just 5 main ingredients.
Everyone at your adult Halloween party will smile and enjoy these delectable festive little bites. Or, if you’re going to a celebration for Halloween, bring them as a hostess gift.
I realize no one passes out homemade candy to kids going trick or treating or likely in any preschool or young kid classroom Halloween parties. But we can dream peanut butter cup gifting thoughts!
Looking for more homemade candy recipes?
My homemade chocolate turtles come together quickly with just 4 ingredients for a chewy, gooey, salty, sweet treat!
And these chocolate caramels are soft, chewy and nice and chocolaty, with the slightest hint of espresso flavor that makes the chocolate flavor even richer!
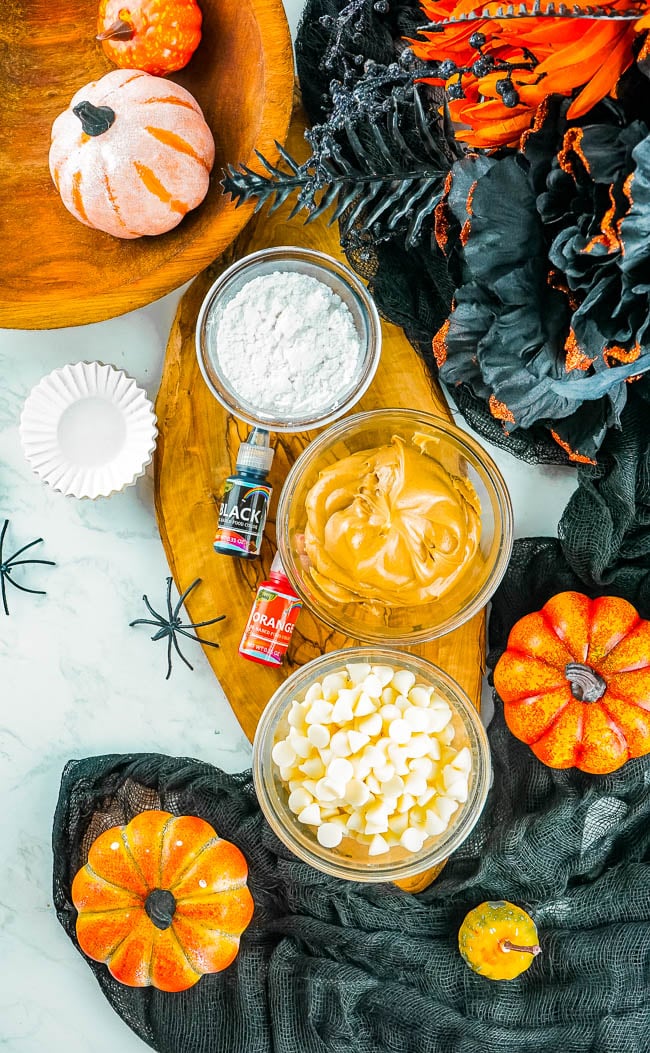
Ingredients in White Chocolate Peanut Butter Cups
For this fun and festive no-bake Halloween treat, you’ll only need three main ingredients, plus some food dye. So get ready and take out the following items:
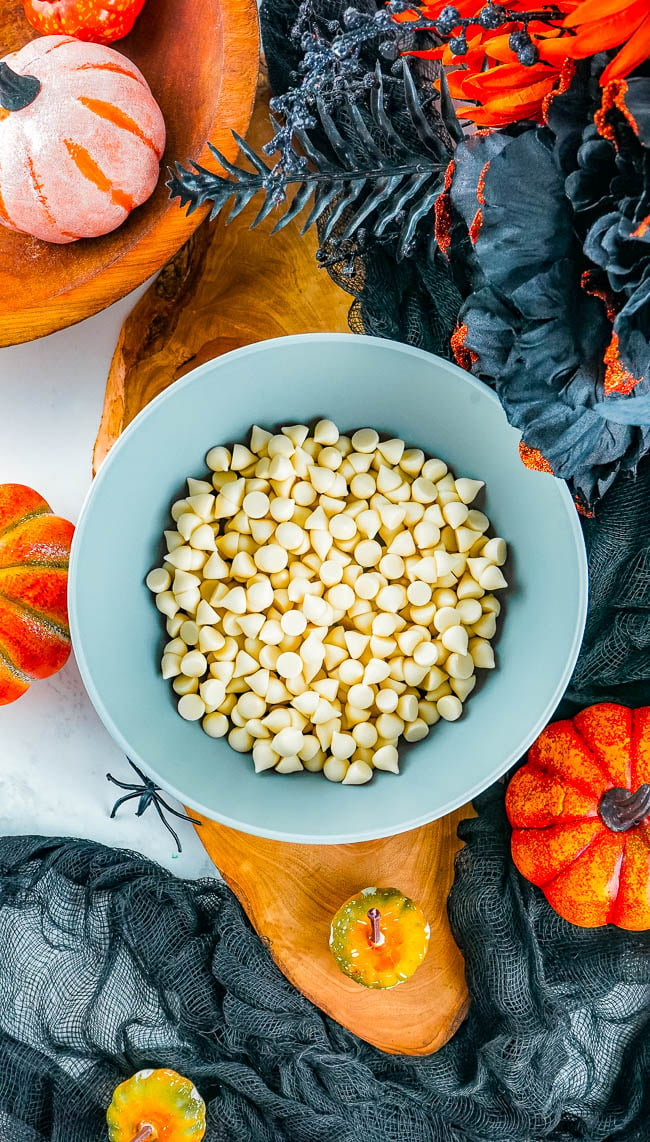
- White chocolate chips – I love the way Trader Joe’s white chocolate chips melt. They are less resistant to actually melting because I think they have less stabilizing agents in them. However, they can be a seasonal item in many TJ’s and only available in the fall and before the holidays. So, if they’re unavailable or you don’t have a Trader Joe’s, I recommend Ghirardelli White Chips. Additionally, you can also try Nestle Tollhouse White Chocolate Chips. Or, use vegan white chocolate chips to keep these copycat white chocolate Reese cups dairy-free.
- Creamy peanut butter
- Confectioners’ sugar (also known as powdered sugar)
- Orange food dye and black food dye – You must use an oil-based food dye for the white chocolate peanut butter cups. If you use a water-based dye, it will seize the chocolate. Then, it won’t be usable, meaning you’ll have to start over, which is definitely a buzz kill. I use these oil-based gel food colors for the peanut butter cups in orange and black. It’s probably easiest to just order them on Amazon rather than running around to a variety of baking specialty stores or hunting and pecking in regular grocery stores. Use gluten-free dye for gluten-free candies
Note: Scroll down to the recipe card section of the post for the ingredients with amounts included and for more complete directions.
How to Make Halloween Peanut Butter Cups
Once you realize how easy these homemade Halloween Reese’s peanut butter cups are to make, you’ll never go back to store-bought Halloween Reese’s cups again! Here’s an overview of the process:
- Line a mini muffin tin with mini muffin liners or small cupcake liners.
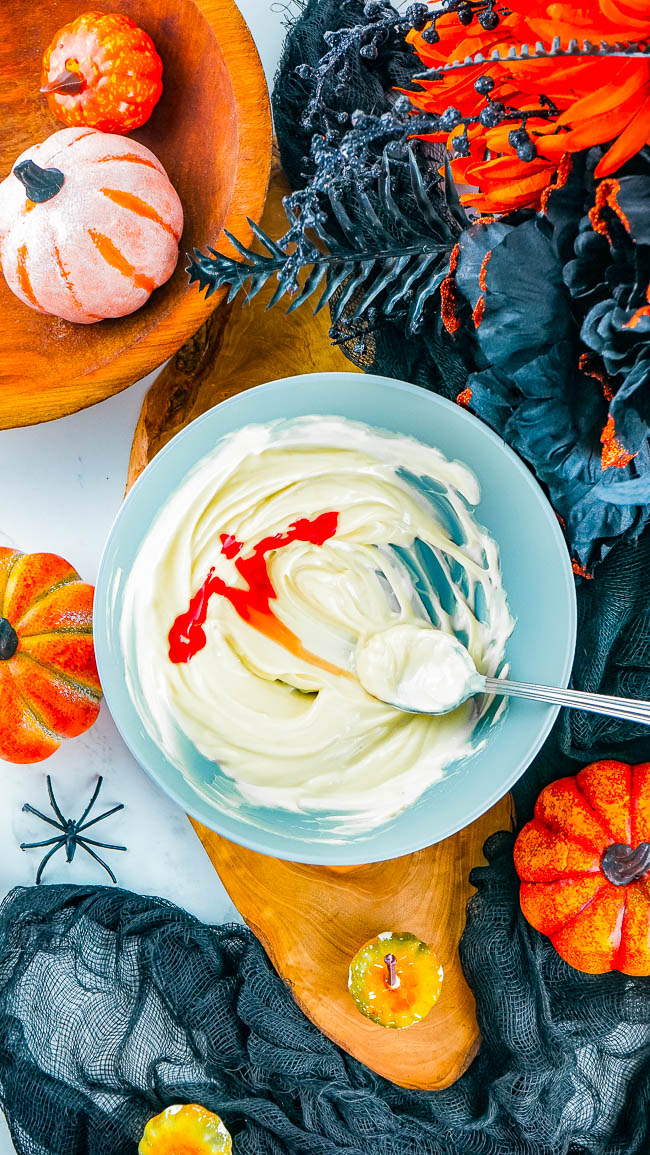
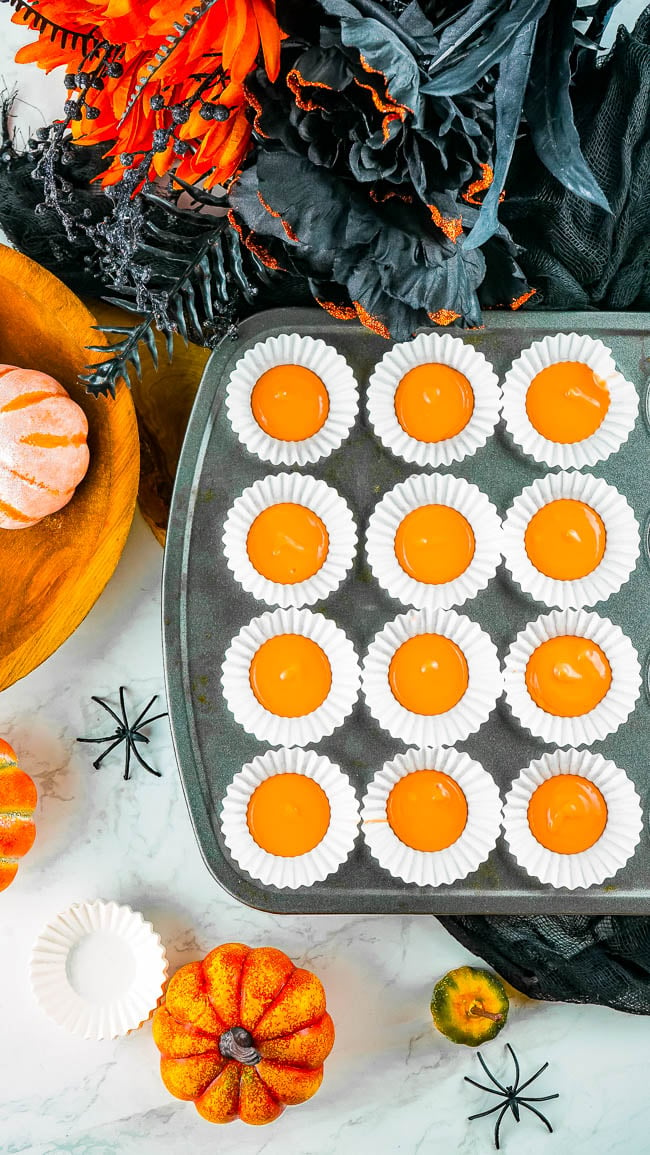
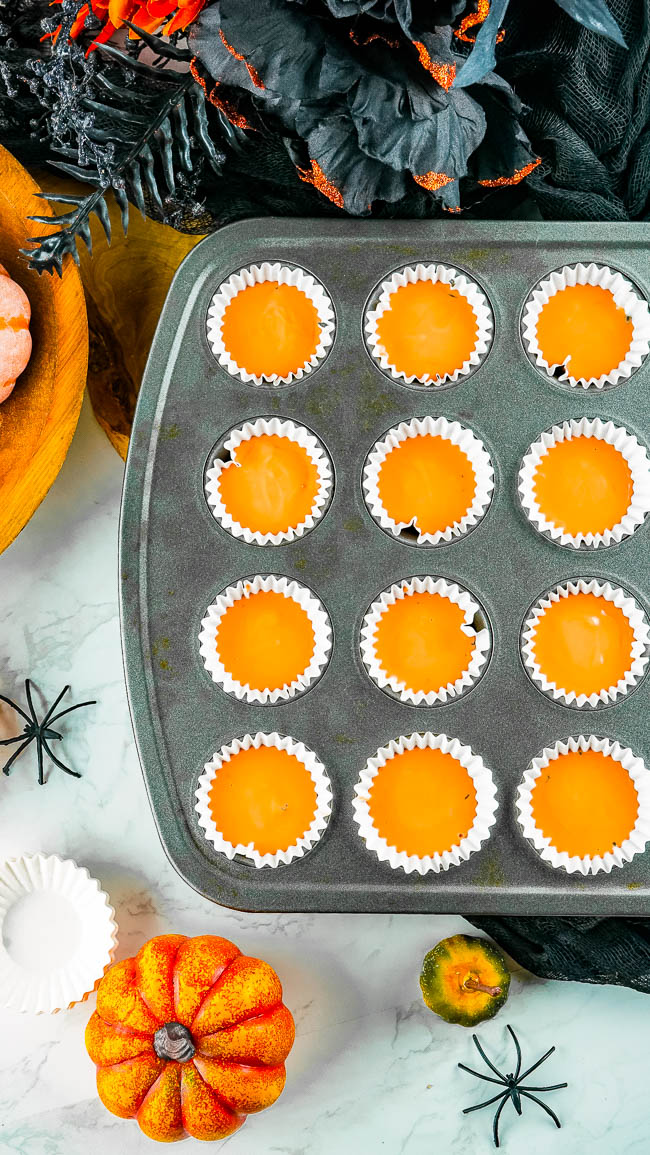
- Melt chocolate chips in a microwave-safe bowl. Or, heat the chocolate in a double boiler or saucepan over medium heat. Add the orange food dye to the creamy white chocolate, and stir until no streaks are visible. Pour about 1 teaspoon into the base of each liner and smooth them.
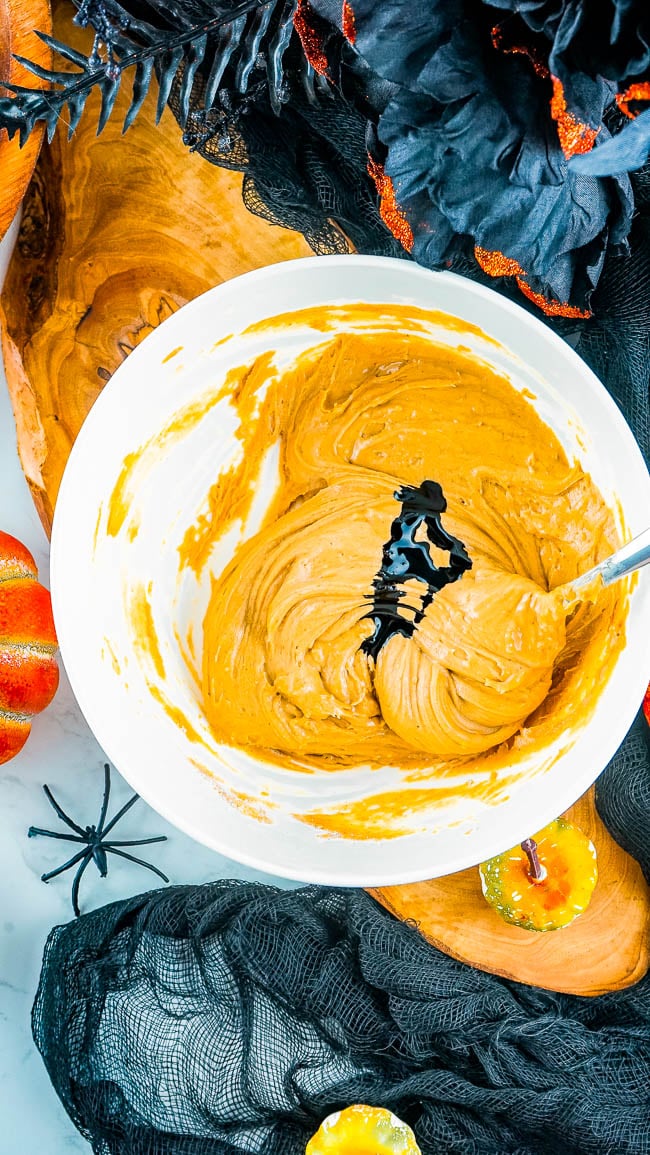
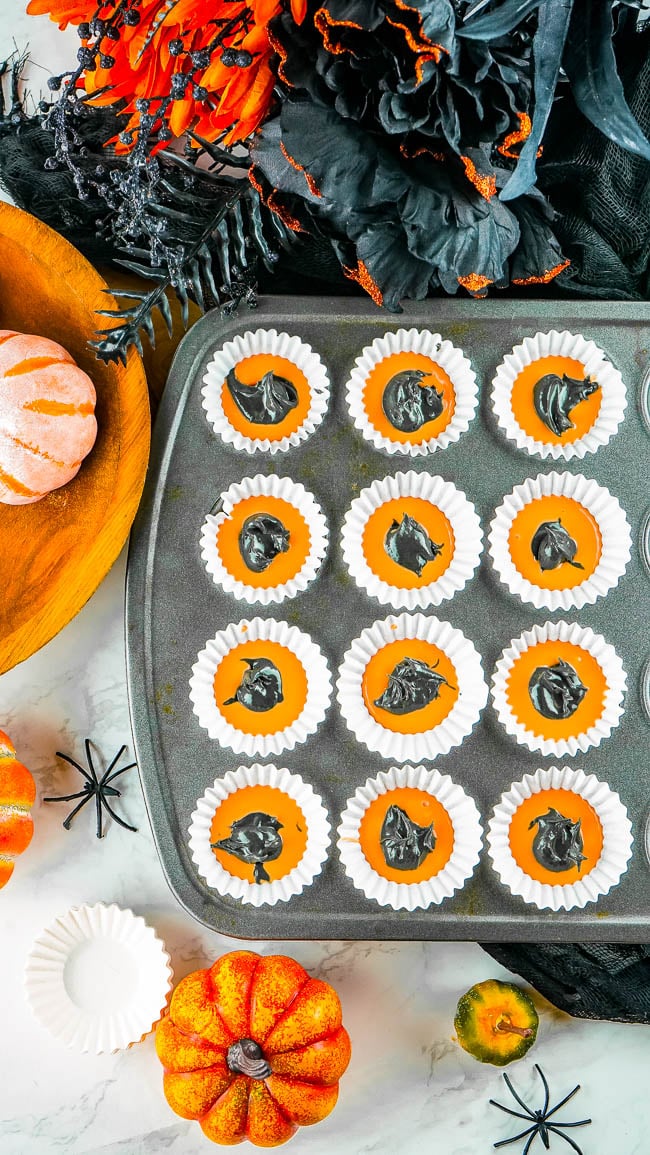
- To a separate bowl, add the peanut butter and confectioners’ sugar, mix until combined, and then add the black food dye. Mix until the color is uniform and sufficiently black. Add more dye if your mixture looks on the gray or green side.
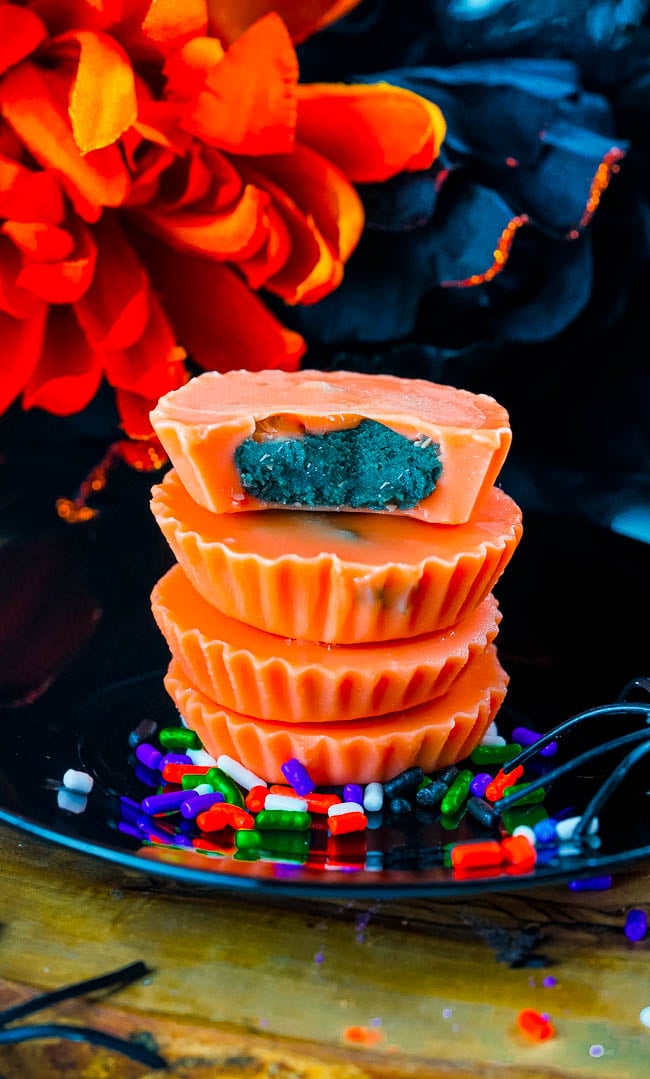
- Scoop a small dollop, about half a teaspoon, of the peanut butter mixture on top of the first layer of orange chocolate.
- Use the remaining orange chocolate to cover over the top and then place the cups in the fridge to chill and set for about an hour or until hardened. After that, you can store the peanut butter cups at room temp.
Storage
Once set, you can transfer the peanut cups to an airtight container. Store them at room temperature for 10 days or longer or in the fridge for 1 month or more!
You can also store leftovers in the freezer for 2-3 months. Enjoy frozen, or thaw them in the refrigerator or at room temperature.
Recipe FAQs
The brand and type of peanut butter you use shouldn’t matter. I have used JIF and whatever store brand that’s similar to JIF that I had on hand.
I don’t tend to keep natural-style peanut butters on hand, meaning the kind that you have to stir and that separates. In general, I find baking with natural peanut butter to be iffy and I never can predict if things will turn out or not.
Therefore, I resort to classic, processed peanut butters like JIF or Skippy. However, being that you’re not baking these homemade peanut butter cups, if you want to use natural peanut butter, that should be fine.
However, I do recommend a smooth or creamy peanut butter rather than chunky.
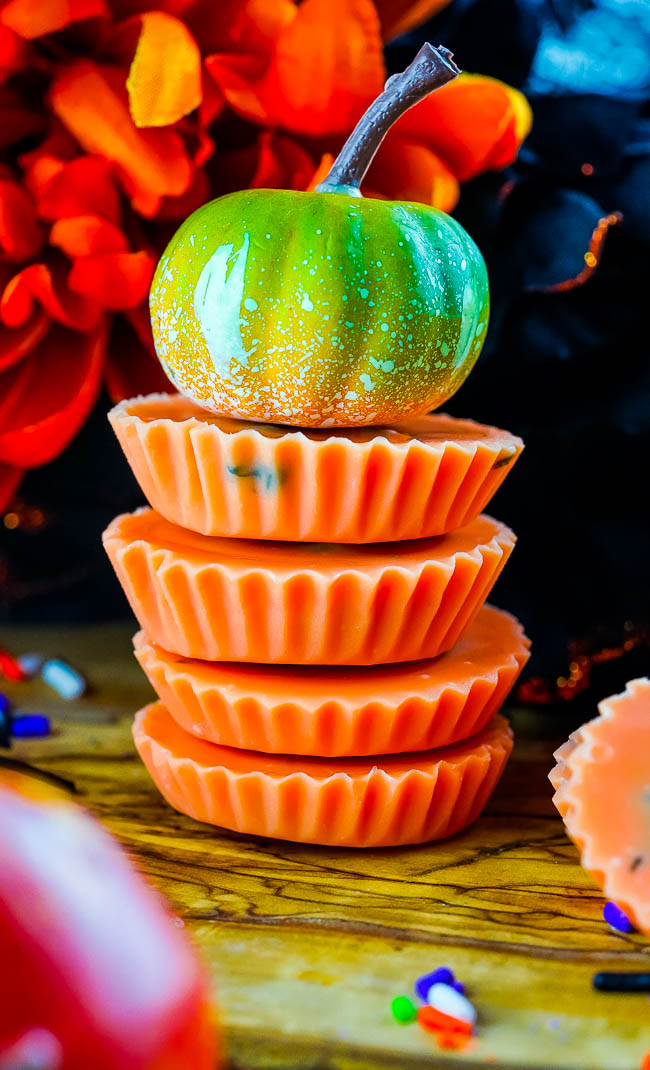
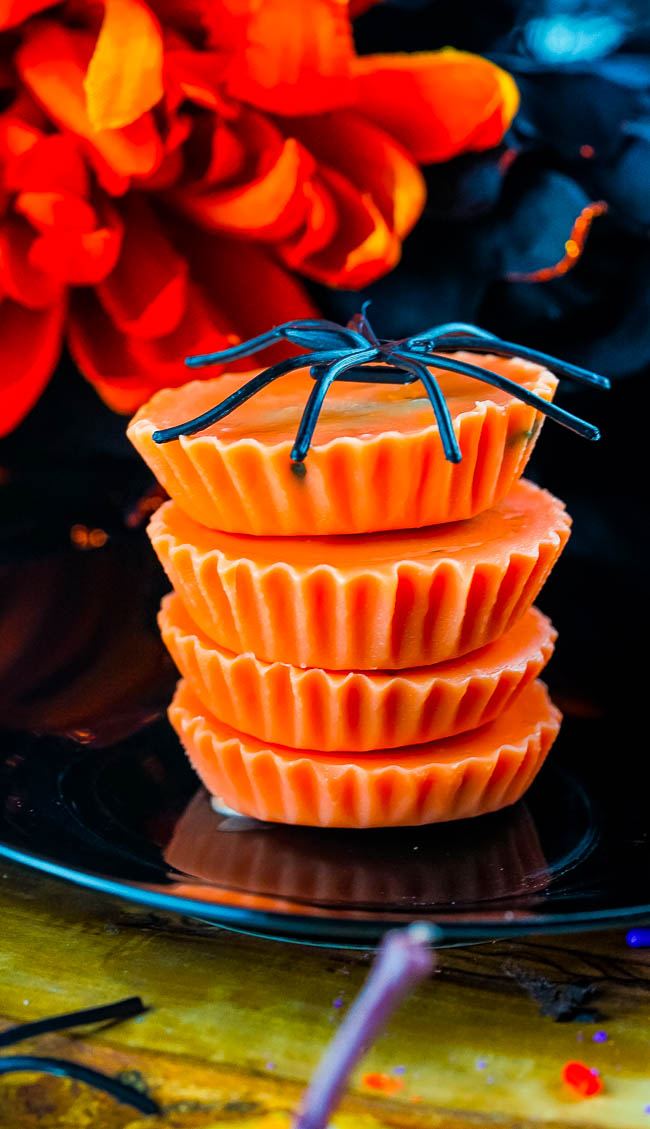
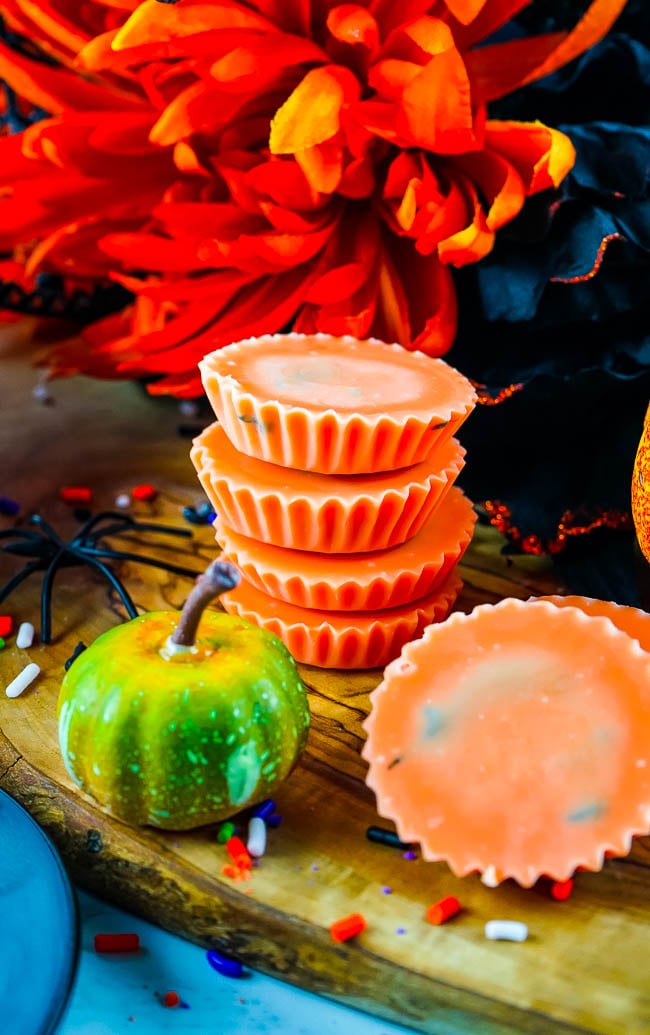
As shown in the photos and the way the recipe is written, I made mini peanut butter cups using a mini muffin pan and mini liners. A small bite-sized peanut butter cup that is easy to eat — one after the other if I’m telling the truth!
However, you can make bigger peanut butter cups, similar in size to classic Reese’s peanut butter cups from the Hershey company.
If you plan on making a thicker or bigger cup, I suggest using a regular-sized standard muffin pan and liners. Additionally, you’ll have to adjust the amount of chocolate you use of course since a regular cup is roughly twice the size of a mini cup, or possibly even slightly larger.
If you like salty-sweet treats and desserts, before the chocolate sets up, sprinkle some chopped peanuts, Maldon Sea Salt Flakes, or another type of course salt over the top.
For another flavor twist to make the peanut butter that you use in these homemade peanut butter cups to taste more like the peanut butter filling in Reese’s Peanut Butter Cups, add a pinch of nutritional yeast flakes to the peanut butter and confectioners’ sugar mixture.
Yes, feel free to use any other nut butter or seed butter you like best such as almond butter or sunflower seed butter. Just keep in mind that the flavor will change and won’t taste exactly like classic peanut butter cups.
If your chocolate chips aren’t melting well, stir in a small amount of coconut oil or vegetable oil (no more than a tablespoon) to help thin it out.
Halloween White Chocolate Peanut Butter Cups
Equipment
- 1 Mini Muffin Pan
- 12 Mini Muffin Liners
- 1 Microwave-Safe Bowl
- 1 Mixing Bowl
Ingredients
- 1 cup white chocolate chips
- ¼ cup creamy peanut butter
- ¼ cup confectioners’ sugar, sift if it’s lumpy
- ½ teaspoon oil-based orange food dye*, See Notes
- ½ teaspoon oil-based black food dye*, See Notes
Instructions
- Line a 12-count mini muffin pan with mini liners; set aside.
- Melt the white chocolate chips in a microwave-safe bowl on high in 30-second intervals, stopping to stir between each interval, until they can be stirred smooth.
- Add the orange food dye and stir until no streaks are visible.
- Add about 1 teaspoon to the base of each muffin liner and smooth them gently with the back of a spoon; set remainder and the muffin pan aside.
- To a separate bowl, add the peanut butter, confectioners’ sugar, and mix until fully combined.
- Add the black food dye and mix to fully combine. If the mixture looks grayish, simply add more black dye until desired color is achieved.
- Add a small dollop. about 1/2 teaspoon, of the peanut butter mixture on top of the first layer of orange chocolate.** (See Notes)
- Use the remaining orange chocolate to cover over the top.
- Place in the fridge to set, about an hour or until hardened. After that, the peanut butter cups may be stored airtight at room temp easily for 10 days or longer, or in the fridge for 1 month or longer.
Notes
Nutrition
Nutrition information is automatically calculated, so should only be used as an approximation.
©averiecooks.com. Content and photographs are copyright protected. Sharing of this recipe is both encouraged and appreciated. Copying and/or pasting full recipes to any social media is strictly prohibited.
More Cute Halloween Desserts:
ALL OF MY HALLOWEEN RECIPES HERE!
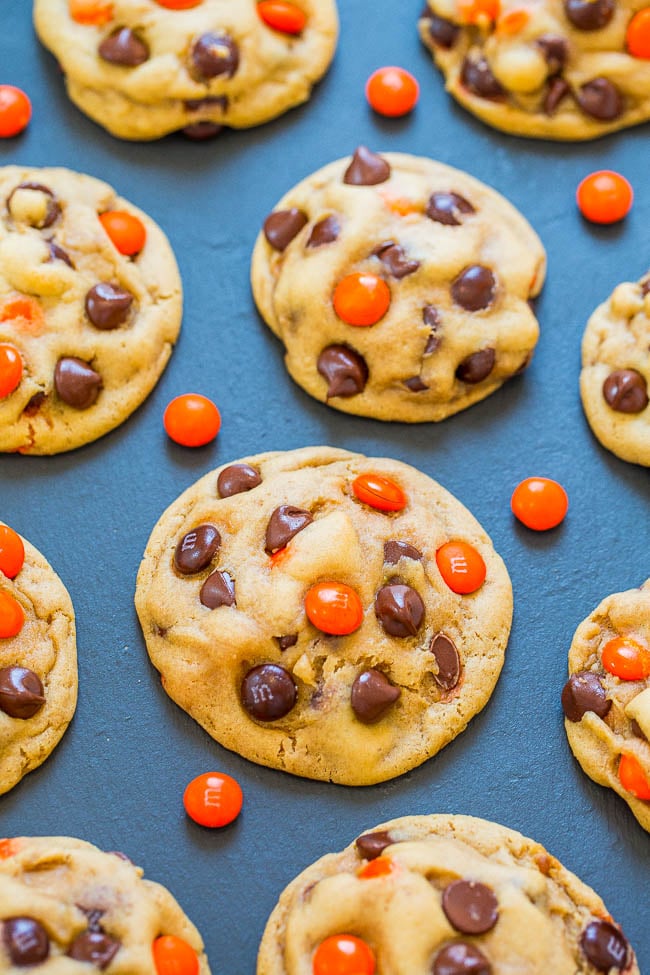
Chocolate Chip M&M’s Halloween Cookies — Super soft, perfectly chewy, BROWNED BUTTER cookies that are LOADED with M&M’s and chocolate chips! An EASY one-bowl, no-mixer recipe that’ll put everyone in the Halloween spirit!
Candy Corn and White Chocolate Chip Softbatch Cookies – A must make, at least once a year! My most popular Halloween cookie especially for those who love both white chocolate and candy corn in every bite!

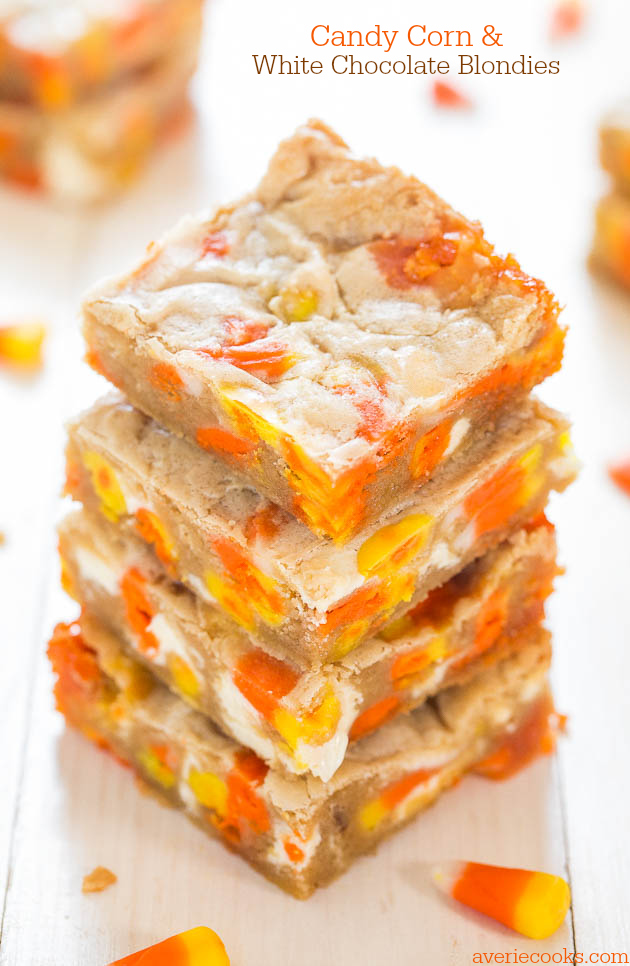
Candy Corn and White Chocolate Blondies — Wondering what to do with your candy corn? Bake it into soft, easy blondies! Best.Use.Ever.
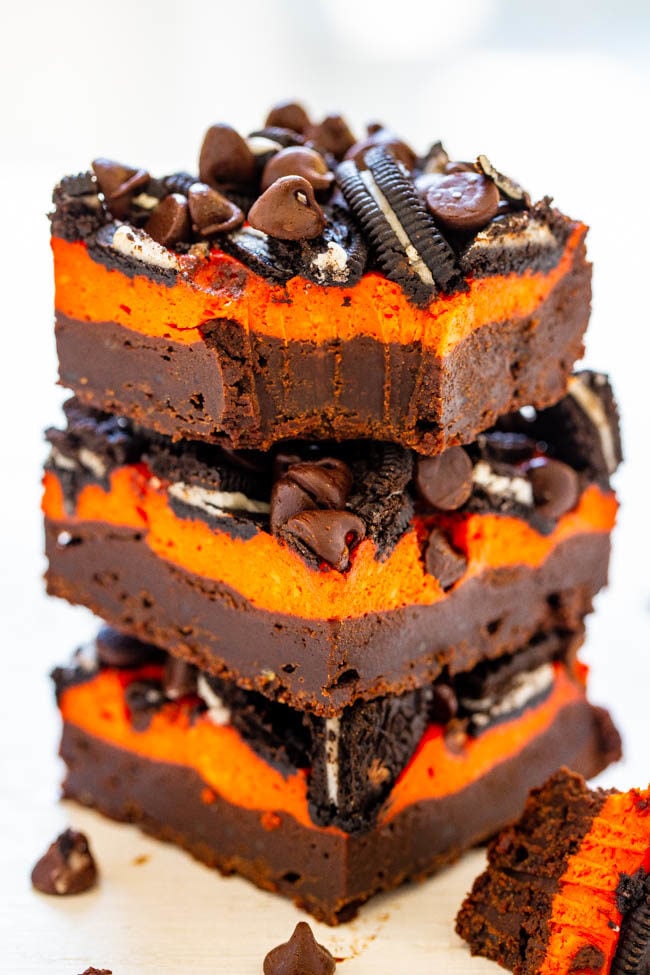
Loaded Halloween Cream Cheese Brownies – Ultra fudgy, rich brownies topped with a layer of orange cream cheese, sandwich cookies, and chocolate chips! The perfect EASY Halloween treat that everyone will love!
Candy Corn White Chocolate M&M’s Blondies — Fast, easy, one-bowl no mixer recipe! So butter and delish!

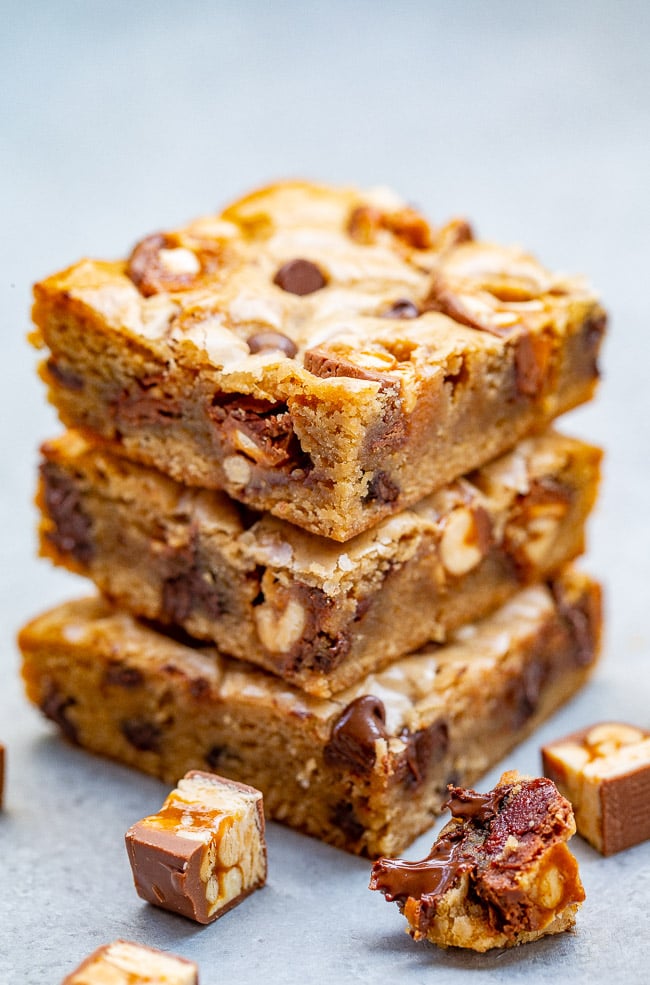
Chocolate Chip Snickers Cookie Bars — Soft, chewy, EASY no-mixer bars made in one bowl with chunks of Snickers and chocolate in every bite! A guaranteed family FAVORITE!
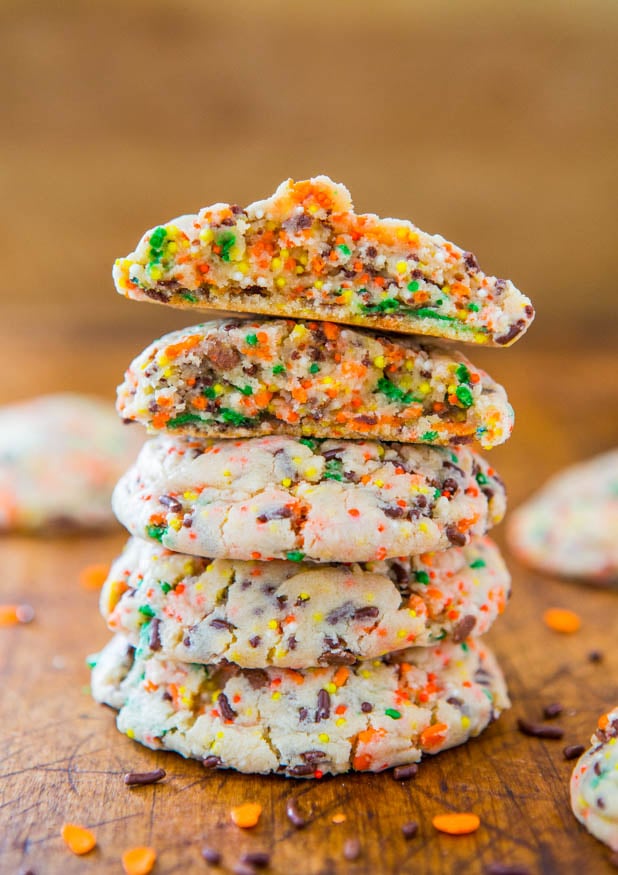
Lofthouse Soft Sugar Sprinkles Cookies — The texture of these cookies is similar to Lofthouse-Style sugar cookies. They’re buttery soft and light, without being airy or cakey.
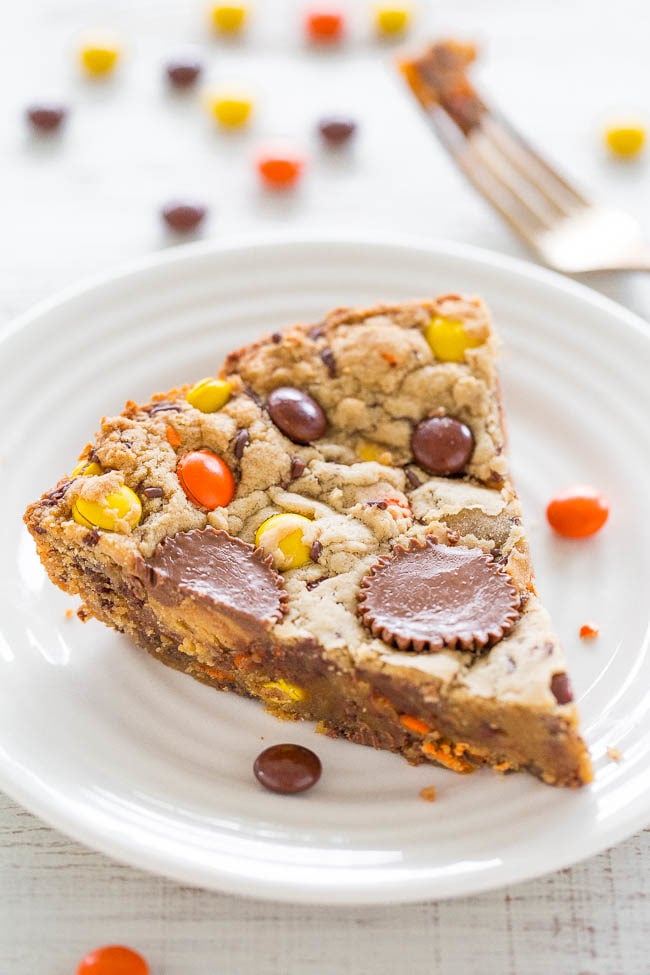
Loaded Peanut Butter Cookie Pie — The cookie pie is slightly crisp around the edges and buttery soft and chewy in the center. There’s lots of texture from the sprinkles, the crunchy Reese’s Pieces shells, and it’s exploding with bigtime peanut butter flavor.
Chocolate Peanut Butter Candy Bars — These peanut butter candy bars are no-bake, easy, loaded with bold peanut butter flavor, and plenty of chocolate. They’re super soft, very dense, and chewy!

ha, love these, what fun with food colors, also like that they’re no bake! thank you!
great