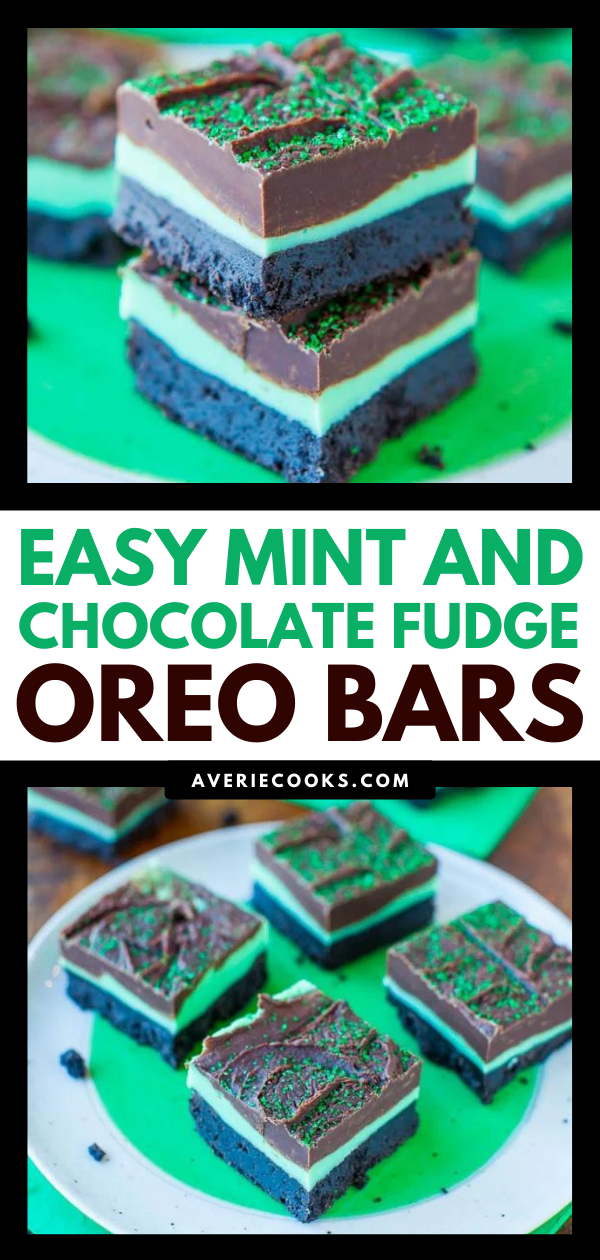
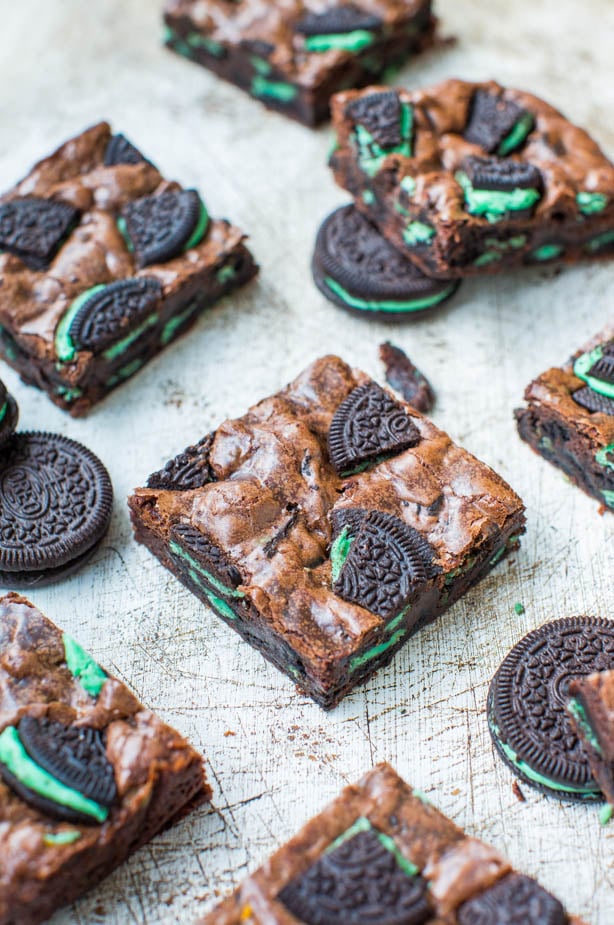
Mint Chocolate Oreo Bars — These three-layered Oreo bars are easy to make and are almost no-bake! The bars are full of mint flavor, a perfect complement for the chocolate fudge and the chocolate-filled Oreo cookie crust.

Layered Mint Oreo Bars Recipe
I almost didn’t make these Oreo bars. They only came about because of multiple caketastrophes last week.
I was trialing a chocolate-mint loaf cake and it kept failing. It tasted great, but it wasn’t pretty. I almost made cupcakes, but was already inundated with cake, nor did I want to pipe frosting.
So, I made layered bars. Pans of bars are nearly foolproof, and aside from a 10-minute baking session to set the crust, they’re nearly no-bake and come together in under a half hour.

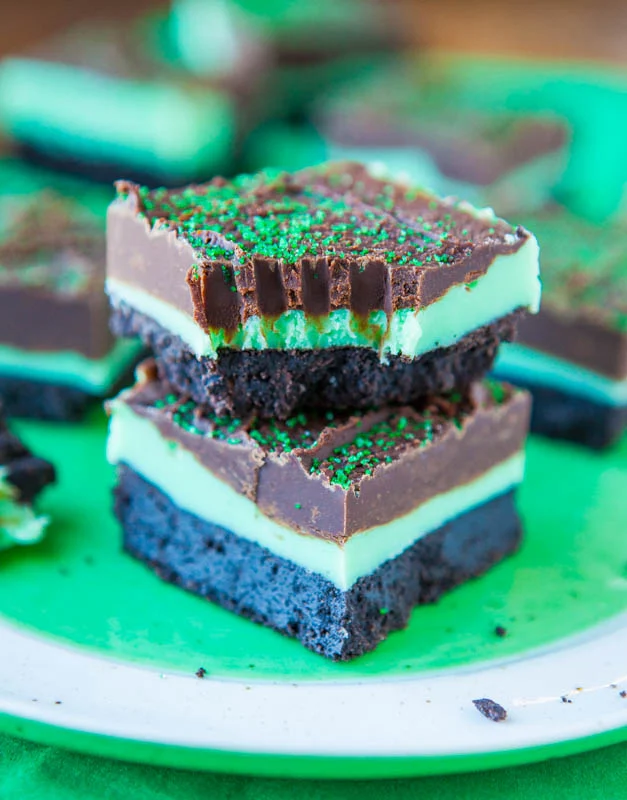
I am the queen of ‘nothing is ever too rich’, and these are rich, courtesy of the three layers. The cookie crust adds tons of crunchy texture and makes two layers of decadent fudge do-able.
On it’s own, traditional fudge isn’t really my thing. It’s too uniform, homogenous, and usually it’s too sweet. The cookie crust breaks up that monotony.
Unlike traditional fudge where tons of granulated sugar is added, the sweetness for the entire recipe comes from one can of sweetened condensed milk, which lends a creamy sweetness rather than a toothache, cloyingly-sweet sweetness. Don’t get me wrong, they’re sweet, but they’re more rich than sweet.

The semi-sweet chocolate used and the chocolate-filled Oreos also help the chocolate intensity stay strong, but it’s mint that dominates. They’re definitely mint-chocolate bars, rather than chocolate-mint bars, but the mint isn’t overpowering in the least. I find York Peppermint Patties to have more of a throat-cutting mint quality. These are smoother, like a perfect creme de menthe bar.
The fudge is solid and firm rather than being oozing or squishy. You can really take a nice chomp-down before hitting the cookie crust. When you get all the flavors and textures in one big bite, it’s a chocolate-mint, crunchy-smooth, firm-soft-dense party going on.
I’ll be breaking this recipe out pre-Christmas too, when the easy, fast, almost no-bake recipes are so welcome in a sea of fussy and time-consuming rollout cookies.

What’s in the Mint Chocolate Oreo Bars?
To make this easy Oreo cookie dessert, you’ll need:
- Oreo cookies
- Unsalted butter
- White chocolate chips
- Semi-sweet chocolate chips
- Sweetened condensed milk
- Peppermint extract
- Green food coloring (optional)
- Sanding sugar (optional)

How to Make Mint Chocolate Oreo Bars
For the Oreo cookie crust, I used Chocolate-Filled Oreos and ground them in my food processor with melted unsalted butter. It’s basically the same crust used in Marshmallow Oreo Cookie S’mores Bars and I loved that crust.
Press the buttery crumbs into a foil lined 8-by-8-inch baking pan, and bake for 10 to 12 minutes, or until the crust sets up a bit. Because the crust is so dark, it’s hard to tell set from not set, but it will start drying out and getting lighter in color around the perimeter of the pan after about 10 minutes.
That’s all you’re looking for. Don’t bake longer than 12 minutes or crust will be prone to cracking and crumbling when slicing the bars.

For the next layers, I took my love of Creme de Menthe Bars and made cheater’s fudge in the microwave in 1 minute for both the mint and chocolate fudge layer. The layers are firmer, denser, and more fudge-like than creme de menthe bars, but similar in flavor.
Don’t start these layers until your crust is out of the oven. They go fast, literally in 1 minute, and you don’t want them to set up until the pan is right there and you can pour the hot mixture over the crust. Work quickly through these layers.
In one small bowl, add 1 heaping cup of white chocolate chips. In another small bowl, add 1 heaping cup of semi-sweet chocolate chips. When I say ‘heaping cup’, that’s somewhere in between 1 and 1.25 cups, but I dislike saying 1 cup plus 2 tablespoons chips. If you have a few extra chips in the end of a bag and it’ll use up the whole bag, then use 1.25 cups.
Take one can (14 ounces) of sweetened condensed milk and pour half over the white chips, and half over the semi-sweet. You don’t have to measure, just eyeball it.

Microwave the white chip bowl for 30 seconds, and stop to stir to combine. Heat in 10-second bursts until it can be stirred smooth.
After mixture is smooth, add the peppermint extract, food coloring, and stir to combine. Work quickly because it’ll start setting up very quickly. Pour mixture over crust layer; smooth it with an offset knife; set pan aside.
Heat the semi-sweet chips and sweetened condensed milk the same way as the white chips, stir until smooth, and pour over the mint layer. The semi-sweet chocolate may take slightly longer to melt than the white. It may seem like chocolate is a little skimpy and doesn’t fully cover the mint layer, but when it sets up, it’s fine.
If desired, make a swirled or marbled pattern over the top surface of the chocolate with the tip of the knife, zig-zagging back and forth very lightly, not going very deep to avoid blurring the mint and chocolate layers. You’re just making a design on the superficial surface layer for cosmetic appeal.

This is your safety valve in case your chocolate work was less than perfect and your fudge was setting up before you planned and got a little funny-looking. It’s a nice camouflage. You planned it that way, right?
Sprinkle sanding sugar or sprinkles over the top if desired before the chocolate sets up completely.
Place pan in the refrigerator for at least 4 hours, or overnight, before slicing and serving. Don’t slice these too early; have some patience or you’ll end up with a mess.

What Type of Peppermint Extract Should I Use?
I use a grocery store brand of peppermint extract, sold in the baking aisle for $2.99 There are a variety of extracts with similar names: peppermint, mint, and spearmint extract.
Can I Use Peppermint Oil?
No! Do not confuse peppermint extract and oil; oil is far stronger and not recommended.
A Few Tips for Slicing the Bars
The photos show the pieces as 2-inch squares (a yield of 16 bars). However, they are very rich and half that size is likely more appropriate, sliced into one-inch squares (a yield of 32 small bars).
It’s a royal pain photographing things that are one-inch big, which is why I sliced them as I did, but unless you want to do extra cardio, slicing them on the smaller side is recommended.
To prevent the crust from crumbling as much, allow the bars to come to room temp for 10 minutes prior to slicing.

Tips for Making Mint Chocolate Oreo Bars
I used chocolate-filled Oreos because I wanted extra chocolaty-ness, but original white-filled Oreos are fine. I’d be careful about using the mint-filled because they could make the bars overly minty.
White chocolate is notorious for scorching, seizing up, and being finicky. Heat until just melted, no more. Mine took 45 seconds. If it’s easier for you to melt over a double-boiler, do so.
As I always do every time I post a mint recipe, my caveats about peppermint extract. Do not be tempted to add more than 1/2 teaspoon. It’s very powerful and potent; far more than vanilla extract or other extracts.
A little goes a very, very long way. If you add too much, your bars will taste like mouthwash or be inedible. If you like desserts that are along the barely-there-hint-of-mint side, you may wish to start with 1/4 teaspoon mint extract, and add more to taste.
I find 1/2 teaspoon to be perfect and the mint intensity resembles a standard creme de menthe or grasshopper bar.
Pin This Recipe
Enjoy AverieCooks.com Without Ads! 🆕
Go Ad Free
Mint Chocolate Oreo Bars
Ingredients
For the Crust
For the Mint and Chocolate Fudge Layers
- 1 heaping cup white chocolate chips, or about 7 ounces white chocolate, chopped
- 1 heaping cup semi-sweet chocolate chips, or about 7 ounces semi-sweet or dark chocolate, chopped
- one 14-ounce can sweetened condensed milk, divided
- ½ teaspoon peppermint extract, or to taste* (make sure to read caveat below)
- 5 drops green food coloring, or as desired
- sanding sugar or sprinkles for dusting top, optional
Instructions
For the Crust:
- Preheat oven to 350F, line an 8-by-8-inch pan with aluminum foil, spray with cooking spray; set aide.
- Place Oreos in a food processor with melted butter, and process until very fine. (This can be done by hand by placing Oreos in a large ziplock and rolling over it with a rolling pin or similar heavy object like a coffee can. Transfer crumbs into large mixing bowl, add the butter, and stir until combined).
- Transfer buttery crumbs to prepared pan, and pack them down using your hands or a spatula.
- Bake for 10 to 12 minutes, or until just set. The crust is dark and it's hard to determine set from not set, but it will start drying out and getting lighter in color around the perimeter of the pan after about 10 minutes. That's all you're looking for; don't bake longer than 12 minutes or crust will be prone to cracking and crumbling when slicing the bars.
- Set pan aside.
For the Mint and Chocolate Fudge Layers:
- Do not start this until crust is out of the oven because it goes fast and you don't want fudge to set up until pan is out of the oven. Work quickly when preparing these layers.
- Place white chocolate chips in a small, microwave-safe bowl.
- Place semi-sweet chocolate chips in another small, microwave-safe bowl.
- Pour half the sweetened condensed milk over the white chips, and the remaining half over the semi-sweet chips; set chocolate bowl aside. Just eyeball dividing the milk, you don't have to measure.
Mint Layer:
- Heat white chocolate mixture on high power for 30 seconds to melt, stop to stir. Heat in 10-second bursts until mixture can be stirred smooth. Note - white chocolate is notorious for scorching, seizing up, and being finicky. Heat until just melted, no more. Mine took 45 seconds. If it's easier for you to melt over a double-boiler, do so.
- After mixture is smooth, add the peppermint extract, food coloring, and stir to combine. Work quickly because fudge will start setting up very quickly.
- Pour mixture over crust layer; smooth it with an offset knife; set pan aside.
Chocolate Fudge Layer:
- Heat chocolate and sweet milk mixture on high power for 30 seconds to melt, stop to stir. Heat in 10-second bursts until mixture can be stirred smooth. Semi-sweet chocolate may take slightly longer to melt than the white, about 1 minute total.
- Pour chocolate over mint layer, smooth with an offset knife. It may seem like chocolate is a little skimpy and doesn't fully cover the mint layer, but when it sets up, it will be fine.
- If desired, make a swirled or marbled pattern by zigzagging very lightly over the top surface of the chocolate with the tip of the knife, taking care not to go very deep and not to blur the mint and chocolate layers together; just make a design in the superficial surface layer for cosmetic appeal (In case your chocolate work was less than perfect, this is a nice camouflage).
- Sprinkle sanding sugar or sprinkles over the top, as desired, before chocolate fully sets up.
- Cover pan with aluminum foil to prevent it from taking on fridge smells, and place in the refrigerator for at least 4 hours, or overnight, before slicing and serving; do not slice too early or bars will be a mess.
Notes
©averiecooks.com. Content and photographs are copyright protected. Sharing of this recipe is both encouraged and appreciated. Copying and/or pasting full recipes to any social media is strictly prohibited.
More Holiday Desserts and Desserts with Oreos:
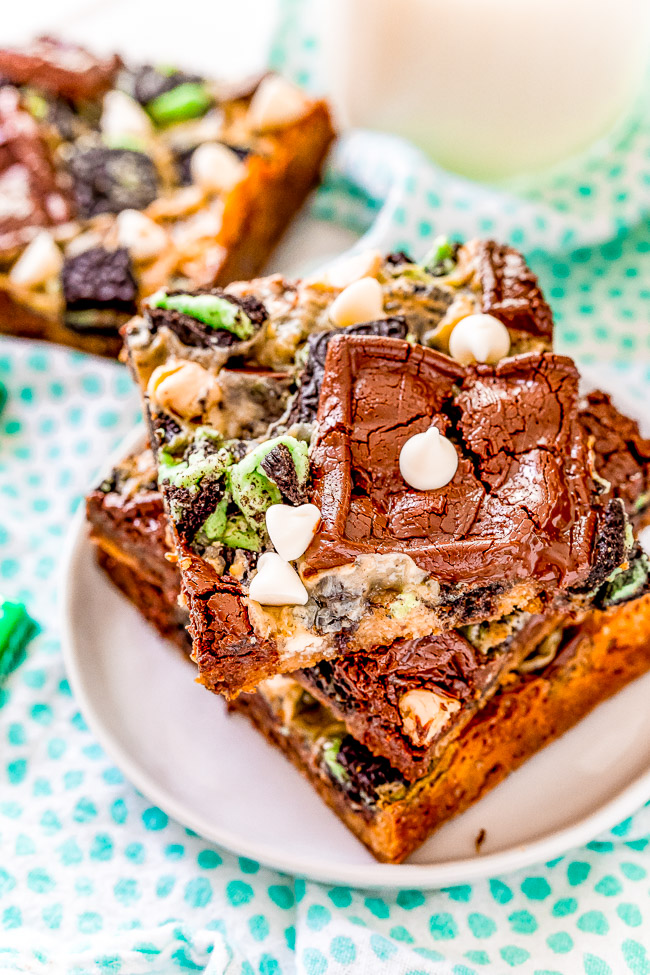
Loaded Mint Chocolate Chip Cookie Bars — These bars are a mint twist on the classic Seven Layer Bars many grew up with! Made with Ghirardelli Mint Chocolates, Andes Mints, and Mint Oreos on a chocolate chip cookie base. White chocolate chips, chocolate chunks, and a layer of sweetened condensed milk that caramelizes as it bakes provide a true Magic Bar experience!
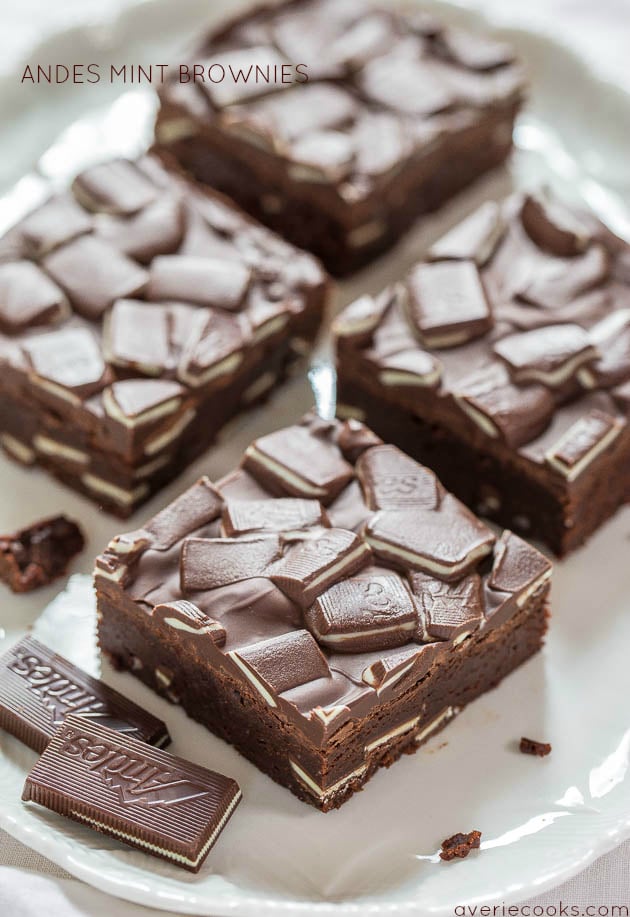
Andes Mint Brownies – Super fudgy brownies loaded with Andes! Chocolate + mint is the best! Meet your new favorite brownies and so easy!!
Irish Chocolate Guinness Cupcakes — A tender chocolate cupcake made from scratch with batter that’s spiked with Guinness, along with a hint of Jameson Irish whiskey in the chocolate ganache filling. The cupcakes are frosted with a silky smooth Baileys buttercream frosting!! Not too boozy and not too sweet!

Chocolate Chip Andes Mint Cookies — These quadruple chocolate Andes mint cookies are big, bakery-style cookies that are rich, not overly sweet, and loaded with chocolate and mint chips.

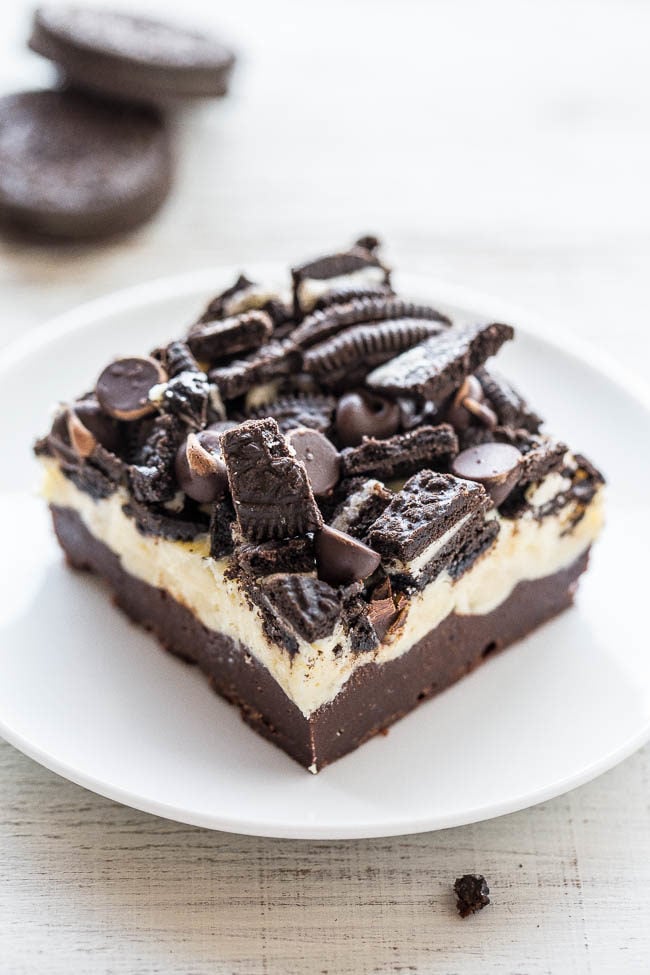
Loaded Oreo Cream Cheese Brownies — If you’re looking for an over-the-top decadent brownie recipe, look no further. Ultra fudgy, rich brownies are topped with a layer of cream cheese spiked with white chocolate chips, before sprinkling Oreos and semi-sweet chocolate chips on top!
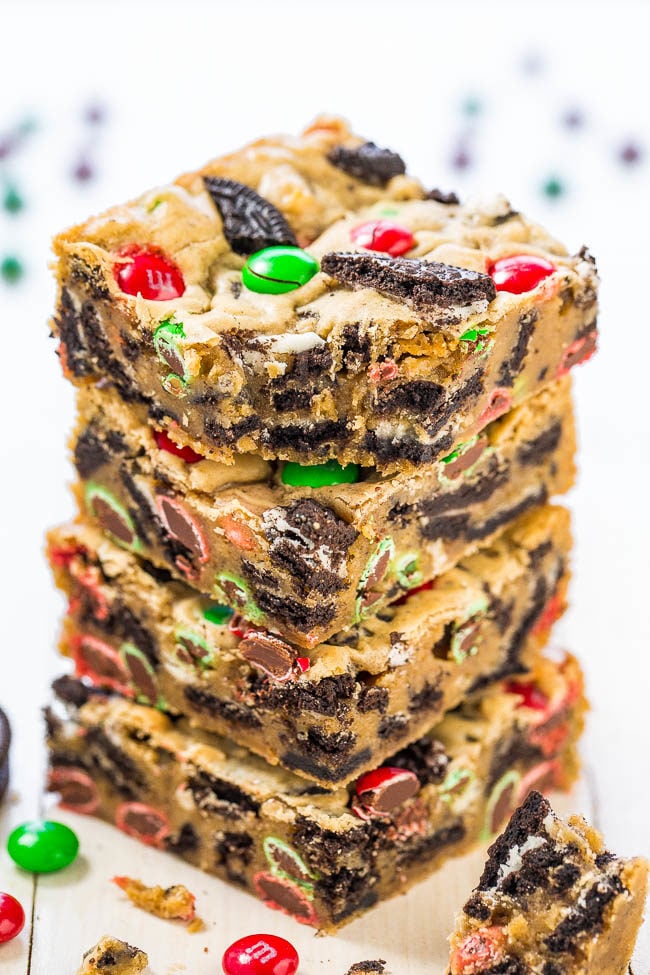
Loaded Holiday M&M’s Cookie Bars — These M&M’s cookie bars are packed with holiday M&M’s and crushed Oreos. This is an easy, one-bowl holiday dessert your family will love!
Chocolate-Covered Oreos — Oreo cookies dipped in chocolate and loaded with sprinkles are an irresistible holiday treat! Fast, EASY, no-bake, can be made in advance! Perfect for cookie exchanges and hostess gifts.

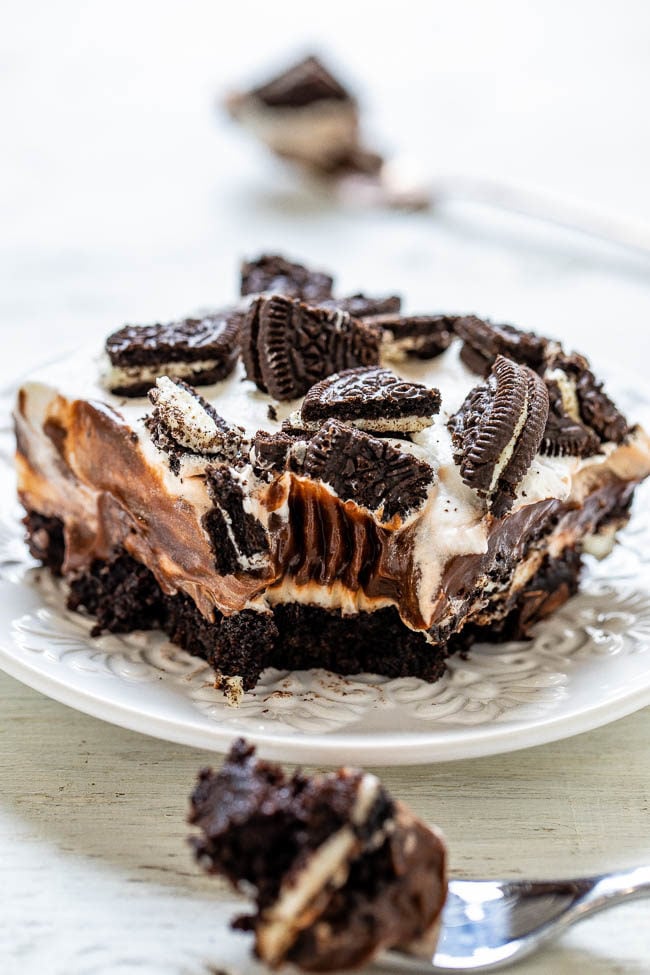
Oreo Brownie Lush — A rich and decadent brownie pudding dessert made with fudgy brownies, cream cheese, chocolate pudding, whipped topping, and Oreo cookies!! EASY, great for parties, and it’s a chocoholic’s dream!!
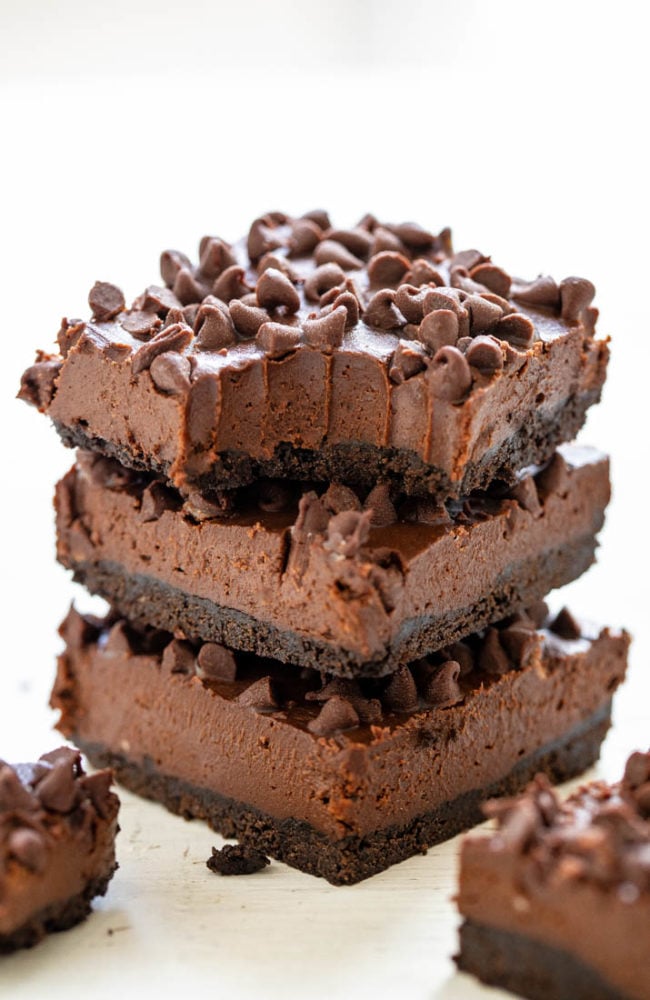
Death by Chocolate No-Bake Cheesecake Bars — Only for serious chocoholics because they’re rich, creamy, decadent, and loaded with chocolate!! NO-BAKE and an easy MAKE-AHEAD dessert!!
Cookies and Cream Cake – Soft, tender cake loaded with chunks of Oreos in every bite with more Oreos on top!! Easy and a crowd favorite!!


OMG Averie! From the descriptive text to the gorgeous photos, I think I need these. Like 10 minutes ago already! At least.
Going to have to wait ’til I go shopping again & buy the Oreos. Bummer 😖
Hope your days are getting better with each one that goes by. xo
great
I made this for a group. I topped the bars off with roughly chopped Andes Mint. I have received praises from everyone about the incredible taste. Thank you!
Thanks for the 5 star review and glad the group praised your efforts!