
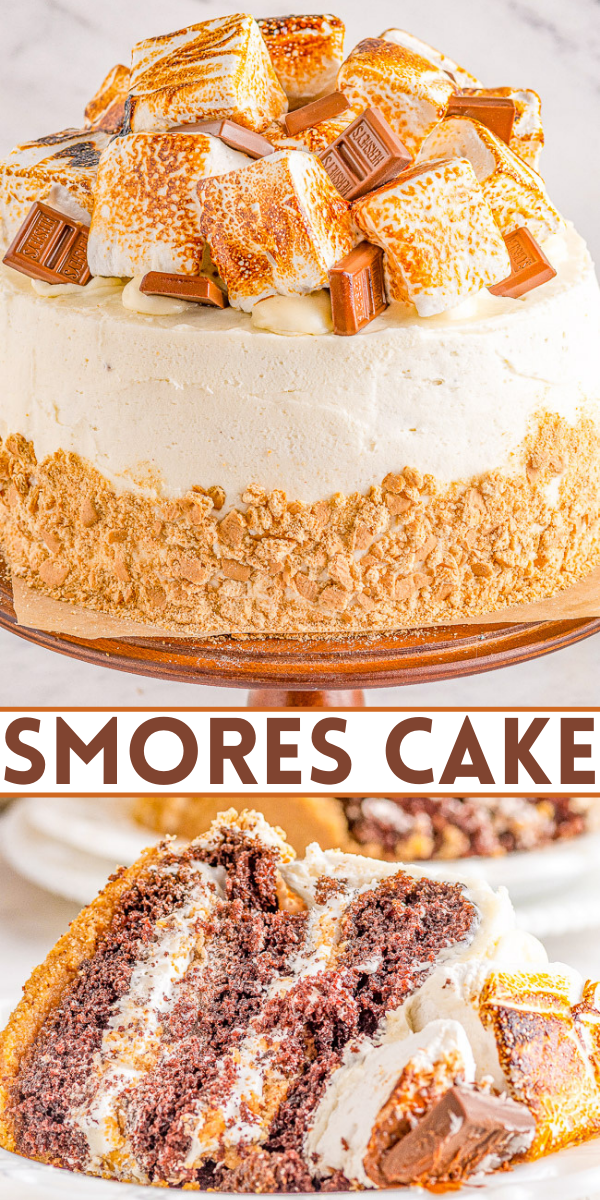
🍫🔥🍰 My Smores Cake recipe is a three-layer, showstopping cake that everyone adores! I start iwth a crunchy graham cracker crust then layer moist, tender chocolate cake, sweet marshmallow buttercream frosting, toasted marshmallows, and chocolate bars for a true smores experience!
Smores Layer Cake Recipe
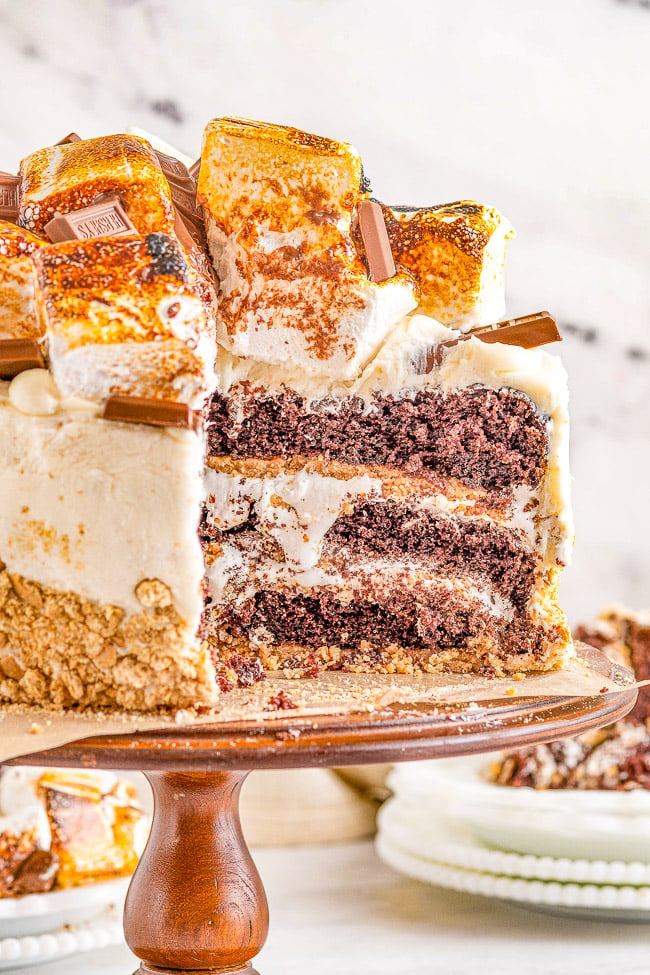
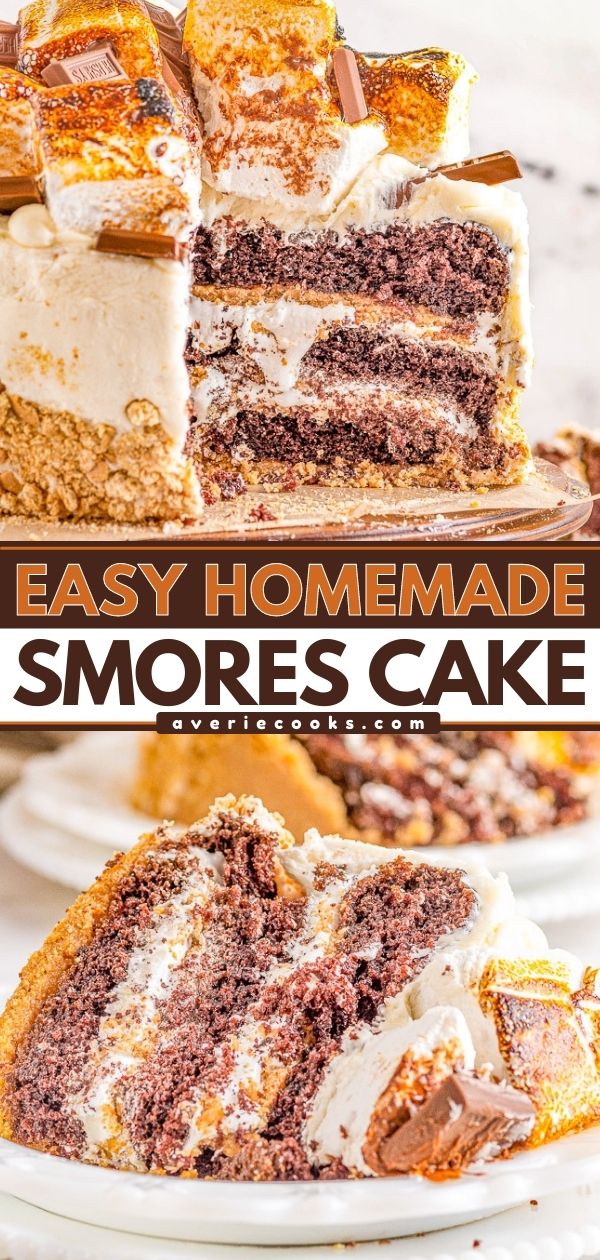
I love all things s’mores but don’t always have access to a fire. So, I have fun experimenting with different ways to use the flavors, and this three-layer smores cake is definitely a showstopper! There’s a graham cracker crust, which lends a sugary, sandy, crunch under a moist, soft, and tender chocolate cake.
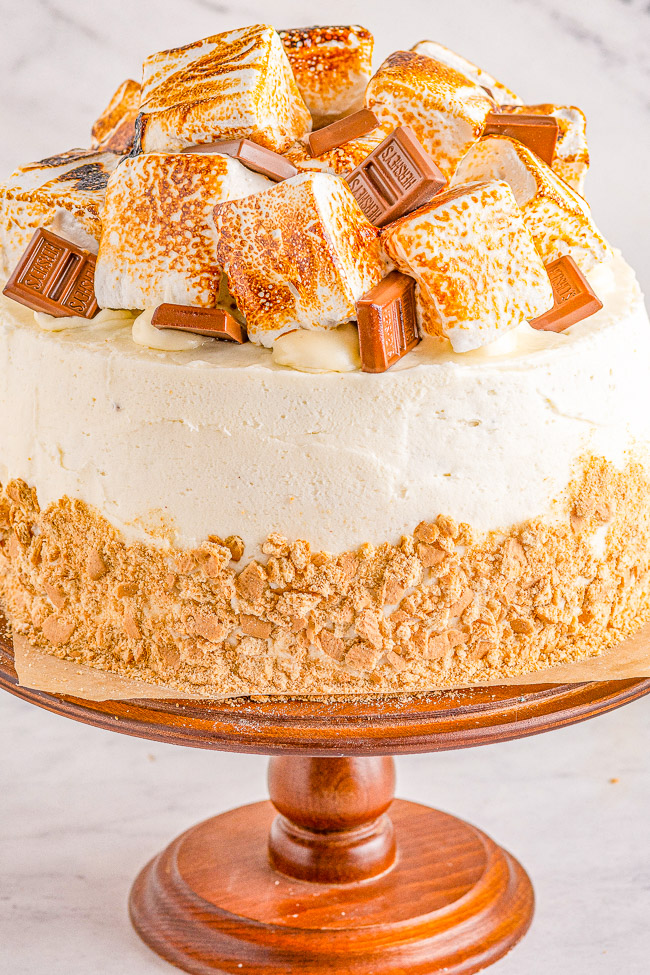
The chocolate cake layers are divided by a thick, smooth, marshmallow buttercream that is rich and decadent. On top of the cake there’s a thin layer of marshmallow fluff that’s then topped with homemade marshmallows. They’re toasted to bring in the classic flavor of roasty-toasty smores.
Smores cake is very rich, decadent, and is the essence of summer around a campfire, minus the actual campfire. It’s my go-to for summer birthdays and holiday parties. With an almost five-star rating, I know you’ll love it, too!
Love layer cakes?
My white layer cake is a classic recipe ideal for every occasion. Or, enjoy more decadent options, go for my chocolate hot fudge mini layer cake or the best triple chocolate layer cake.
Recipe Ingredients
To make the scratch chocolate cake batter for the smores cake, you’ll need the following ingredients:
- All-purpose flour — This is the basis of our cake and is the primary structure.
- Granulated sugar — Sugar not only adds sweetness to the cake, it also aids in the texture and structure.
- Cocoa — This is what gives the cake its chocolate flavor.
- Baking soda & baking powder —These work in conjunction to help the cake rise.
- Salt — This enhances all of the flavors in this delicious cake.
- Eggs — Eggs help to bind the cake by creating structure and stability.
- Buttermilk — Besides adding moisture to the cake, buttermilk adds in a light tang and helps to create a soft cake.
- Oil — We use oil in this cake instead of butter as it is softer and results in a more moist and tender cake.
- Vanilla — Vanilla is used for an added, complementary flavor to the chocolate.
- Hot water — Hot water is added to help bloom the cocoa and break it down so that the cake has a rich cocoa taste without clumps of cocoa powder throughout.
To make a homemade scratch graham cracker crust that’s fast and easy, you’ll need the following ingredients:
- Graham crackers — These are the basis of the graham cracker crust.
- Granulated sugar — Adds sweetness to the crust.
- Brown sugar — This brings out the richness of the graham crackers a little better than regular granulated sugar does. It enhances the crust which helps it stand out in this multi-layered cake with lots of big flavors.
- Butter — Butter helps to bind the graham cracker crust together.
Supplies Needed to Make a Homemade Smores Cake
- Medium and large mixing bowls
- Whisk
- Rubber spatula
- Three 8-inch round cake pans
- Offset spatula
- Piping bag, coupler, and #1a piping tip
- Torch
How to Make a Smores Cake
Below is simply an overview of how the smores birthday cake is made. For detailed instructions and measurements, please head to the recipe card at the bottom of the post!
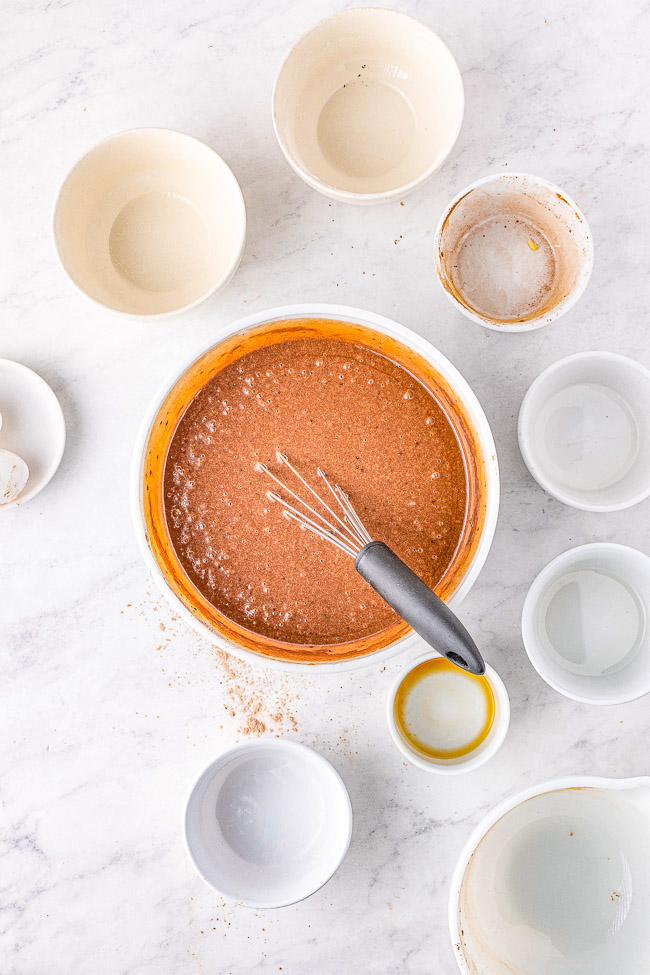
- Combine all the ingredients for the chocolate cake batter in the bowl of a stand mixer or with an electric mixer on medium speed. Scrape the sides and bottom of the bowl to make sure you get everything.
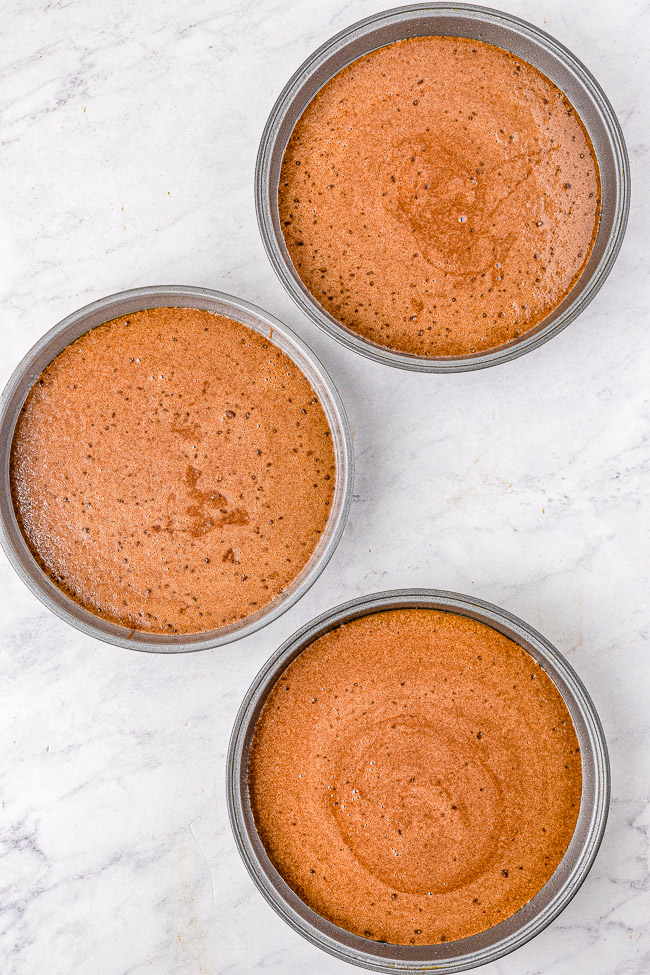
- Pour the batter into three 8-inch round cake pans lined with parchment paper, and bake until a toothpick inserted into the center comes out clean or with just a few moist crumbs. Transfer to a wire rack to cool.
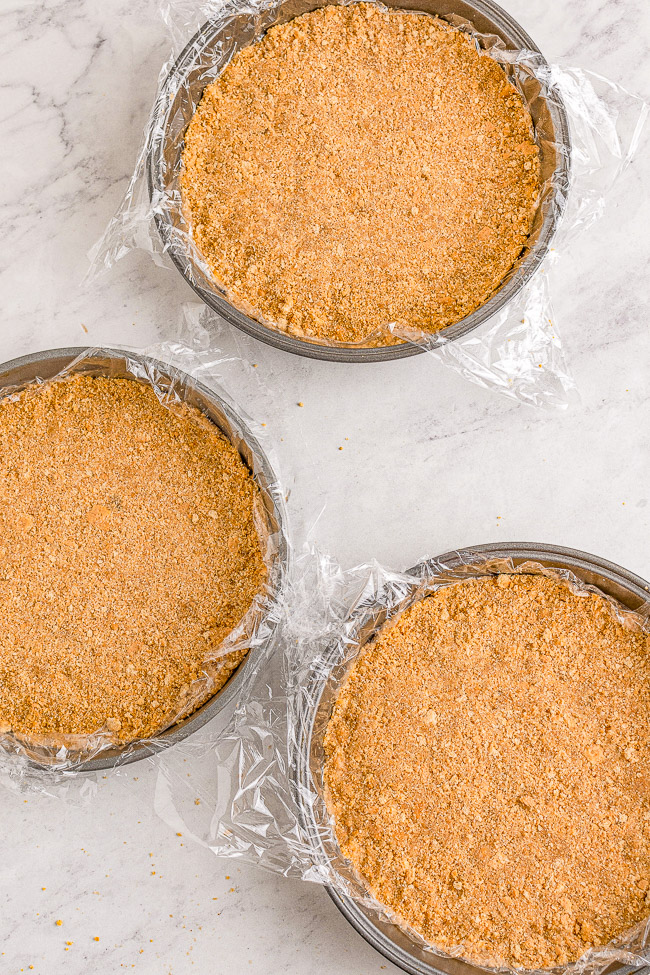
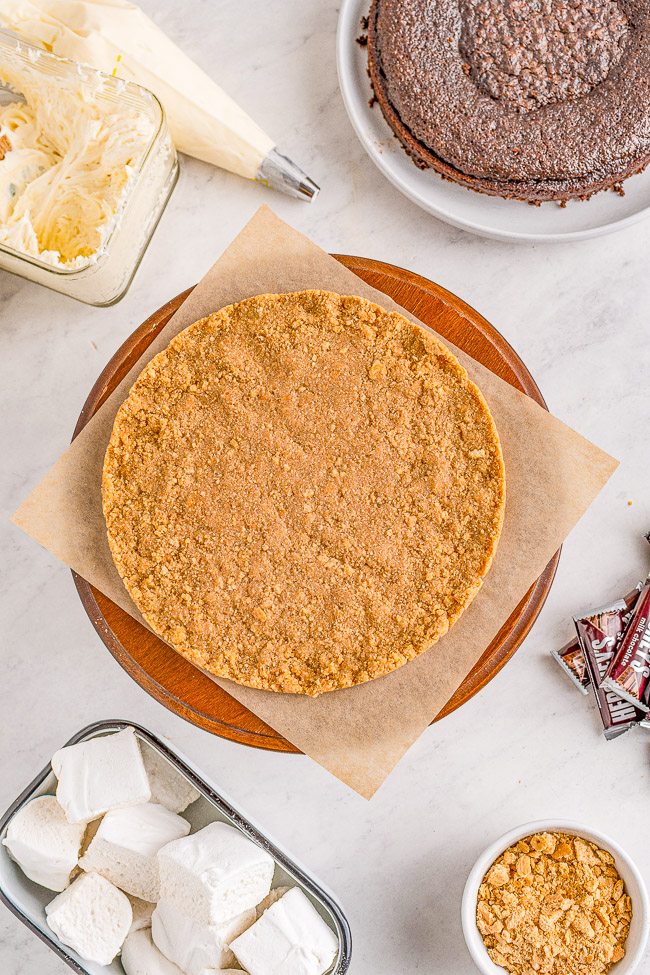
- Stir all the graham cracker crust ingredients in a bowl, and divide them between three cake pans, pressing them into the bottom. I suggest whizzing the graham crackers together in a food processor, but you could put them in a plastic bag and roll over them with a rolling pin, wine bottle, or something like that. Then, freeze to set.
- Place one graham cracker layer on a cake stand, and add one layer of cake. Fill a piping bag fitted with a round piping tip with marshmallow buttercream, and frost the cake with marshmallow buttercream. Pipe a border around the edge, too. Torch the marshmallow, and repeat to layer.
- Continue to layer and make a crumb coat. Then, chill in the refrigerator, and frost with marshmallow buttercream. To finish, garnish the cake with homemade marshmallows!

Recipe FAQs
No! You cannot use Marshmallow Fluff or Marshmallow Creme, because they are too soft and would not hold up between layers and would squish out.
Yes, you don’t need to make homemade marshmallows. Store-bought large marshmallows to top the cake with and then toast will work perfectly fine.
Smores layer cake may be stored on a cake stand with a dome lid for 2 to 3 days at room temperature, or for up to 5 days in the fridge.
I haven’t tested this smores graham cracker cake as s’mores cupcakes and can’t guarantee it would work. I tend to think they would be too heavy, but you could probably use just one layer. Then, store leftovers in an airtight container.

Smores Cake Recipe
Equipment
- 3 (8-inch) Round Cake Pans
- 3 Mixing Bowls
- 1 Cake Stand
- 1 Offset Spatula
Ingredients
Chocolate Cake
- 2 cups all-purpose flour
- ¾ cup unsweetened natural cocoa powder, have not tested with Dutch process
- 2 teaspoons baking soda
- 1 ½ teaspoons salt
- 1 teaspoon baking powder
- 2 ¼ cups granulated sugar
- 2 large eggs
- 1 cup + 2 tablespoons buttermilk, have not tested with yogurt, DIY buttermilk, etc.
- 1 cup vegetable or canola oil
- 1 teaspoon vanilla extract
- 1 cup hot water
Graham Cracker Crust:
- 3 cups crushed graham crackers, 18 crackers; or use store bought graham cracker crumbs
- ⅓ cup granulated sugar
- ⅓ cup light brown sugar, packed
- 2 ½ unsalted butter, melted (20 Tbs)
Assembly
- 1 recipe Marshmallow Buttercream, recipe to follow Wednesday
- ¾ cup marshmallow fluff or creme, store bought
- ¼ cup crushed graham crackers
- Homemade marshmallows, about 12 or as desired as desired (recipe to follow Friday OR store bought large marshmallows)
- Hershey’s mini chocolate bars, to taste
Instructions
Chocolate Cake
- Preheat the oven to 350 F. Line the bottom of three 8-inch round cake pans with parchment paper and spray with baking spray; set aside.
- To a medium-sized mixing bowl, add the flour, cocoa, baking powder, salt, baking
soda, and whisk to combine; set aside. - To a large-sized mixing bowl, add the sugar, eggs, and whisk until well combined.
- Add the buttermilk, oil, vanilla, and whisk until combined.
- Add the dry flour mixture and mix until just combined, don't overmix or it will create tougher cake.
- Pour in the hot water (warm it in a glass measuring cup in your microwave for about 1 minute; you don't need it to boil because that will cook the eggs, but it should be warm like as warm as you'd serve hot coffee) and whisk. At this point, the batter will be thin and runny; don't worry.
- Divide the batter into the prepared cake pans and bake in the preheated oven and for about 13-16 minutes or until a toothpick inserted in the center comes out with moist crumbs, but no batter. Baking times will vary from oven to oven, climate and ingredient variances, so check the cakes at 13 minutes to determine if they need to bake longer.
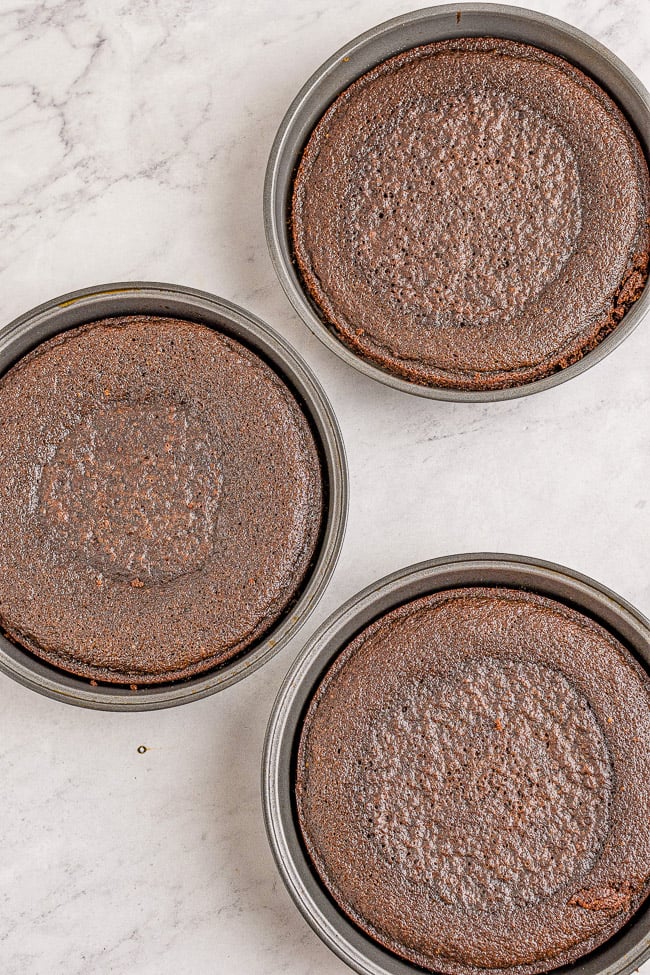
- Once baked, remove from the oven, and place the cakes still in the pans onto a wire cooling rack.
- Allow the cakes cool to for about 20-30 minutes, or until they reach room temperature.
- Run a butter knife around the edges to release the cakes and turn them out onto a flat surface such as a cutting board or plate. Keep them right-side-up, as they had been baking in the pan rather than inverting/flipping them upside down.
Graham Cracker Crust
- To a medium-sized mixing bowl, add the crushed graham crackers (blitz them briefly in a food processor or add them to a plastic zip top bag and roll over them with a rolling pin, wine bottle, or similar; or use store bought graham cracker crumbs) and both sugars.
- Add the melted butter and mix with a spatula.
- Line the three round cake pans used to bake the cakes with plastic wrap.
- Evenly divide the graham cracker mixture between the 3 pans. Press into the bottom of each pan to create an even layer, making sure to keeping the graham crackers from moving up the sides of the pans.
- Place the pans into the freezer to set for at least 20 minutes, or until very firm almost "frozen". After they are set, the graham cracker crust layers are ready to use.
Cake Assembly
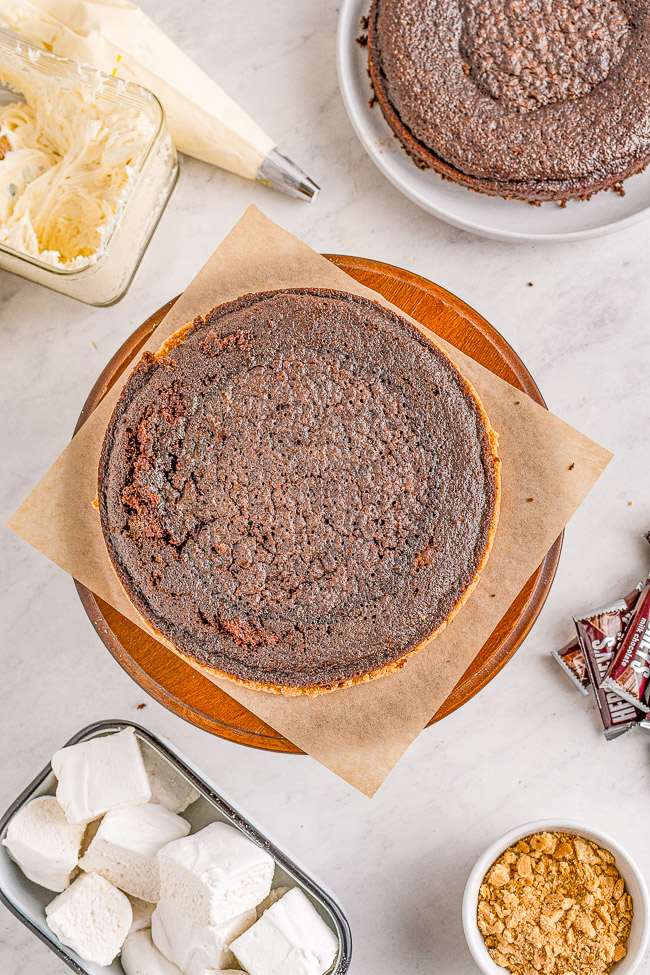
- To a cake stand or plate, place one of the graham cracker layers. They should be very firm and easy to manipulate and the plastic wrap will slip right off.
- Next, lay one on it the cooled cakes on top.
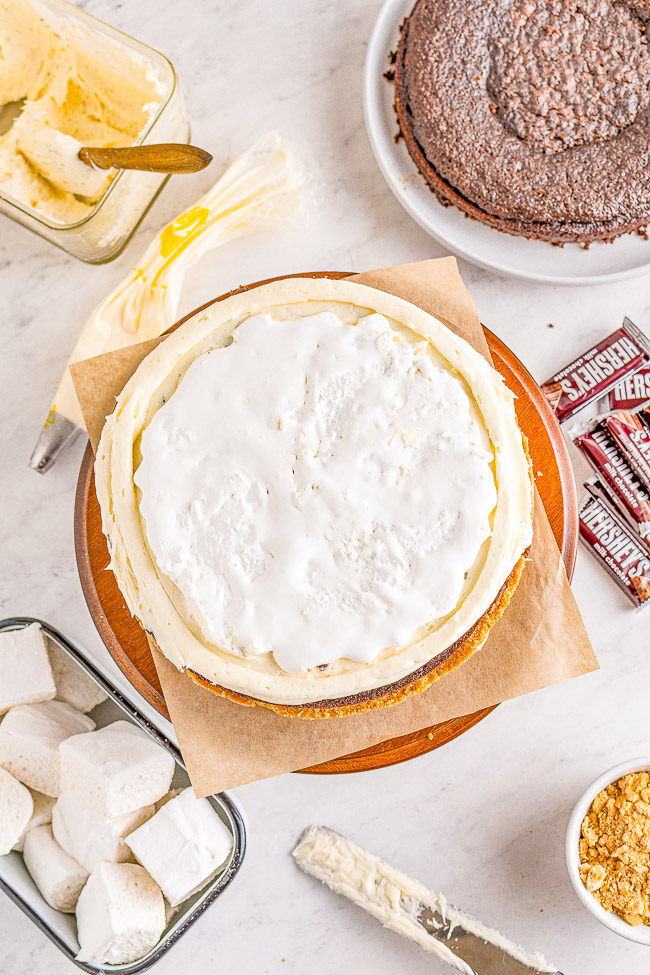
- Using a rubber spatula or an offset spatula, frost the chocolate cake with Marshmallow Buttercream Frosting (recipe live and link will work on Wednesday). The buttercream layer should be about ⅛” thick.
- Pipe a border around the edge of the cake.
- Spoon on about ¼ cup of marshmallow fluff or marshmallow creme and spread to the buttercream border as best you can. Let it set for a moment so that it finishes spreading itself out.
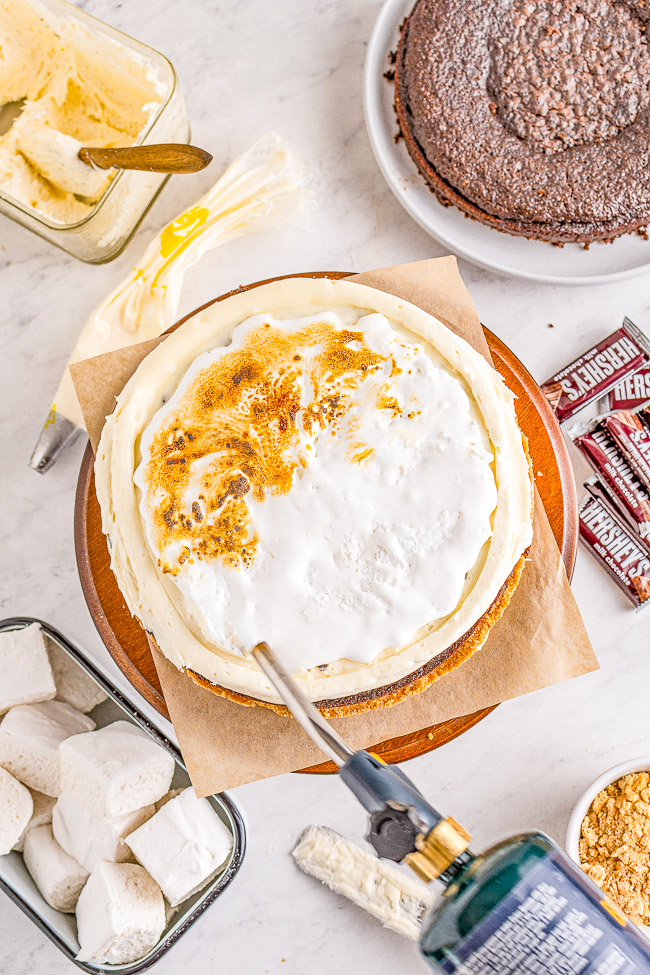
- Using a kitchen torch on medium low heat, toast the marshmallow fluff*, staying a few centimeters away so as not to burn it. It will just take a few seconds toast to a nice brown color.
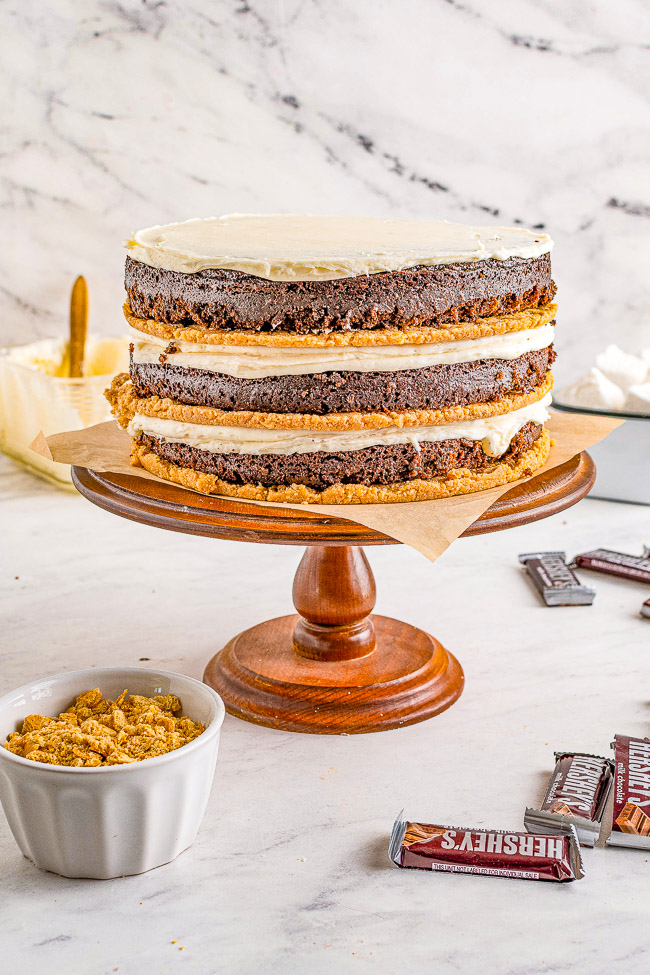
- Repeat steps 20 to 22 once more with another layer of graham cracker crust, cake, buttercream, and so forth.
- For the third layer, layer on the last graham cracker crust and chocolate cake.
Crumb Coat
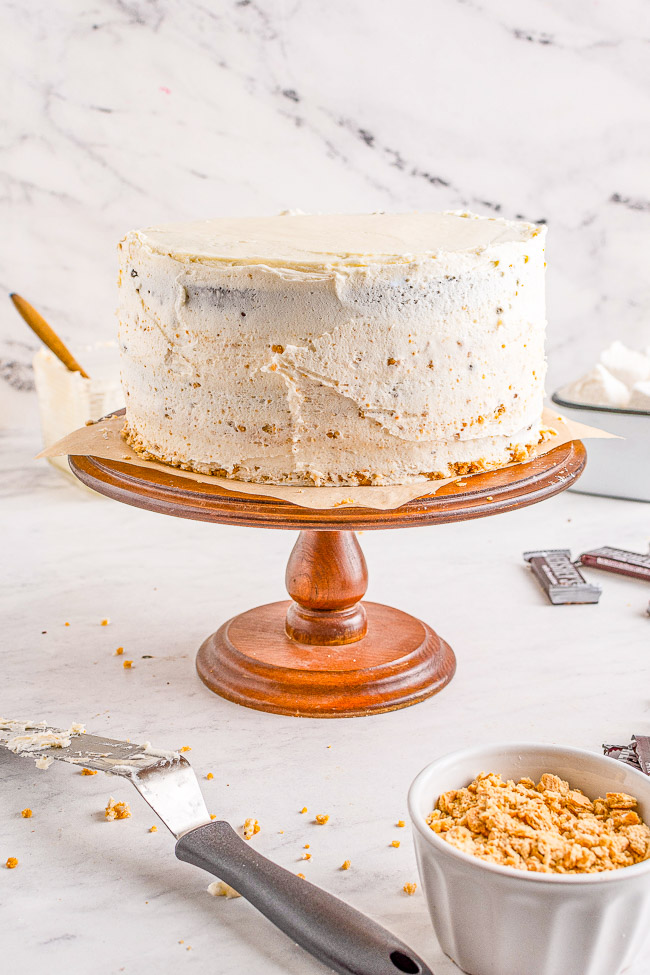
- Frost the top and sides of the cake with a thin layer of buttercream. This is just the crumb coat so don’t worry if the graham cracker crust comes apart and there are pieces of it throughout the frosted cake. The crumb coat should almost be thin enough to see the cake through.
- Place cake in the fridge for 20 minutes to allow the crumb coat to set so that when you do frost it, the pieces in the crumb coat don’t move through the frosting.
- Frosting the Cake – Once the crumb coat has set, frost the sides and the top with the remaining marshmallow buttercream frosting. You should still have about ⅓ to ½ cup of frosting in your piping bag which will be used for the top.
- Using an offset spatula, smooth the sides out by holding the spatula parallel to the cake at a 45 degree angle. It will take a few times around the cake to smooth it out the sides.
- To smooth out the top, place the offset spatula at a 45 degree angle at the edge and pull in towards the center of the cake. Go around the cake until the edges are smoothed down and somewhat square.
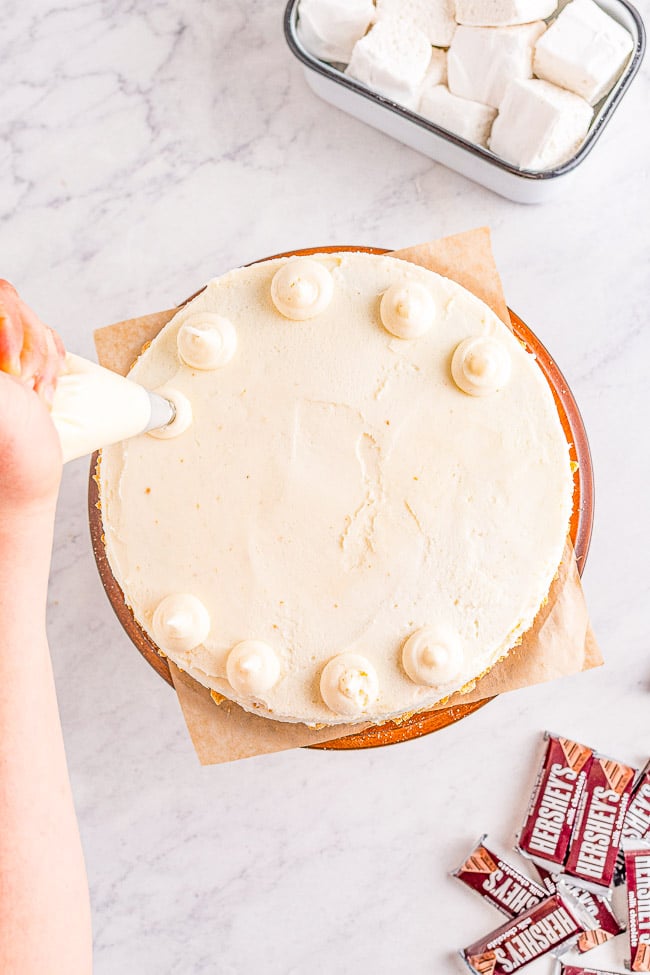
- Pipe dots about the size of a quarter onto the cake about one centimeter from the edge.
- Pipe the remaining frosting in a circle in the center of the cake. This is used to hold the marshmallows in place.
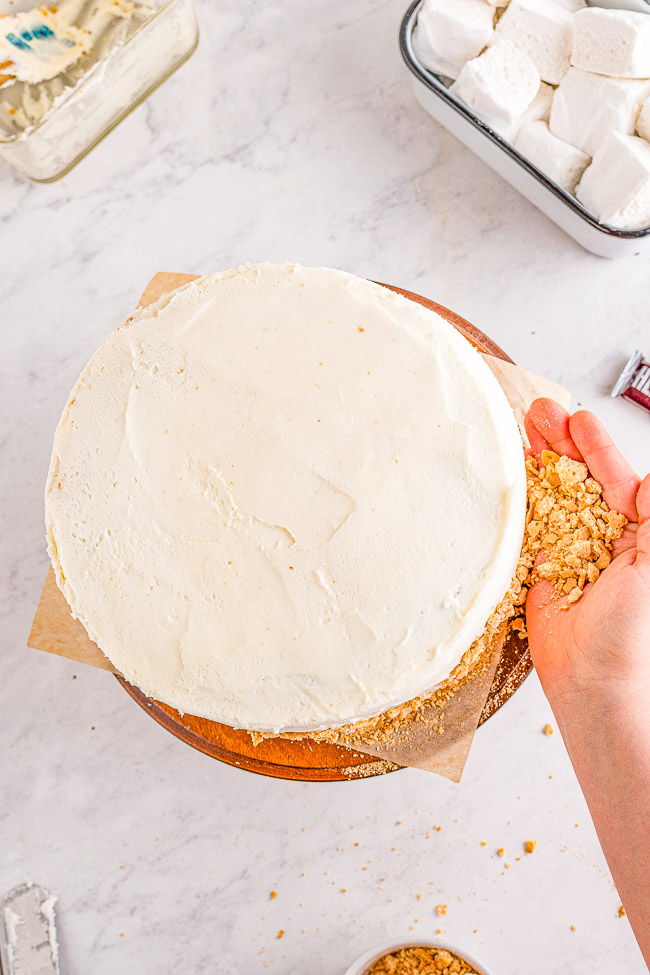
- Using your hand, press crushed graham crackers onto the sides of the cake.
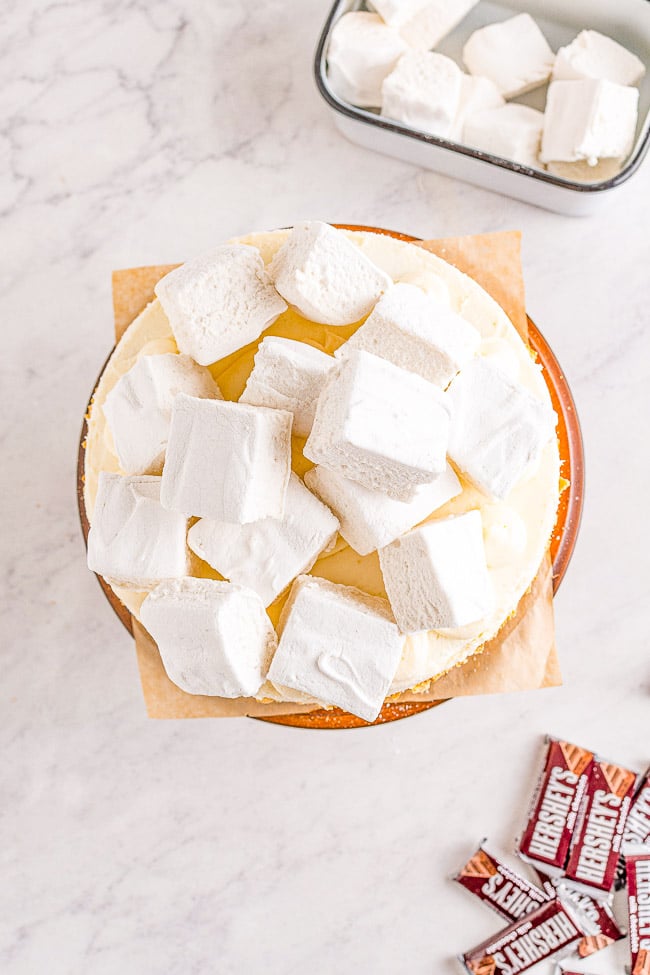
- Pile about 12 homemade marshmallows (link will work Friday) or large store bought marshmallows onto the center of the cake and work outwards. Don’t lay them all flat because when you start stacking, they will tumble. It's best to lay them at all different angles.
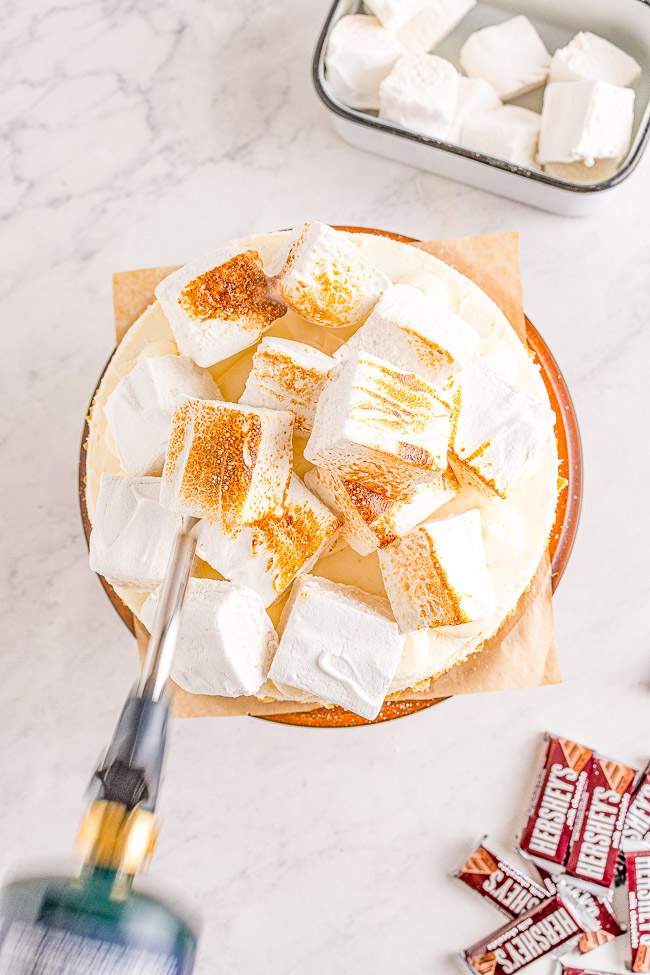
- Using your torch, on medium-low heat, toast the marshmallows until they are charred to your liking.
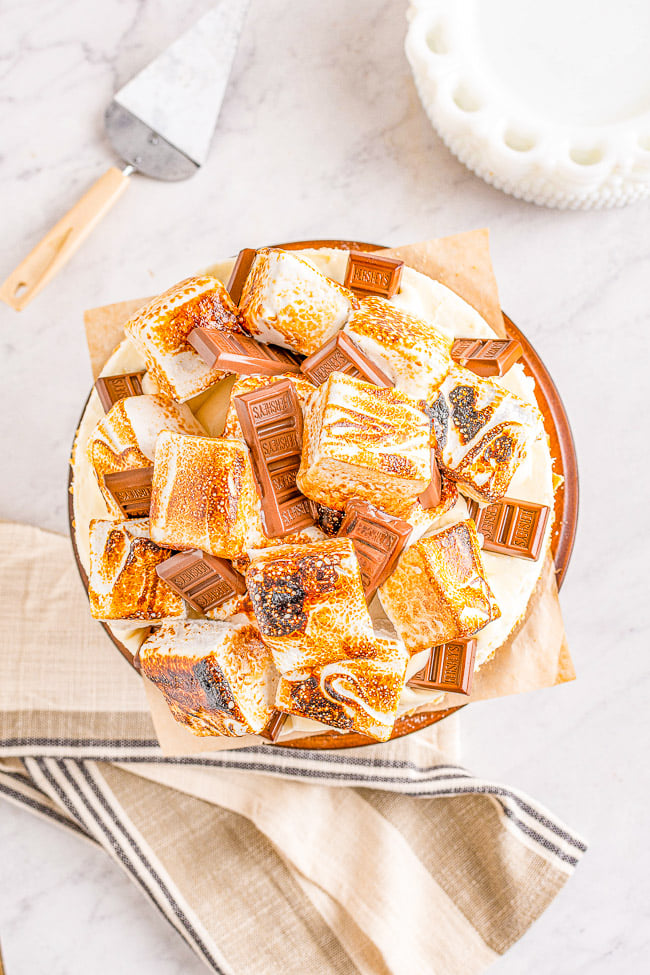
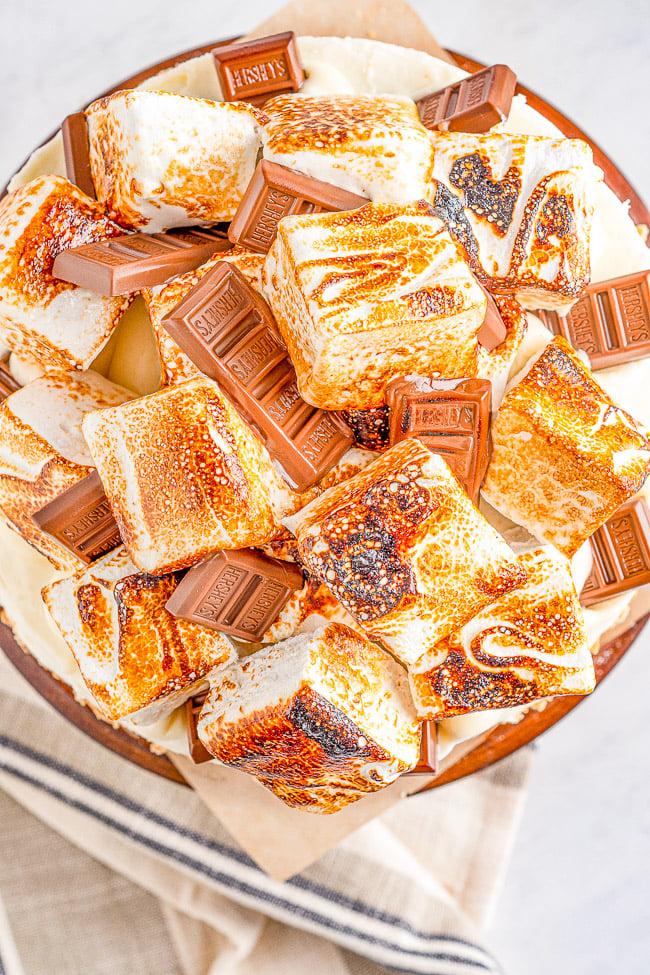
- Once you have toasted the marshmallows, place several chocolate bars on, around, and in between the marshmallows. I put a couple of whole mini chocolate bars on as well as a few broken pieces. The chocolate pieces will begin to slightly melt on their own from the residual heat in the marshmallows if using homemade. However, if they do not melt, and/or you're using store bought, you can use your torch to heat them for just a few seconds to create a melty chocolate effect noting that if you get too close to the chocolate or heat it for too long, it will burn.
Notes
Nutrition
Nutrition information is automatically calculated, so should only be used as an approximation.
©averiecooks.com. Content and photographs are copyright protected. Sharing of this recipe is both encouraged and appreciated. Copying and/or pasting full recipes to any social media is strictly prohibited.
Favorite Smores Recipes:
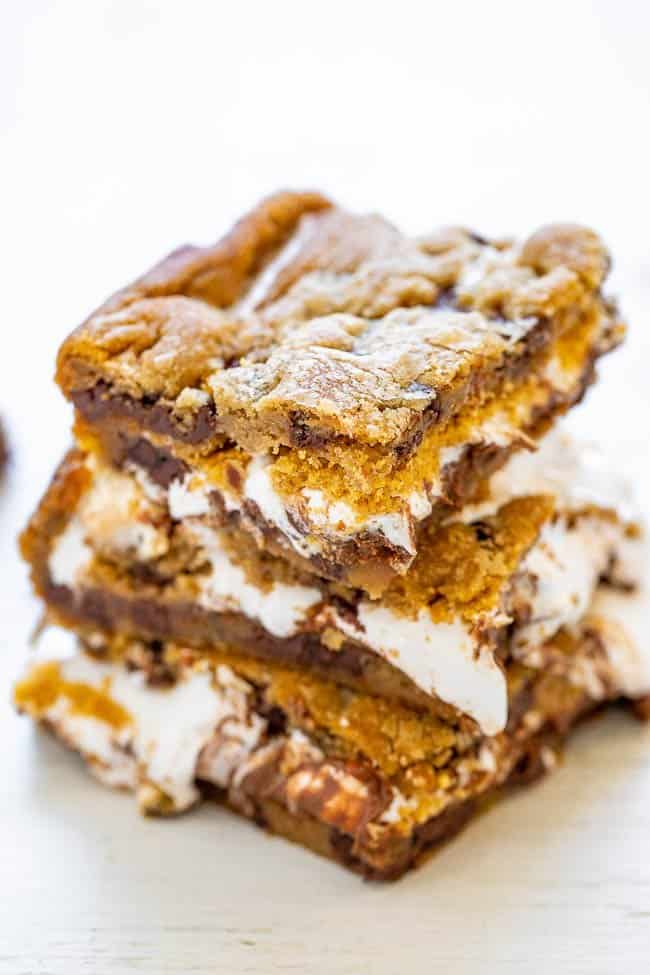
Soft and Gooey Loaded S’mores Bars — No campfire required for these soft, gooey, rich s’mores bars that are loaded with texture and flavor! The combination of chocolate, graham crackers, and marshmallows, all suspended in a buttery, brown-sugar based dough, is just magical.

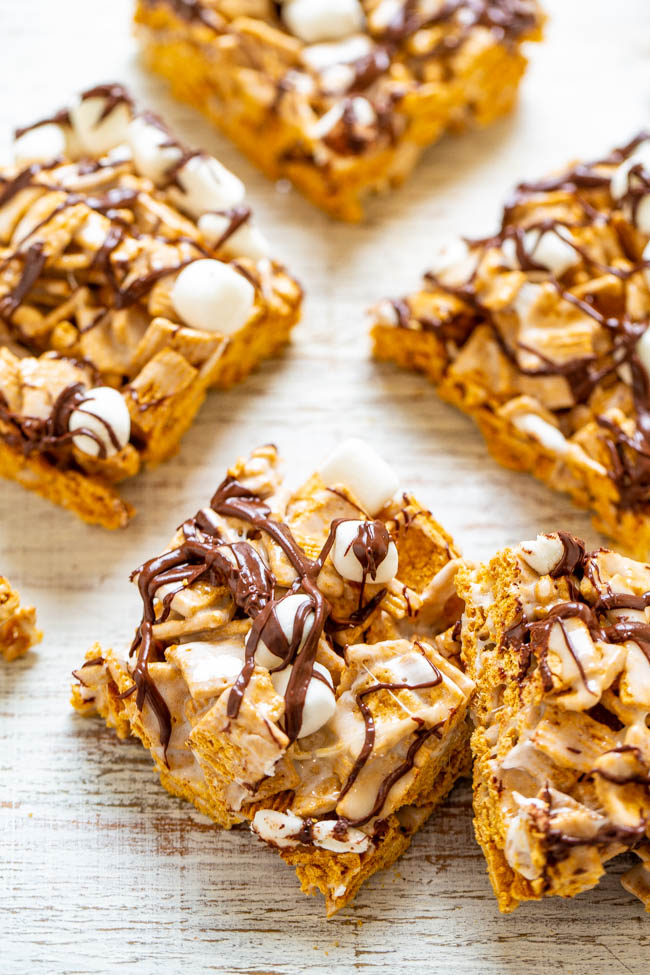
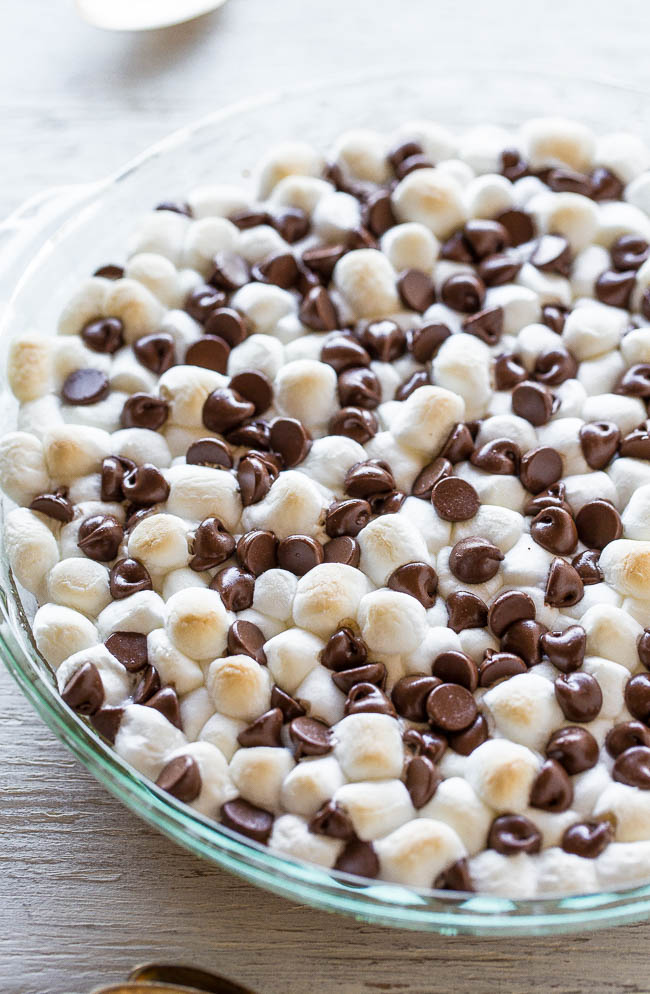
S’mores Bars — SO EASY, NO-BAKE, just FOUR ingredients, and ready in FIVE minutes! It doesn’t get any better than that and no campfire required! A hit with kids and adults at parties, potlucks, and picnics!
Chocolate Chip S’mores Cookie Bars — Between layers of super soft chocolate chip cookie dough there’s chocolate, marshmallows, and graham cracker crumbs for the most DECADENT smores ever! So EASY and just 4 main ingredients!
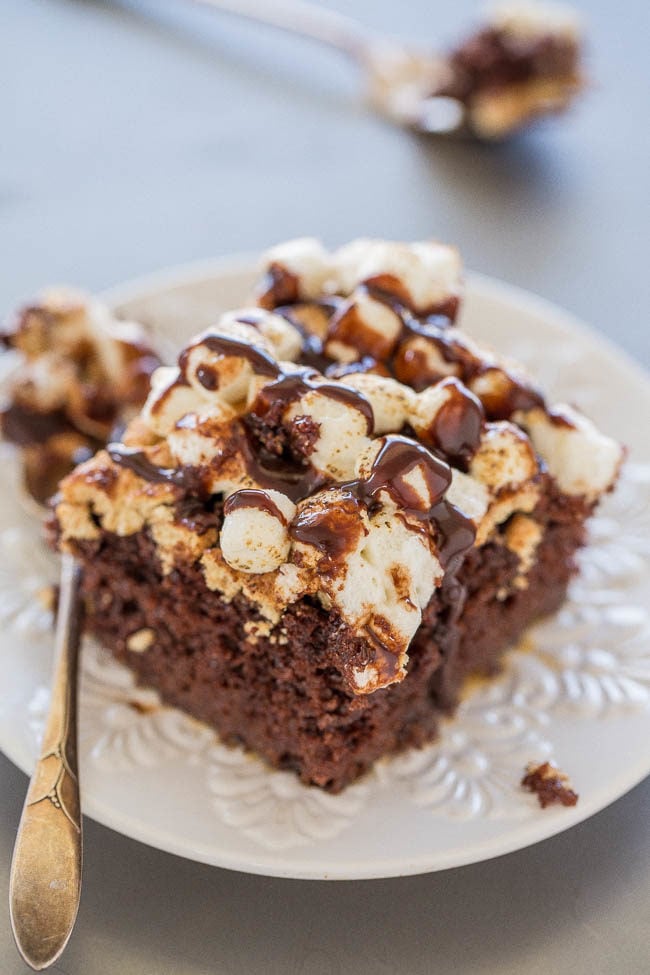
S’mores Cake — Chocolate cake gets poked all over and soaked in a marshmallow creme mixture before being topped with crushed graham crackers, toasted marshmallows, and hot fudge sauce.
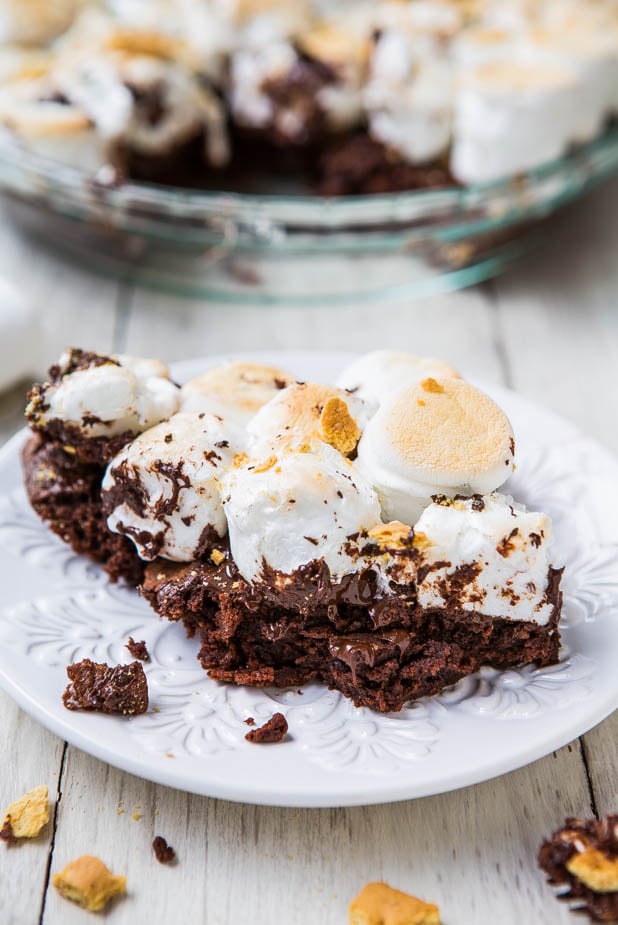
S’mores Brownie Pie — Each bite of the pie is so satisfying and starts with a base of dense, fudgy, rich brownies, topped with melted chocolate chips, fluffy gooey marshmallows, and sprinkled with crunchy bits of graham crackers!
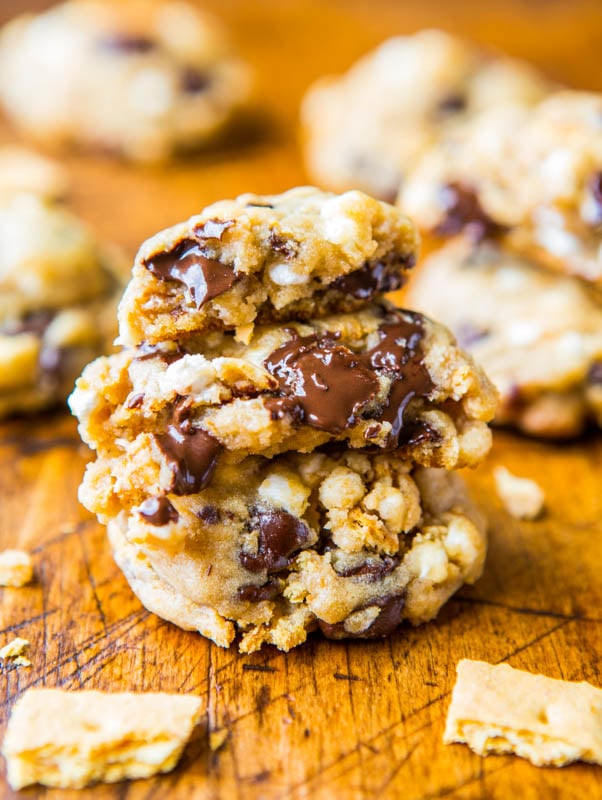
Soft and Chewy S’mores Cookies — Loaded with chocolate, marshmallows, and graham crackers! The best smores you’ll ever eat and no campfire required!
Peanut Butter S’mores Cookie Pie — A peanut butter and graham cracker cookie underneath gooey marshmallows and melted chocolate! You don’t need a campfire for these easy and AMAZING smores! Grab a spoon and dig in!

can I torch the fluff THEN mix it into the buttercream instead of layering it on top?
I think that sounds like it would be fine. You can test a small section out. You’ll know when you start if you think it’ll work out. Enjoy this cake – she’s a stunner!
I did it last night! it was amazing, those brown flakes from torching made its so beautiful. thank you so much
Thanks for the 5 star review, Tiffany, and for making this cake! It’s a bit of a project cake but so worth it and I hope you’re loving every bite!
Hi, I’m making this cake for my son’s birthday 2 days ahead. If i assemble it all the way, will the marshmallow top stay good in 2 days?
Hi, I’m making this cake for my son’s birthday 2 days ahead. If i assemble it all the way, will the marshmallow top stay good in 2 days?
I would say maybe 24 hours. I wouldn’t do 48 hours ahead for the final marshmallows since it’s a bday cake and you want it to look as perfect as possible so I would hold off as long as your schedule allows.
great
Ooohhh myyy…Yuuumm! I have not made this yet….. Will be making it for my husband’s birthday next week. Can’t wait. You did an amazing job 🤤🤤🤤
Thank you! Please LMK how it goes and come back and LMK how it went and what everyone thought!
Omg Averie. You have BLOWN my mind. Seriously. These past couple of weeks I’ve been abroad in Karachi.
But in a second I want to come back to California and bake this beautiful cake
I hope you are all well
Hope you have been enjoying your travels! I can’t wait to hear your reviews and how this cake goes for you. Take care!
WOW! What a cake. As soon as I get all the ingredients i’ll be busy making it. So, obviously I can’t rate it but it gets 5 stars for looks and taste imagination. Thanks.
WOW! What a cake. As soon as I get all the ingredients i’ll be busy making it. So, obviously I can’t rate it but it gets 5 stars for looks and taste imagination. Thanks.
Thank you so much and I hope you enjoy this cake! Please report back and let me know how it goes!
WOW!! What a cake!! It looks beautiful!
Thank you!
Can you do a 13×9 S’mores Cake? TY
Being that it’s really intended to be a layer cake, I don’t know how well it would work trying to bake it as a single layer cake, the proportions to use, the graham cracker crust element, etc. You can get creative of course and try it.