
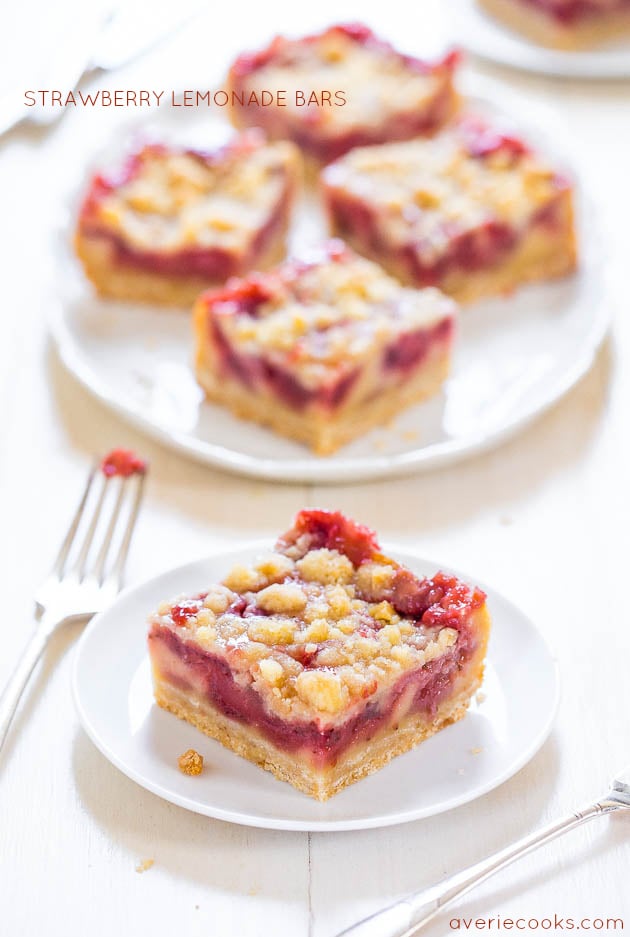
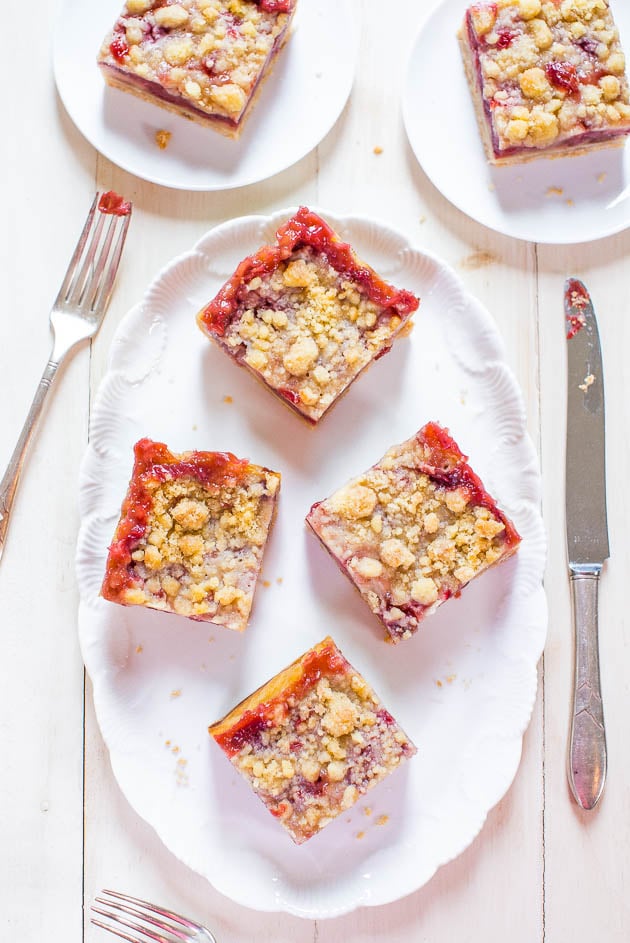
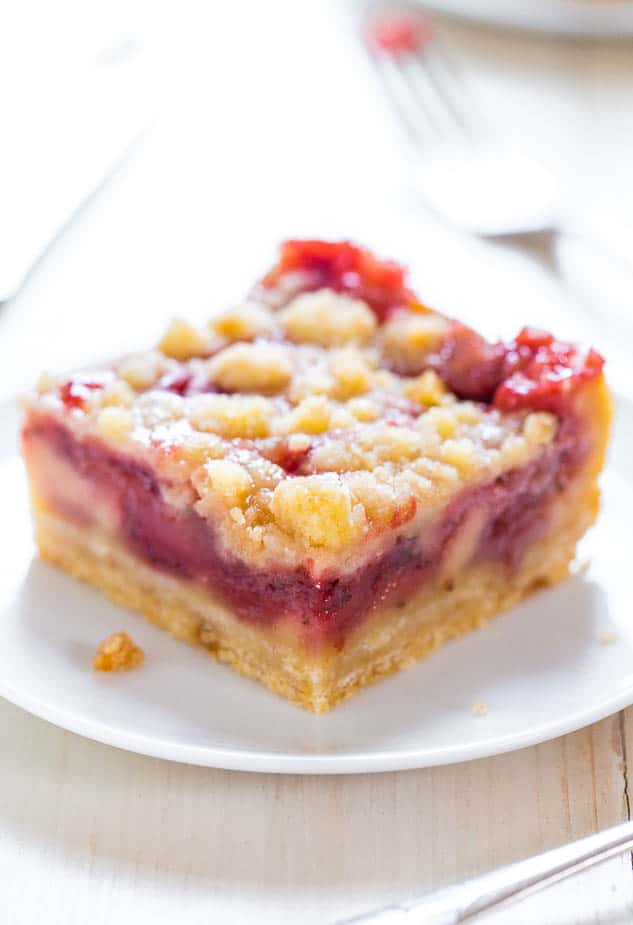
Strawberry Lemon Bars 🍓🍋 combine the bright flavor of lemon bars with the sweetness of strawberry pie. A firm crust, soft and juicy strawberry lemon filling, and buttery crumbles make these EASY layered bars perfect for summer entertaining, BBQs, picnics, and potlucks!
Easy Strawberry Lemonade Bars Recipe
- Strawberry lemonade is a classic summer drink, but these bars turn those same bright, sweet-tart flavors into an even better dessert.
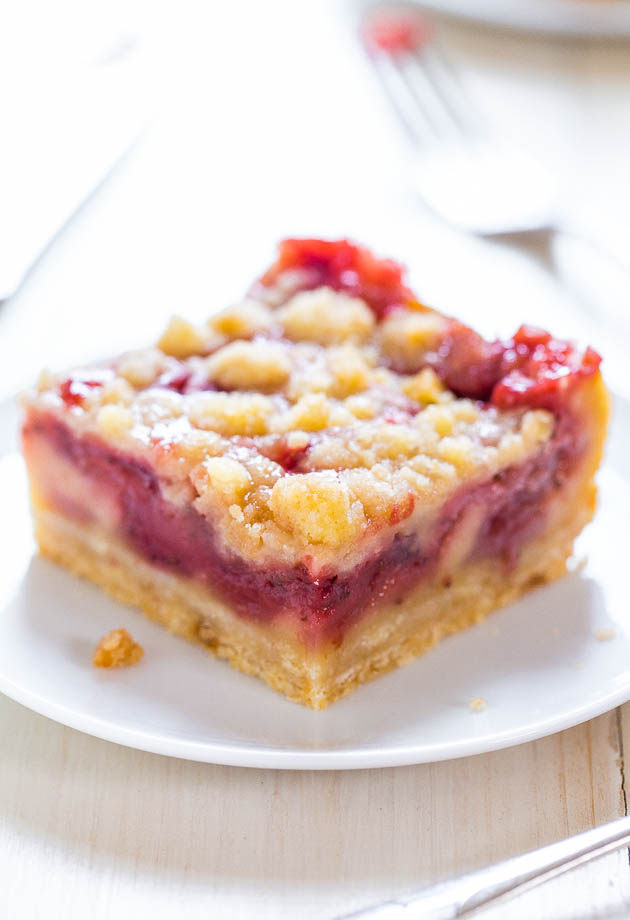
- They’re like a cross between a lemon bar and a crumble-topped strawberry pie, with juicy strawberries, fragrant lemon zest, a soft filling, and sandy crumbles in every bite.
- Special enough for a brunch, luncheon, or summer party, but they’re still homey, comforting, and easy to love.
Ingredients for Strawberry Lemon Bars
To make these strawberry lemon blondies, you’ll need:
- Unsalted butter, granulated sugar, light brown sugar, all-purpose flour, and salt: These are used for the buttery crust and crumble topping. A gluten-free 1:1 flour substitute should work, but I do not recommend using nut flour.
- Egg, Greek yogurt, lemon juice, lemon zest, and vanilla: These make the soft, tangy lemon filling. Greek yogurt keeps the bars tender and adds a slight tang that pairs well with the lemon.
- Strawberries: Fresh or frozen strawberries both work. If using fresh berries, you may not need to add any flour to the strawberry layer. If using frozen berries, you likely will need to add some flour, especially if the mixture looks watery. You can also use another berry, but some berries are sweeter than others and will change the flavor of the bars.
- Cornstarch: Helps thicken the filling so the bars slice cleanly and are not too loose or watery.
Note: Scroll down to the recipe card section of the post for the ingredients with amounts included and for more complete directions.
How to Make Strawberry Lemon Bars
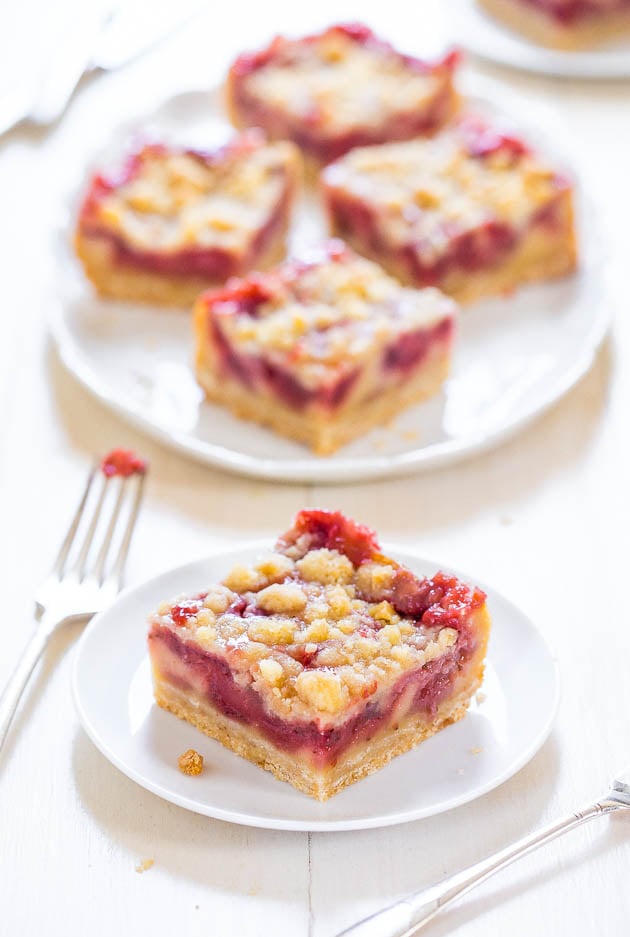
If you’re craving a strawberry lemon dessert, you’re going to adore these bars! Here’s an overview of how the recipe comes together:
- Mix together the crust mixture, then reserve some for the crumble topping and press the rest into an 8-inch square pan.
- Whisk together the lemon filling and pour it over the crust.
- Stir together the strawberry layer and spread it evenly over the lemon filling.
- Sprinkle the reserved crumble topping over the strawberry layer.
- Bake until set, then let the bars cool for at least 2 hours before slicing so the layers have time to firm up.
This is easily my favourite recipe on your page. I have made it at least once a month since finding it last summer, and it’s a solid 10/10. I’ve made it with both strawberries and blueberries, and it is always incredible. Thank you for creating this delicious bar, I am going to go make more of them now :)
Shannon
Strawberry Lemonade Bars
Equipment
Ingredients
Crust and Crumble Topping
- ½ cup unsalted butter, melted
- ½ cup granulated sugar
- ¼ cup light brown sugar, packed
- 1 ½ cups all-purpose flour
- pinch salt, optional and to taste
Filling
- 1 large egg
- ½ cup plain or vanilla Greek yogurt, lite is okay (or use sour cream)
- ⅓ cup granulated sugar
- 2 tablespoons lemon juice
- 2 teaspoons vanilla extract
- ¼ cup all-purpose flour
Strawberry Layer
- 2 heaping cups diced strawberries, (fresh or frozen; I used a combo)
- ⅓ cup granulated sugar, or 1/2 cup if berries are sour
- 2 tablespoons lemon juice
- 2 teaspoons lemon zest, or to taste
- 2 teaspoons cornstarch
- 2 tablespoons all-purpose flour, * (see notes)
Instructions
- Preheat oven to 350F. Line an 8-inch square pan with aluminum foil and spray with cooking spray; set aside. Lining the pan will really help with cleanup and is recommended.
- Crust and Crumble Topping – In a large, microwave-safe bowl melt the butter, about 1 minute on high power.
- Add the sugars and whisk to combine.
- And the flour, optional salt, and stir to combine. Mixture will be very dry and sandy with some larger, well-formed crumble pieces.
- Set a heaping 3/4 cup crumble mixture aside.
- Transfer remaining mixture to prepared pan, and using a spatula or your fingers, hard-pack the mixture to create an even, smooth, flat crust; set aside.
- Filling – In a medium bowl, add the egg, Greek yogurt, sugar, lemon juice, vanilla, and whisk to combine or beat with a handheld electric mixer until smooth.
- Add the flour and whisk to combine or beat with a handheld electric mixer until smooth.
- Evenly pour filling over the crust and jiggle pan to help distribute it or smooth it with a spatula; set aside.
- Strawberry Layer – In a separate medium bowl, add all filling ingredients except flour and toss to combine.
- Evaluate mixture and if it’s very thin, runny, soupy, or liquidy, add up to 2 tablespoons flour to help thicken it. If using fresh berries, you may not need any flour. Because I used half fresh and half frozen berries, I needed 2 tablespoons flour because my mixture was thin and soupy.
- Evenly distribute strawberry mixture over the filling, smoothing it lightly with a spatula.
- Evenly sprinkle with the reserved heaping 3/4 cup crust mixture. Before sprinkling, I squeeze the mixture in my palm to encourage bigger crumble pieces to form.
- Baking – Bake for about 60 to 75 minutes (place pan on a cookie sheet for insurance against overflow if your pan is quite full), or until edges are bubbling quite vigorously and there’s some bubbling in the center. Crumble topping should appear set and very pale golden.*
- Cooling – Place pan on a wire rack and allow bars to cool for at least 2 hours (overnight is even better) before slicing and serving. After cooling overnight, I placed pan in the fridge 2 hours before slicing to ensure clean, neat cuts. If you try to slice bars before they’ve cooled completely, they’ll be extremely messy and could fall apart.
Notes
Nutrition
Nutrition information is automatically calculated, so should only be used as an approximation.
©averiecooks.com. Content and photographs are copyright protected. Sharing of this recipe is both encouraged and appreciated. Copying and/or pasting full recipes to any social media is strictly prohibited.
More Easy Strawberry Desserts:
Quick and Easy Strawberry Cobbler — 🍓🙌🏻🍓 The EASIEST strawberry cobbler ever with this no-mixer quickie dessert recipe that takes advantage of fresh strawberries! No eggs and just 7 basic ingredients to make this soft and tender cobbler that’s ready in 1 hour.

Strawberries and Cream Poke Cake — This Strawberry Poke Cake uses just four ingredients and is a hit at parties and potlucks! It’s a moist, refreshing dessert you’ll definitely want seconds of!
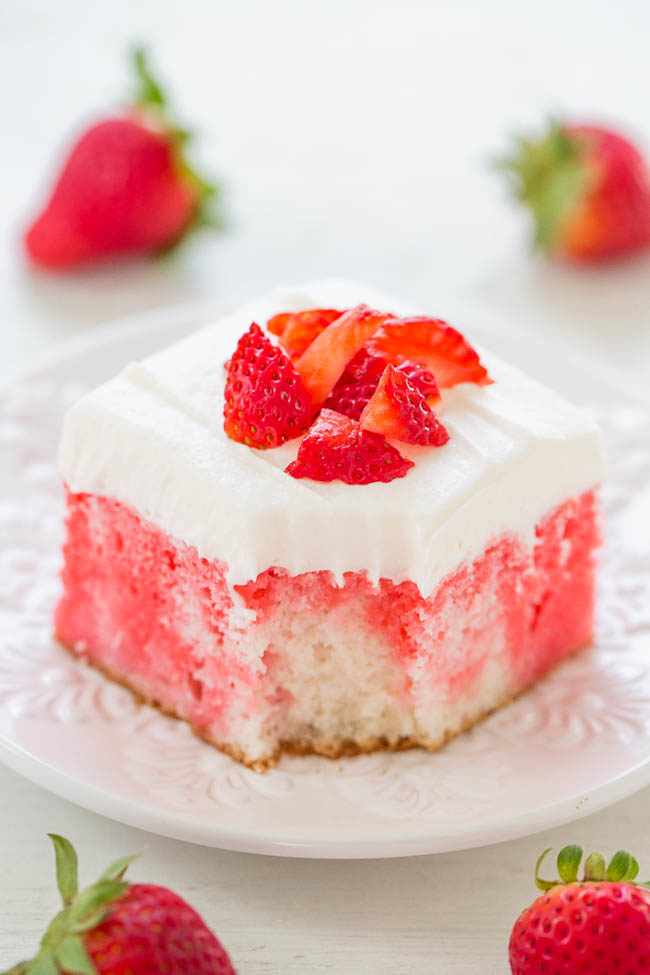
Crustless Fresh Strawberry Pie — FAST, super EASY, no-mixer dessert that’s perfect for summer entertaining, picnics, or potlucks!! Somewhere in between pie, cake, and blondies is what you get with this FABULOUS recipe!
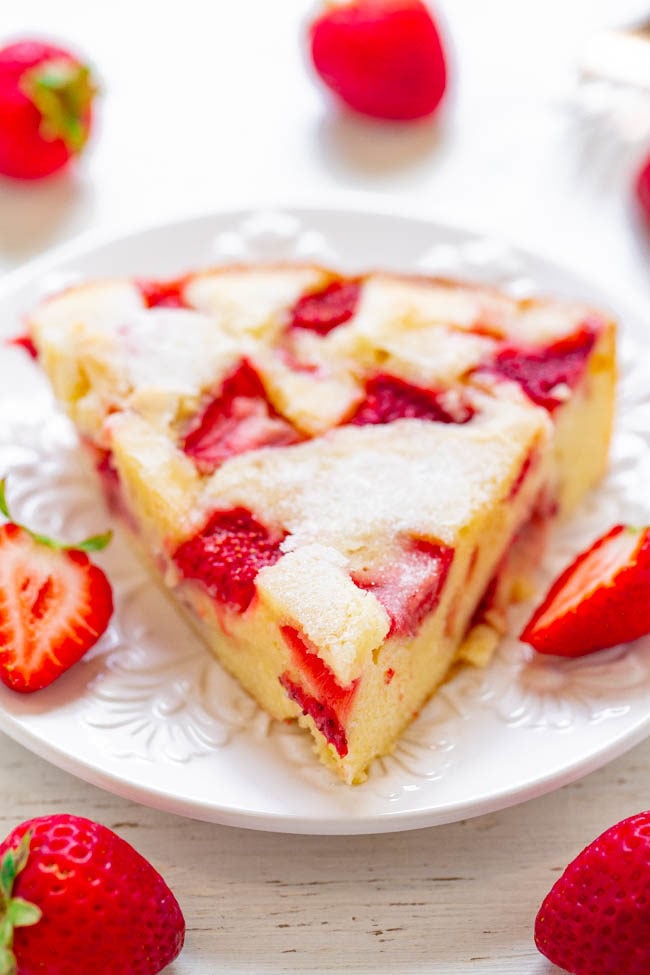
The Best Strawberry Banana Bread — This strawberry bread is packed with fresh, juicy strawberries in every bite! This is an easy, no-mixer quick bread recipe you’re going to love!
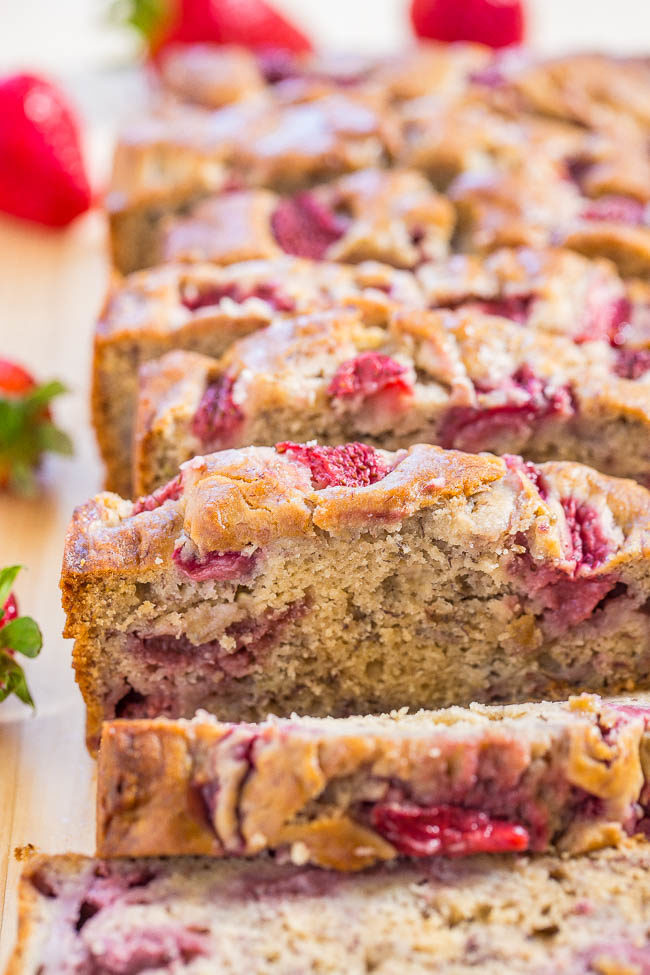
Strawberry Layer Cake with Strawberry Frosting — Soft, tender cake loaded with FRESH strawberries and a sweet strawberry frosting!! An EASY strawberry layer cake that’s perfect for parties! Strawberry fans will LOVE IT!!
Strawberry Custard Bars — These easy, one bowl, no mixer custard bars are perfect for your fresh strawberries. There’s a shortbread crust, topped with diced strawberries, before a custard filling is poured over the the top.
Strawberry Oatmeal Bars — 🍓😋These buttery bars are bursting with fresh strawberries! Just 10 minutes of prep, so EASY because the crust and crumble are one and the same, and a crowd FAVORITE every time!


This post is brought to you by Sunkist. Recipe, photography, and opinions expressed are my own.
Originally published July 15, 2014 and republished May 29, 2020 and July 12, 2024 with updated text.

only reason for 4 stars instead of 5 is that the horrible ad placement on this site makes the recipe nearly impossible to read. I understand why the reason for ads but being a marketer, I also understand and appreciate proper ad placement. this site is the worst I have come across.
if anyone is having the same issue….simply email the recipe to yourself. only way to make it readable to follow along. Do frustrating.
You can always subscribe to my ad-free option! https://www.averiecooks.com/membership/
This very good. I like the recipe. That being said this recipe takes a long time and with all the layers, it’s a BIG HUGE PAIN in the butt. All the layers are like an entirely separate recipe, it took a long, long time and baking took more like 80 mins. That being said though I don’t think you want to wait until the middle starts boiling because by then you’re gonna get a discoloration of the crust on the bottom. So I think that is pretty misleading on the recipe. I would say after 65 minutes even if it’s only boiling on the outside, you’re probably done. I would make it again, but this recipe will take up 3 1/2 four hours of your day, getting all the nesting and hand juicing and dicing up tons of strawberries. It’s a huge pain in the bottom.
Hi Patricia, thanks for sharing your lovely photo of the dessert and layered desserts tend to be more work than other types of desserts but the first time you make something, it always takes the longest and then subsequent times you’ll get faster in case you choose to remake this recipe.
Baking for me definitely does not take 80 minutes but everyone’s oven runs differently and also the exact pan used, the climate, etc. will affect baking times, but I’m glad you baked until the bars were done.
These are tasty but I’d love to punch up the lemon flavor. Any suggestion as to how much extra juice or zest can I add without throwing off the resulting textures? (I’m using Meyer lemons.) Thanks for the recipe.
I think you could safely add quite a bit more lemon zest…maybe 1 teaspoon, and see what you think and then if you want to add more, do it.
I should wait to leave a review until After I have tasted this delicious looking desert but I’ve just taken it out of the oven and without putting any emphasis on what I did differently I must say, baking this was an absolute blast and I couldn’t wait to leave a review. fantastic creation you have made here. Thank you. It made me smile and I needed it very very much
Thanks for trying the recipe and I’m glad you had a blast making it and thanks for sharing your photo!
Are we supposed to cook down the strawberry mixture?
It is not necessary and should be just fine using the directions I provided in the recipe card. This is a 10+ year old recipe and I’ve never had anyone indicate their filling was runny or too soft so just stick with the recipe as written is my advice.
Thank you! Thank you! I made these yesterday and they are out of this world delicious. If I wanted to make a bigger batch, say in a 9 ×13 dish, do I double the recipe?
Thank you! Thank you! I made these yesterday and they are out of this world delicious. If I wanted to make a bigger batch, say in a 9 ×13 dish, do I double the recipe?
Thanks for the 5 star review and I am glad they are out of this world delish for you!
Yes, double all ingredients and bake in a 9×13 pan. Baking time may increase by a few minutes at most, but that certainly will not double.
great
It is always a nice time reading your blog post. I like the way it is full of insights and very easy to understand the message you are passing out. Nice work.
This is easily my favourite recipe on your page. I have made it at least once a month since finding it last summer, and it’s a solid 10/10. I’ve made it with both strawberries and blueberries, and it is always incredible. Thank you for creating this delicious bar, I am going to go make more of them now :)
This is easily my favourite recipe on your page. I have made it at least once a month since finding it last summer, and it’s a solid 10/10. I’ve made it with both strawberries and blueberries, and it is always incredible. Thank you for creating this delicious bar, I am going to go make more of them now :)
Thanks for the 5 star review and I am glad this is your fave recipe of mine! Also interesting that you are making these in the fall/winter when others are making pumpkin and turkeys and peppermint cookies, I actually love that you’re making these now. Just shows how much you really enjoy these!
I was wondering if these could be shipped from Canada to the US? My sister just brought my nephew home from the NICU and I wanted to give her something nice
I think it’s a lovely thought but you’d need to check with international customs about sending food. I know most times one is not allowed to cross the border with food in your suitcase unless it’s something like chips that are sealed in a bag, peanuts sealed in a bag, etc but homemade food items, no. However maybe sending them via parcel service is permitted. Not sure.